
Create a user from your instance's administration
Depending on the authentication mode chosen for your proPilot instance, there are two scenarios for creating users from the administration panel.
Case 1: proPilot in “standard username & password” mode
Before you can integrate a user into the plan, you must first create a username for him.
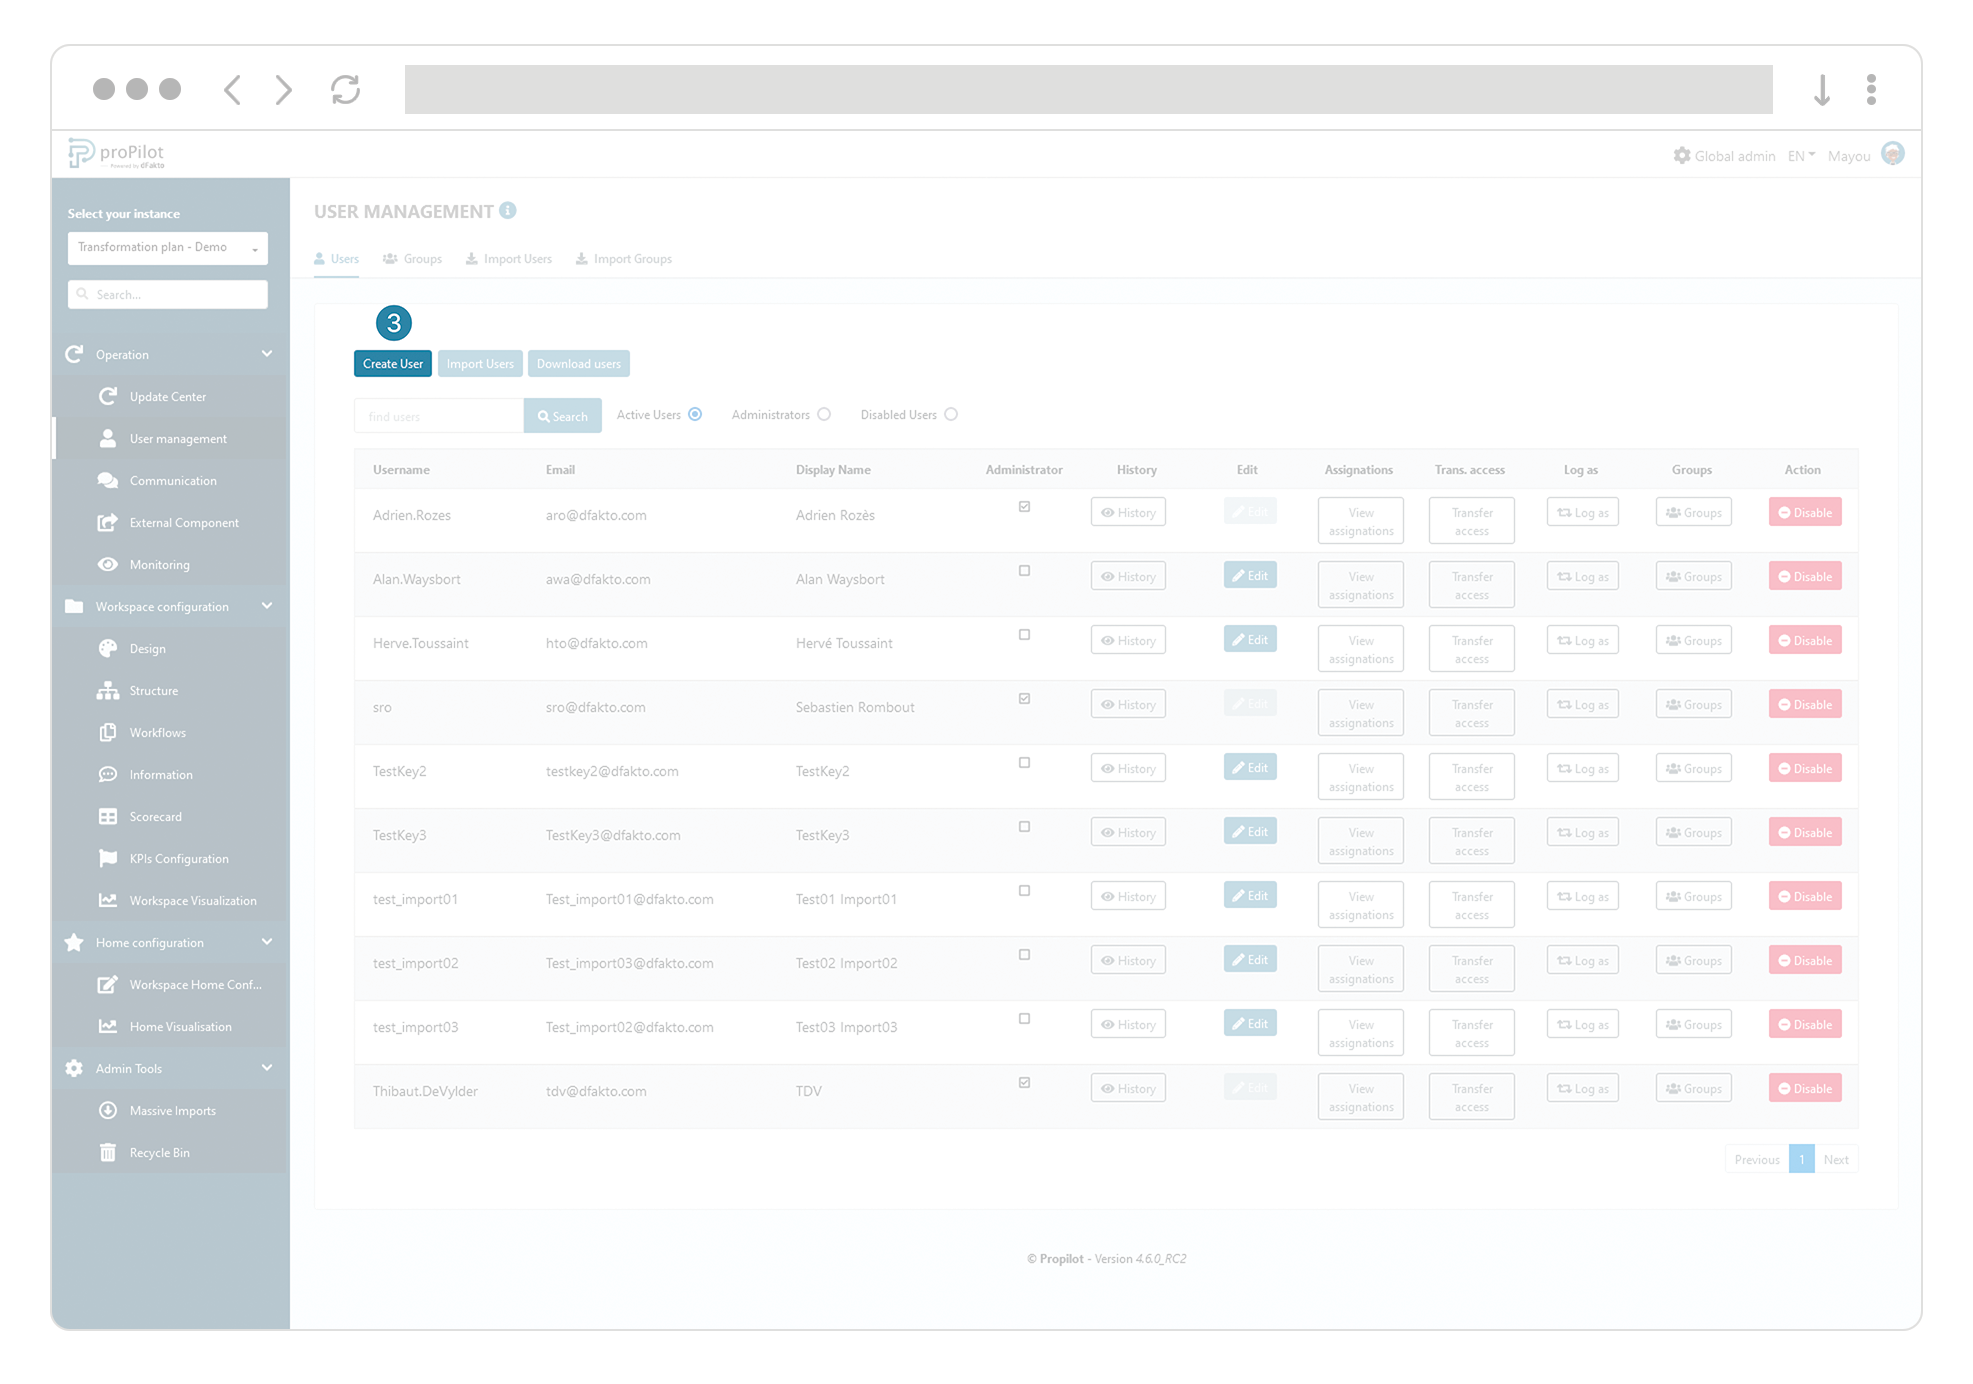
To do this, click on the "User Management" module. Select the "Users" tab in the "Operations" section of the left-hand menu.

Click the "Create User" button.
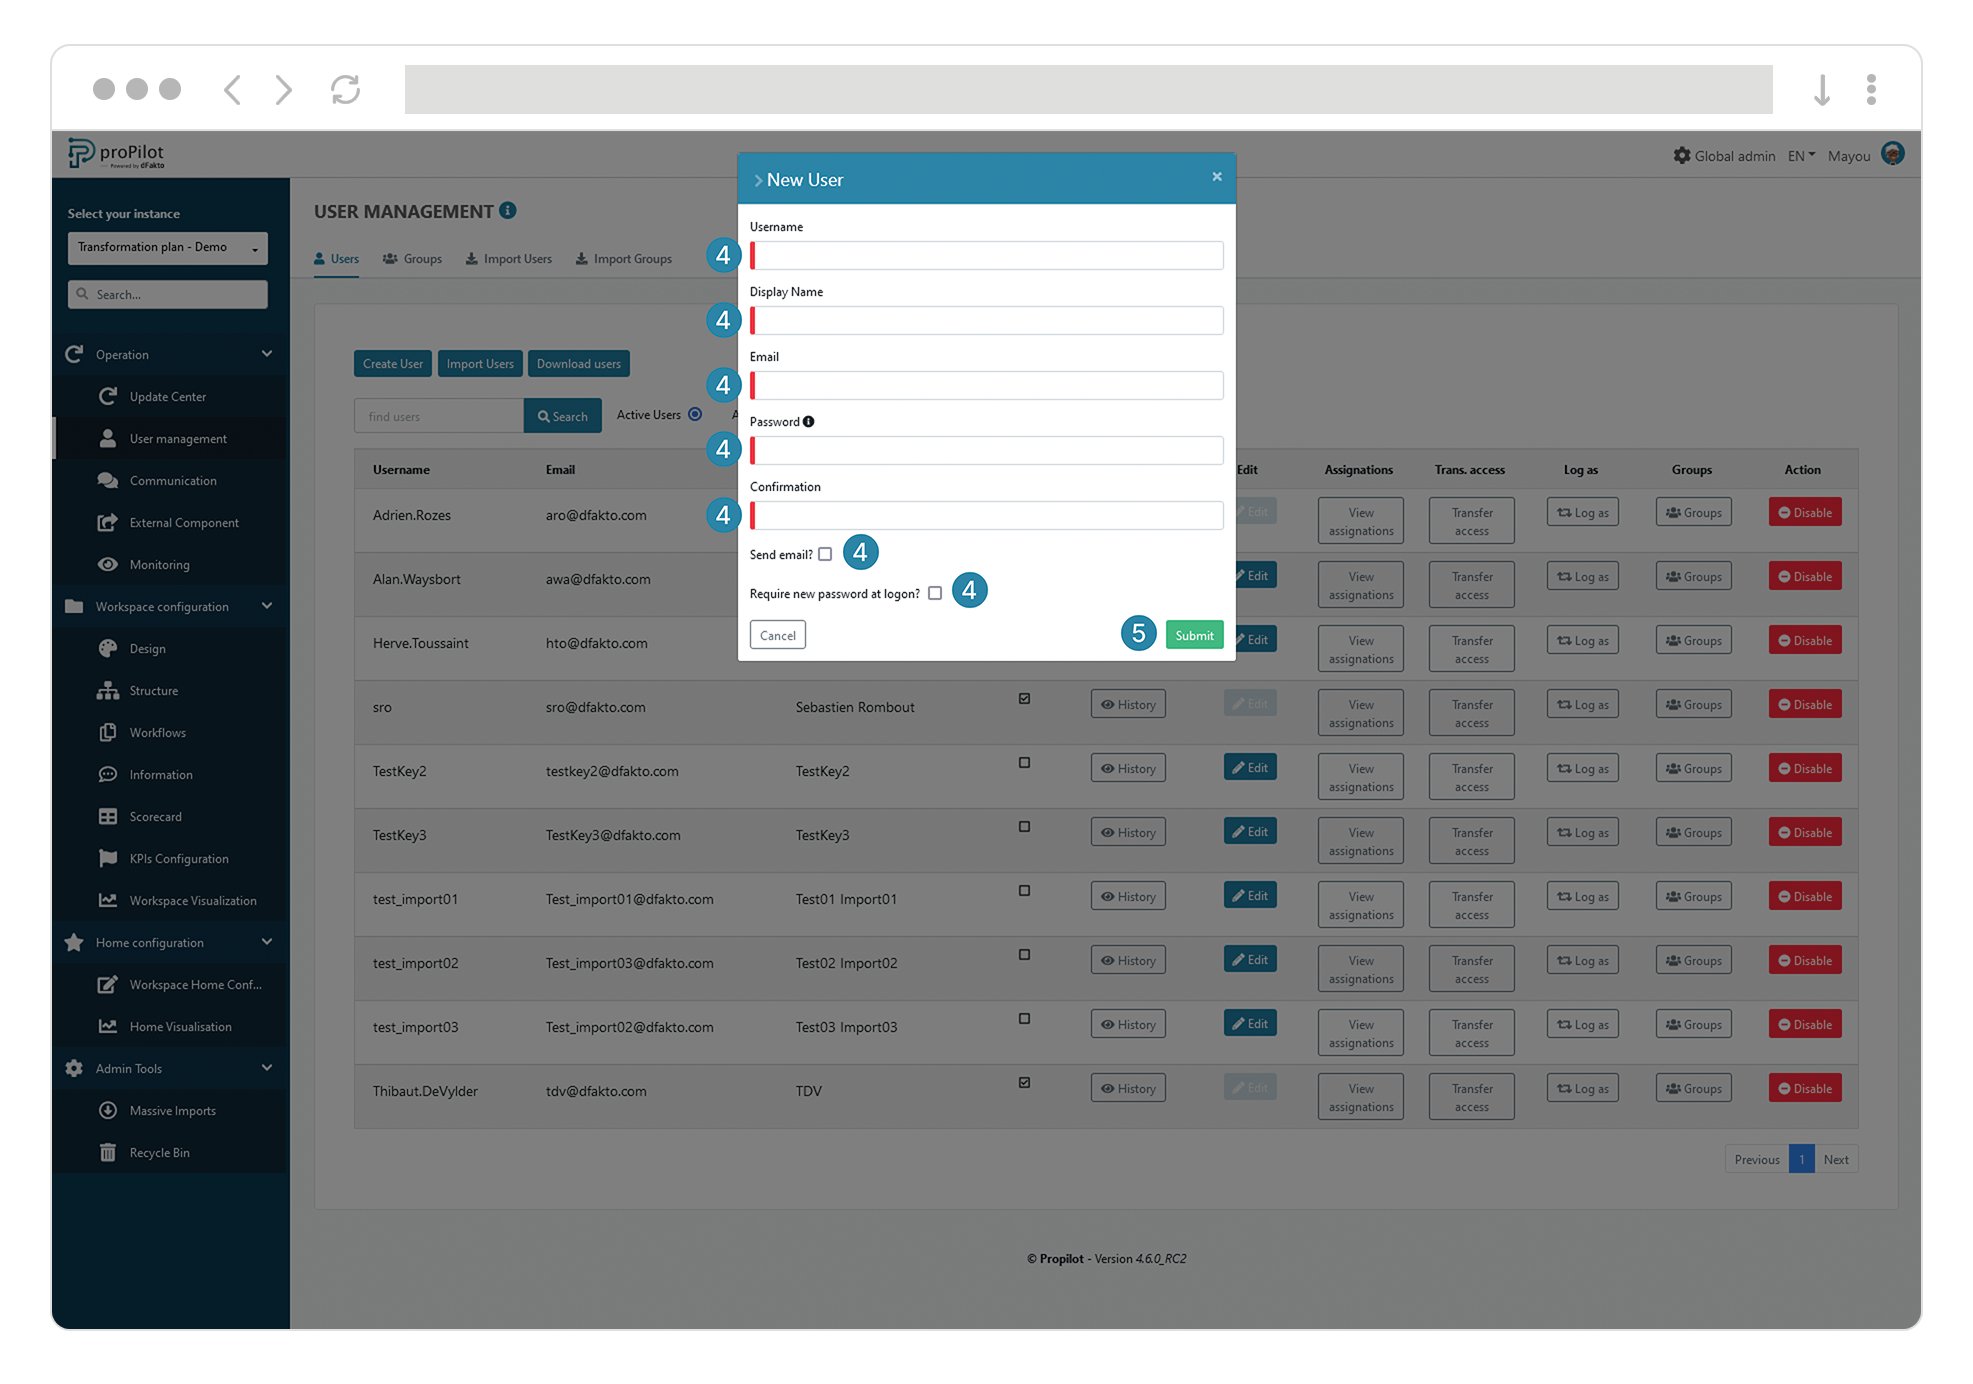
Fill in the following fields: username, display name, email, password, and check the "Send email" and "Require a new password at logon" checkboxes.
Confirm.
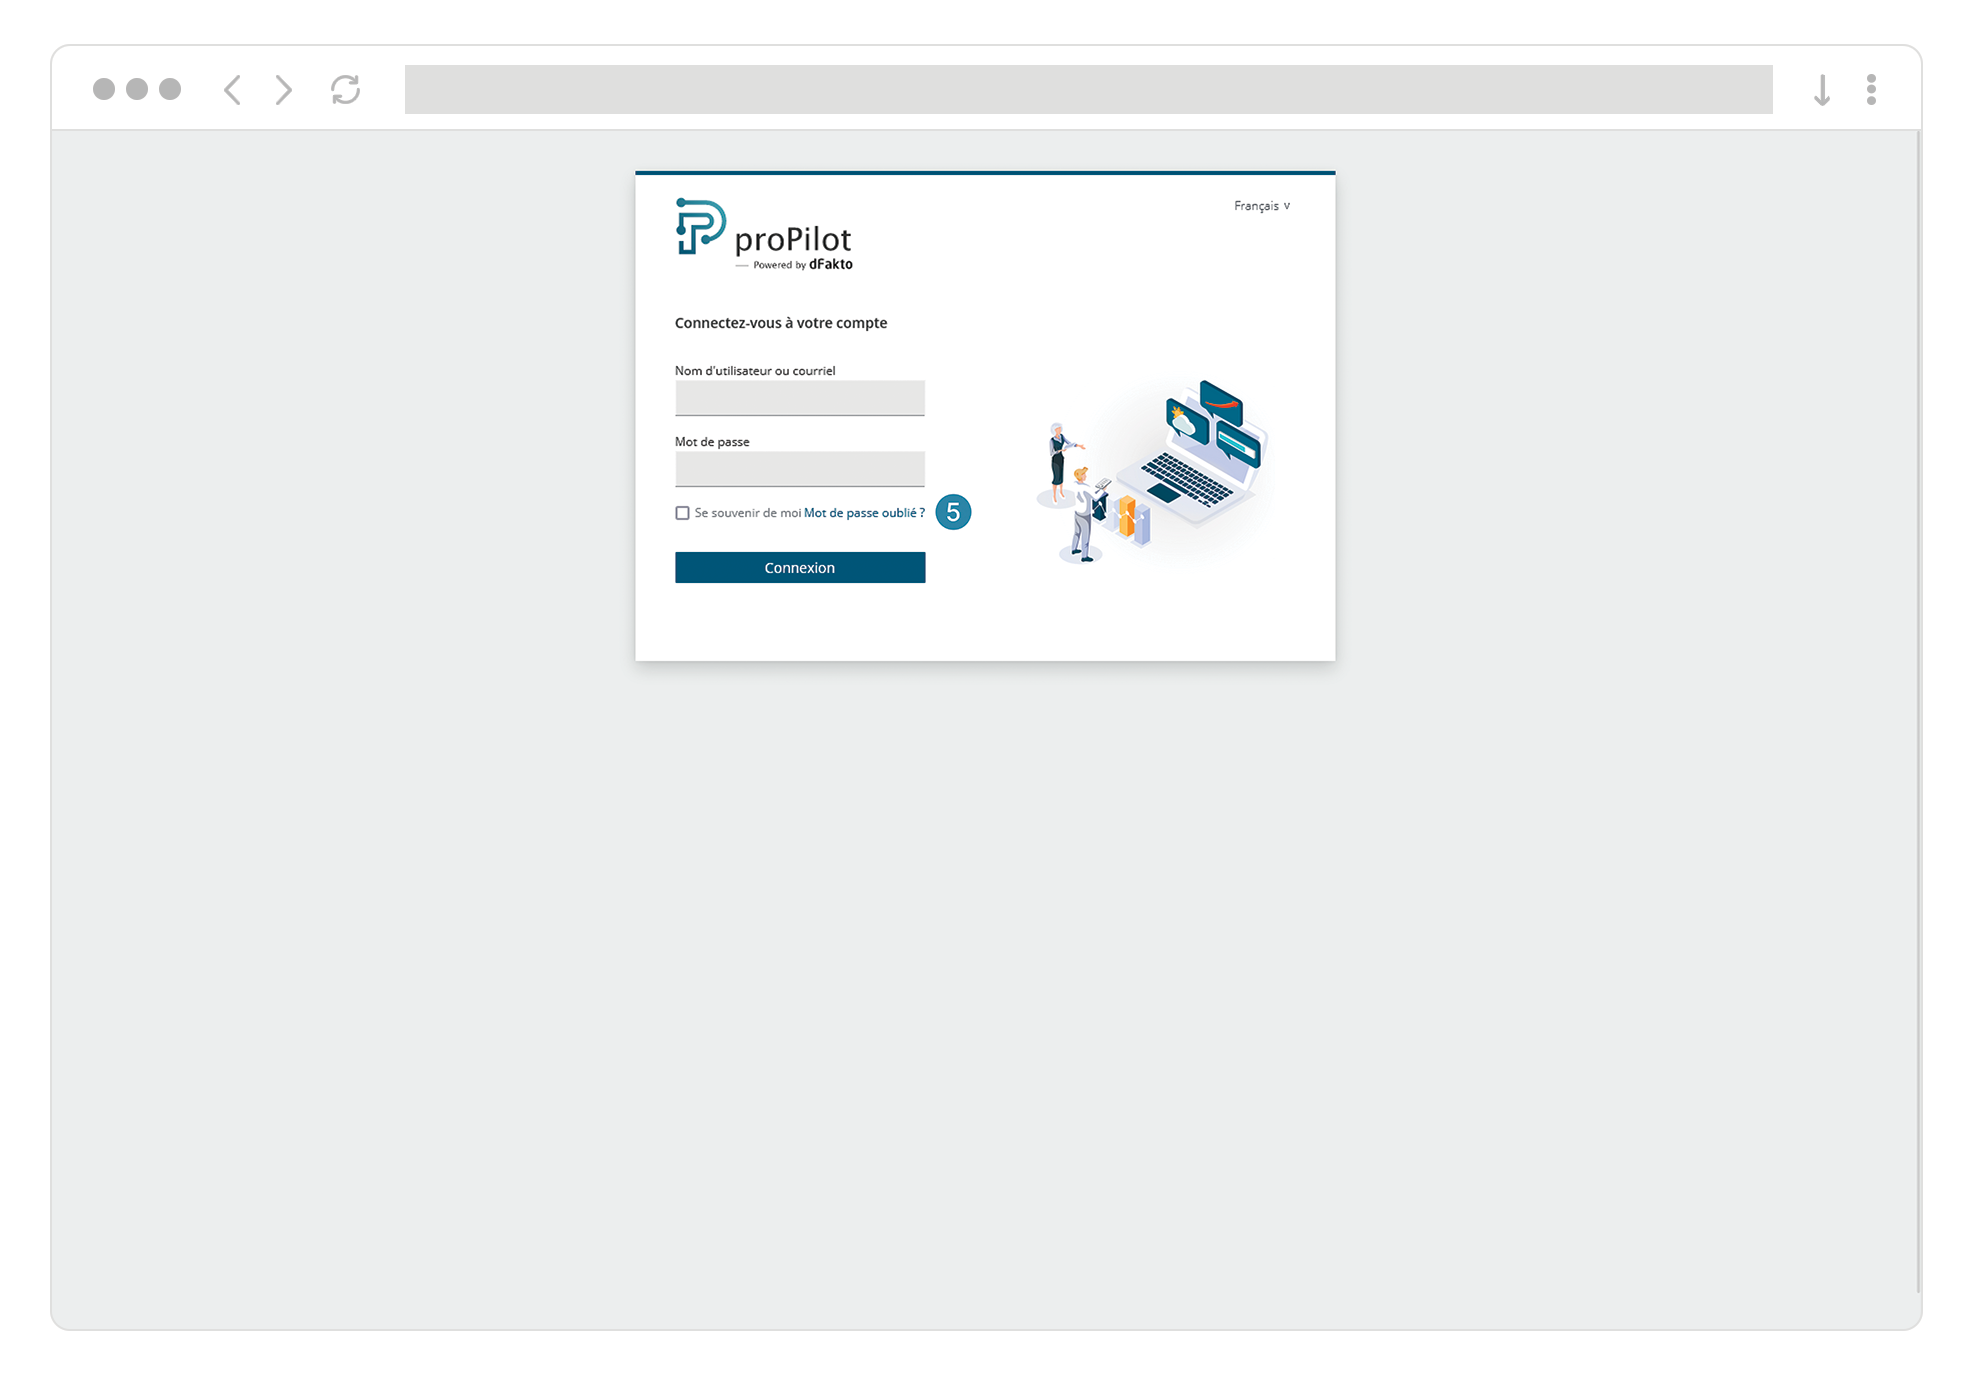
An email will be sent to the user containing a login link, available for 24 hours.
If they exceed the time limit to log in, they will need to click on the "Forgot Password" module available on the login page.
Case 2: proPilot in SSO (Single Sign-On) Mode
In SSO mode, you can pre-configure a user in proPilot in order to assign them admin rights or responsibilities for entities in advance.
Click the “Create User” button.
Enter the email address and, if applicable, the global administrator status.
Confirm.

When the user logs in for the first time via SSO, they will automatically inherit the rights and assignments that were configured for them. Their information (username, display name) will be synchronized with the IdP at each login.
Assign a user to their field of responsibility
To assign a user to their field of responsibility and/or role, you have two options: either use the administration area, or navigate directly in the plan through the user interface.
Assign the user through the administration area
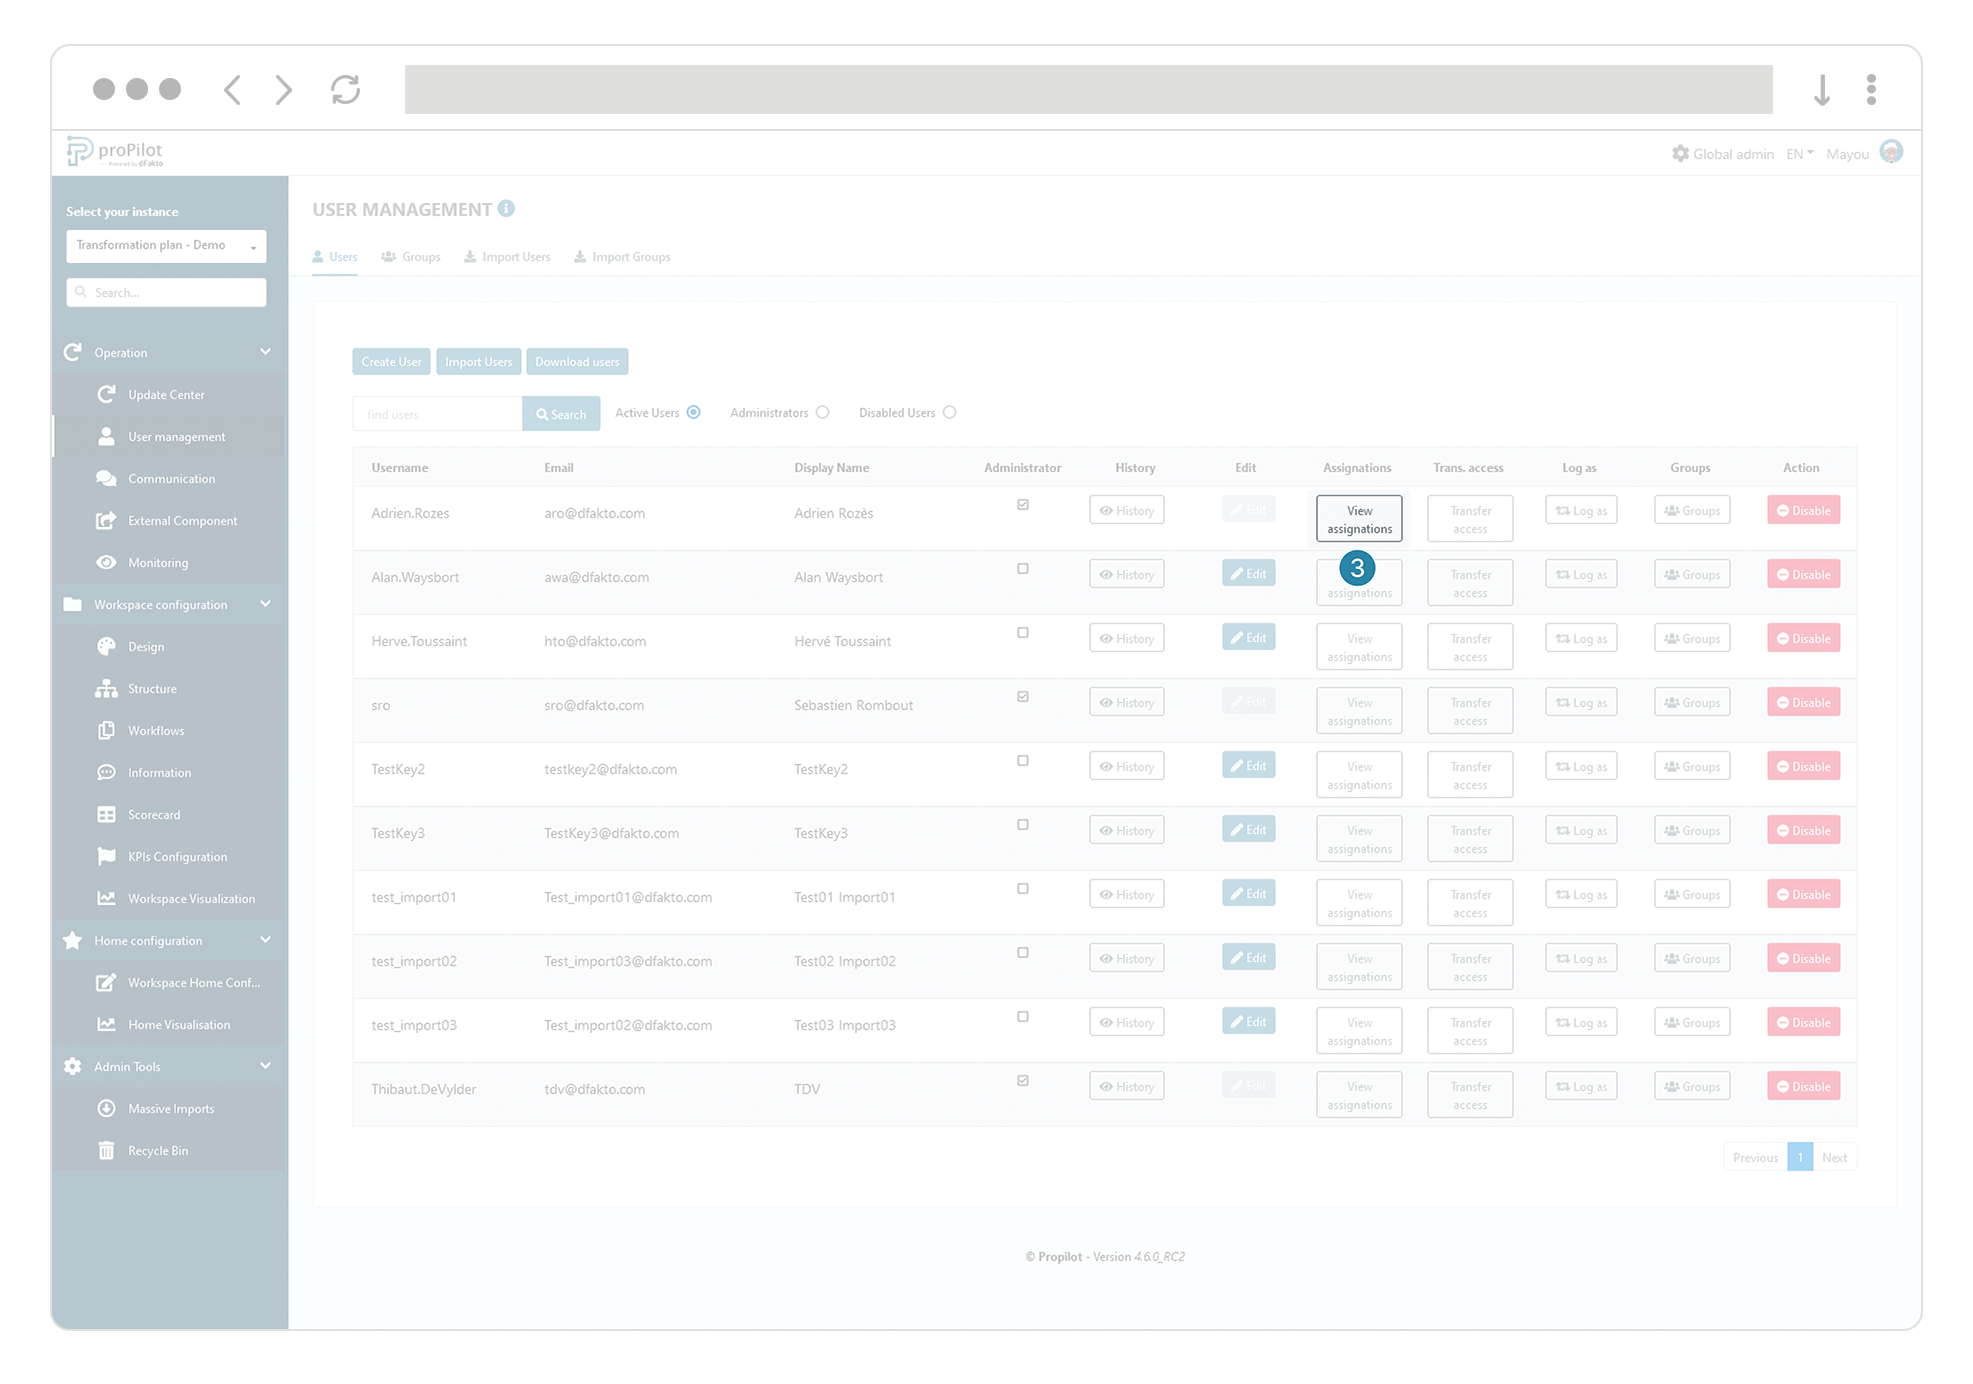
Click on the "User Management" module. Select the "Users" tab in the "Operations" section of the left-hand menu.
Select the relevant user from the list and click on the associated "View information assignments" button.
A dropdown list appears. Select the entity and the qualitative information to which you want to assign this user. Once the qualitative information has been selected, click on "Add".
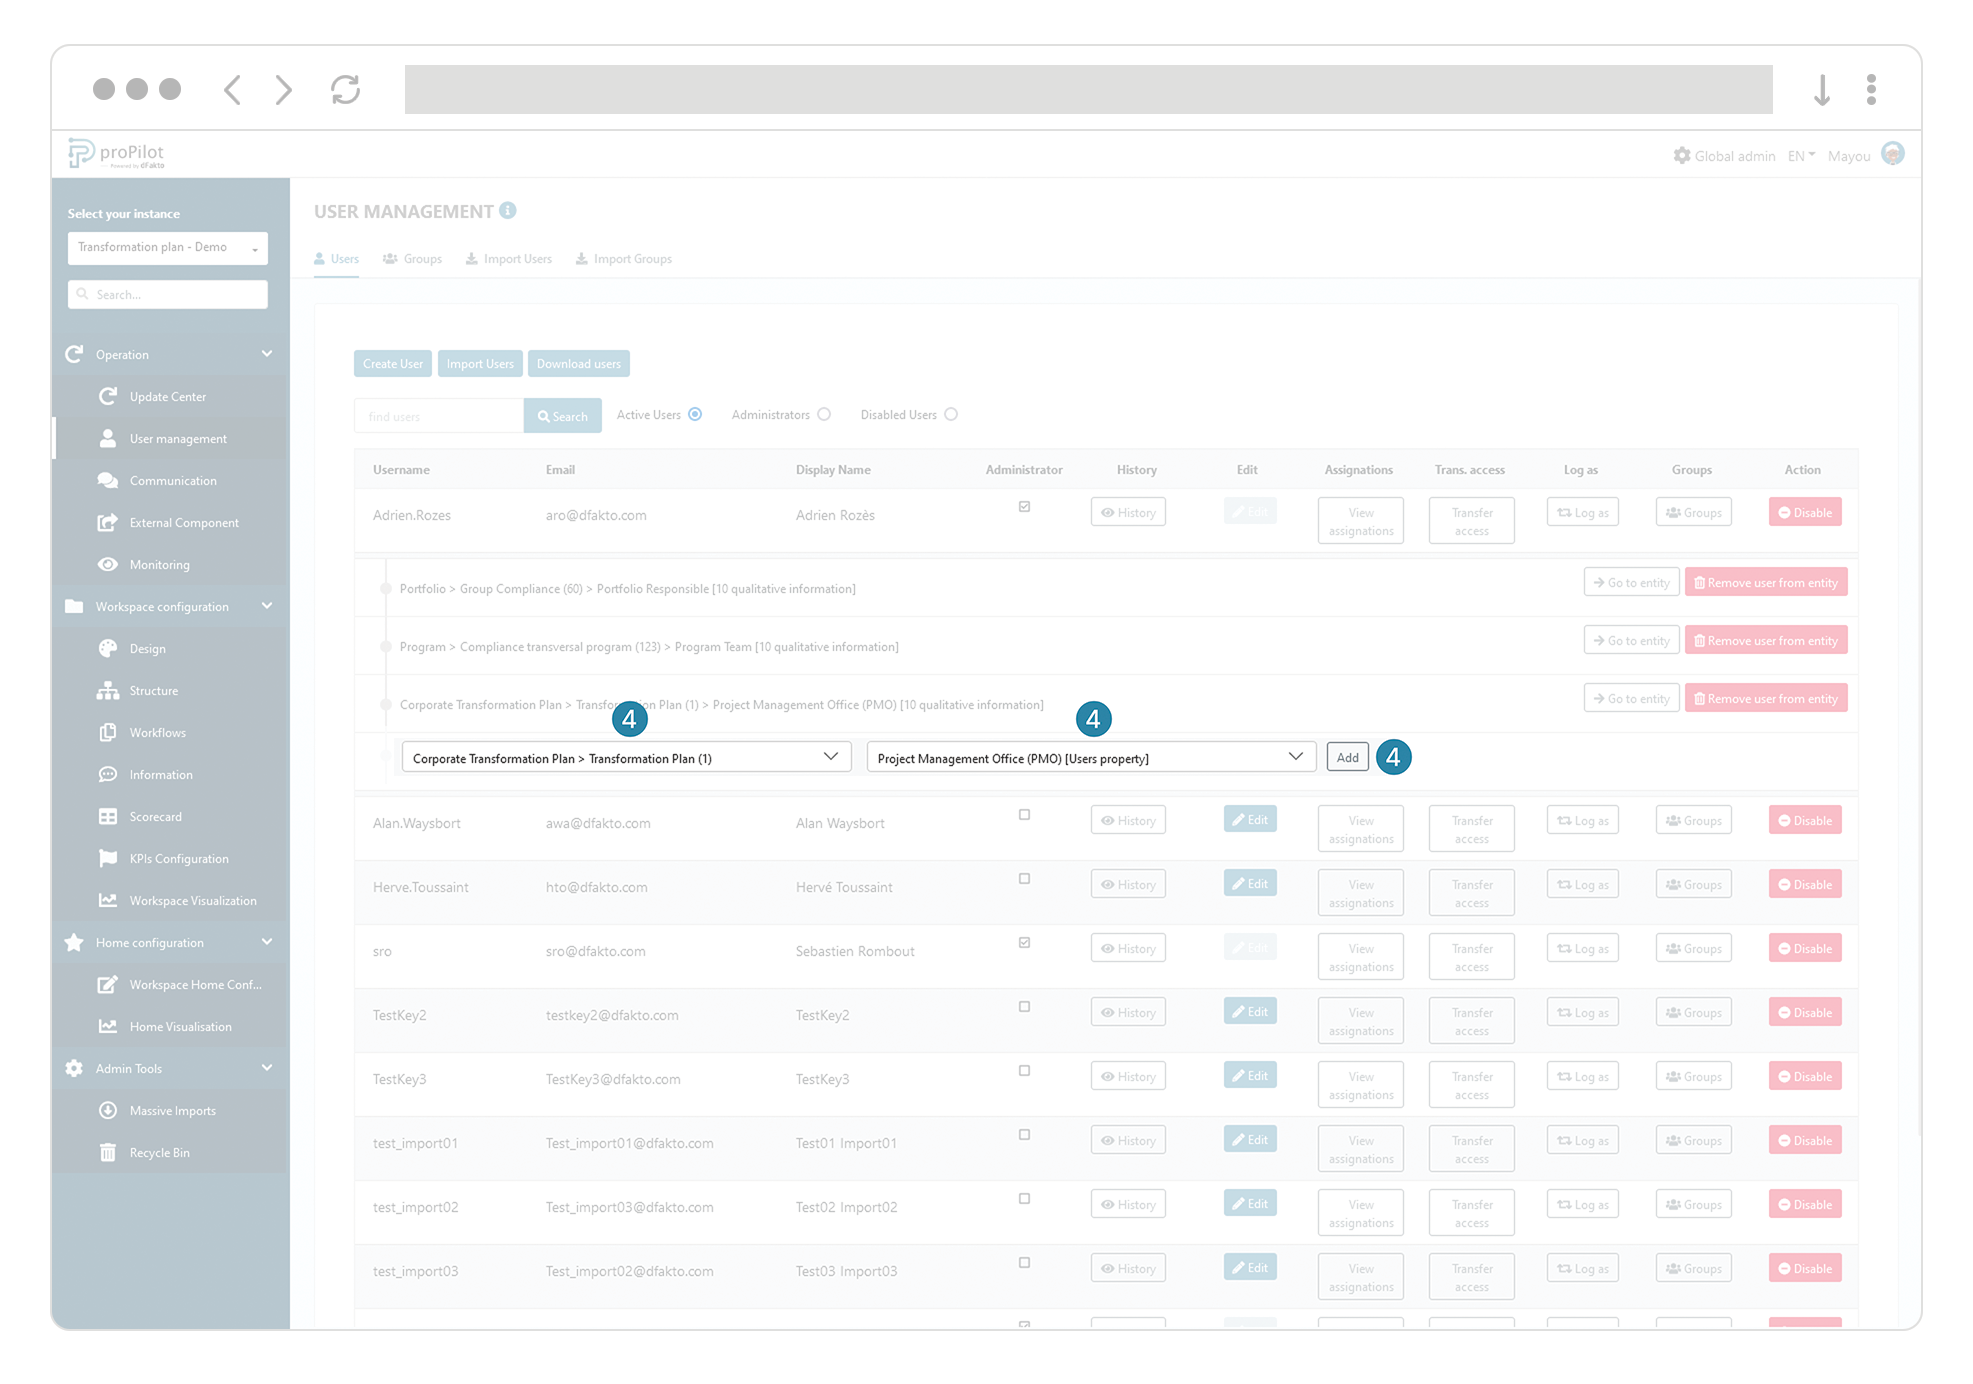
Congratulations, the user has been assigned to his field of responsibility and now has access from this entity, as well as all underlying entities.
The read and write rights per module (qualitative information, quantitative information, operational KPIs, history, visualization, etc.) are relative to the qualitative information you assign the user onto. For example, if a qualitative information has been assigned read-only rights, the same rights will be available for lower-level entities.
If you want to modify these access rights, go to the configuration of a "user" information type.
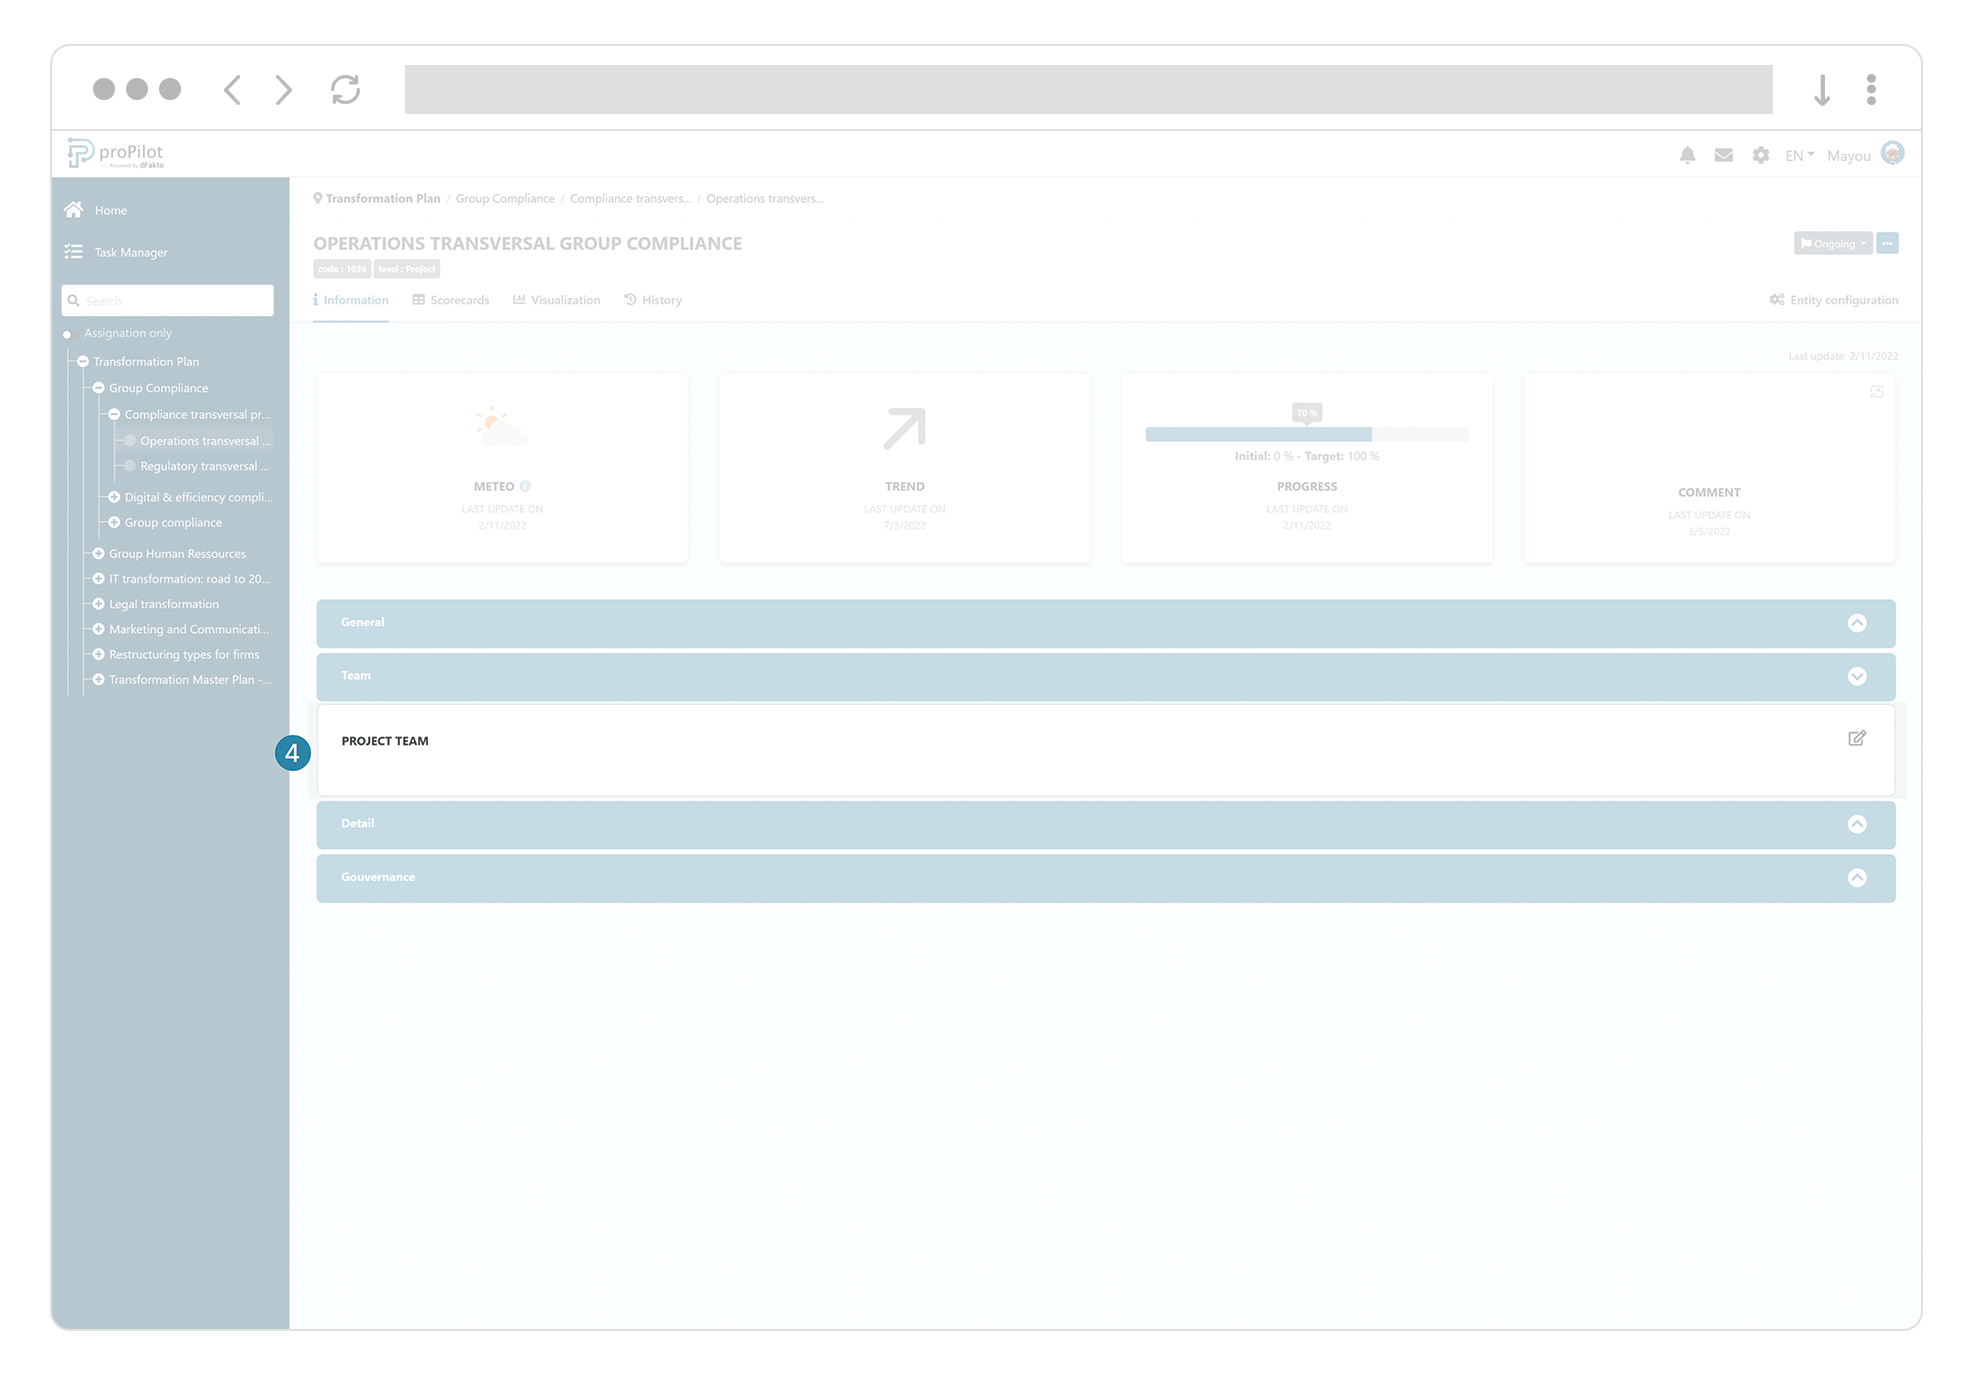
Assign the user through the user interface
Navigate to the user interface by returning to the homepage.
Select the relevant workspace and navigate to the desired entity.
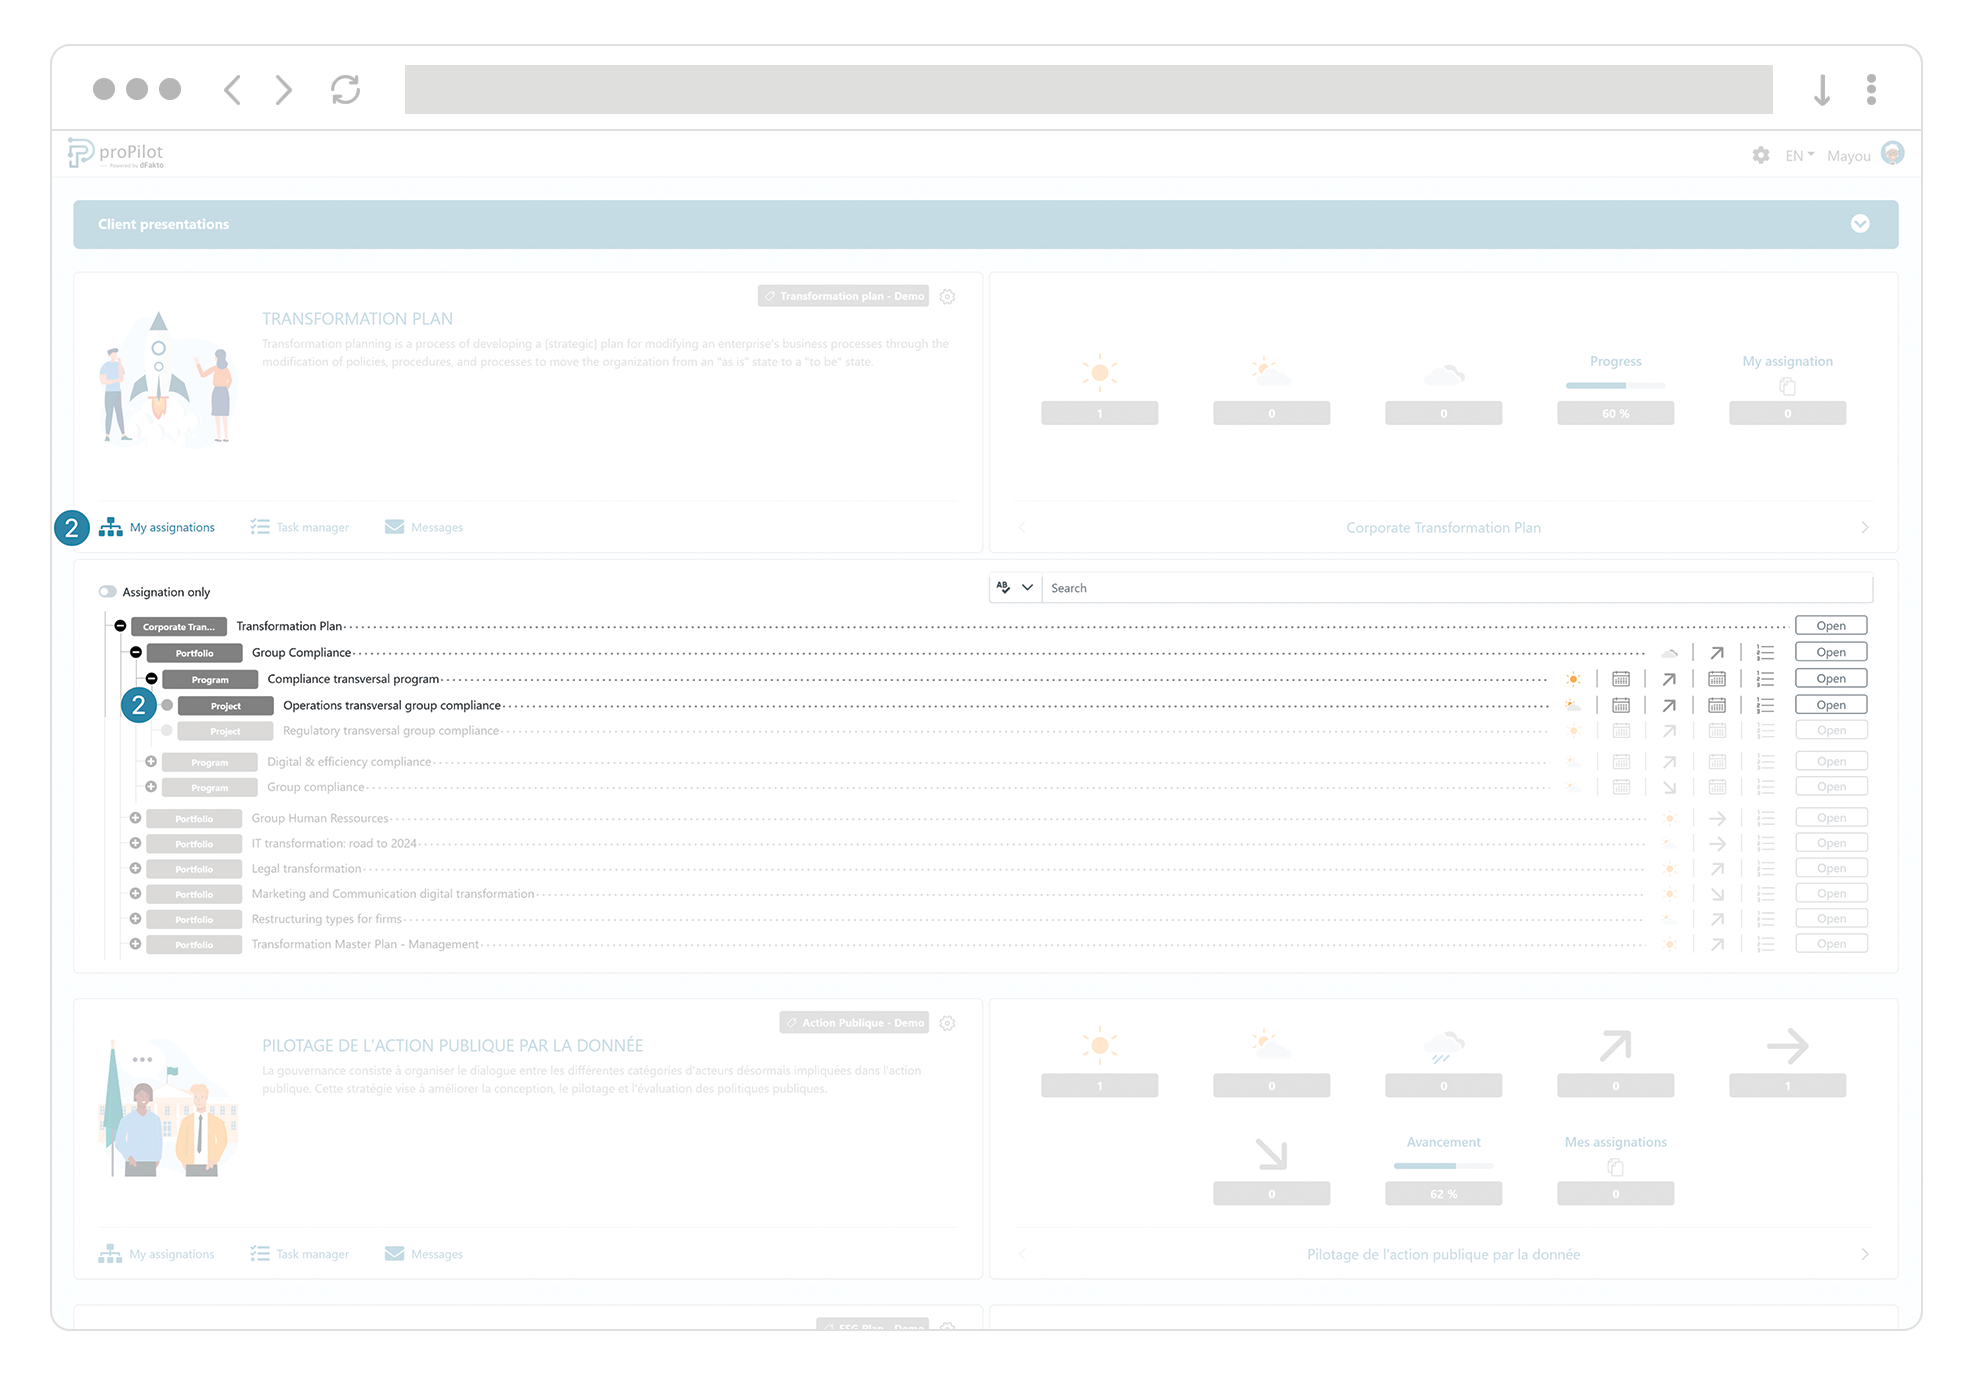
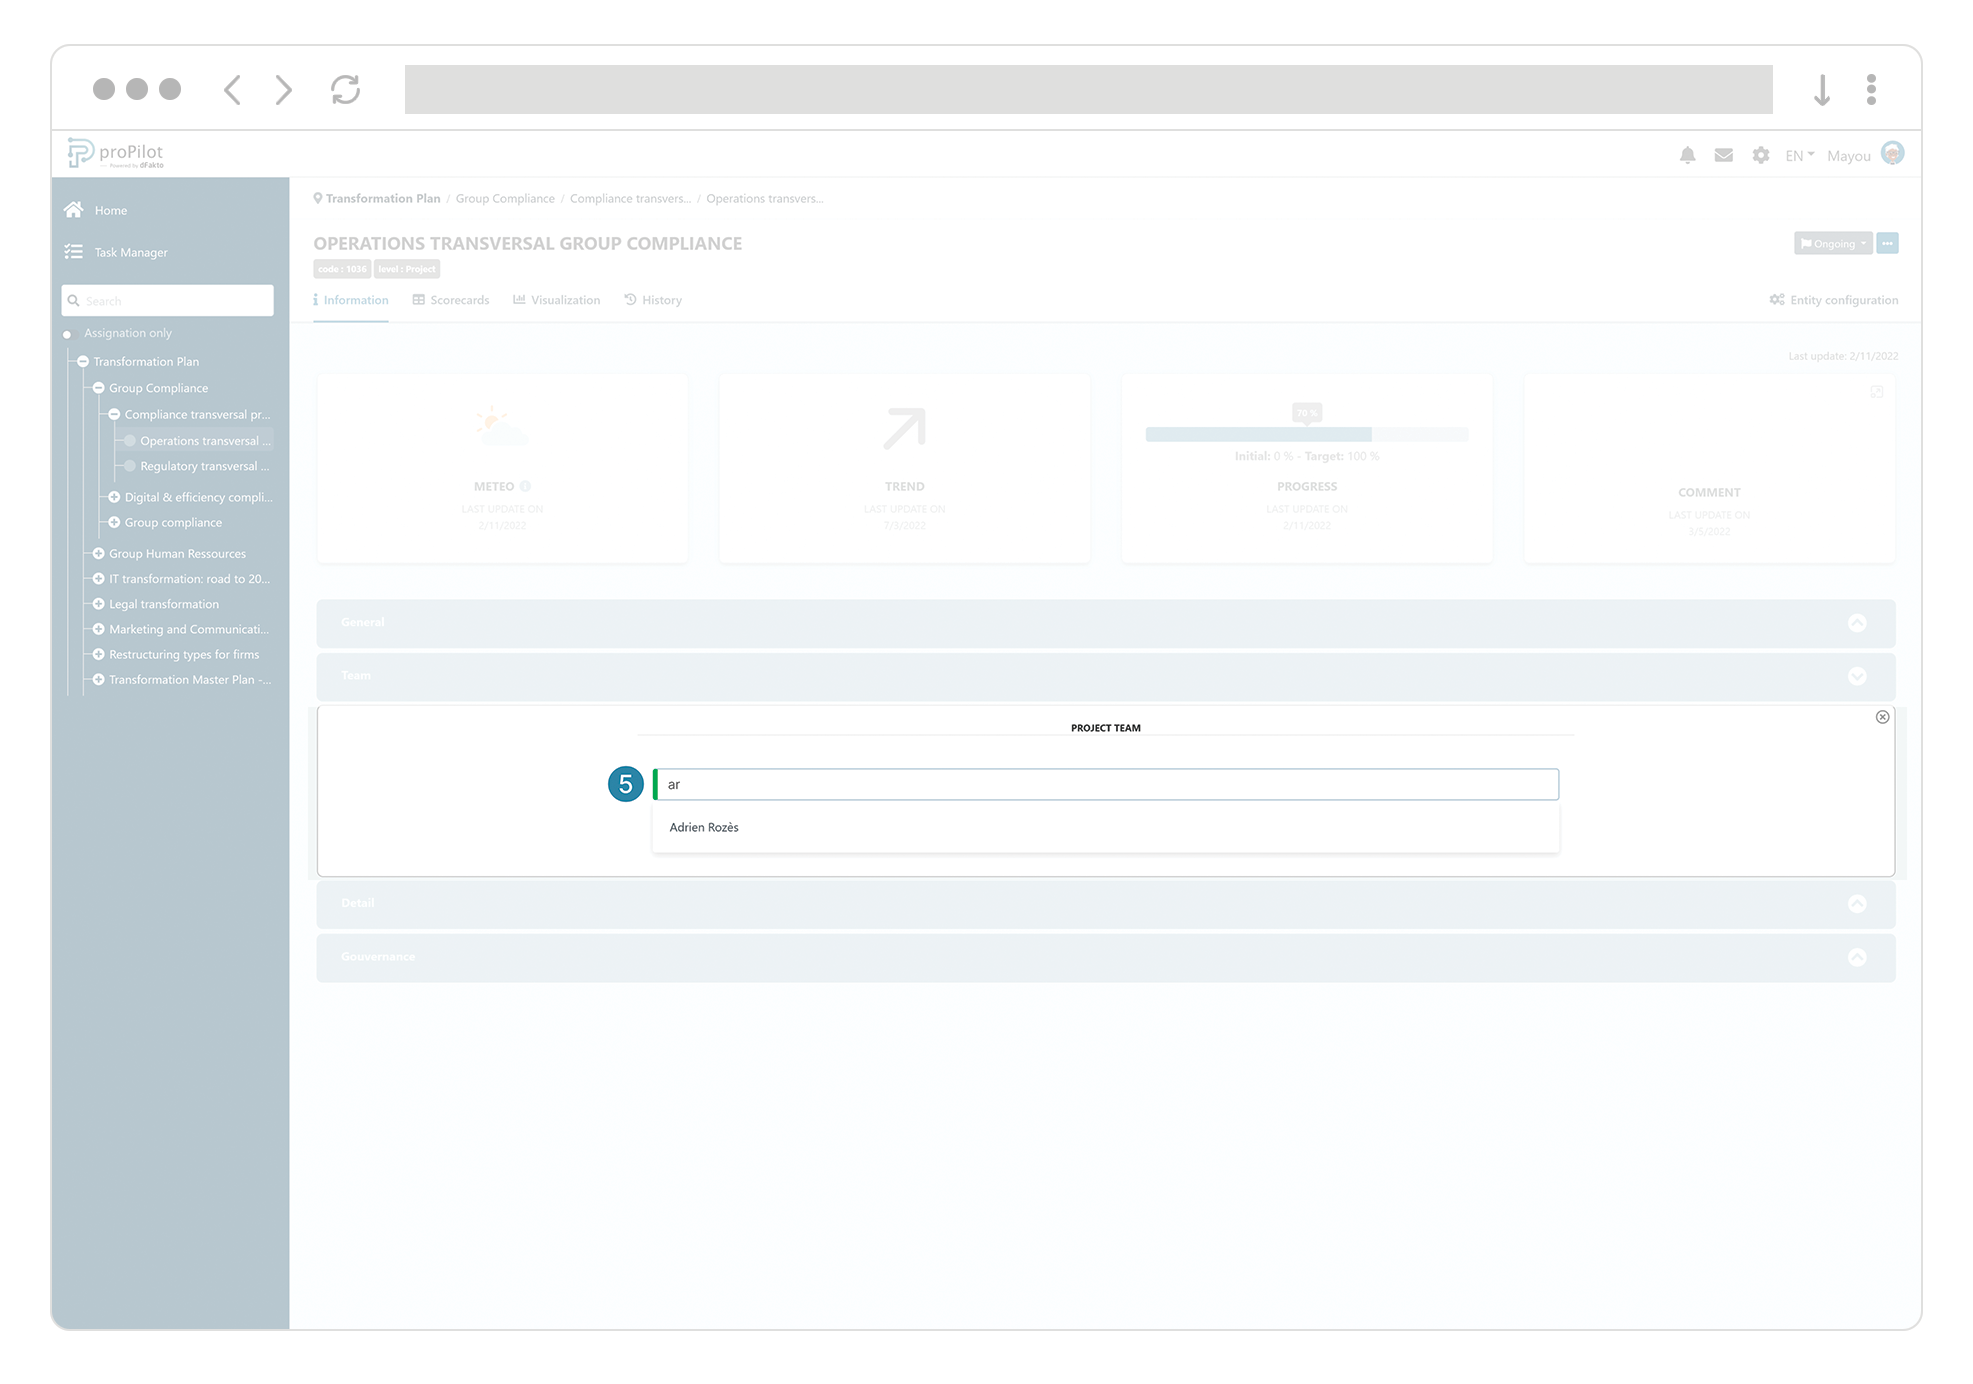
Select the qualitative information type "User" on which you want to assign the user.
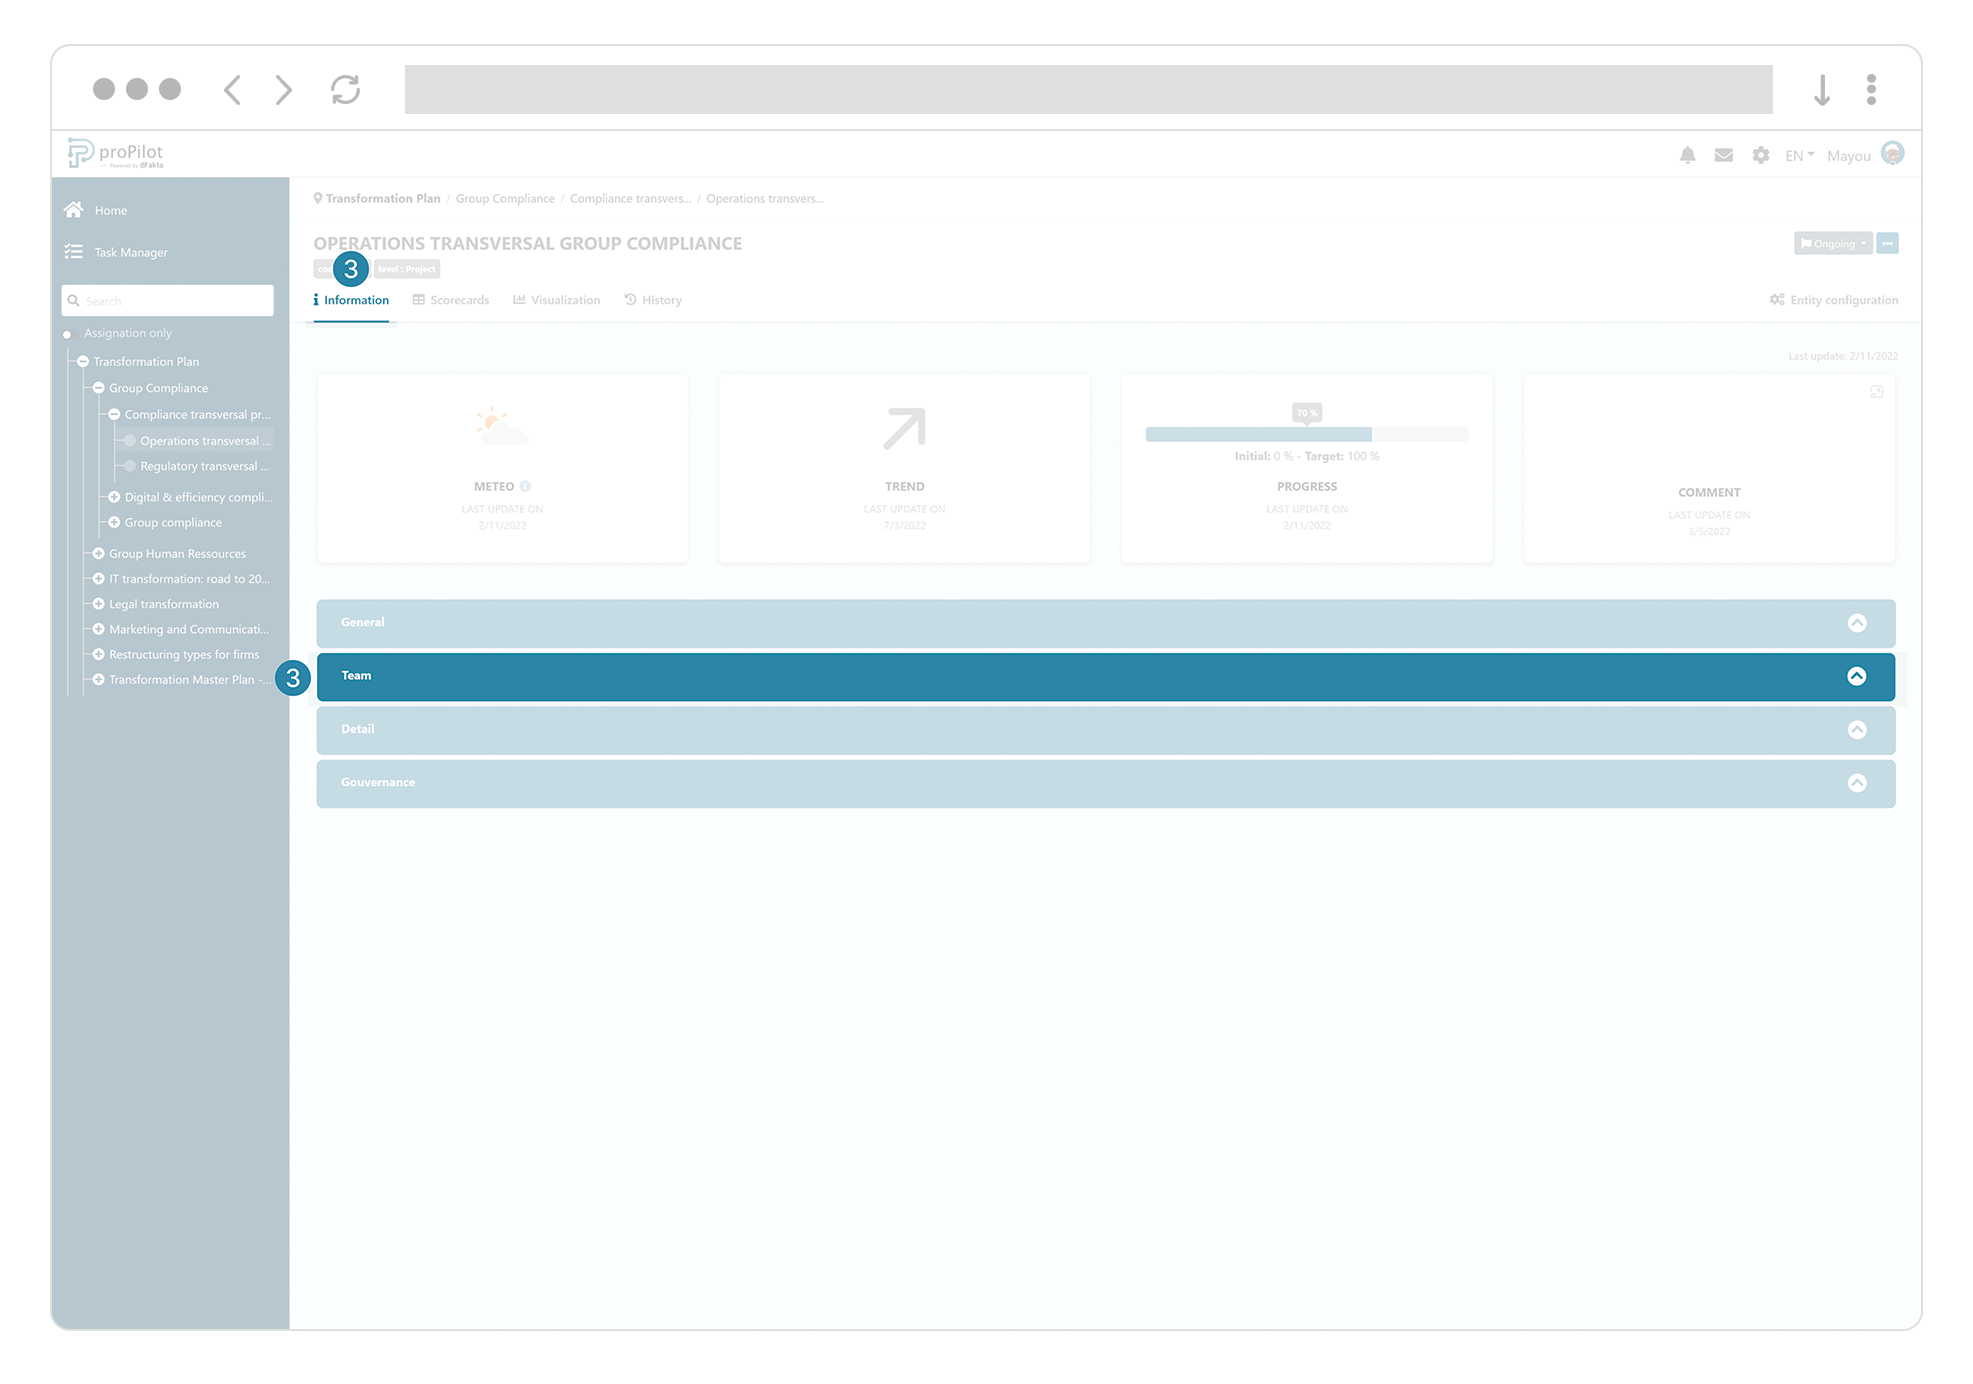
Enter the user's name and confirm.
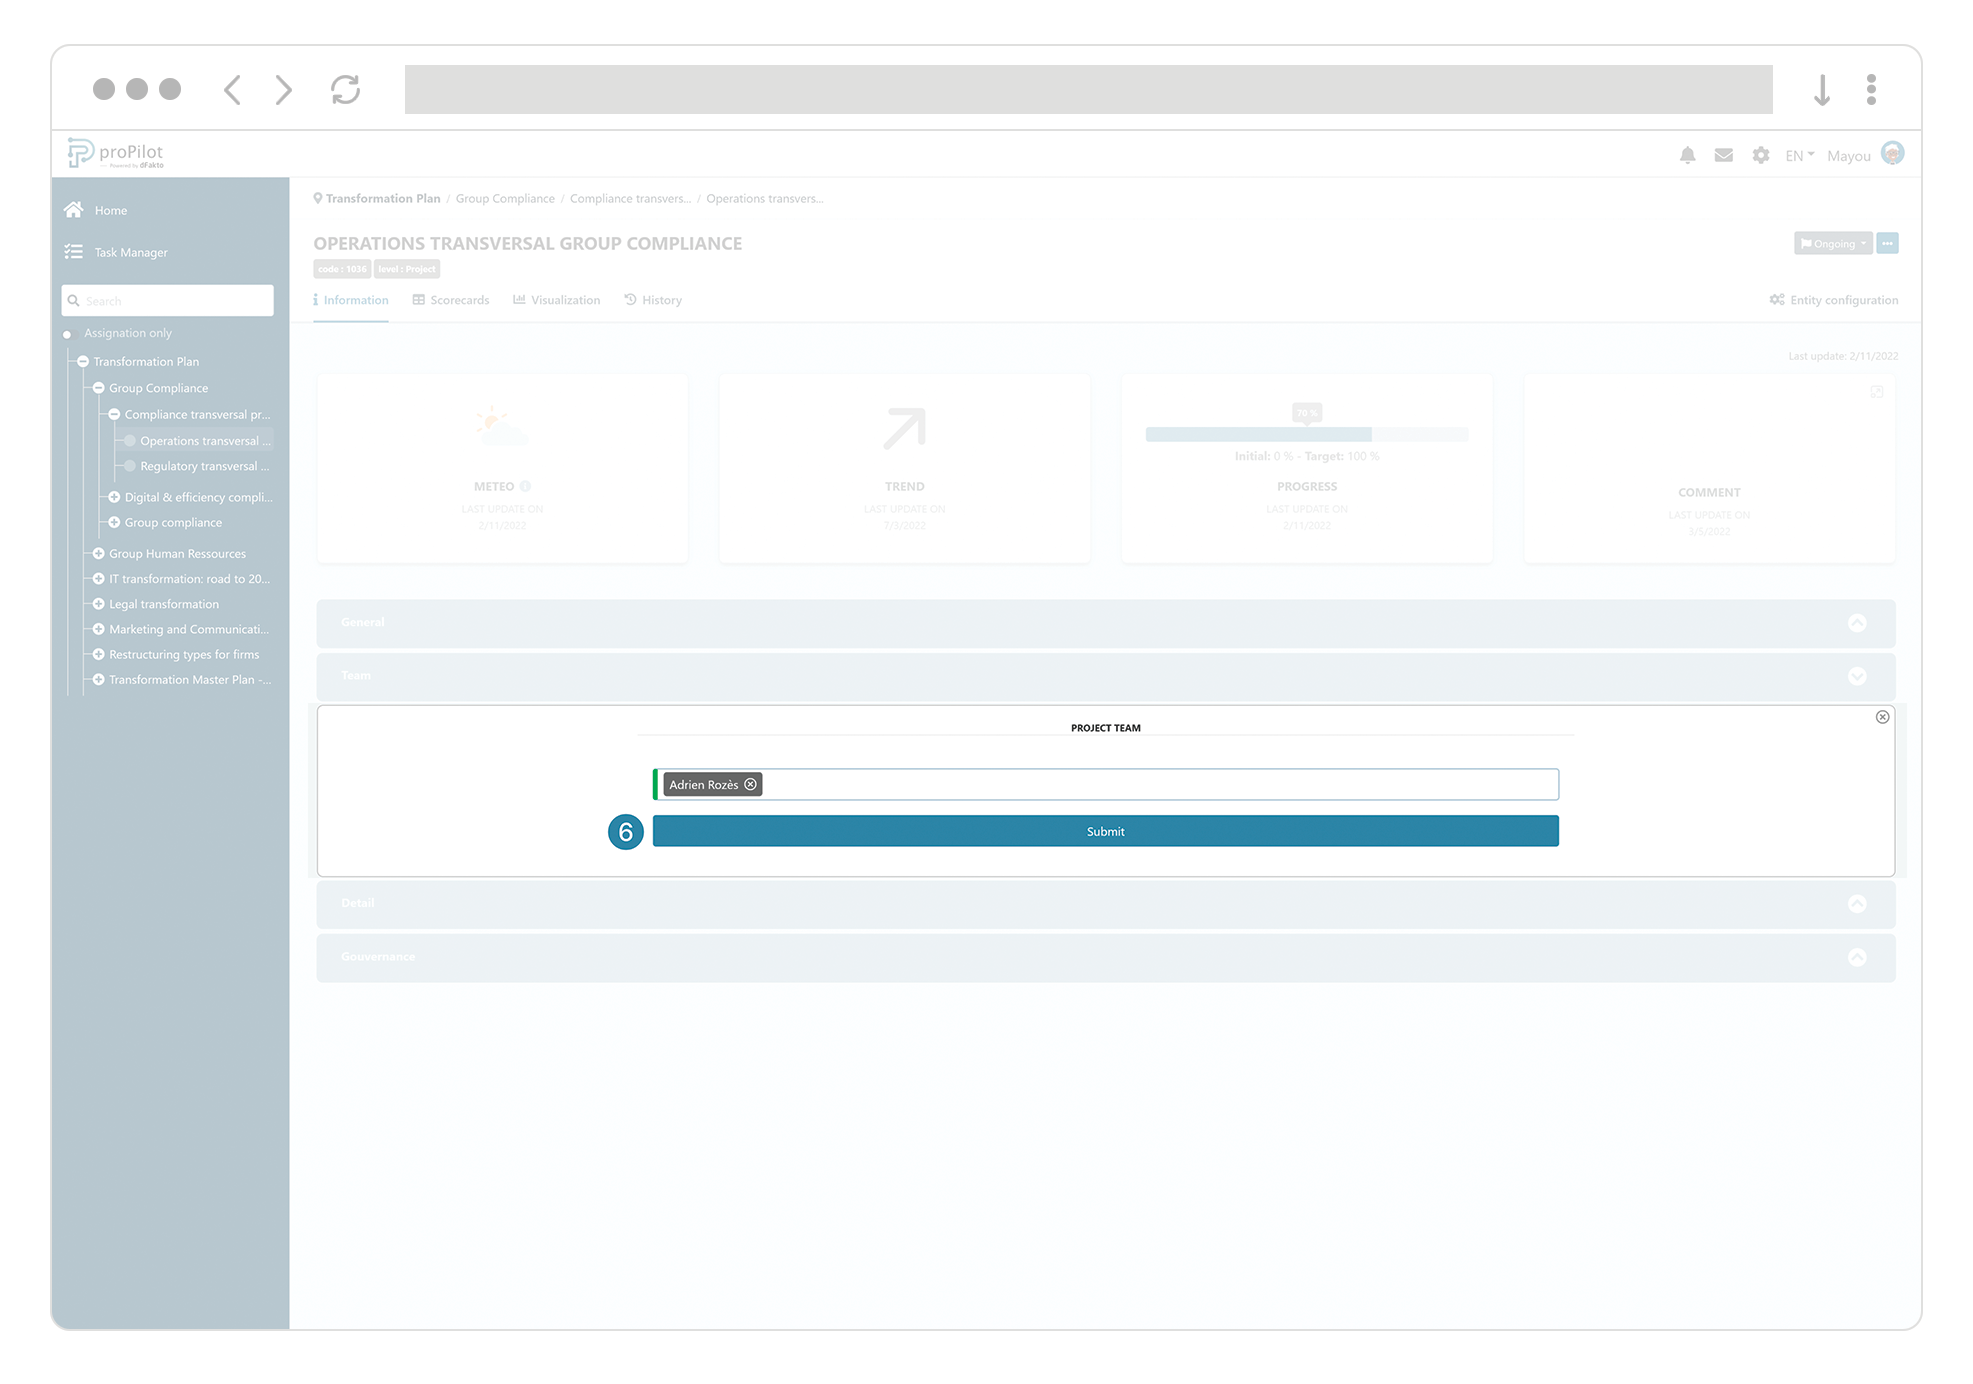
Congratulations, the user has been assigned to their field of responsibility and now has access from this entity, as well as all underlying entities.