
Introduction
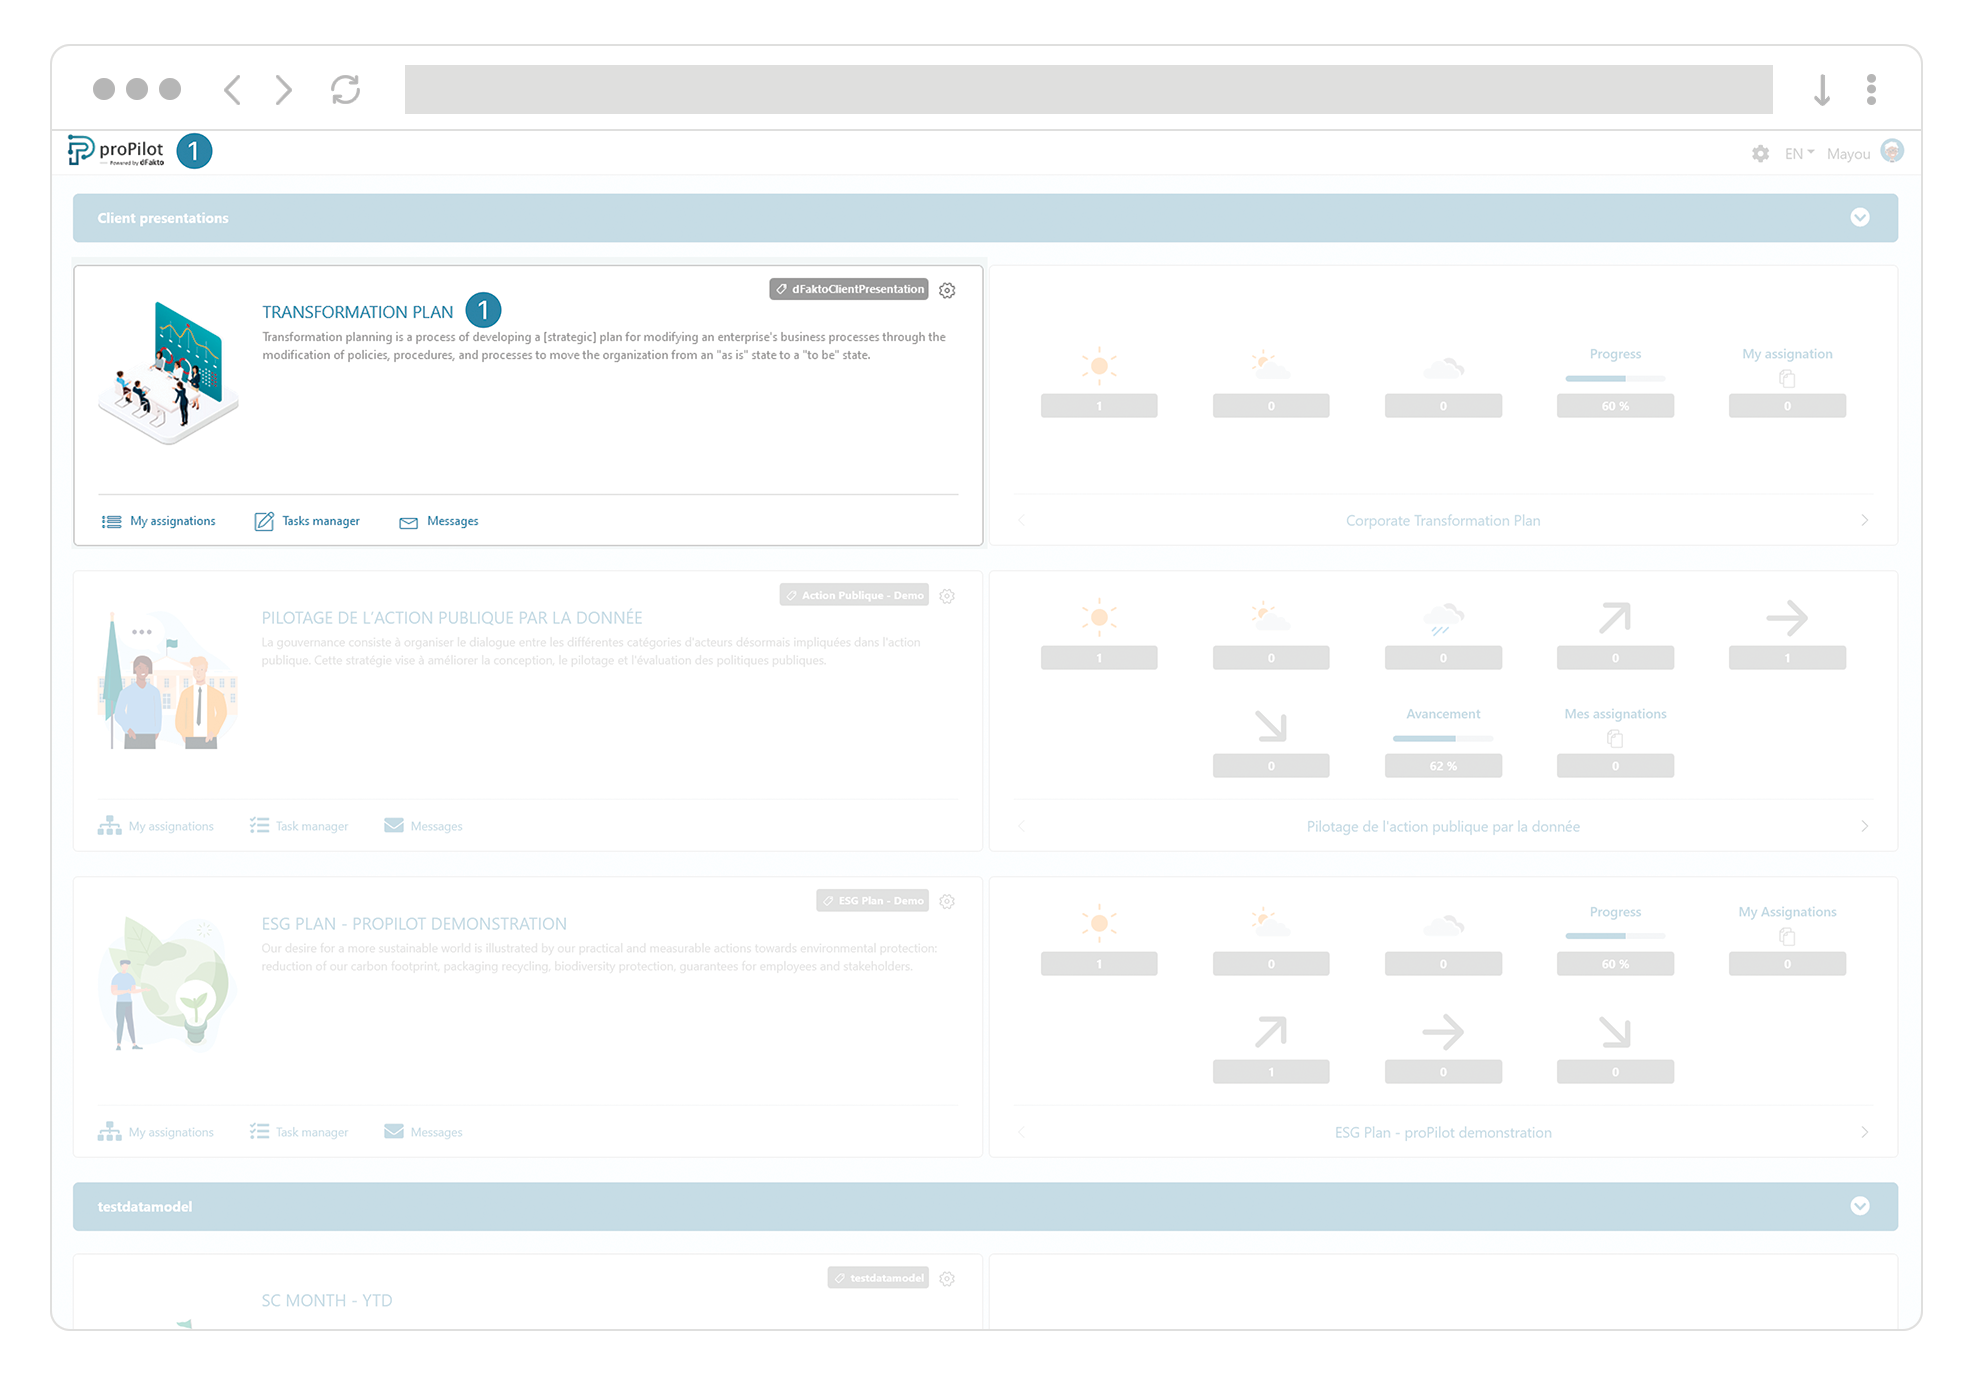
Through the proPilot solution, it is possible to generate and send emails and notifications to users who need to update information or the indicator grid in the tool on selected dates.
The proPilot then sends an email that lists the expected updates for each of the users concerned, and the follow-up during this period is then available directly in the task manager.
It is possible to disable the tracking of updates by configuring certain entity workflow statuses.
Who are the targeted users as part of the update periods?
Select the users responsible for the update
-
Navigate to the Admin area. In the left-hand menu "workspace configuration", select the tab "information".
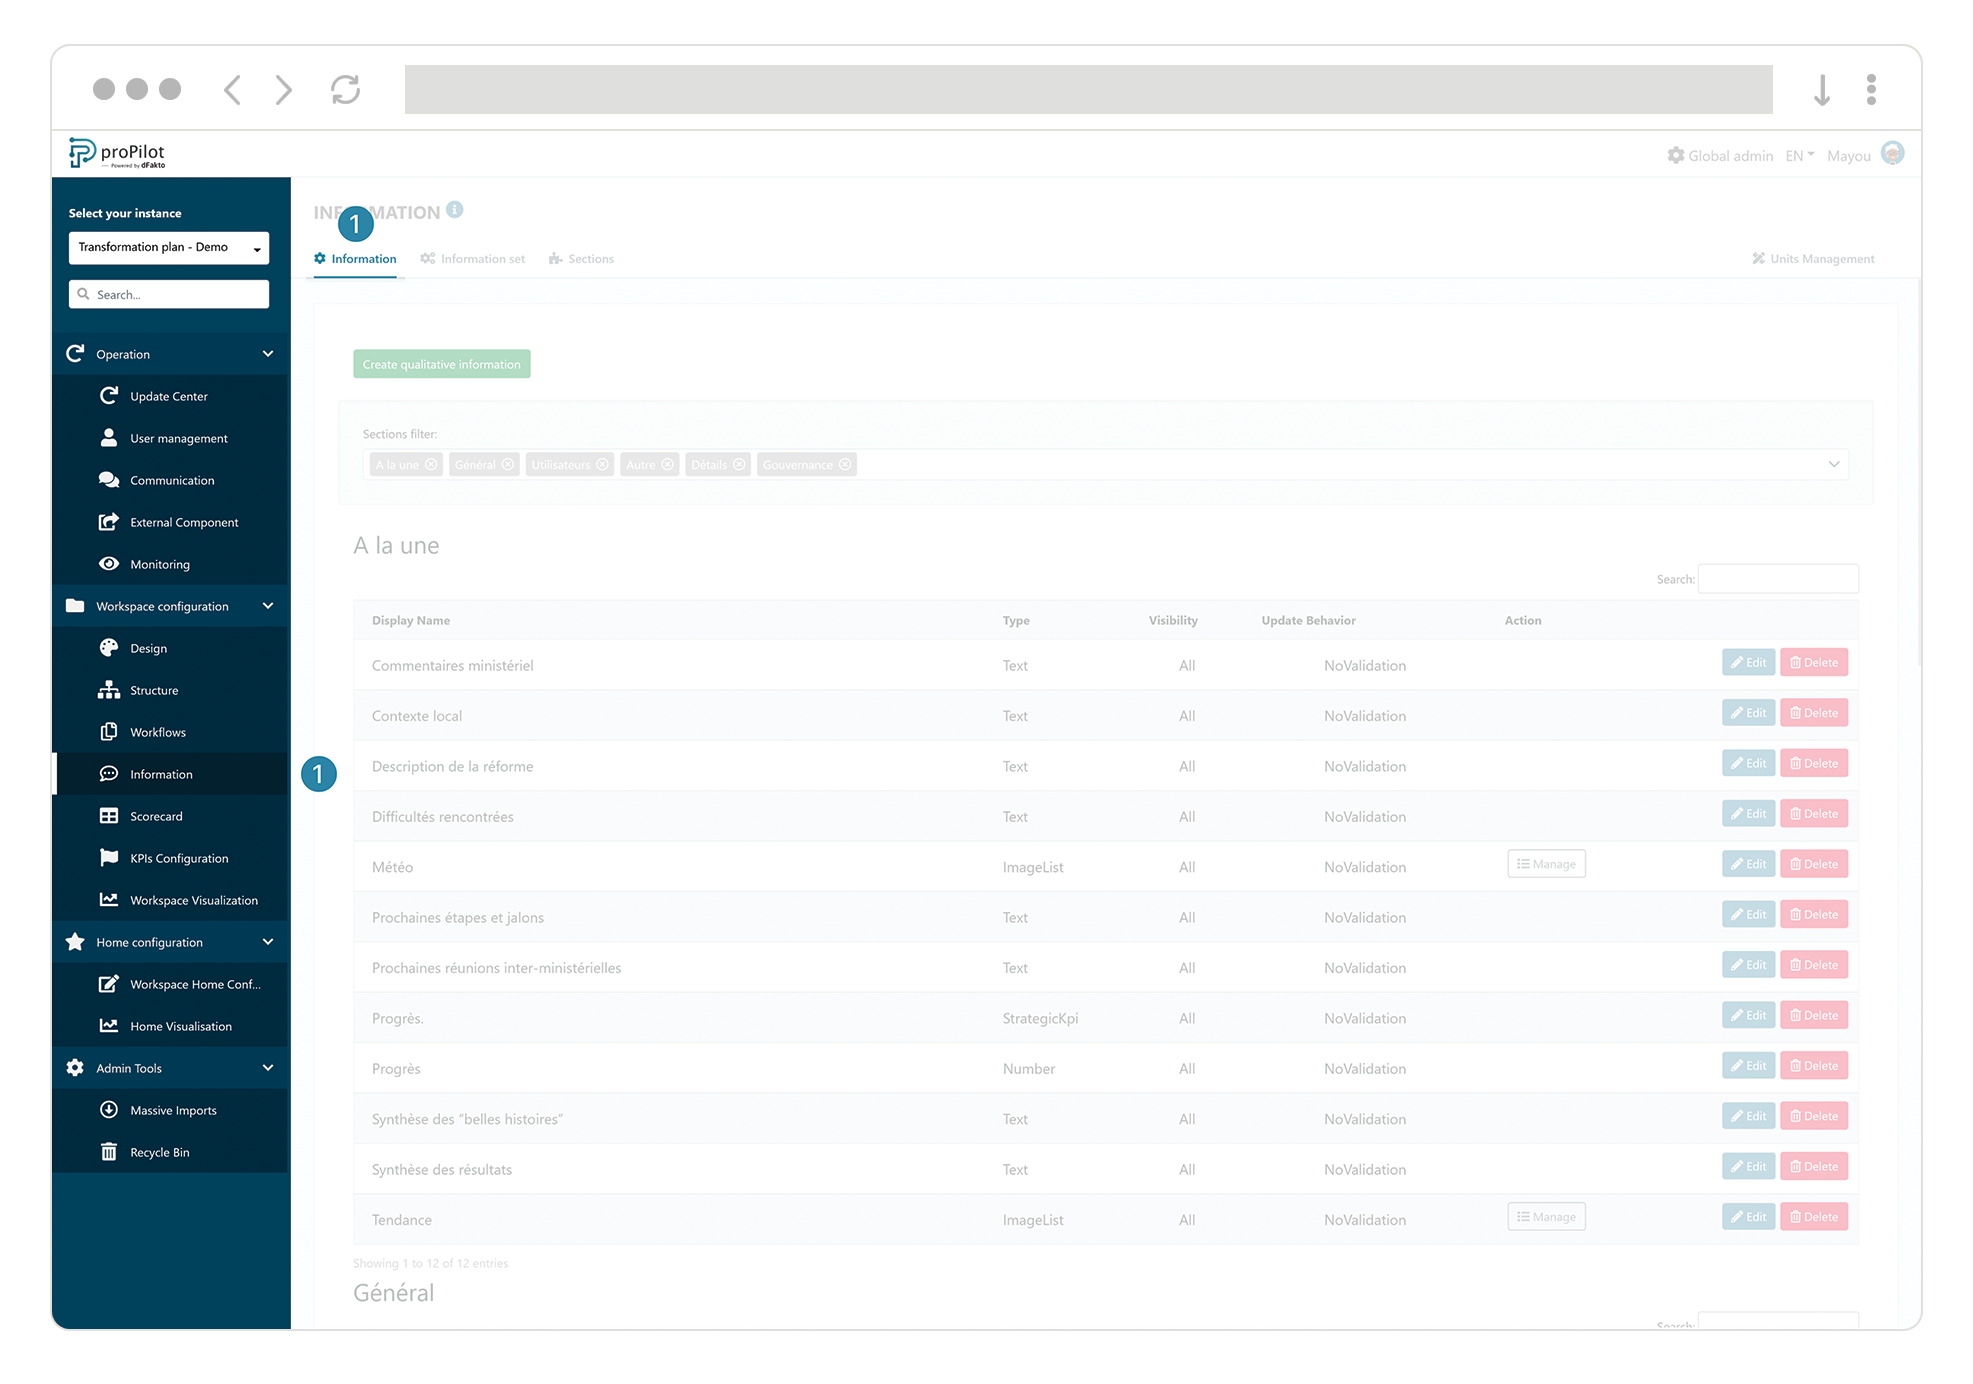
-
Enter the configuration of the "user" or "group" information concerned by the update requests.
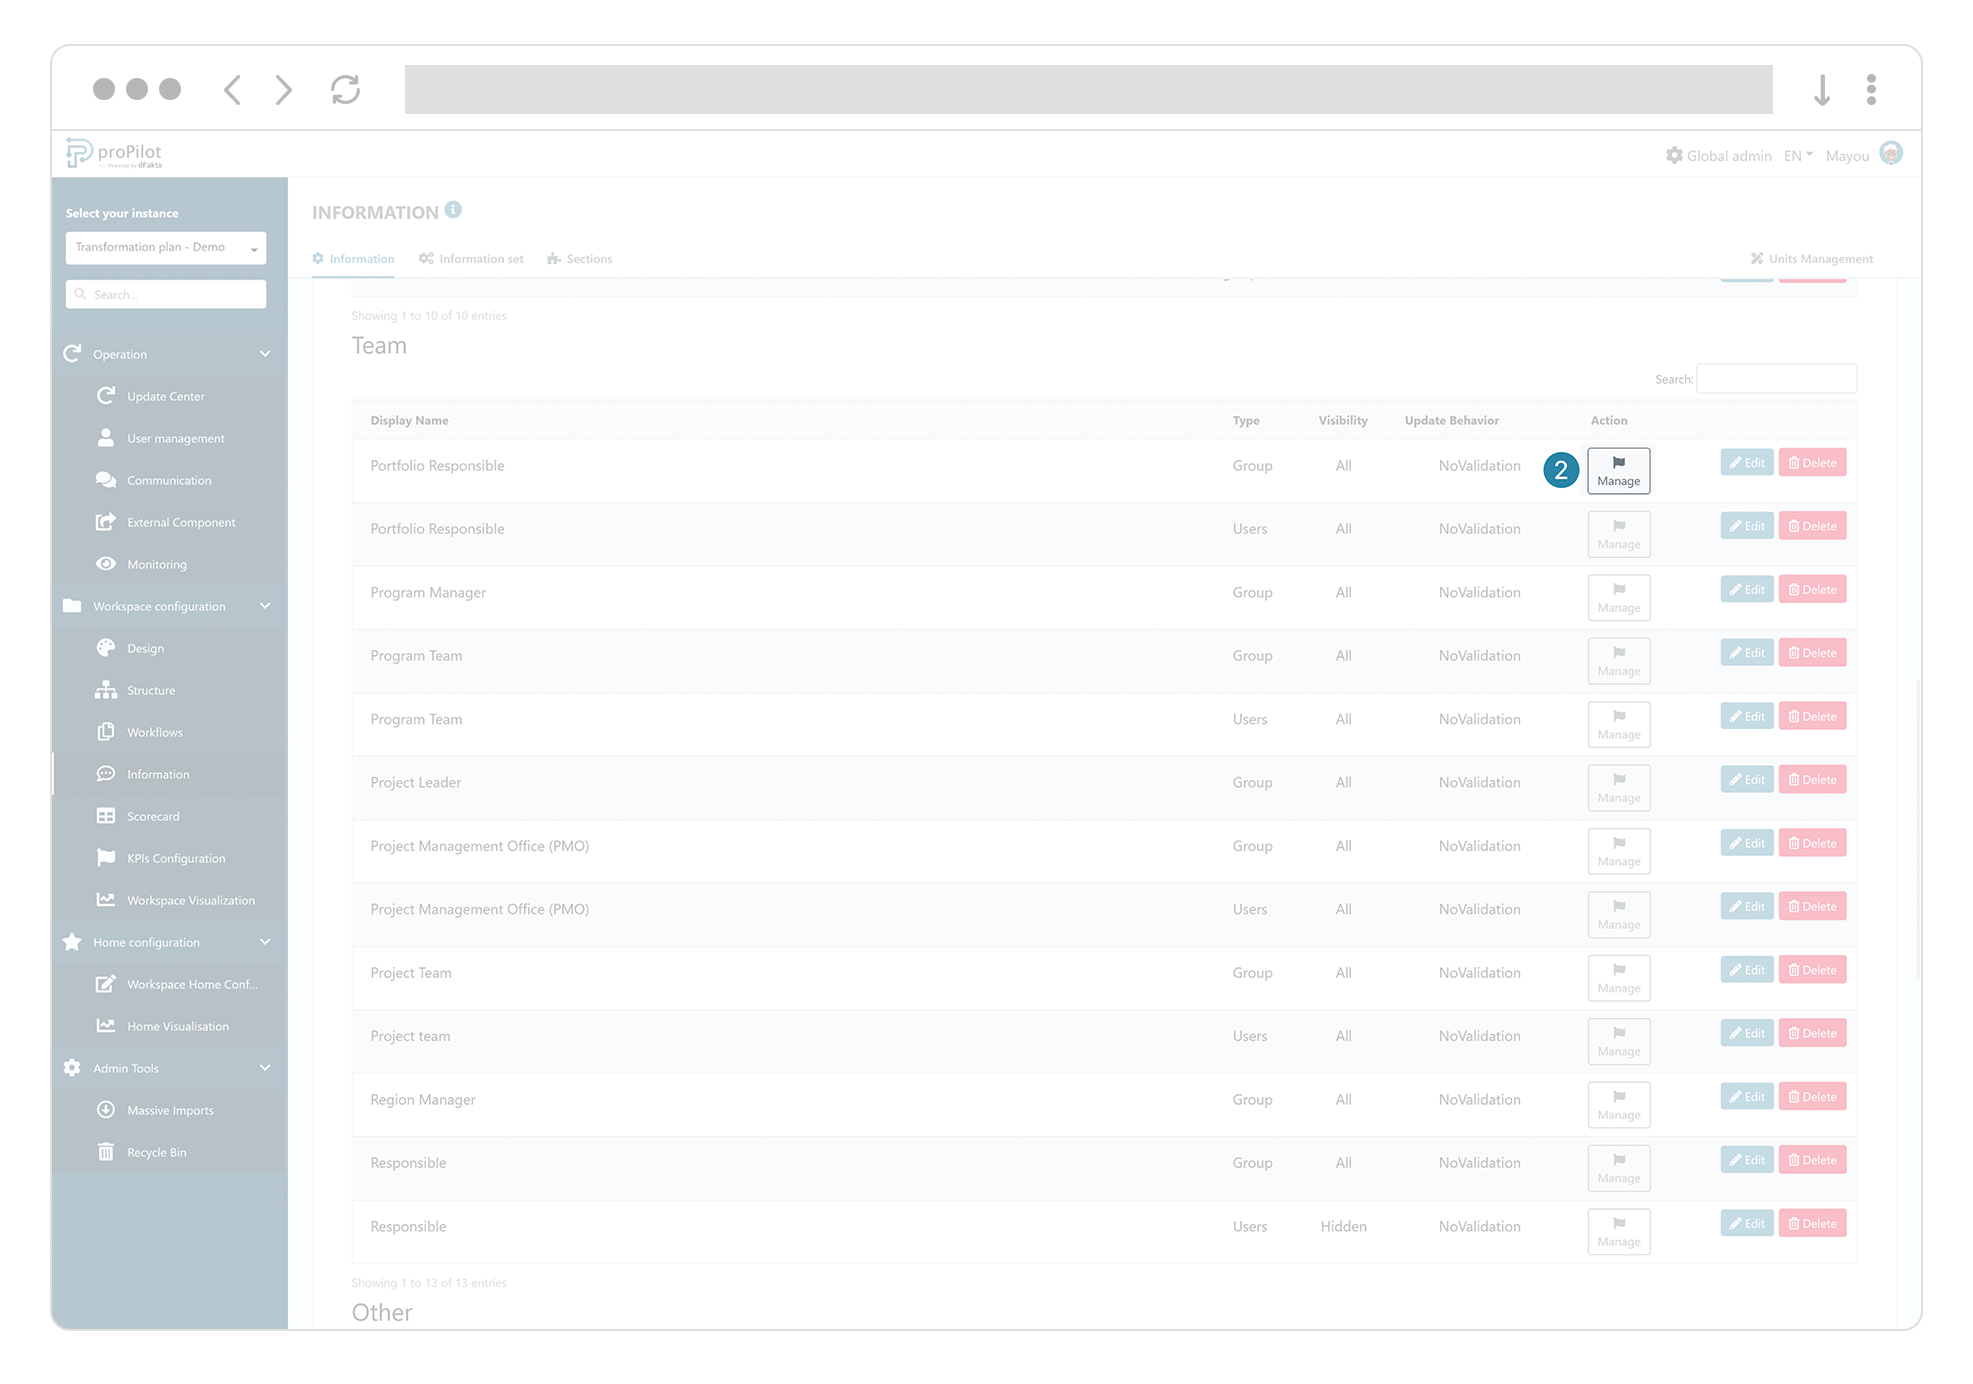
-
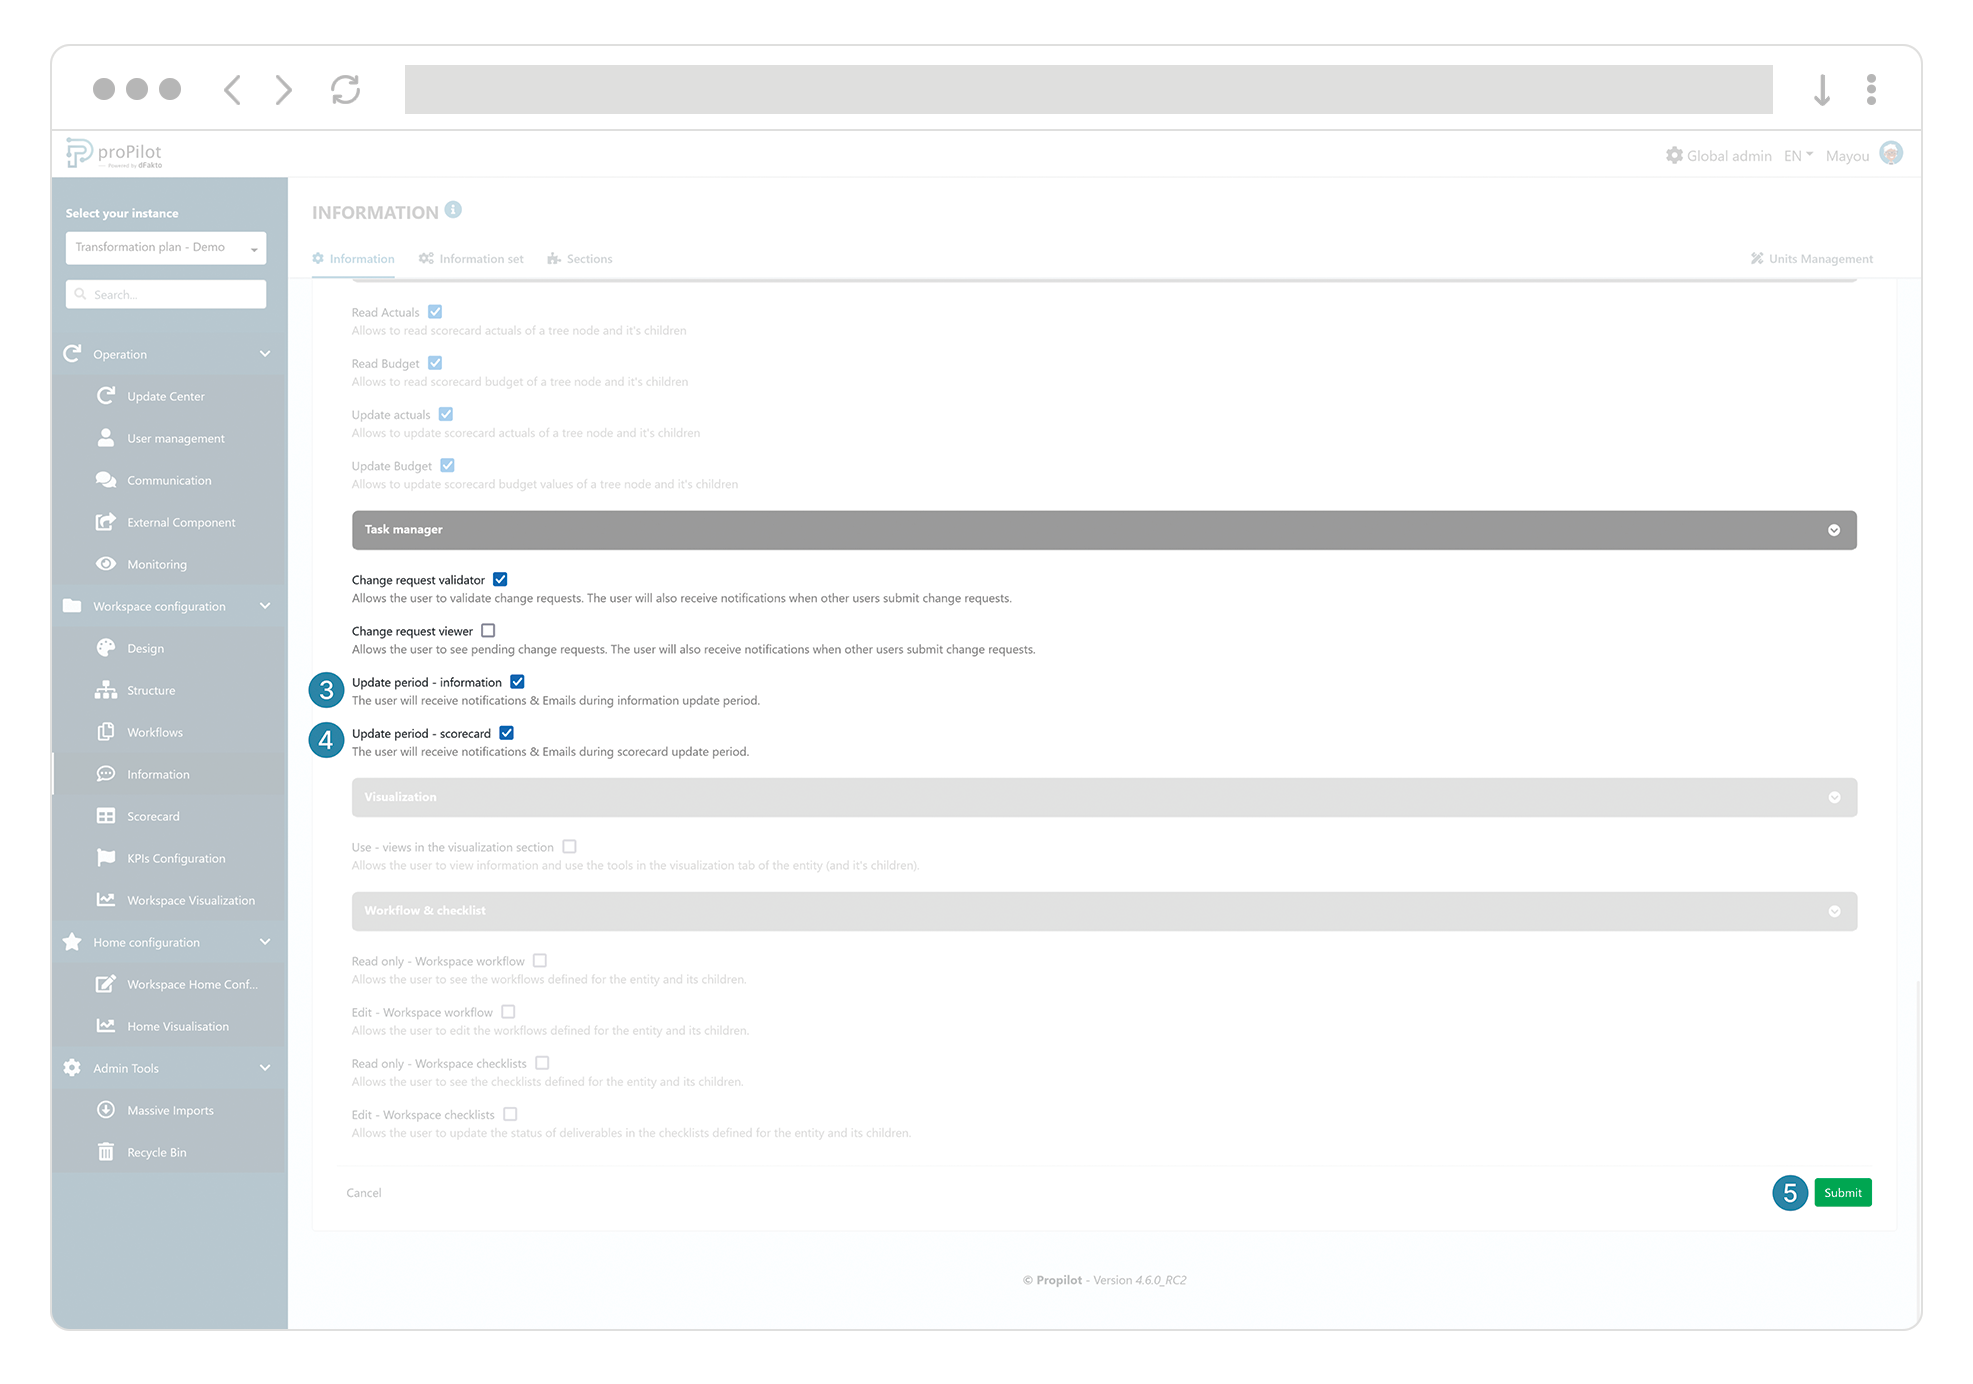
In order to activate the update request of the "Scorecard" module for the update periods, activate the option "Update period - Scorecard".
-
To activate the update request of the "Information" module for the update periods, activate the "Update period - information" option.
-
Save.
How to preconfigure emails aimed for the update responsibles?
proPilot needs a set of pre-configured emails to send to the people in charge of updating the data. This section details the necessary configuration in two steps.
Preconfigure email templates
-
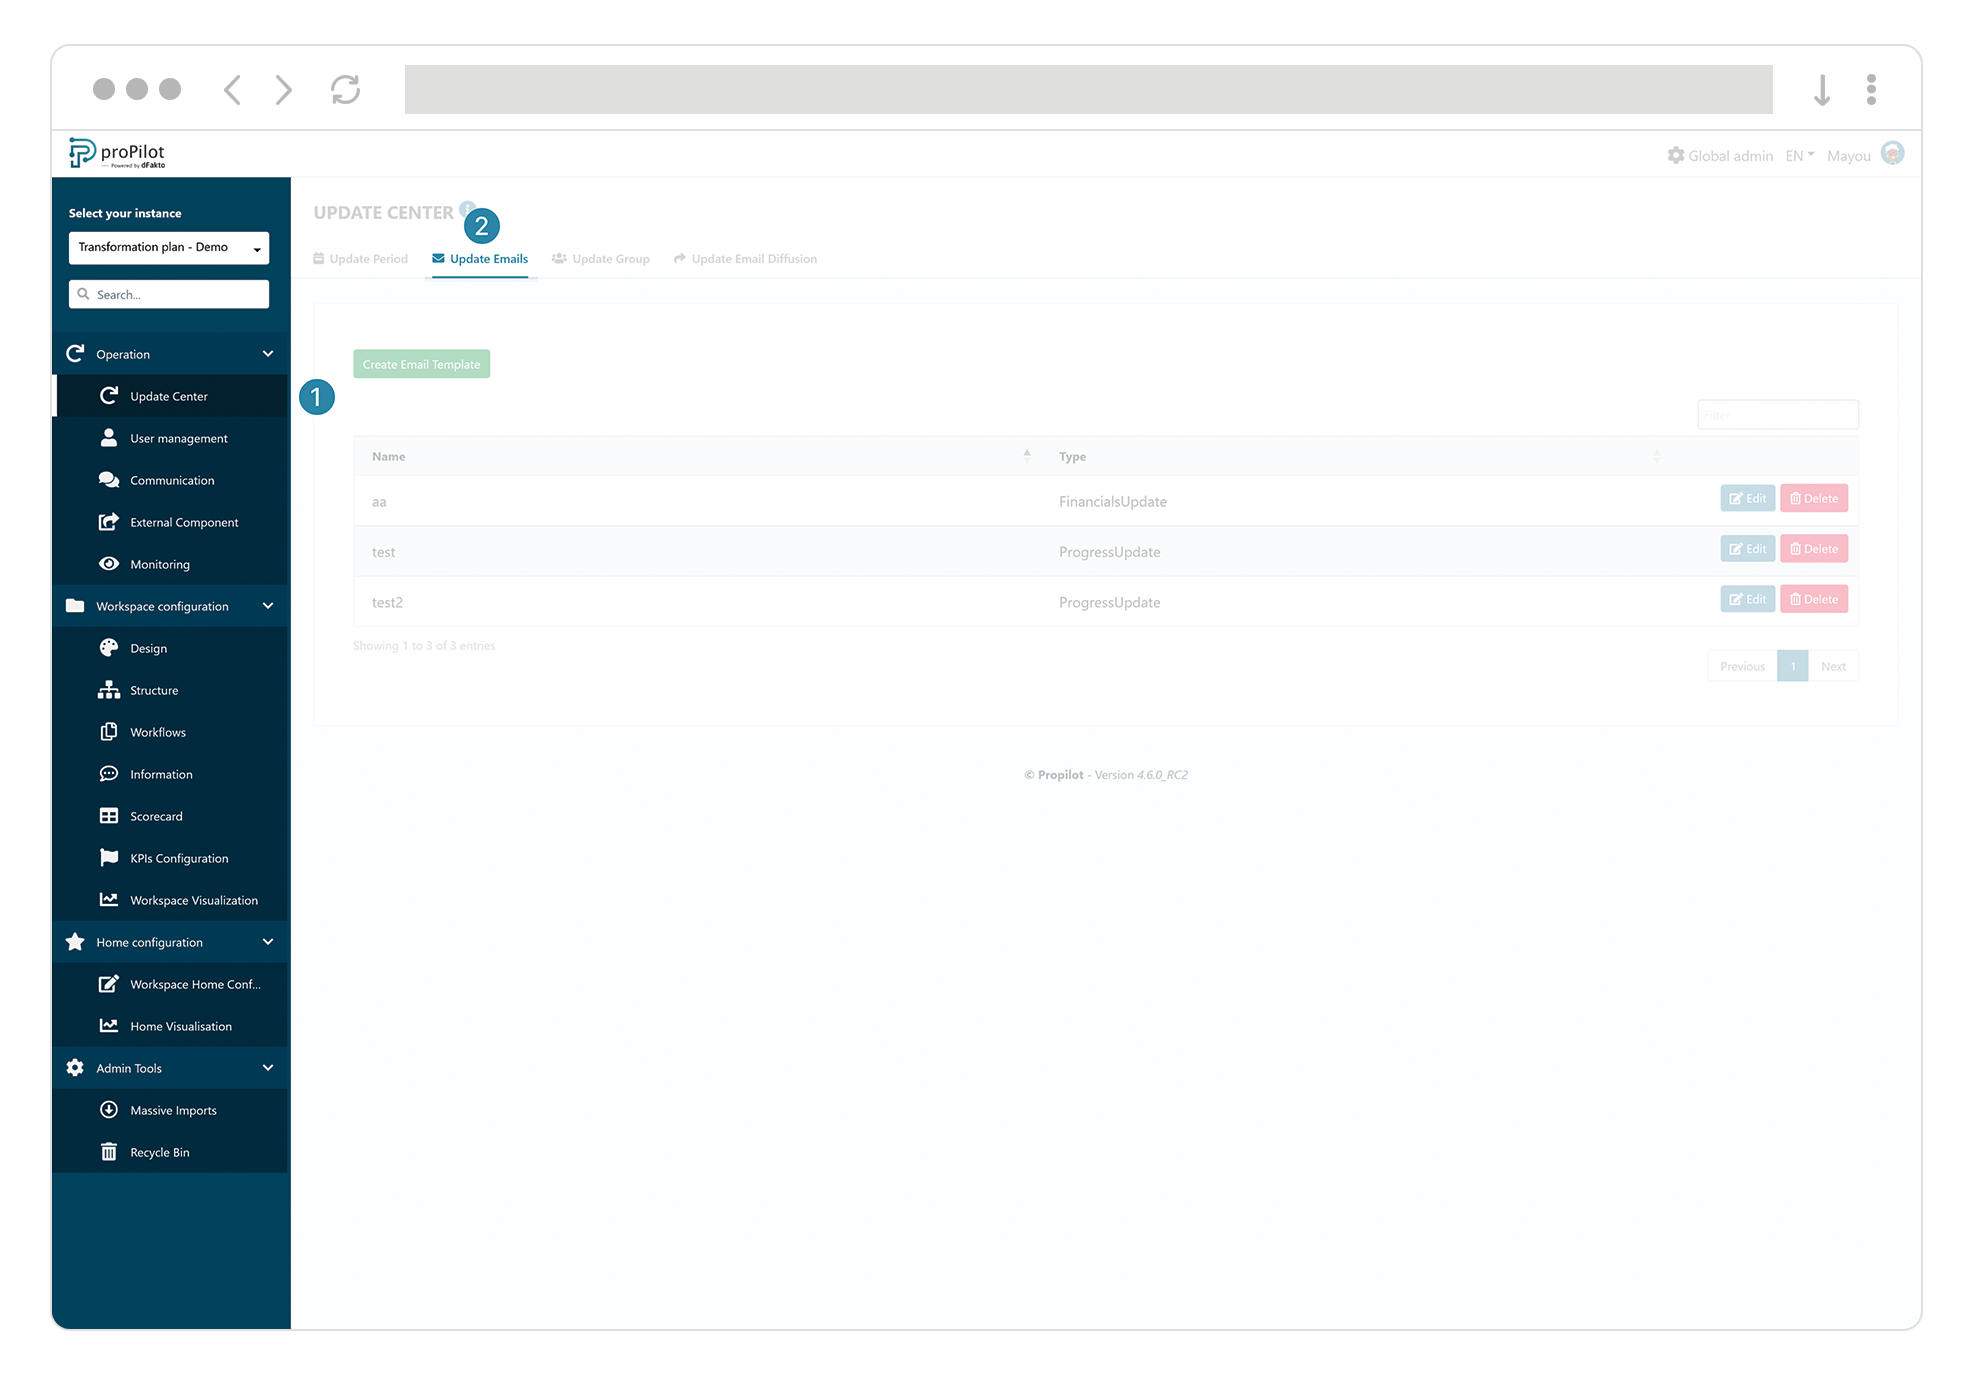
Navigate to the Admin area. In the left-hand menu "operation", select the "update emails" tab. You may create and manage templates of "Scorecard update" and "Information update" type , intended for the Scorecard and Information emails respectively.
Preconfigure a group of email templates
-
Navigate to the Admin area. In the left-hand menu "operation", select the "update group" tab. The "Information" and "Scorecard" types are intended for qualitative and quantitative information emails respectively, so the propilot will know exactly which emails to send depending on whether it is in an open, closing or reminder period.

How to request the update of quantitative and qualitative information as part of the update periods ?
Integrate the tracking of scorecard module updates
-
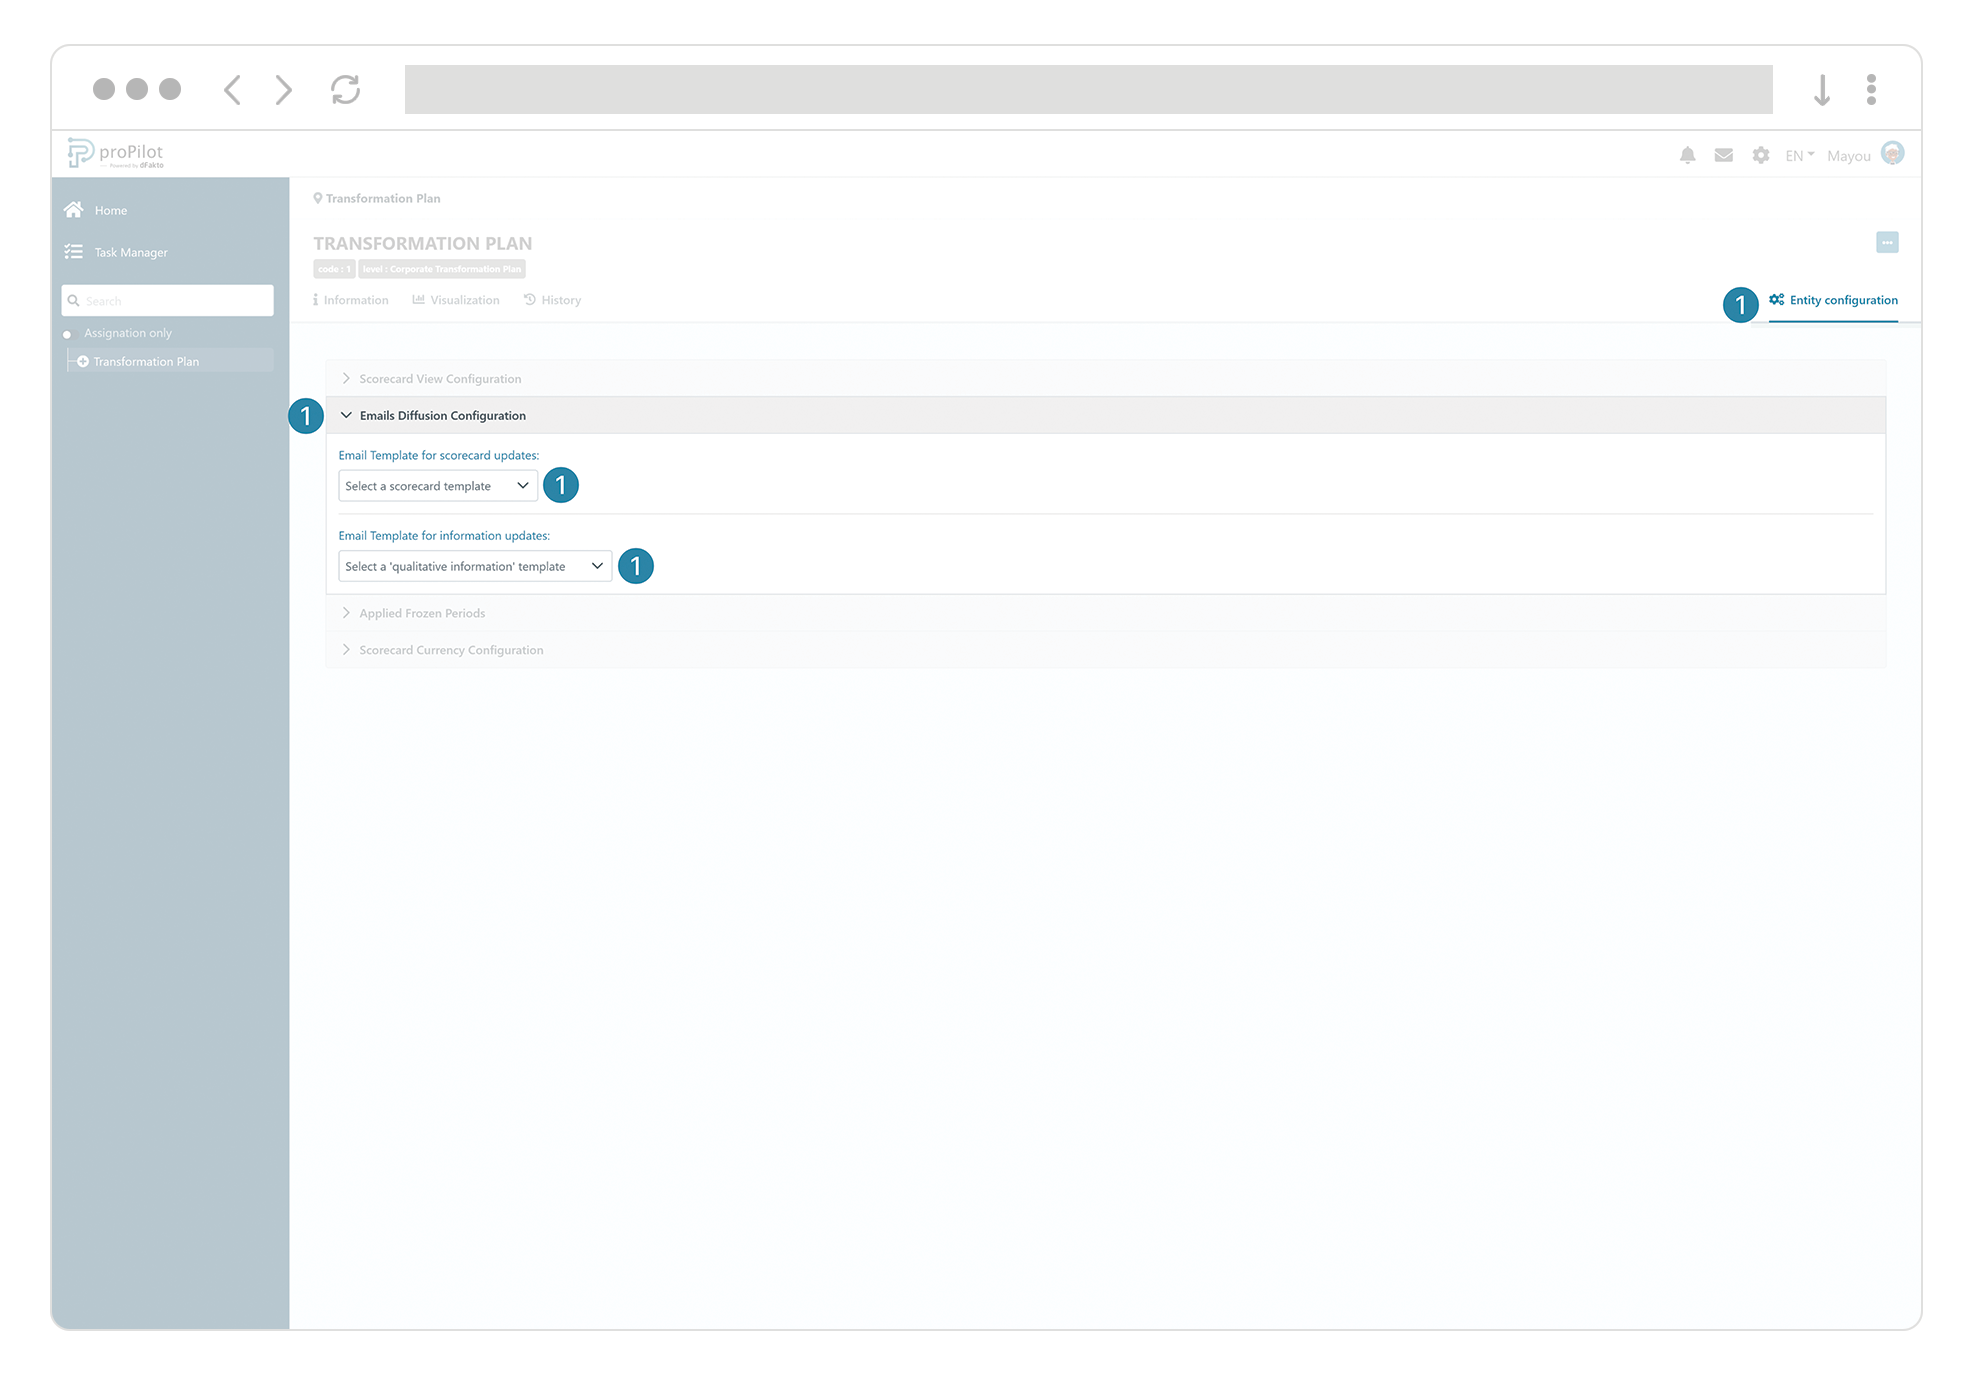
To do this, activate an email group at the "parent" entity level of those for which you want to track updates. Navigate to the parent entity, go to "entity configuration" and open the "email diffusion" section.
Then select the "Email template for indicator updates" from those available, prepared beforehand.
-
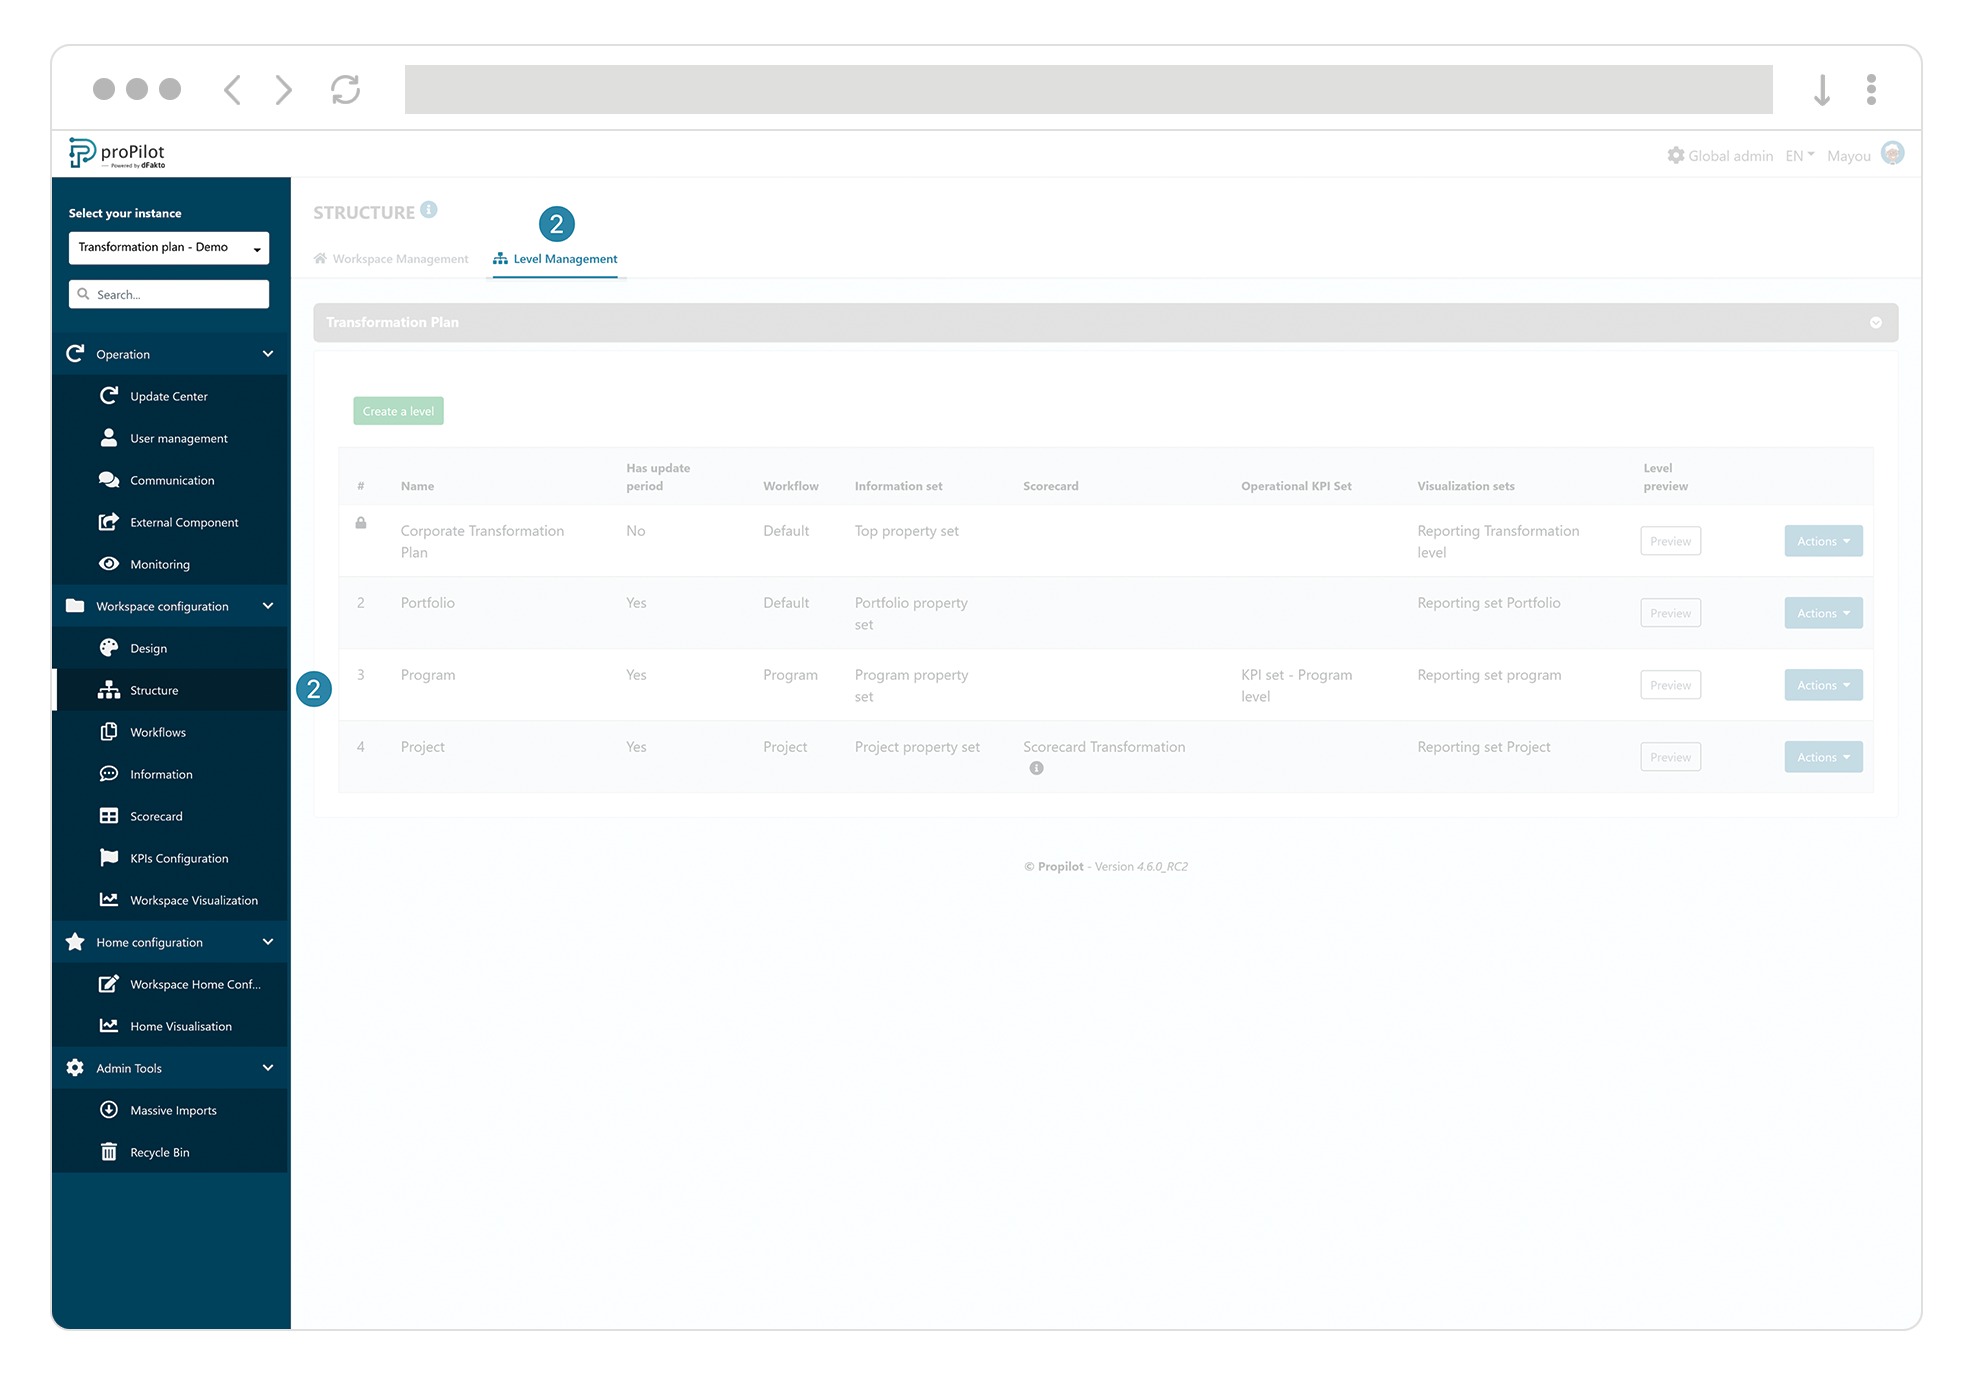
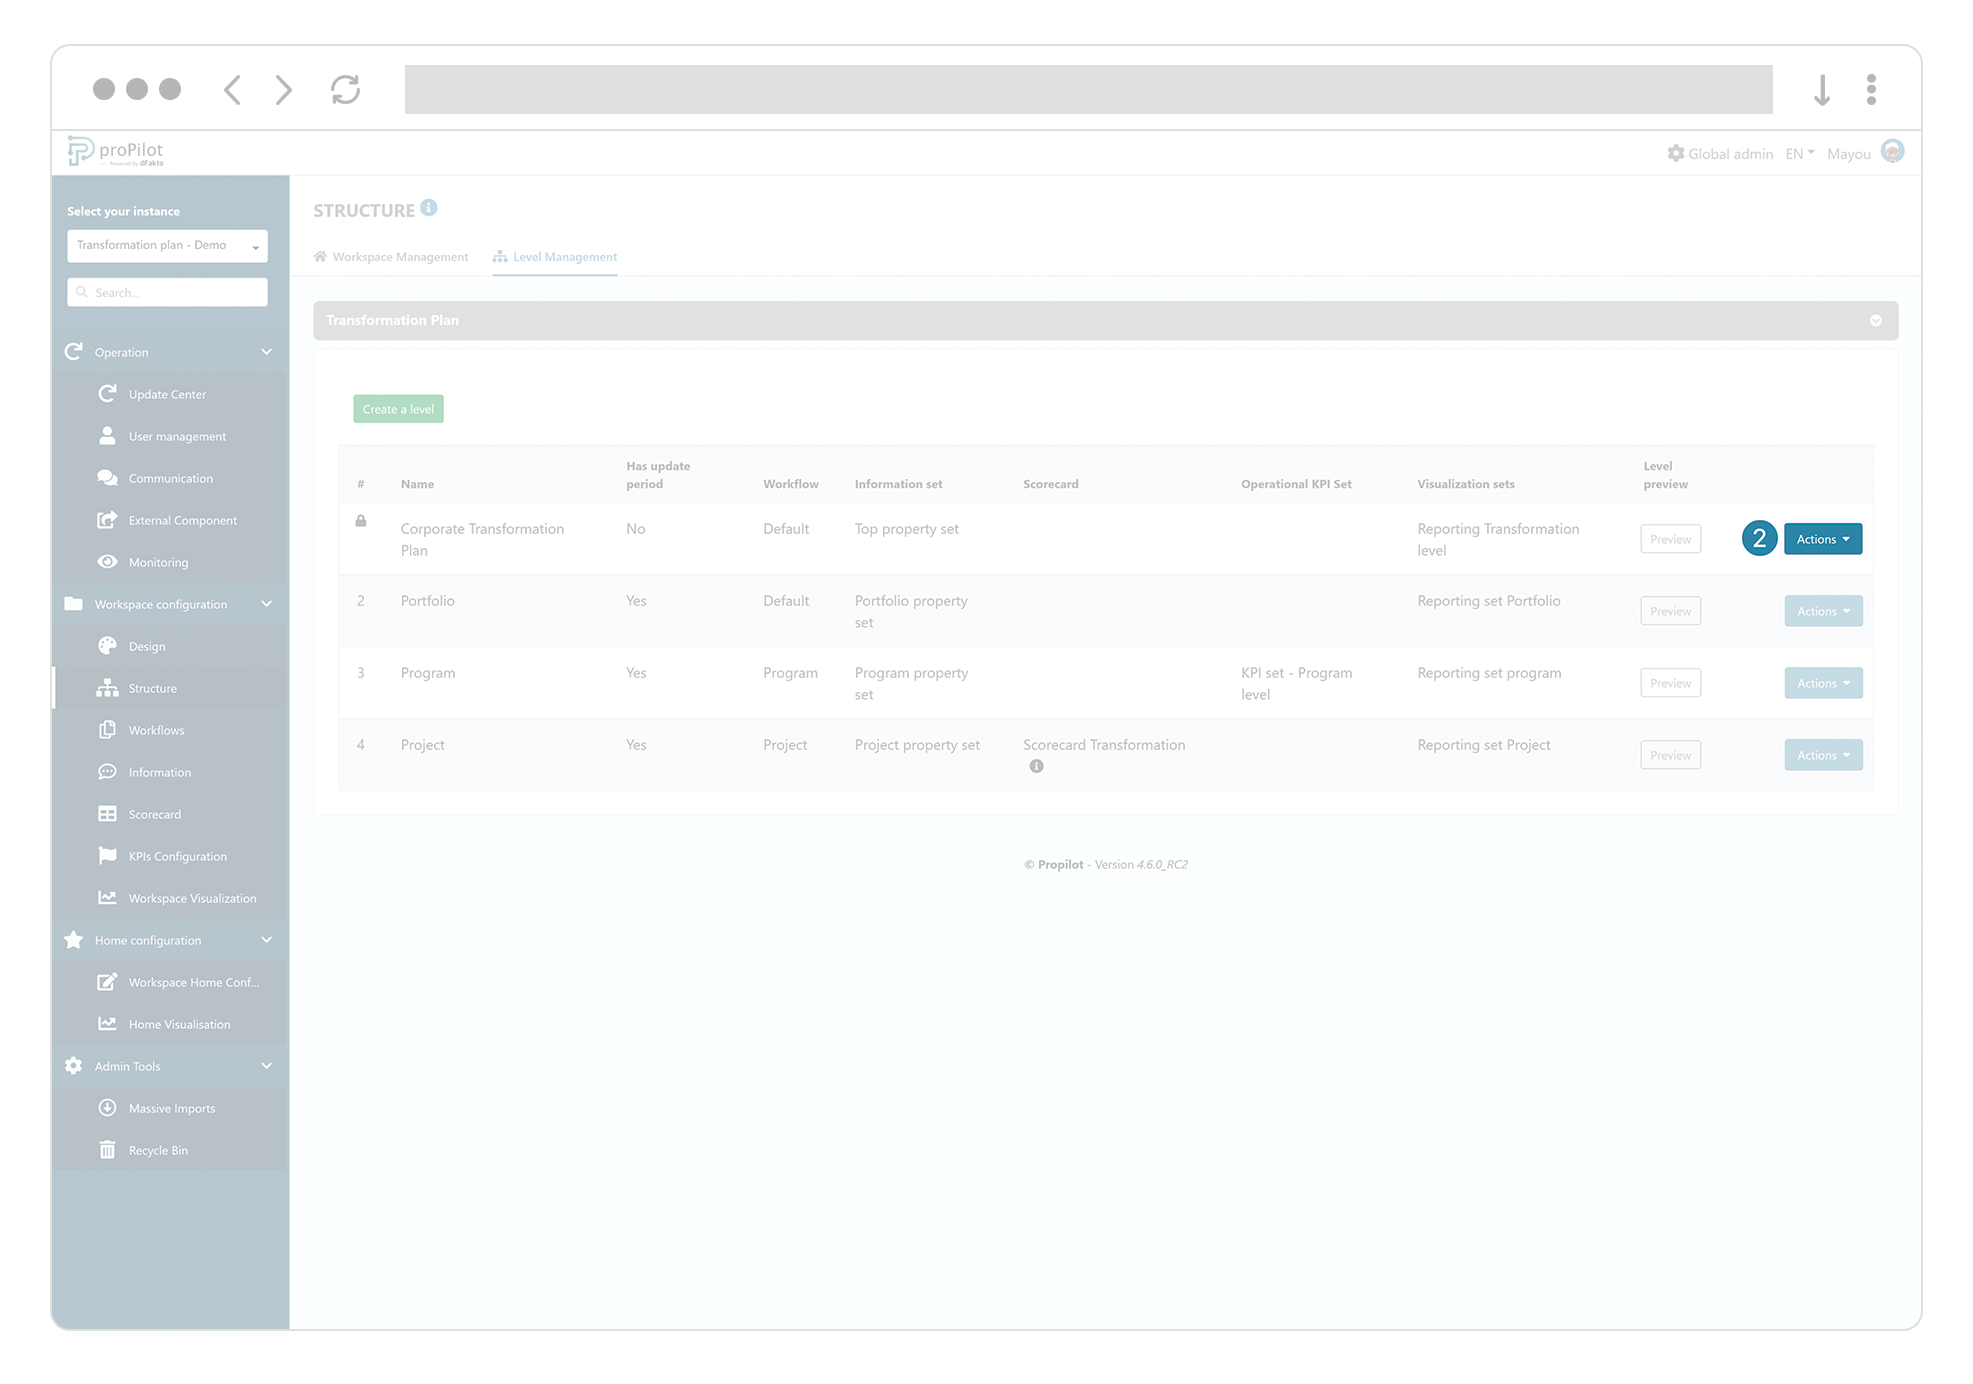
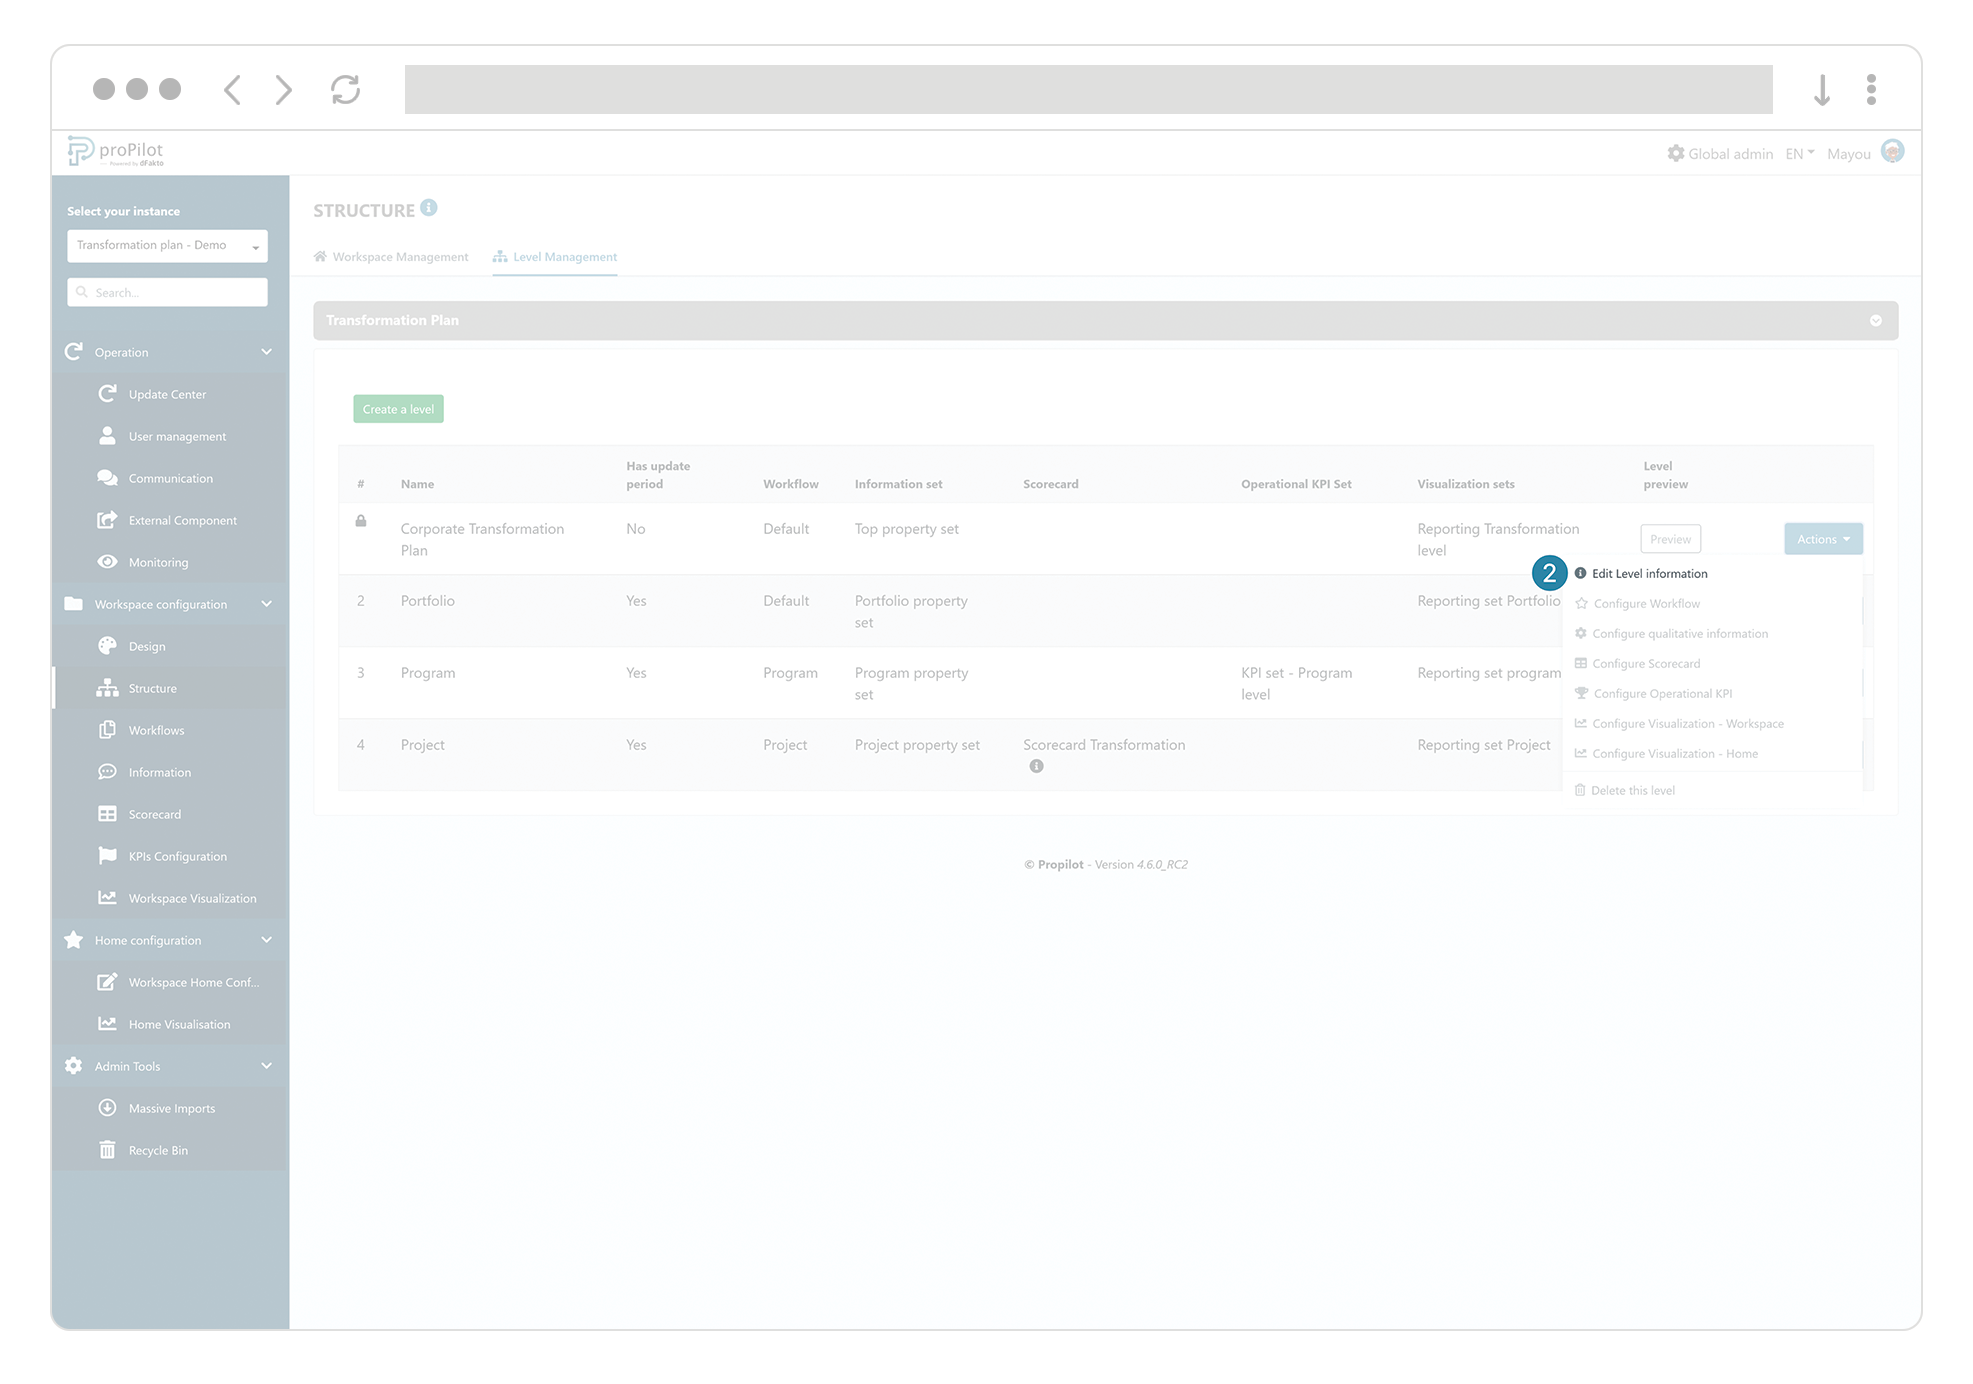
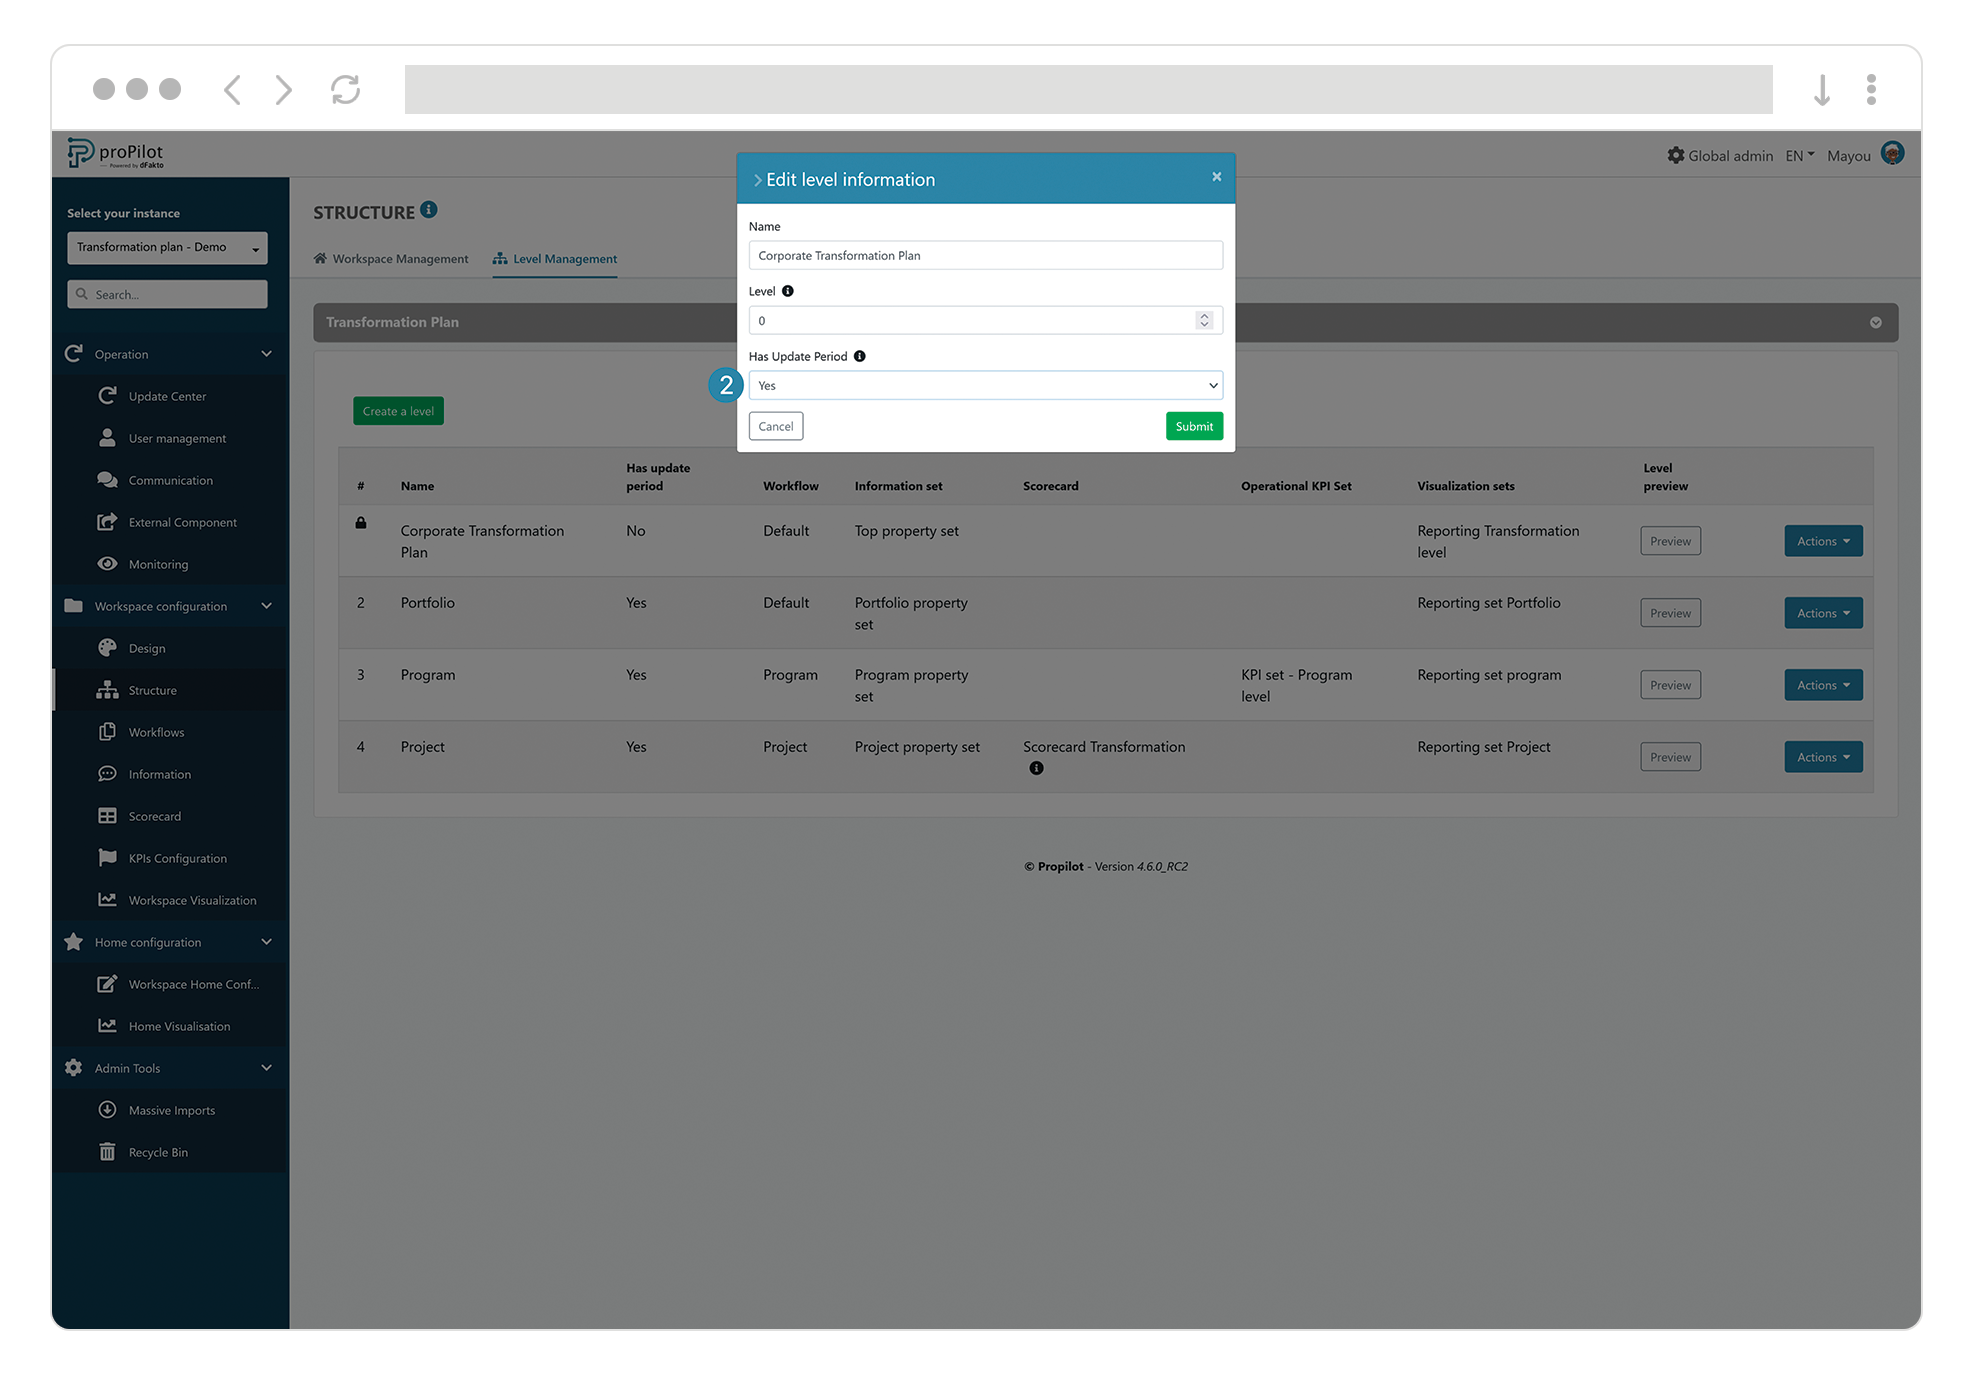
Next, enable the tracking of update periods for the desired level. As a local admin, navigate to the "workspace configuration" and select "Structure management". Then click on "Level management" and enable the tracking of update periods in the "level Information” configuration part of the concerned level(s).
Integrate the follow-up of the updates of the information module
To do this, activate a group of emails at the level of the "parent" entity of those for which you want to track updates. Navigate to the parent entity, go to "entity configuration" and open the "email diffusion" section.
Then select the "Email template for information updates" from those available, prepared beforehand.
Generate and send emails as part of the update period?
Once the update periods have been configured, all that remains is to generate the emails on the desired dates. To do this, simply enter the dates in proPilot.
Define an update period and schedule the sending of a first/second/third email
-
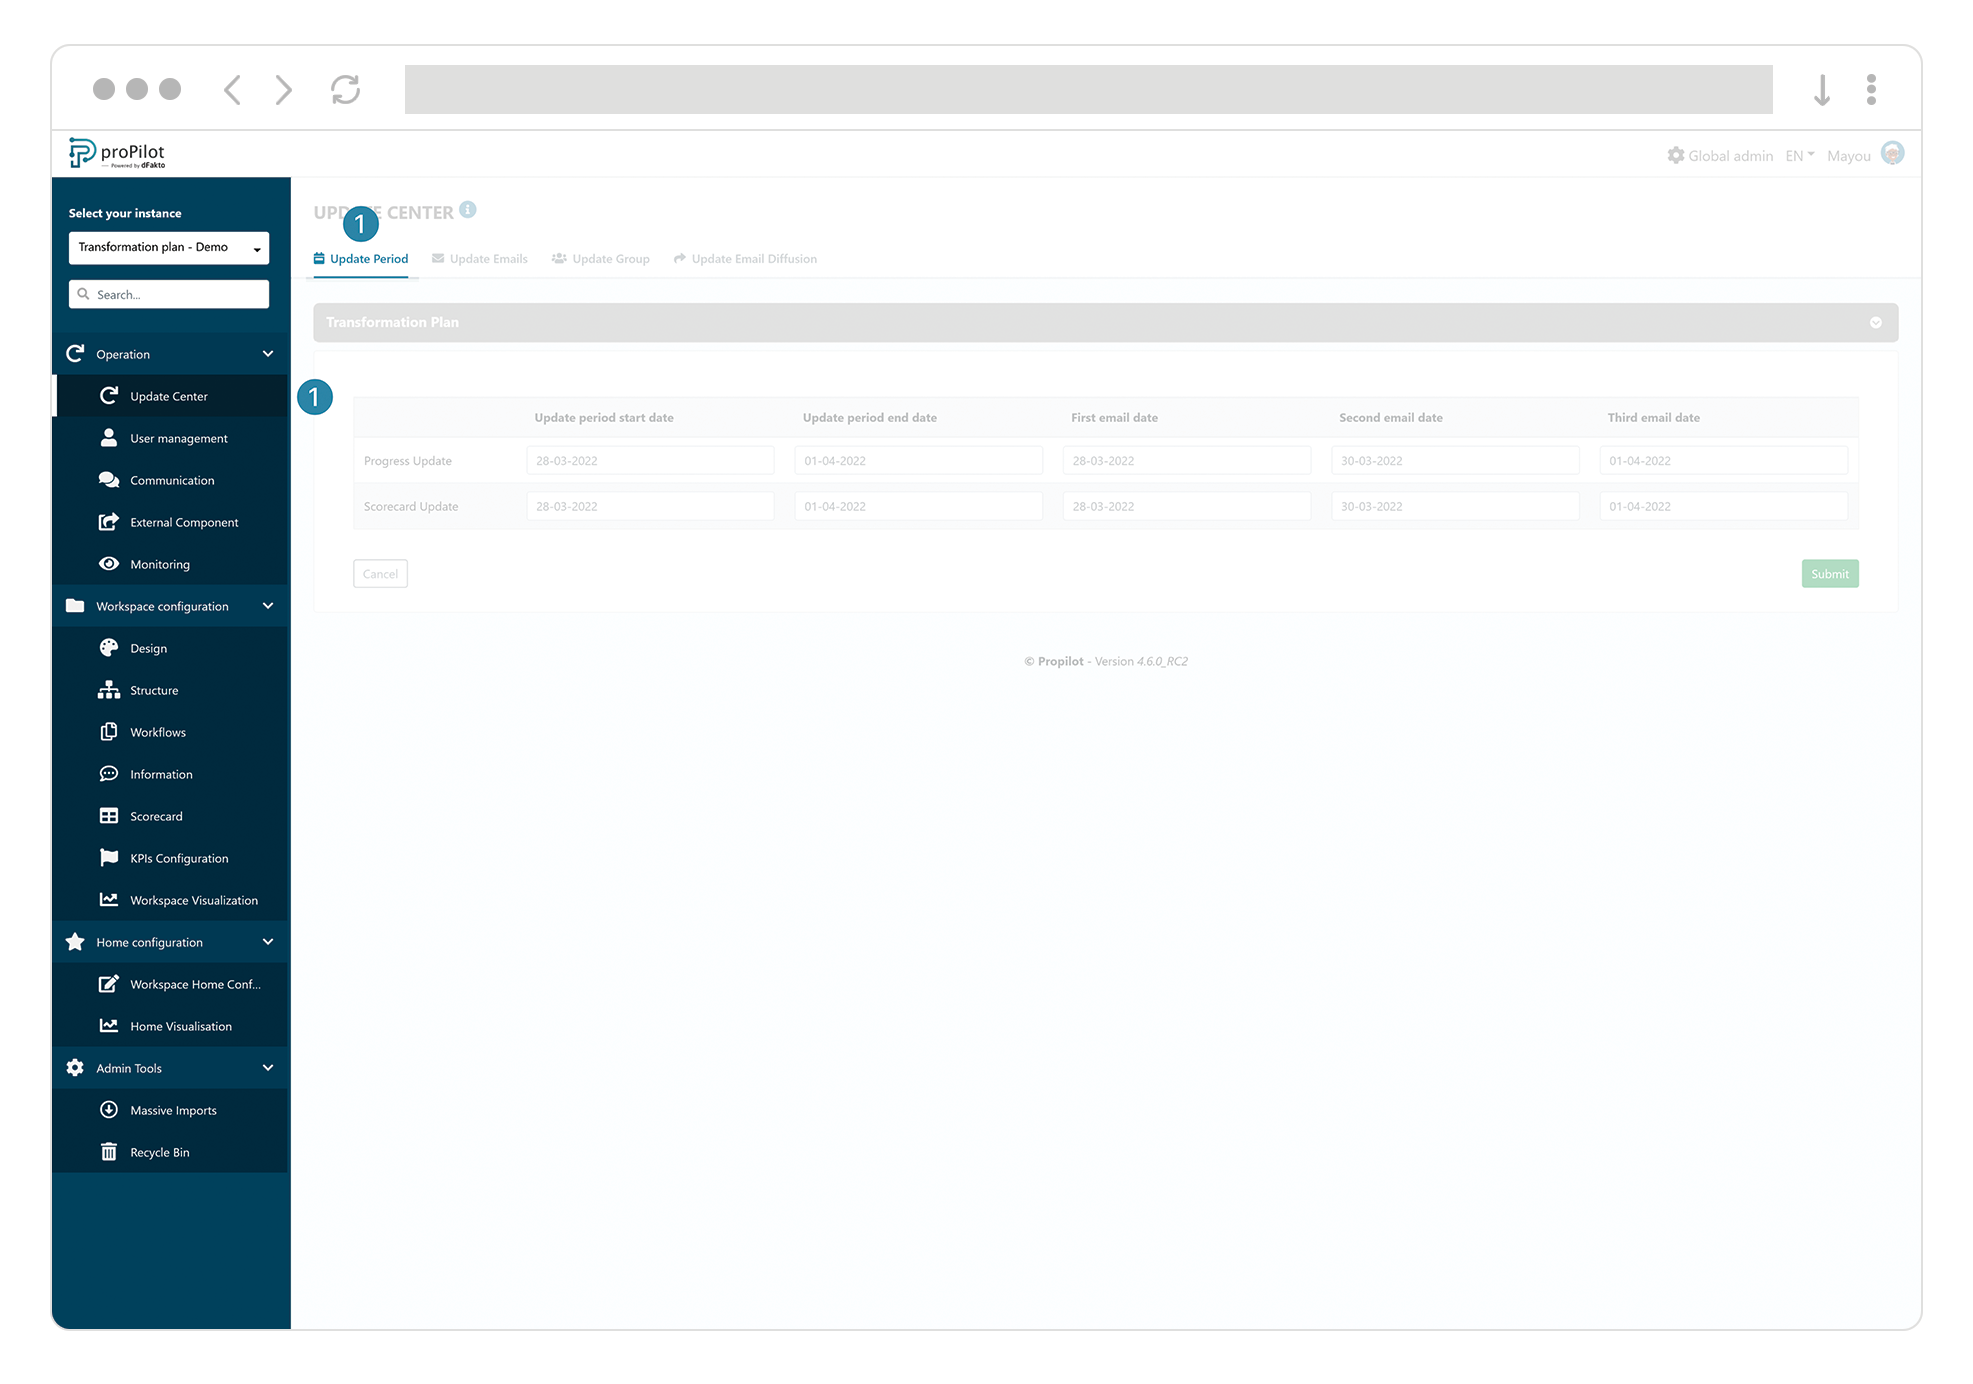
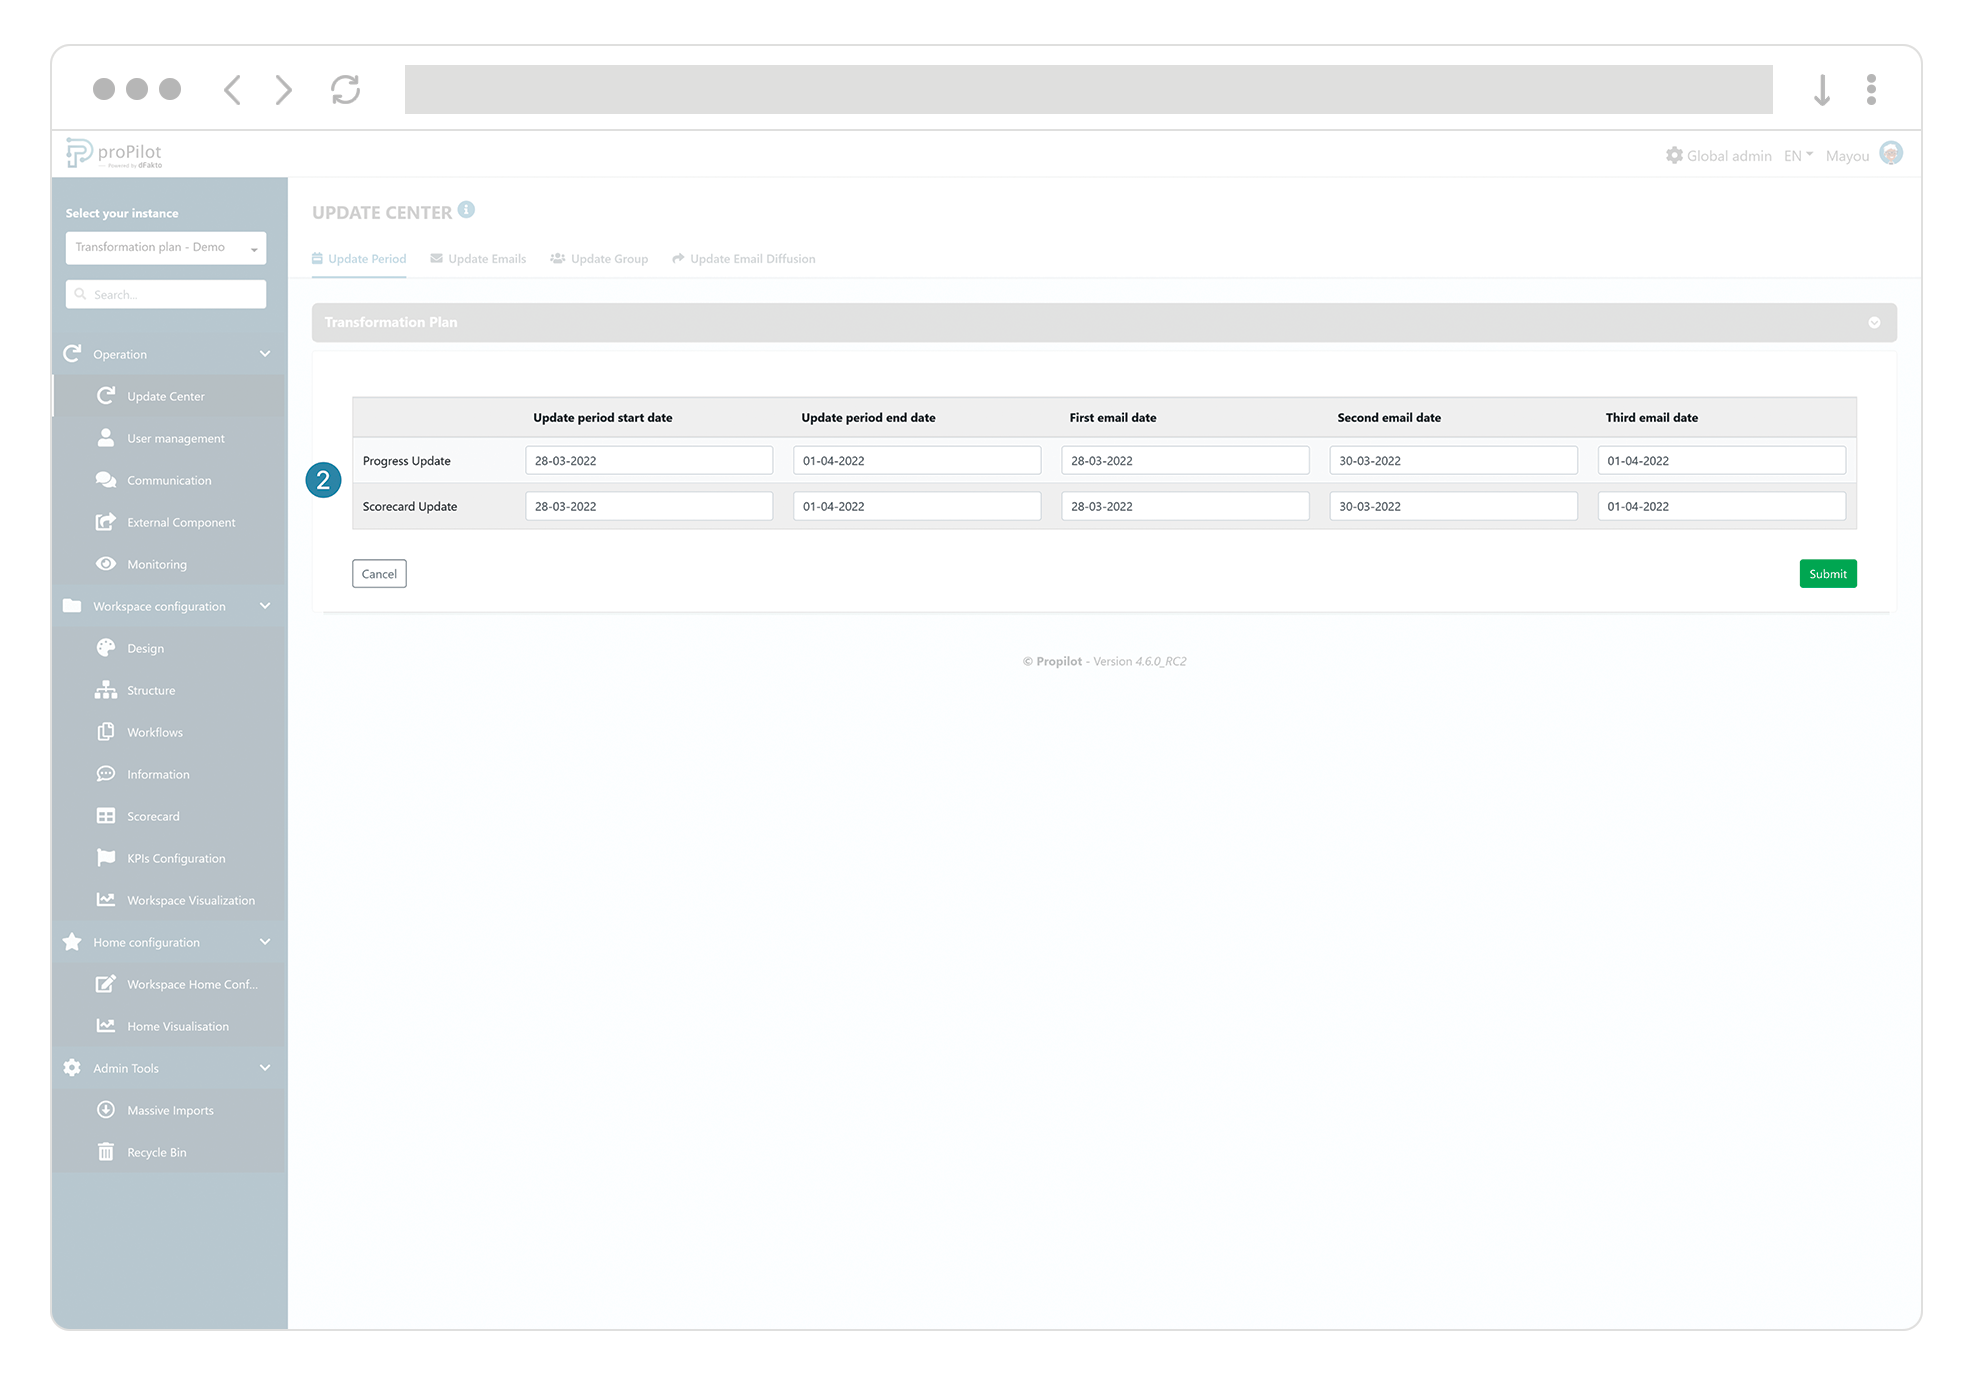
Navigate to the admin area of your instance and select "operation>update center" in the left menu.
-
Click on the "update period" tab. There you can indicate:
-
the update period of the indicators, and/or
-
the update period for qualitative information (properties),
-
the start and end dates of the update period
-
the date of the first, second and/or third email(s) to be sent
-
Confirm the sending of the generated emails.
-
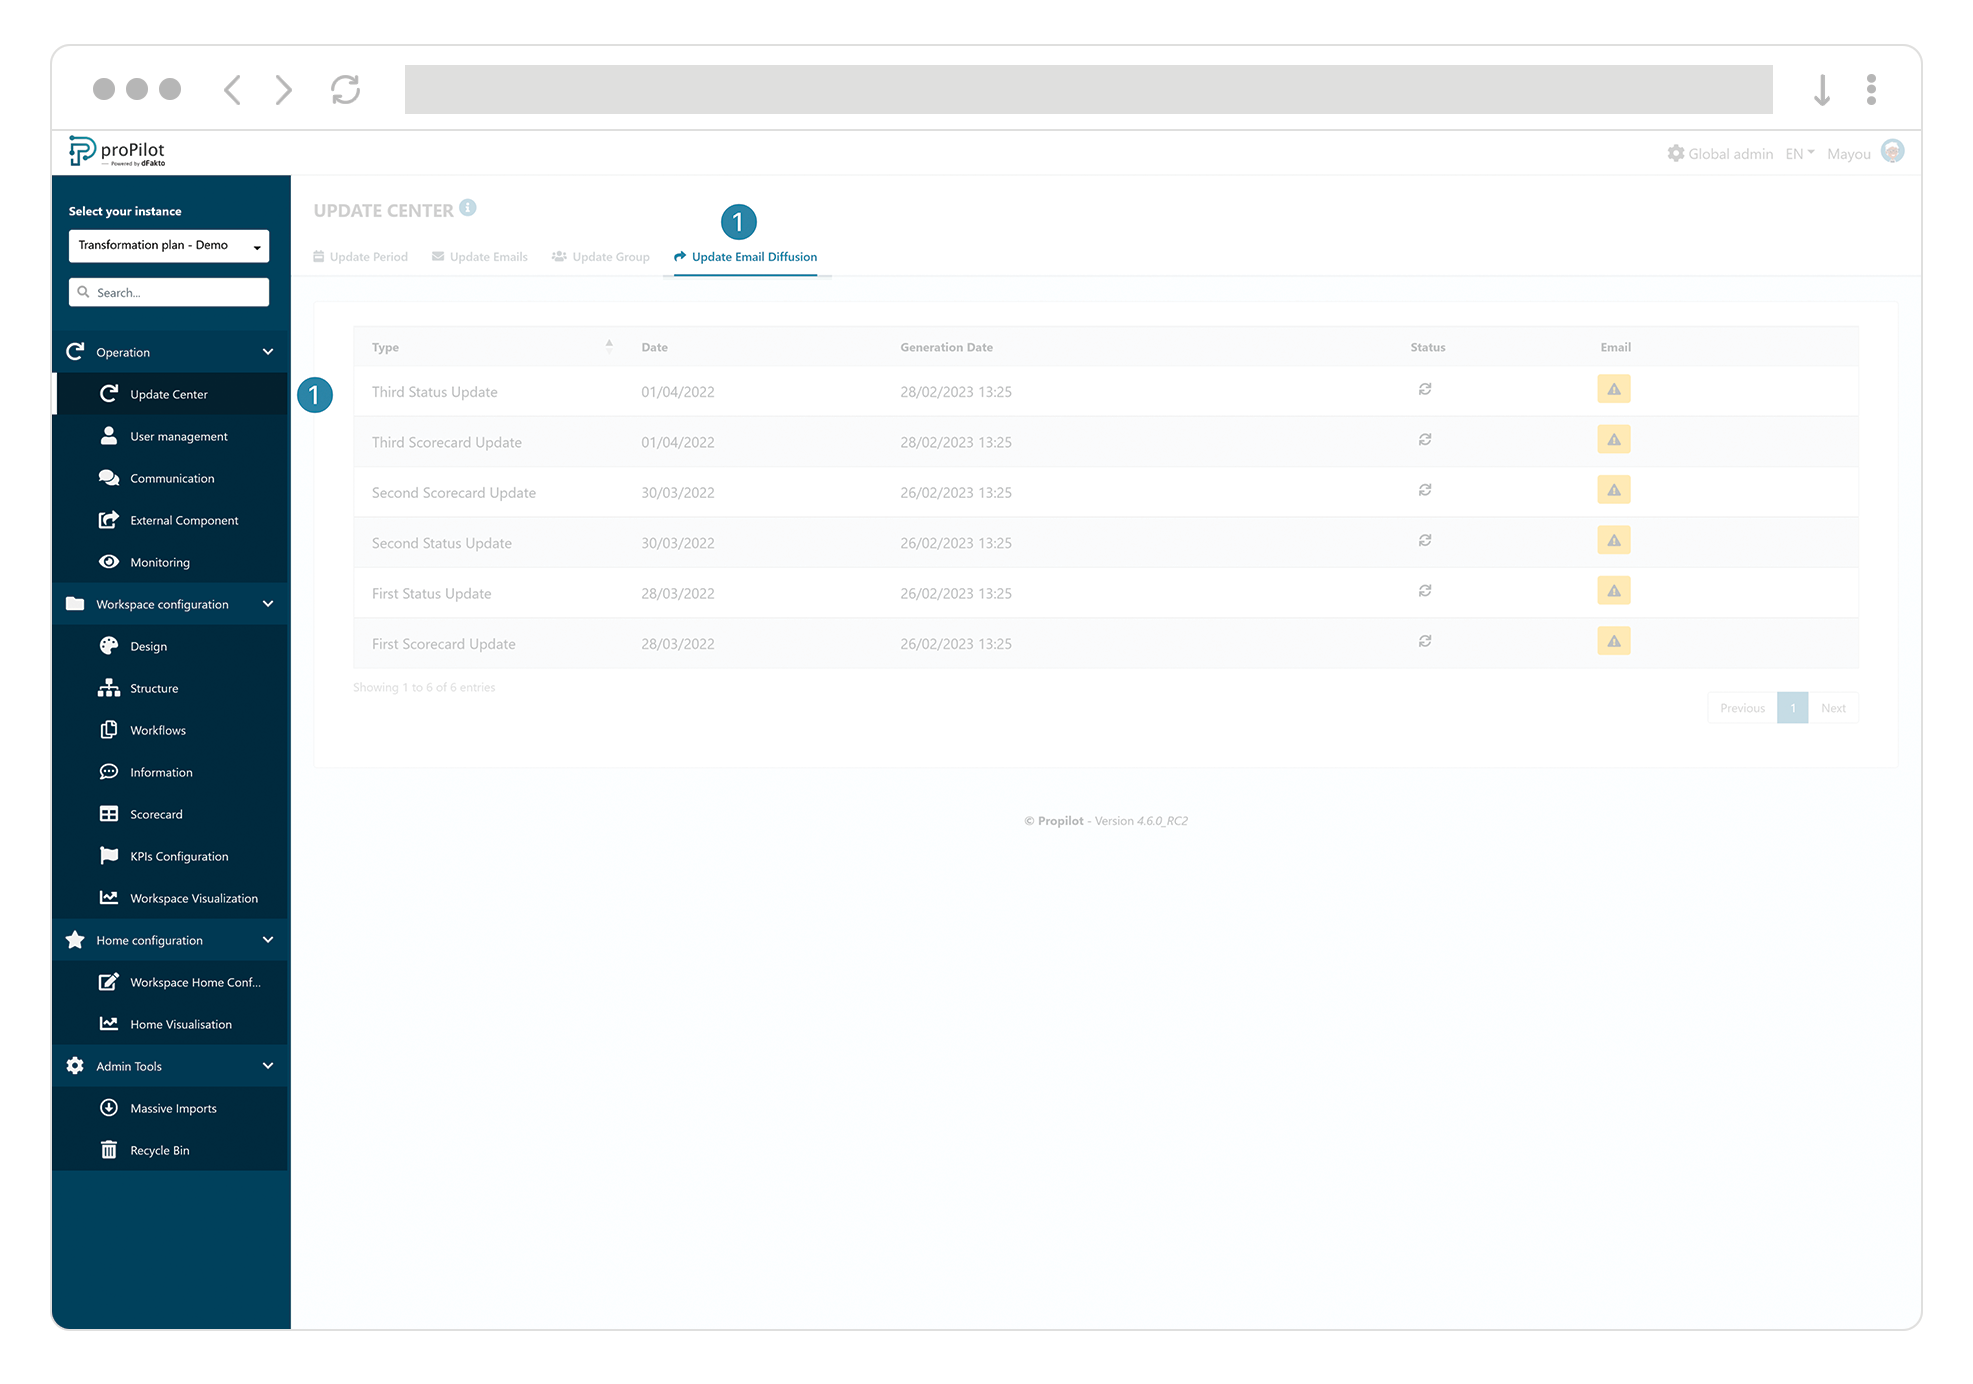
On the dates configured above, navigate to the Admin area. In the left-hand menu "operation>update center", select the "update email diffustion" tab.
-
View the series of emails generated and the recipients for the series of emails to be sent. Confirm the sending. In this section you will also be able to see if the email was sent successfully. You can also refresh a communication with the updated data to be sent to users using the button in the "Status" column.
