Introduction
The scorecard allows you to follow a series of indicators over time and for a defined type of data. They allow you to follow the progress of the different metrics associated with your workspace while managing the associated business repository.
Create new scorecard
Create a common scorecard for your workspace
-
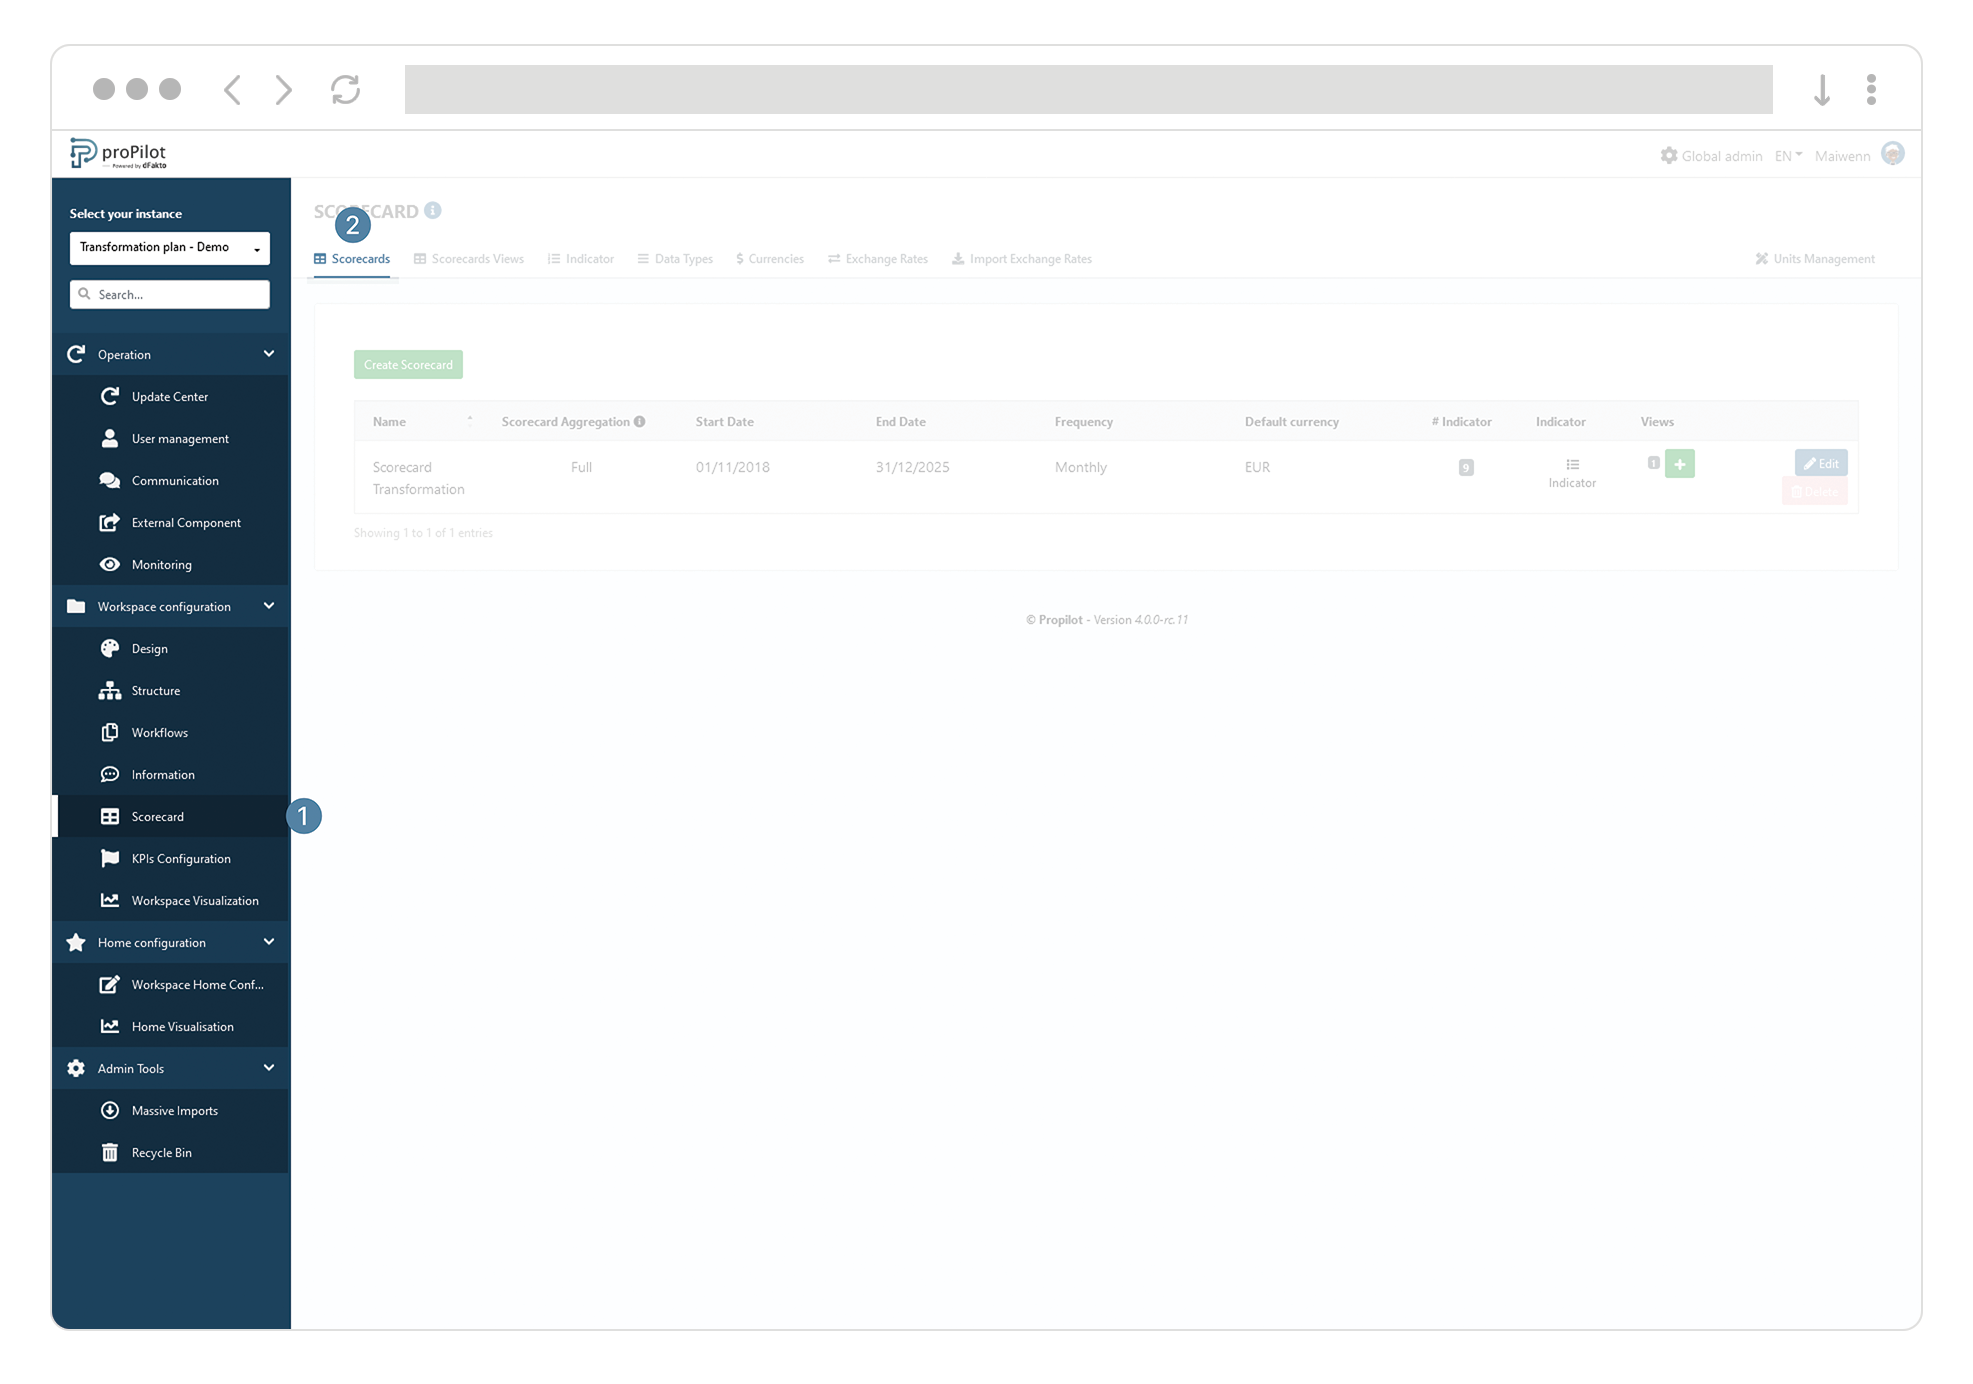
In the left-hand menu, select "Workspace configuration" then "scorecards".
-
Then click on the "scorecards" tab.
-
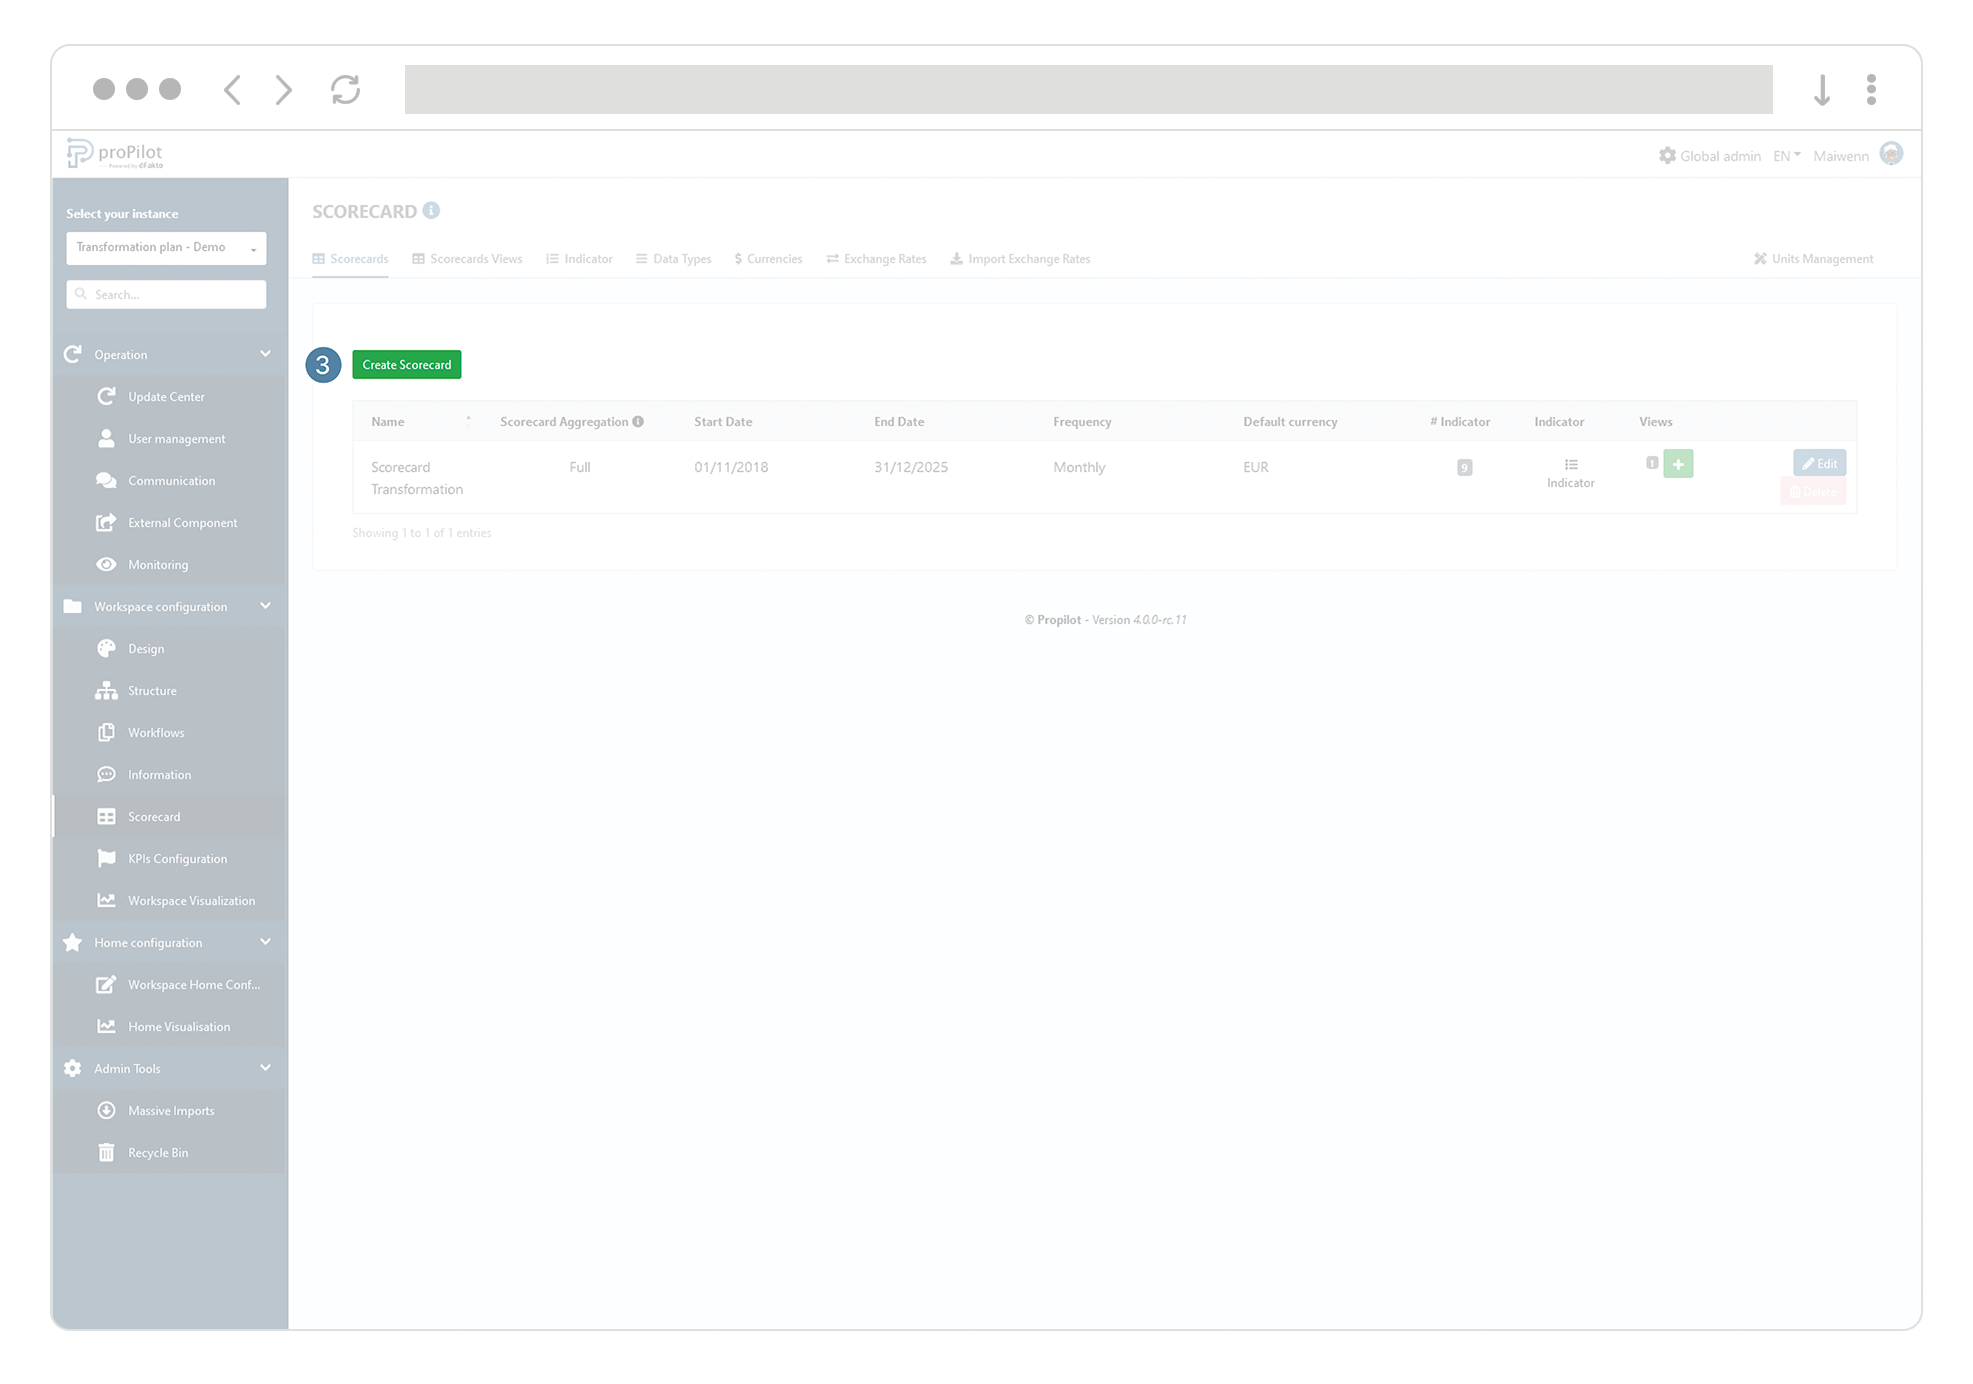
Click on the "create scorecard" button. A pop-up window will open.
-
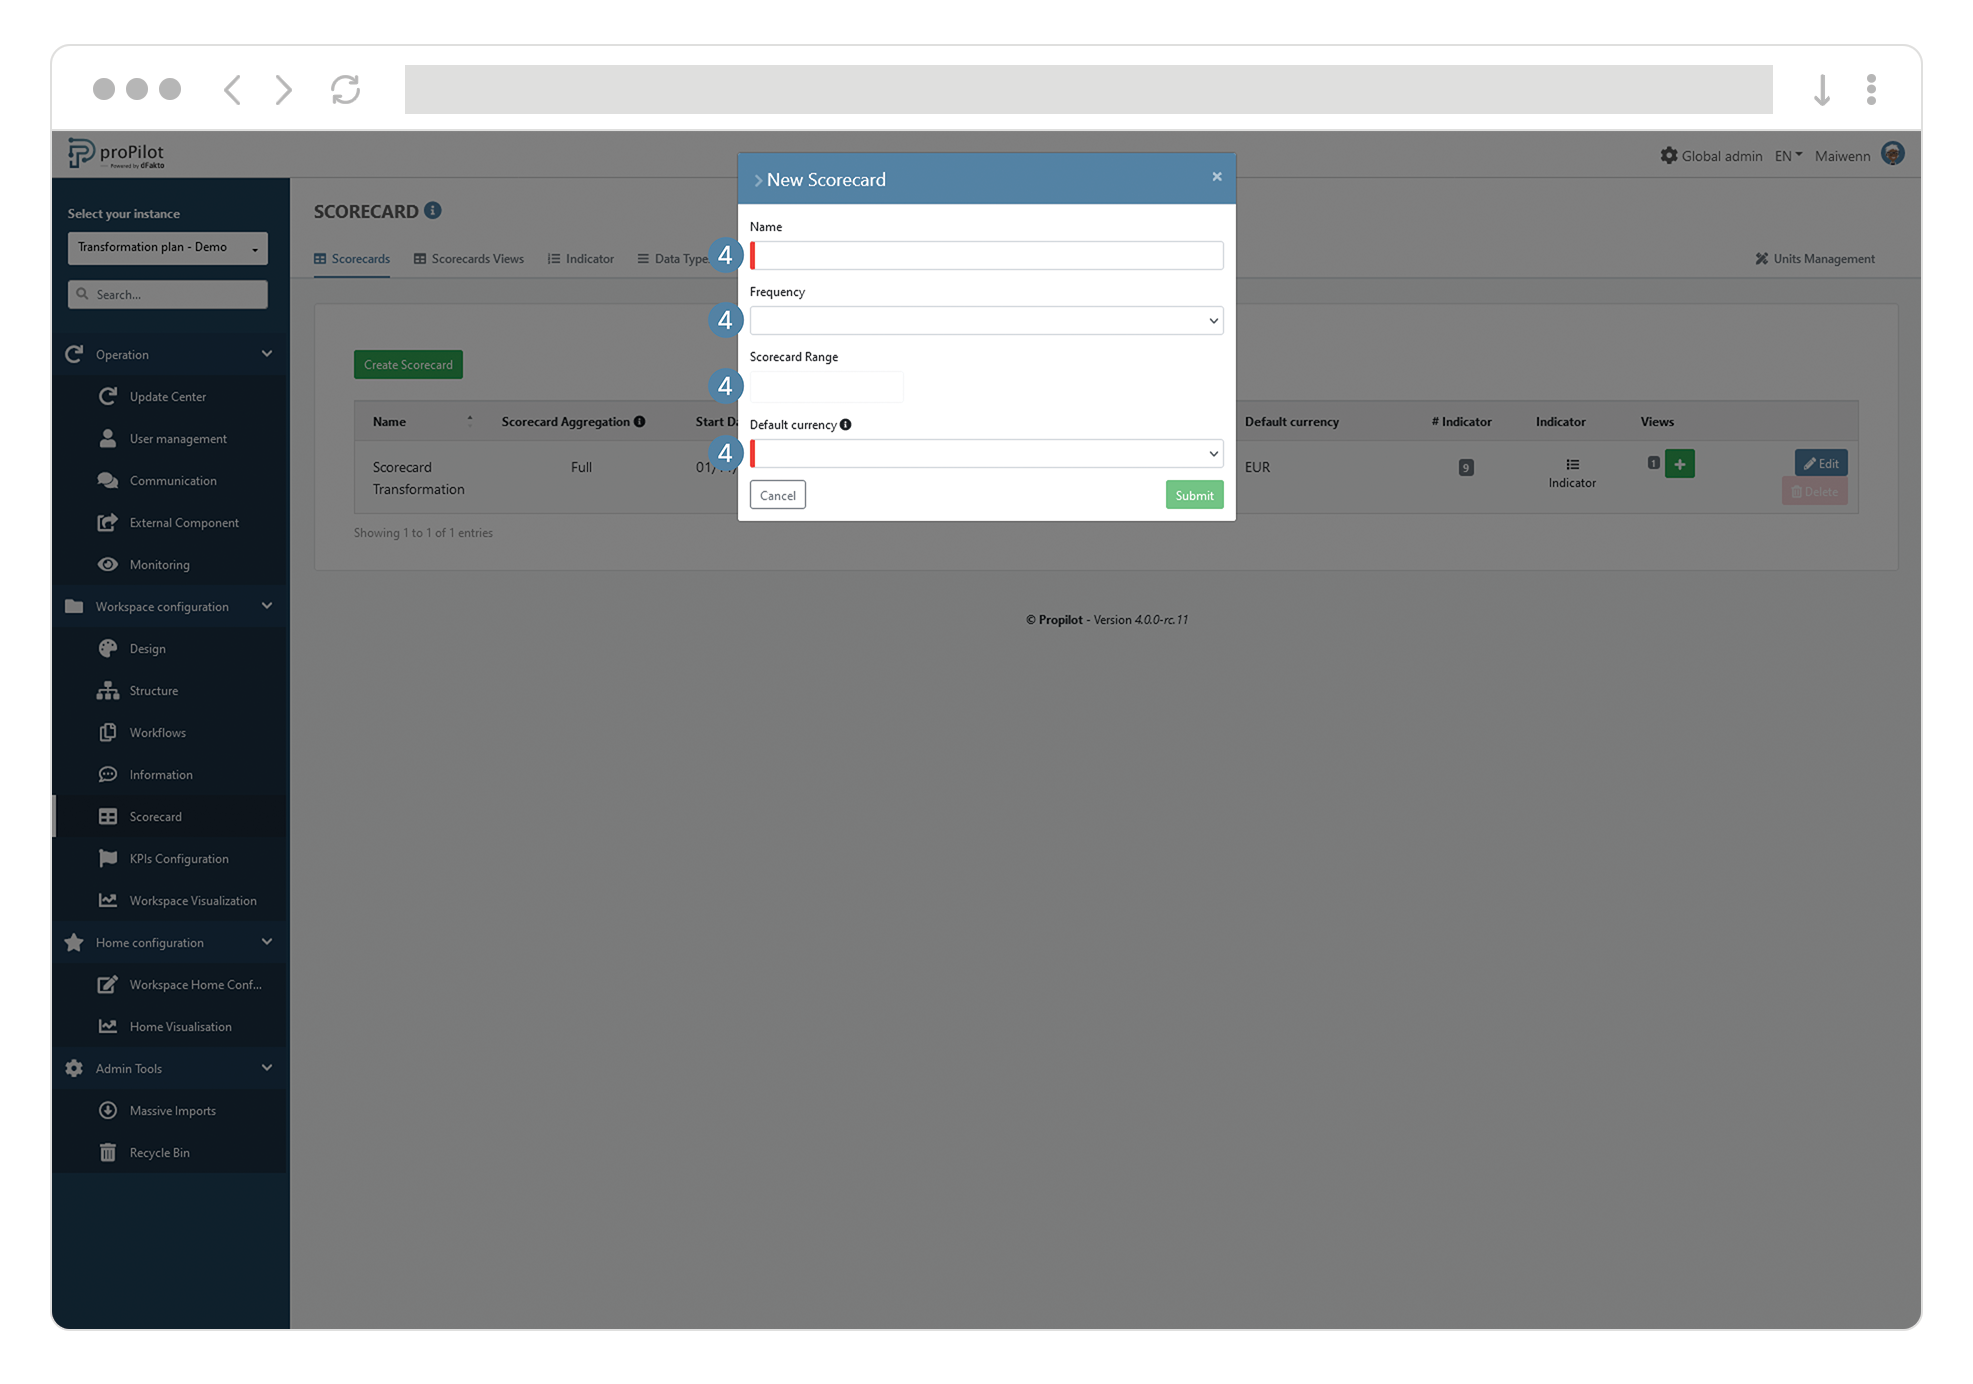
Fill in the following fields:
-
Name of the scorecard
-
The frequency at which the information will be collected (daily, monthly,...)
-
The scorecard range, which represents the period during which information will be collected. This period can be modified afterwards.
-
A default currency, which will be used as a basis if ever there is a need to manage exchange rates.
-
Integrate a scorecard in your workspace
-
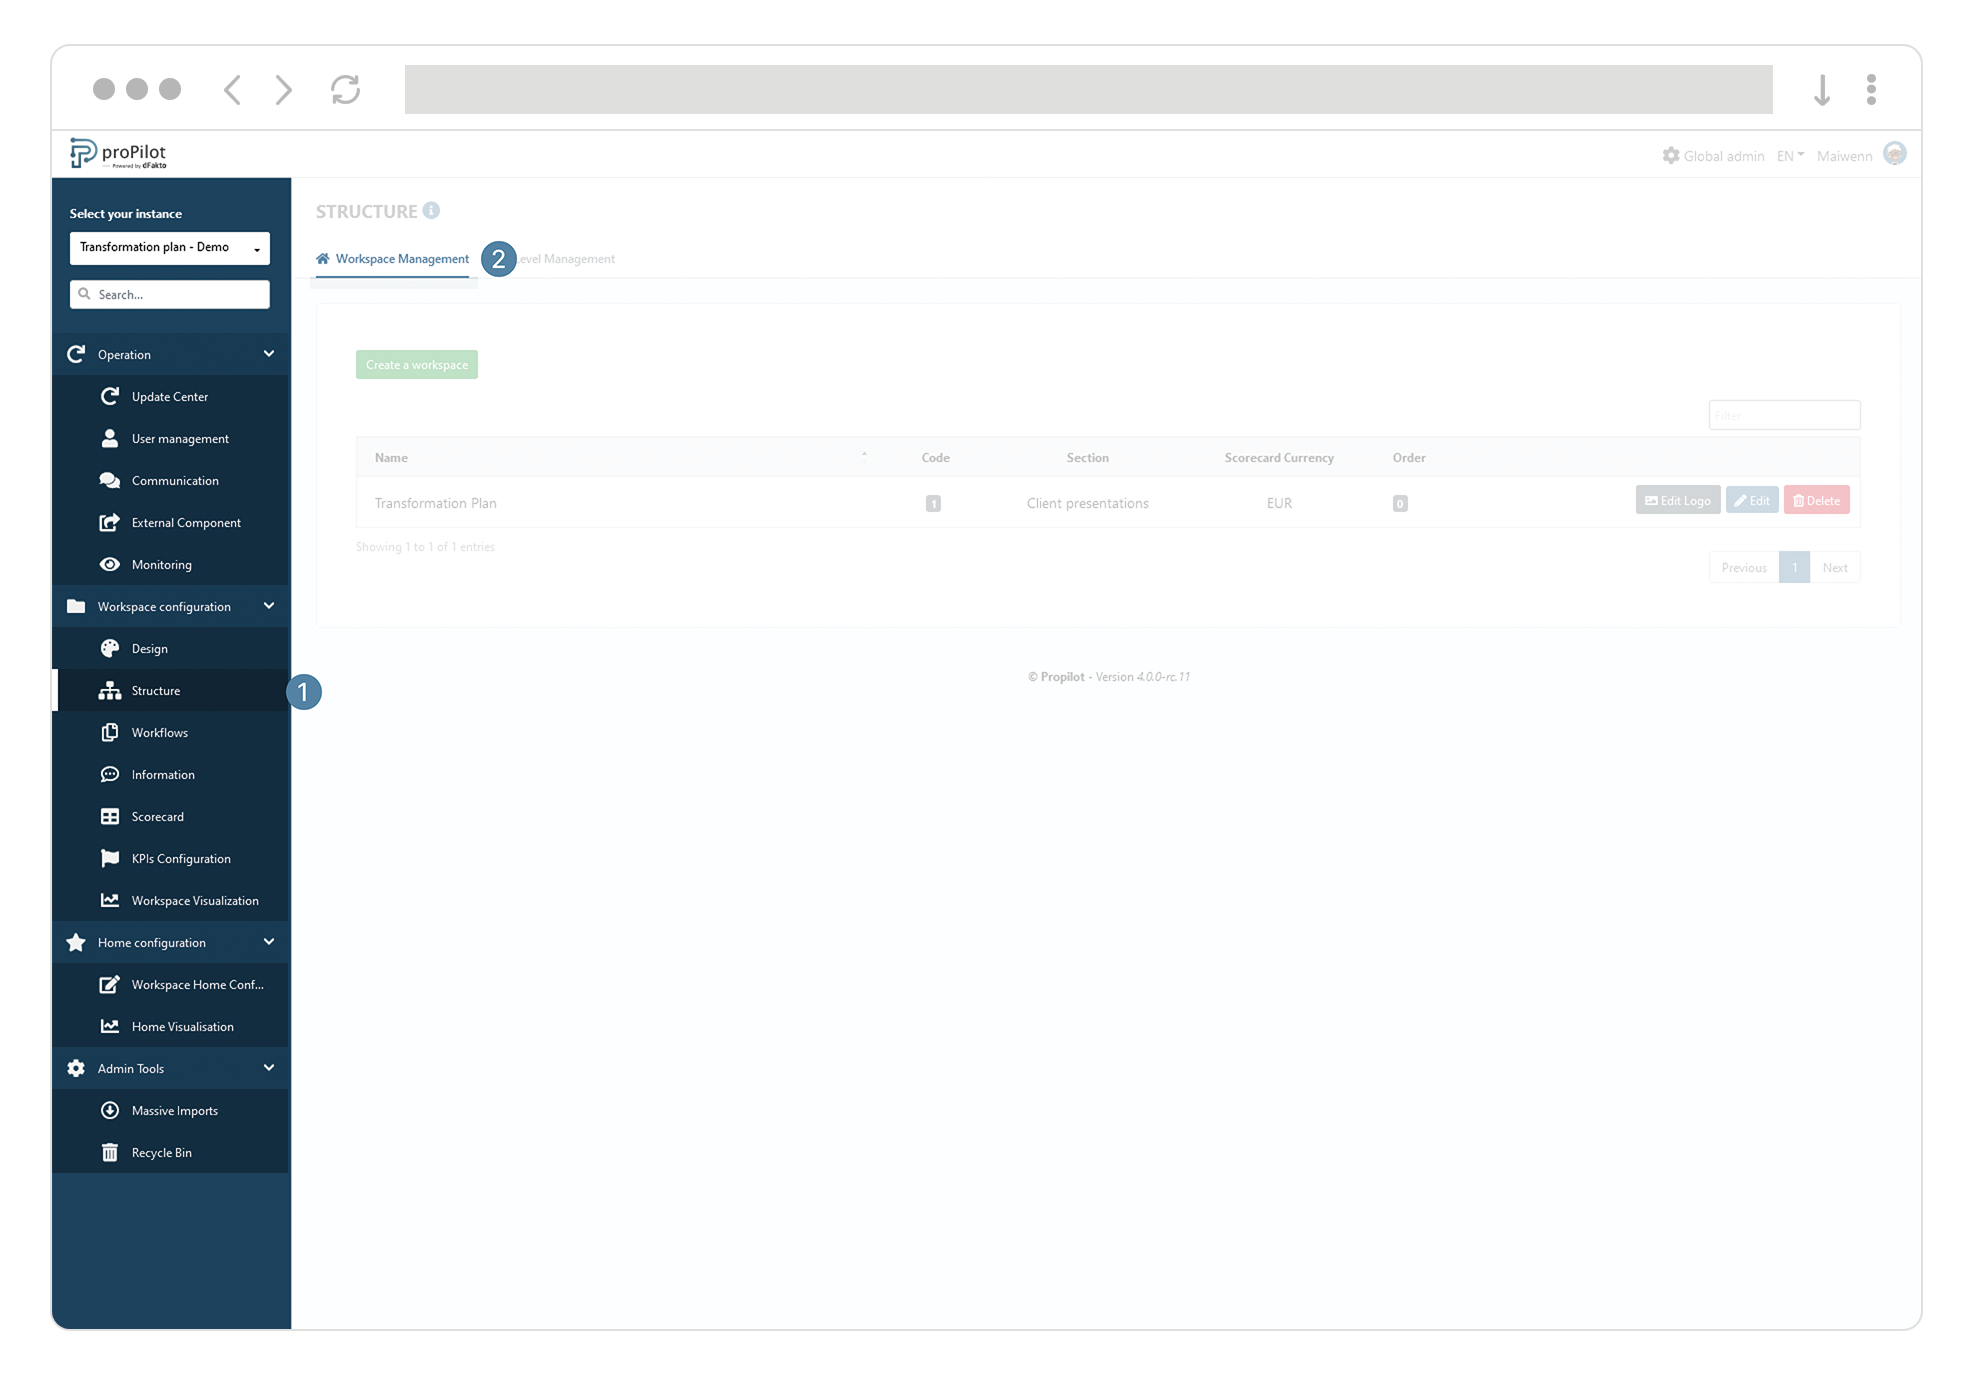
In the left-hand menu, select "Workspace configuration" then "Structure".
-
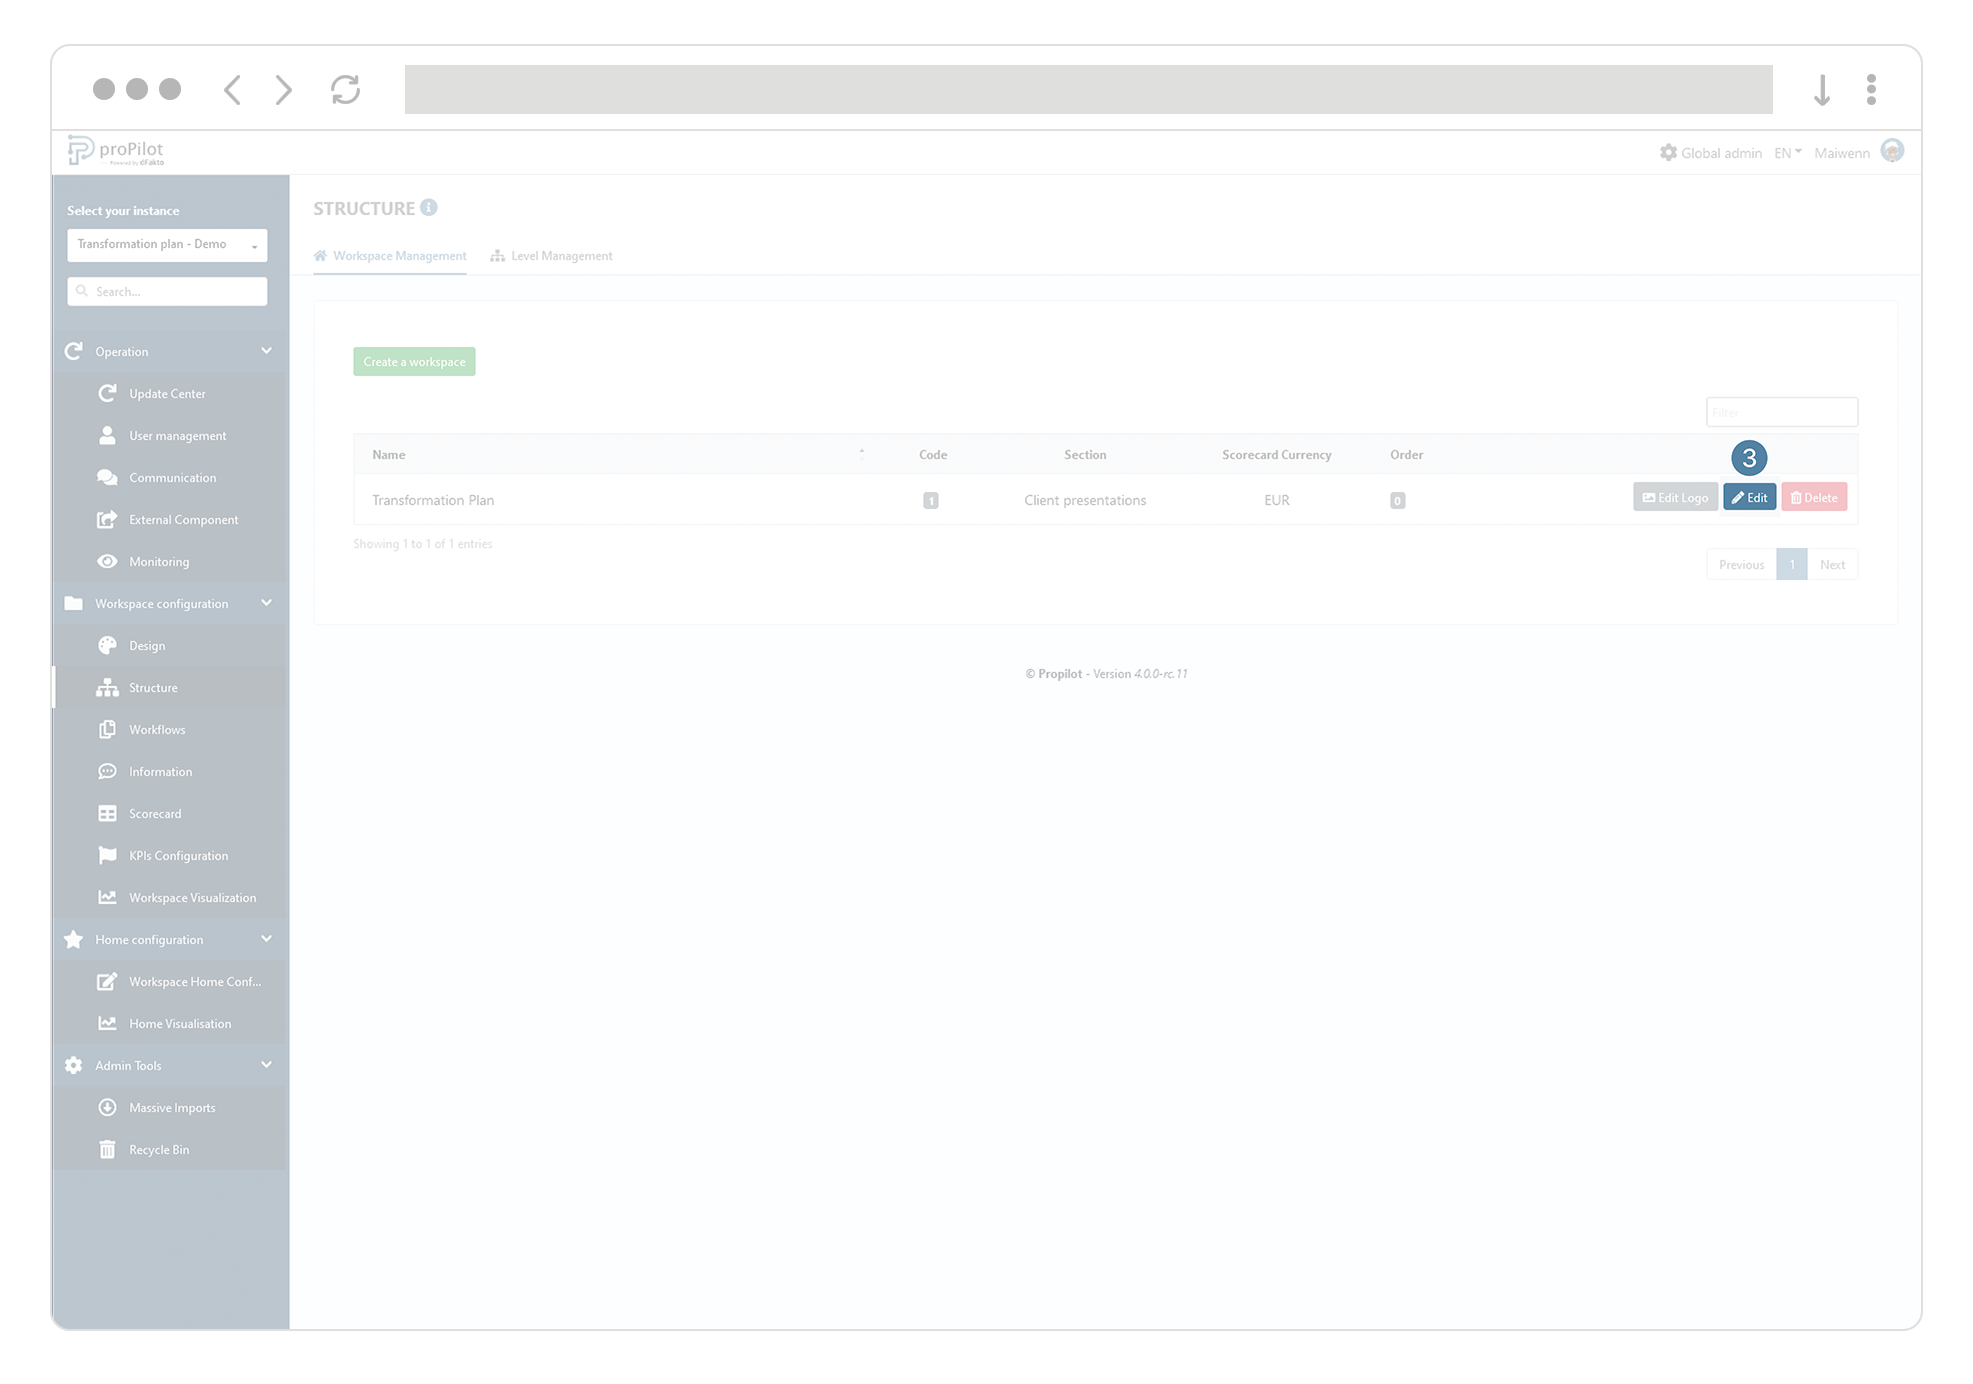
Click on the "Workspace management" tab and select the workspace you wish to update. This module allows you to manage workspaces.
-
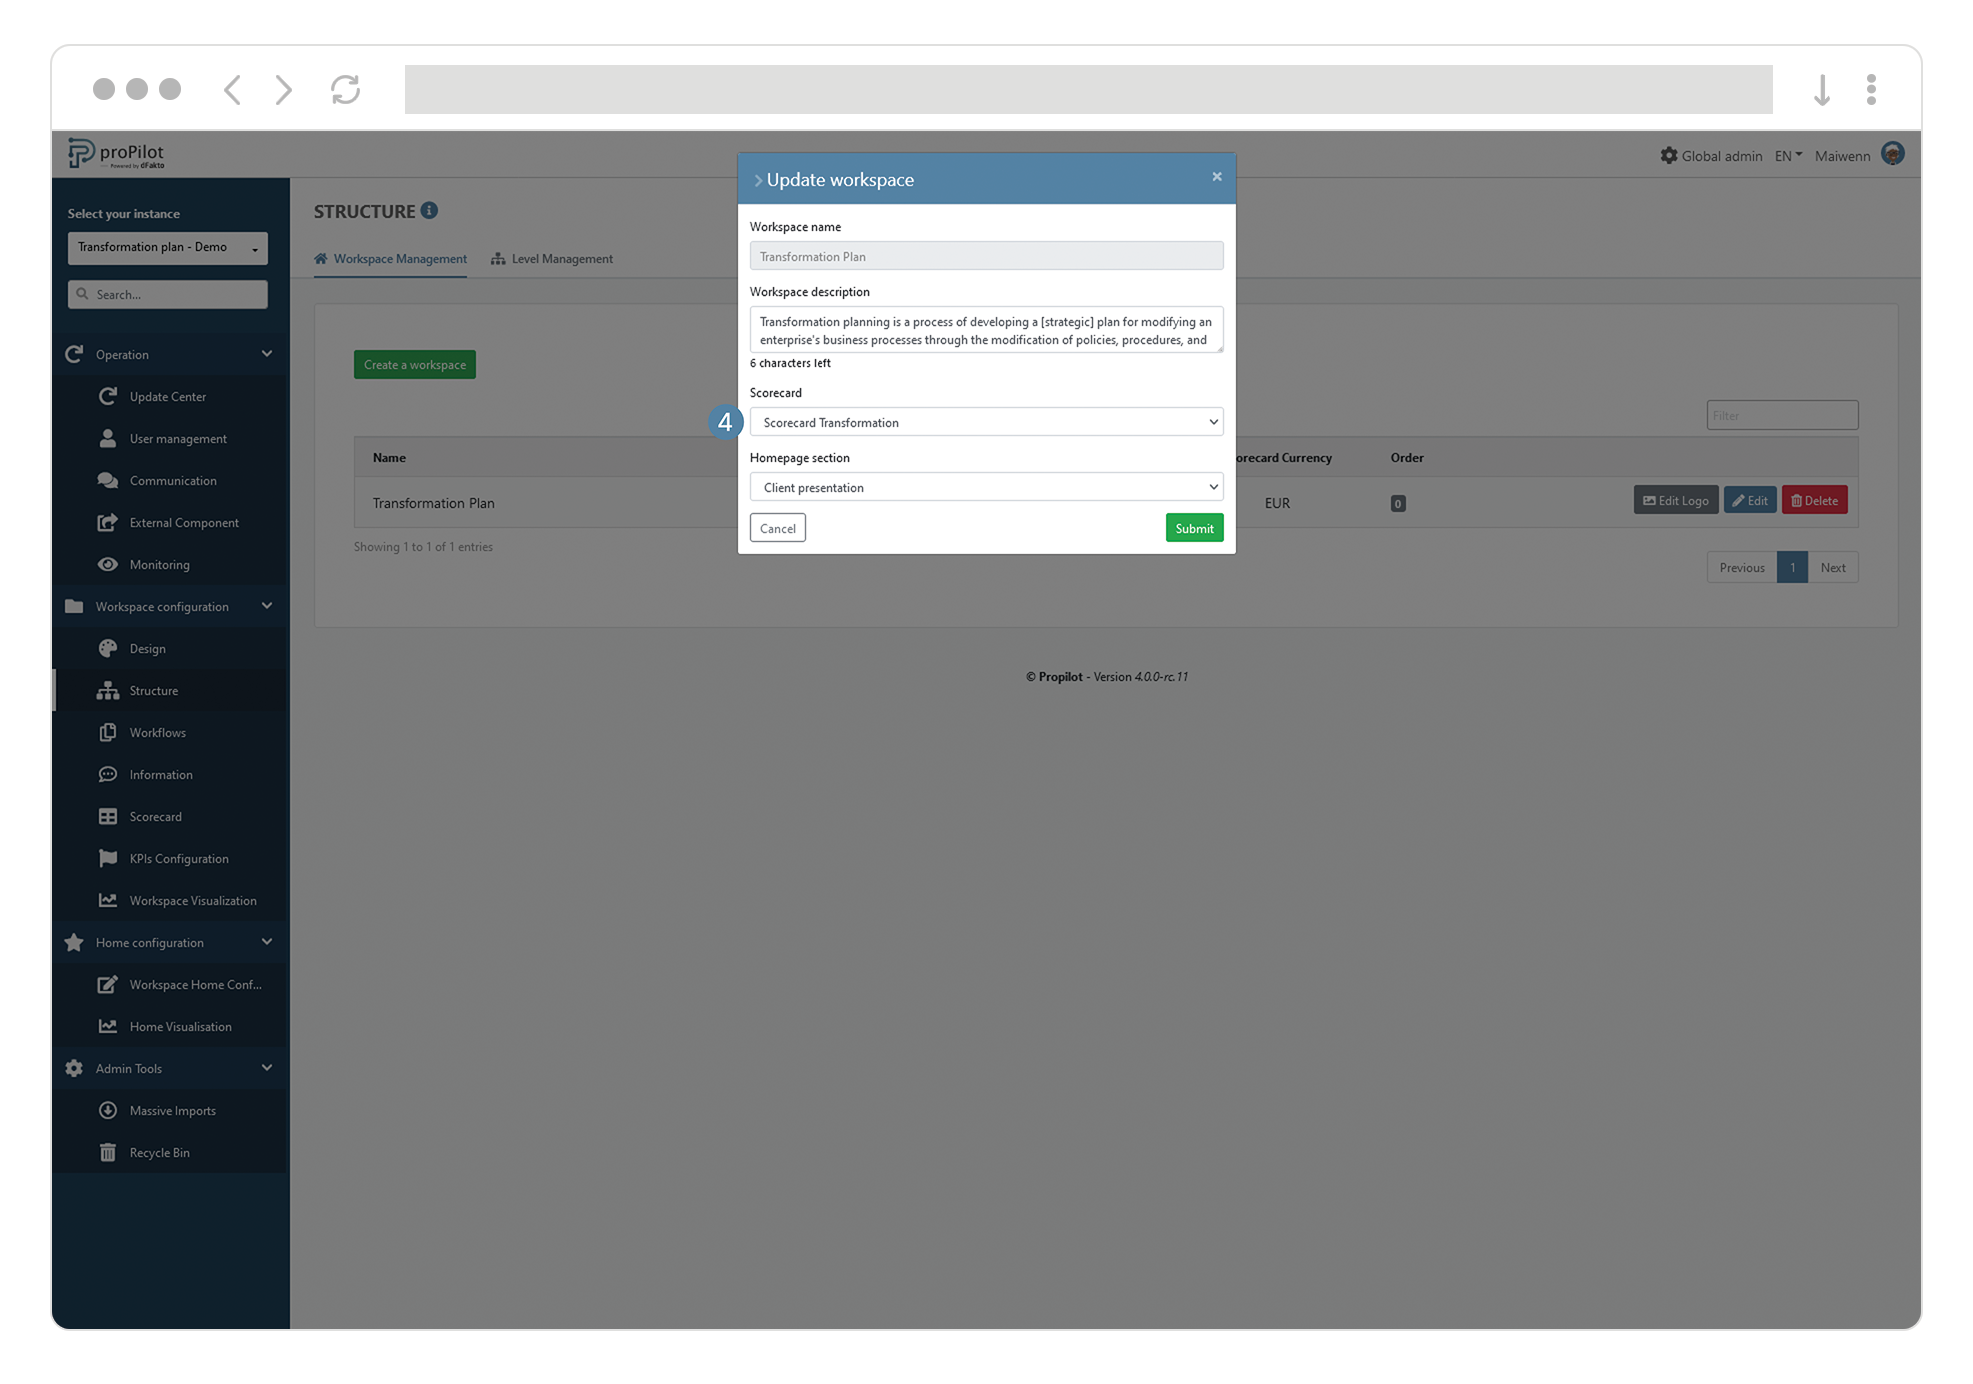
Click on the "Edit" button.
-
From the "scorecard" drop-down list, select the desired scorecard for this workspace.
Create a common scorecard for your workspace
-
In the left-hand menu, select "Workspace configuration" then "scorecards".
-
Then click on the "scorecards" tab.
-
Click on the "create scorecard" button. A pop-up window will open.
-
Fill in the following fields:
-
Name of the scorecard
-
The frequency at which the information will be collected (daily, monthly,...)
-
The scorecard range, which represents the period during which information will be collected. This period can be modified afterwards.
-
A default currency, which will be used as a basis if ever there is a need to manage exchange rates.
-
Integrate a scorecard in your workspace
-
In the left-hand menu, select "Workspace configuration" then "Structure".
-
Click on the "Workspace management" tab and select the workspace you wish to update. This module allows you to manage workspaces.
-
Click on the "Edit" button.
-
From the "scorecard" drop-down list, select the desired scorecard for this workspace.
Create and manage indicators
Create a new indicator
-
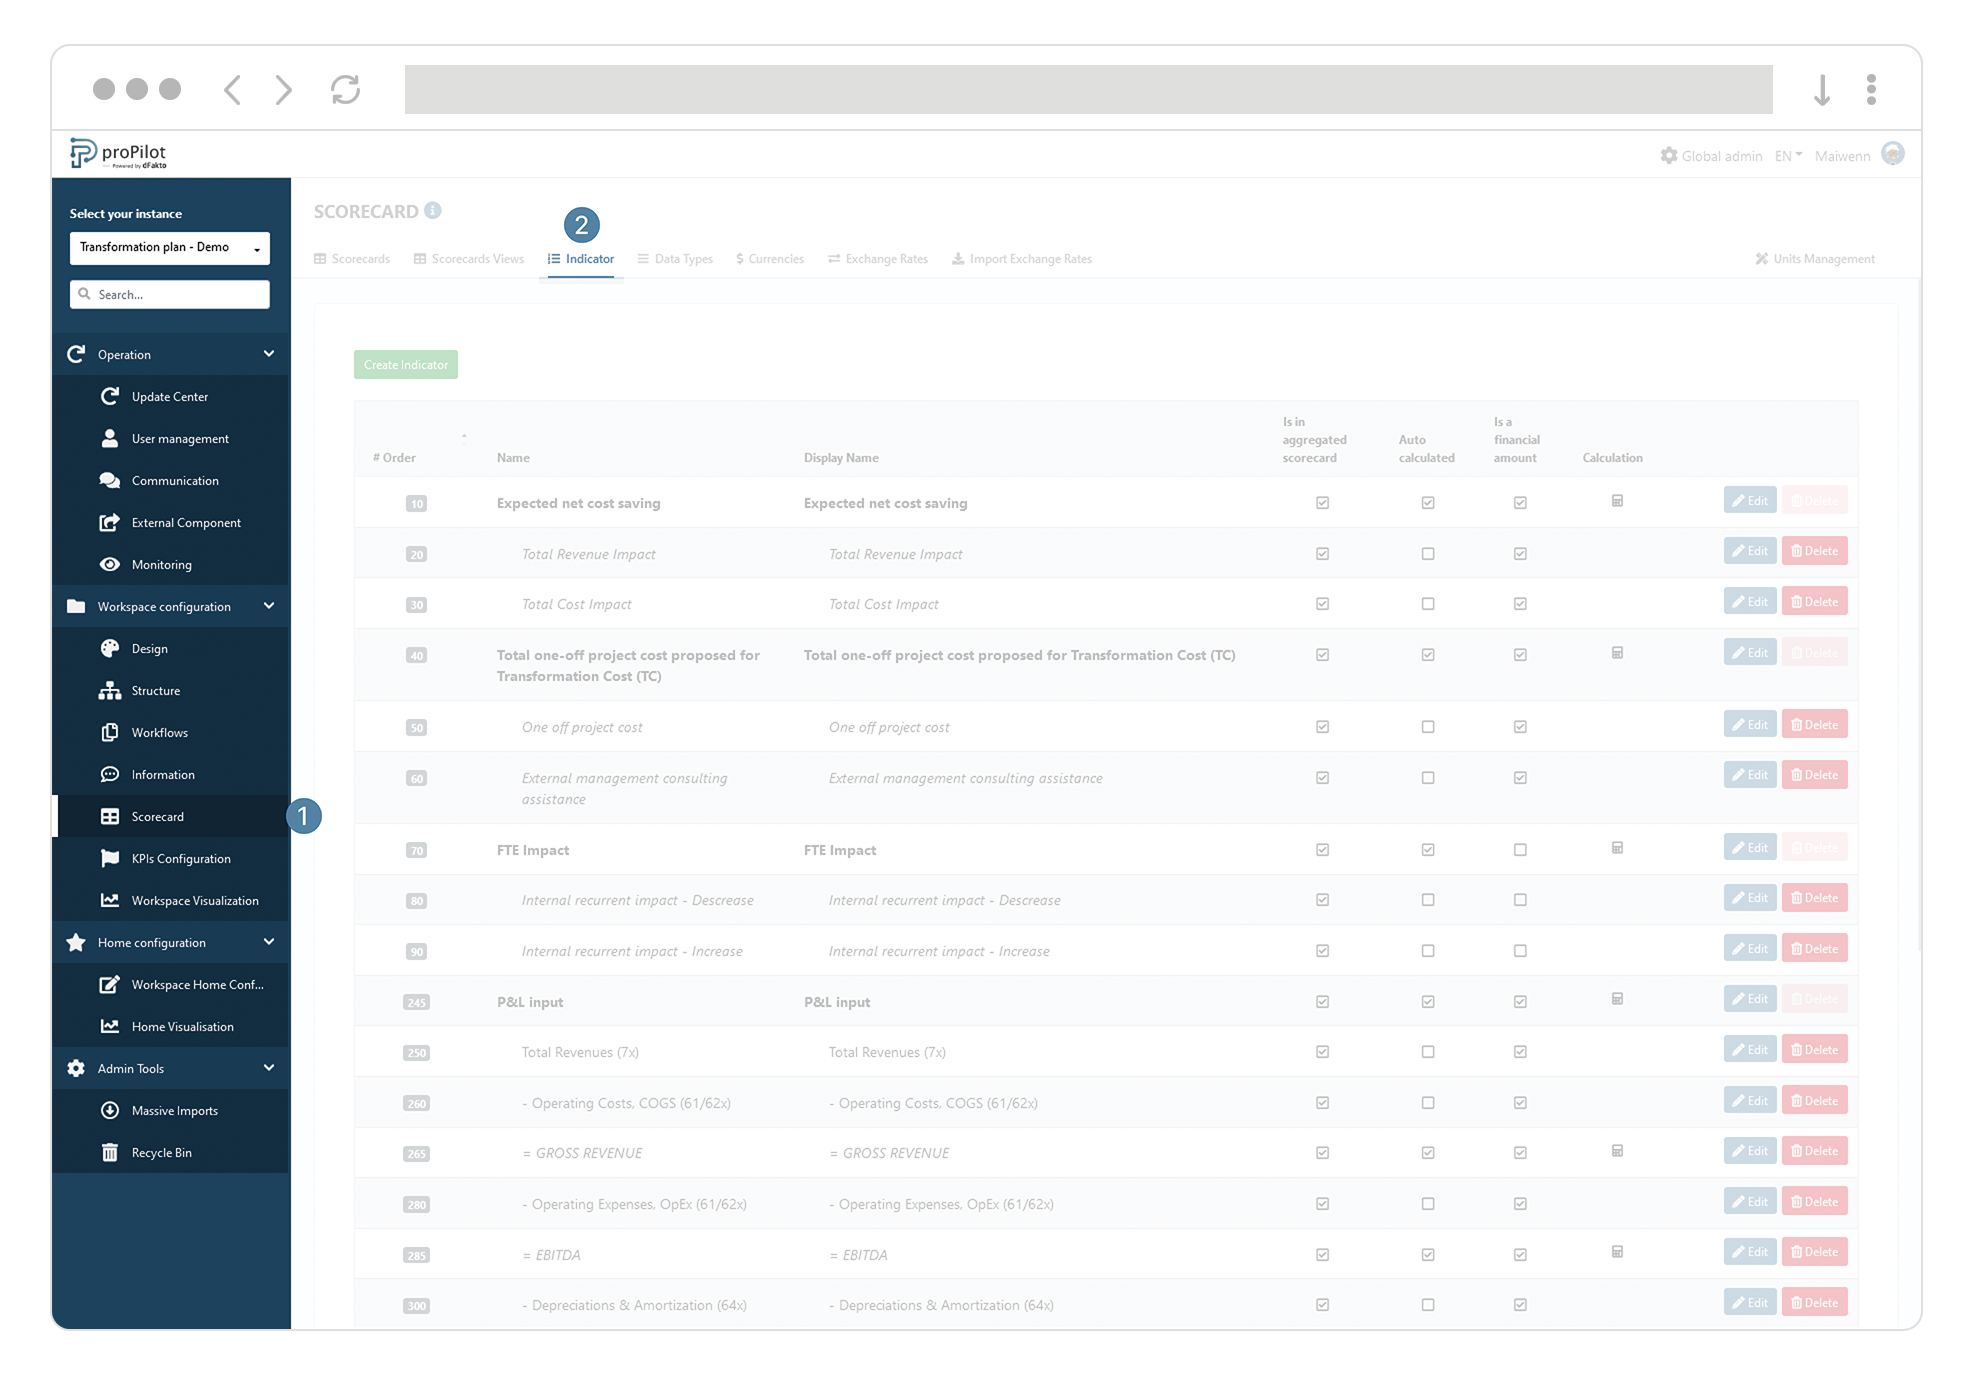
In the left menu, select "Workspace configuration" and then "scorecard".
-
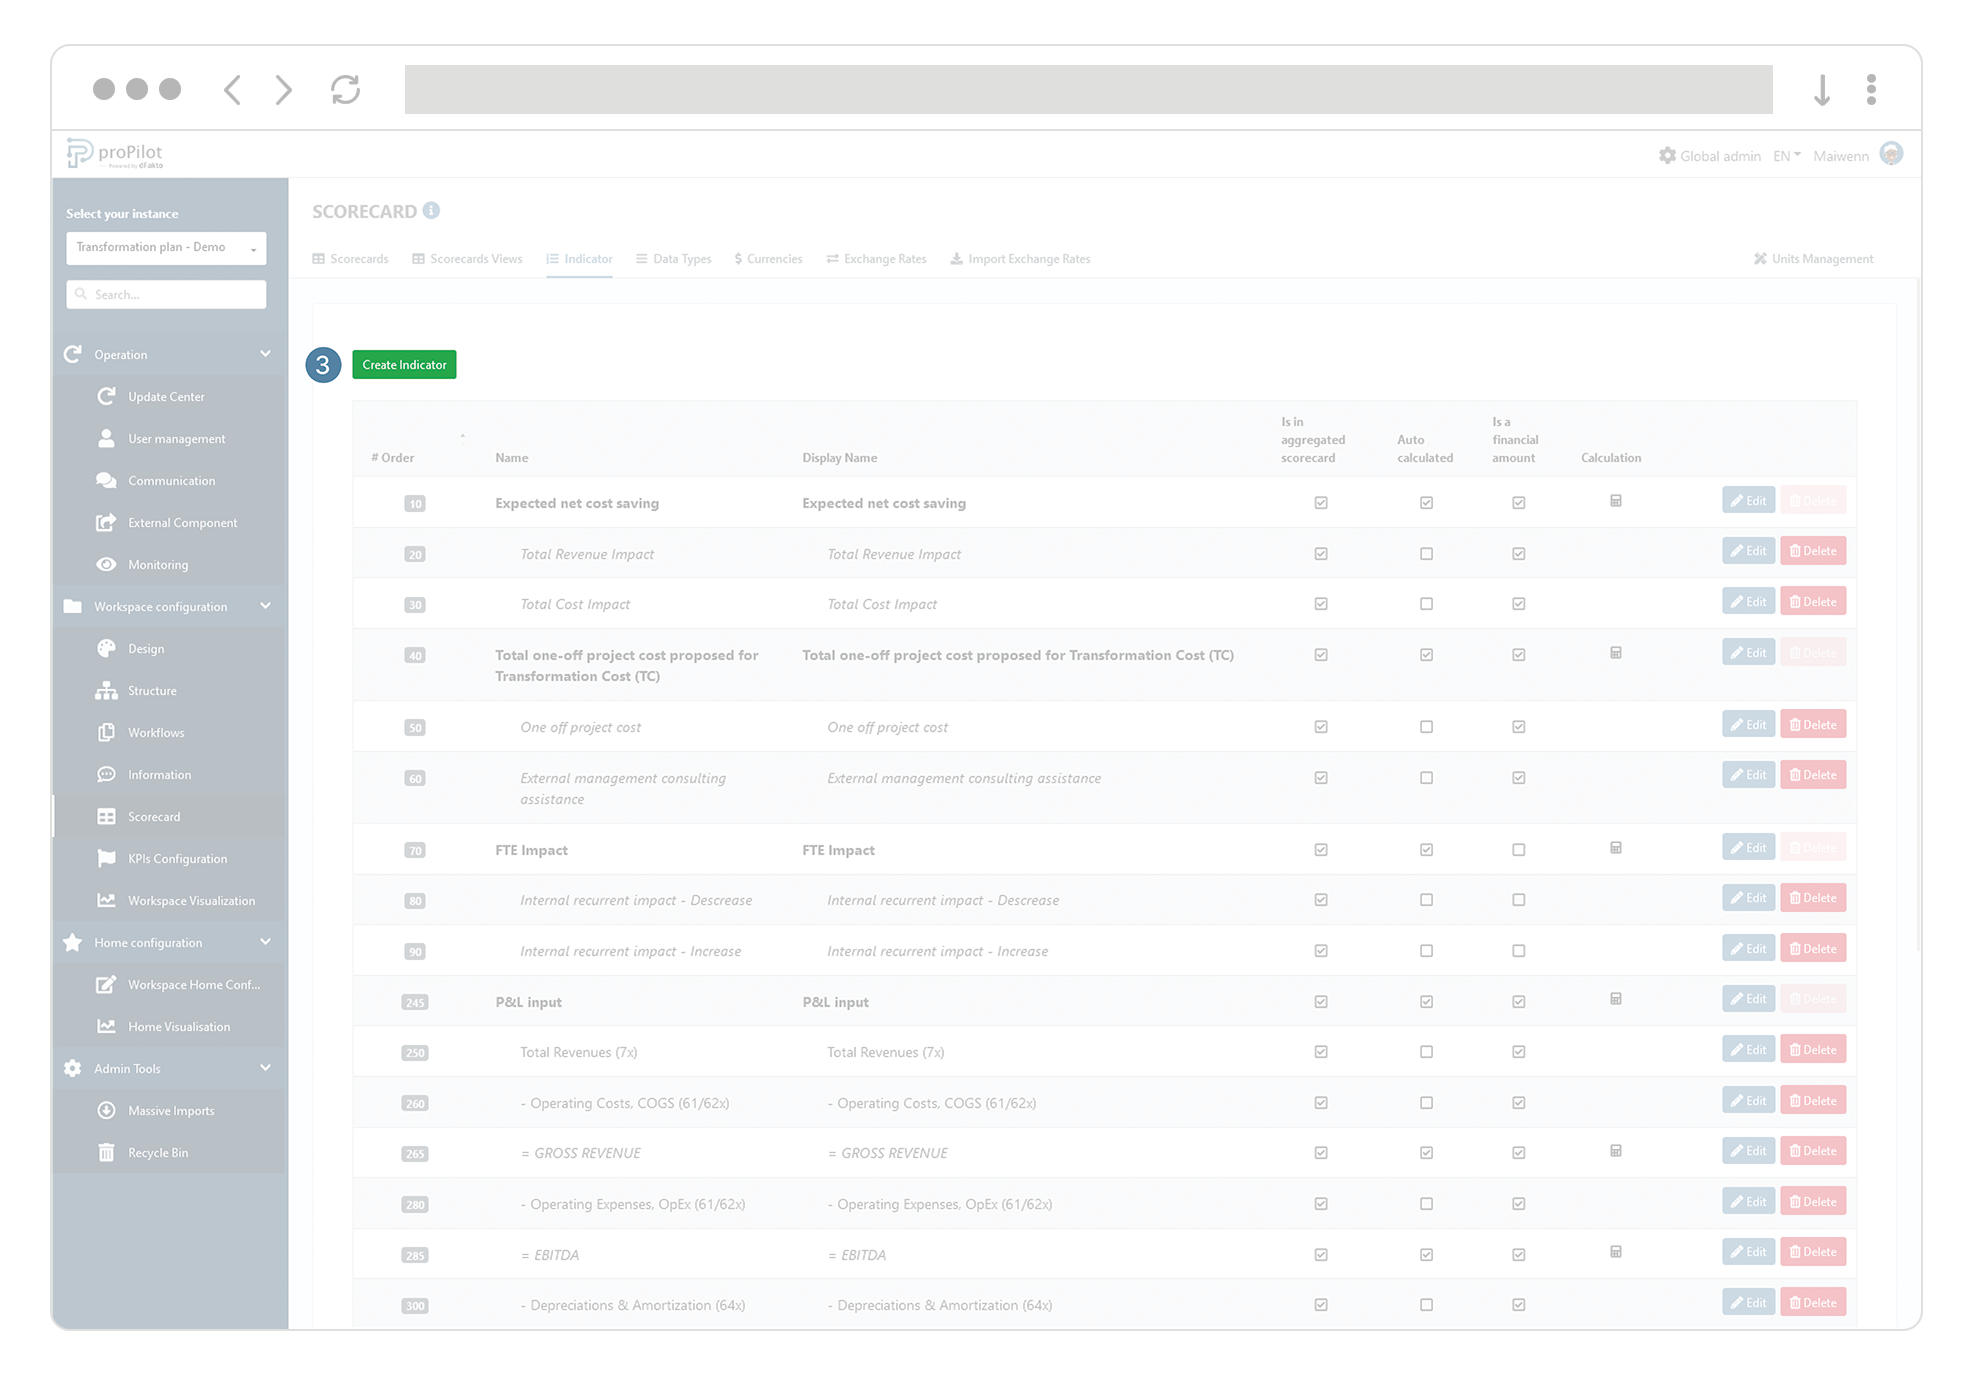
Then click on the "indicator" tab.
-
Click on the "create indicator" button.
-
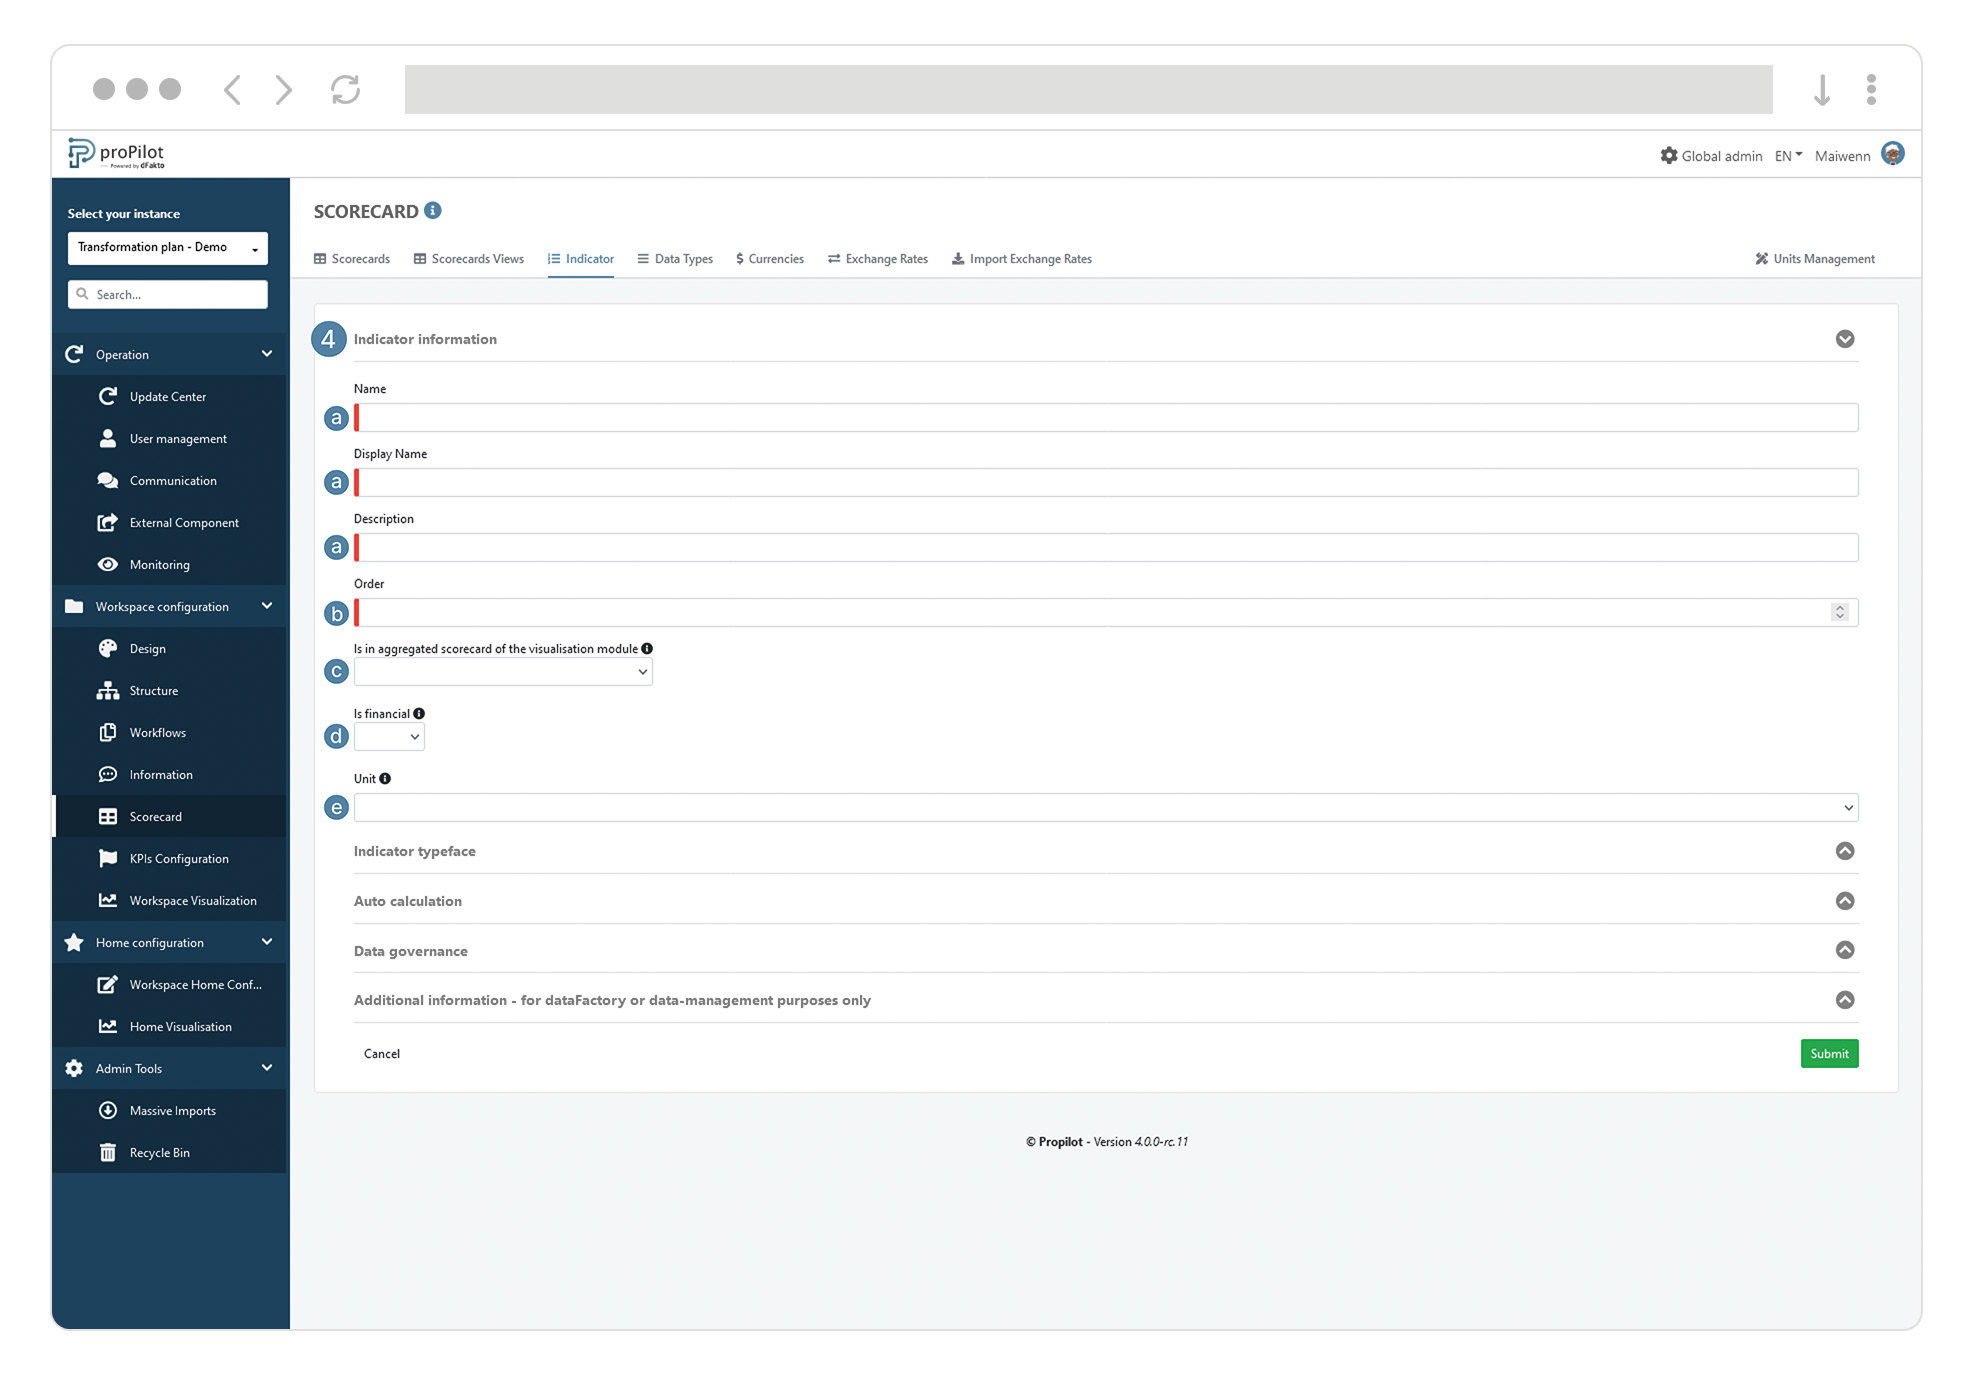
In the "indicator information" section, fill in the following fields:
-
(Technical) name, display name and possible description
-
Order (allows you to display your indicator higher or lower in the list)
-
Is in aggregated scorecard of the visualisation module: yes/no. If you select yes, the indicator will be display in the aggregated scorecard in the upper level.
-
Is financial: yes/no. If you select yes, the indicator will take the value of the scorecard's reference currency and can be impacted by the exchange rate.
-
If the indicator is not financial, indicate an associated unit to specify the expectations in terms of data collection.
-
-
In the "indicator typeface" section, complete the following fields:
-
Possible addition of a "parent entity" indicator (a tab will then be applied, which will allow the indicator to be displayed under its "parent" indicator in the scorecard)
-
Bold
-
Italic

-
-
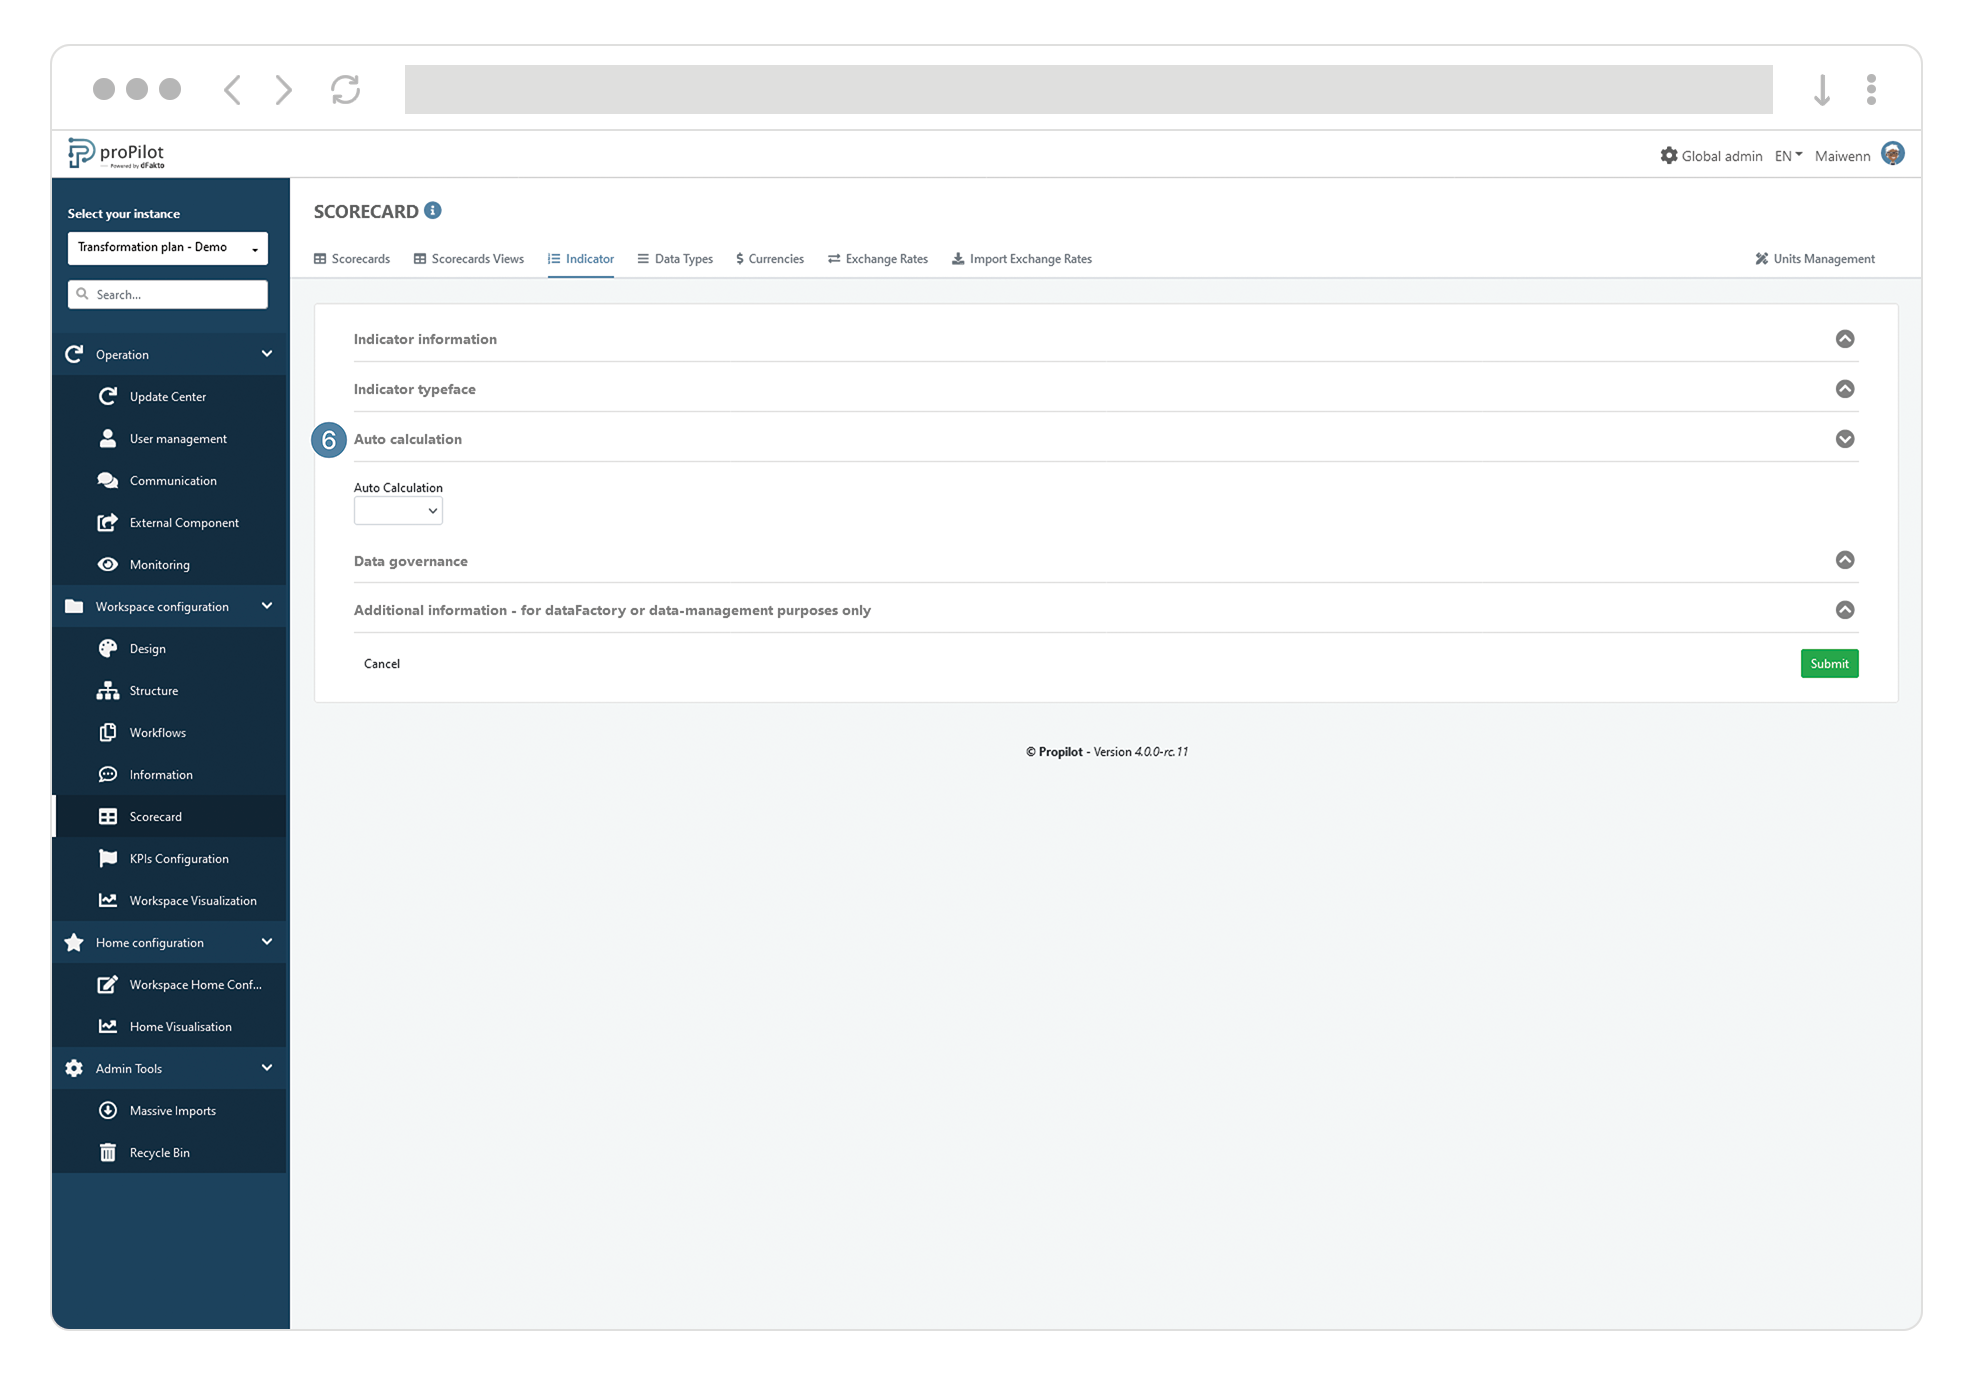
In the "Auto-calculation" section, define whether this indicator is auto-calculated or not.
-
In the "Data governance" section, complete the following fields:
-
The indicator is collected cumulatively: yes/no
-
Then define the cumulation type:
-
Year to date cumulation (Select the cumulation starting month)
-
Month to date cumulation
-
All
-
-
Define the range (Minimum and Maximum)
-
Define whether updating indicator values is subject to approval by a responsible.
-
Define the data types for which validation is required for updating the indicator.
-
-

-
In the "Additional information" section, add any tags.
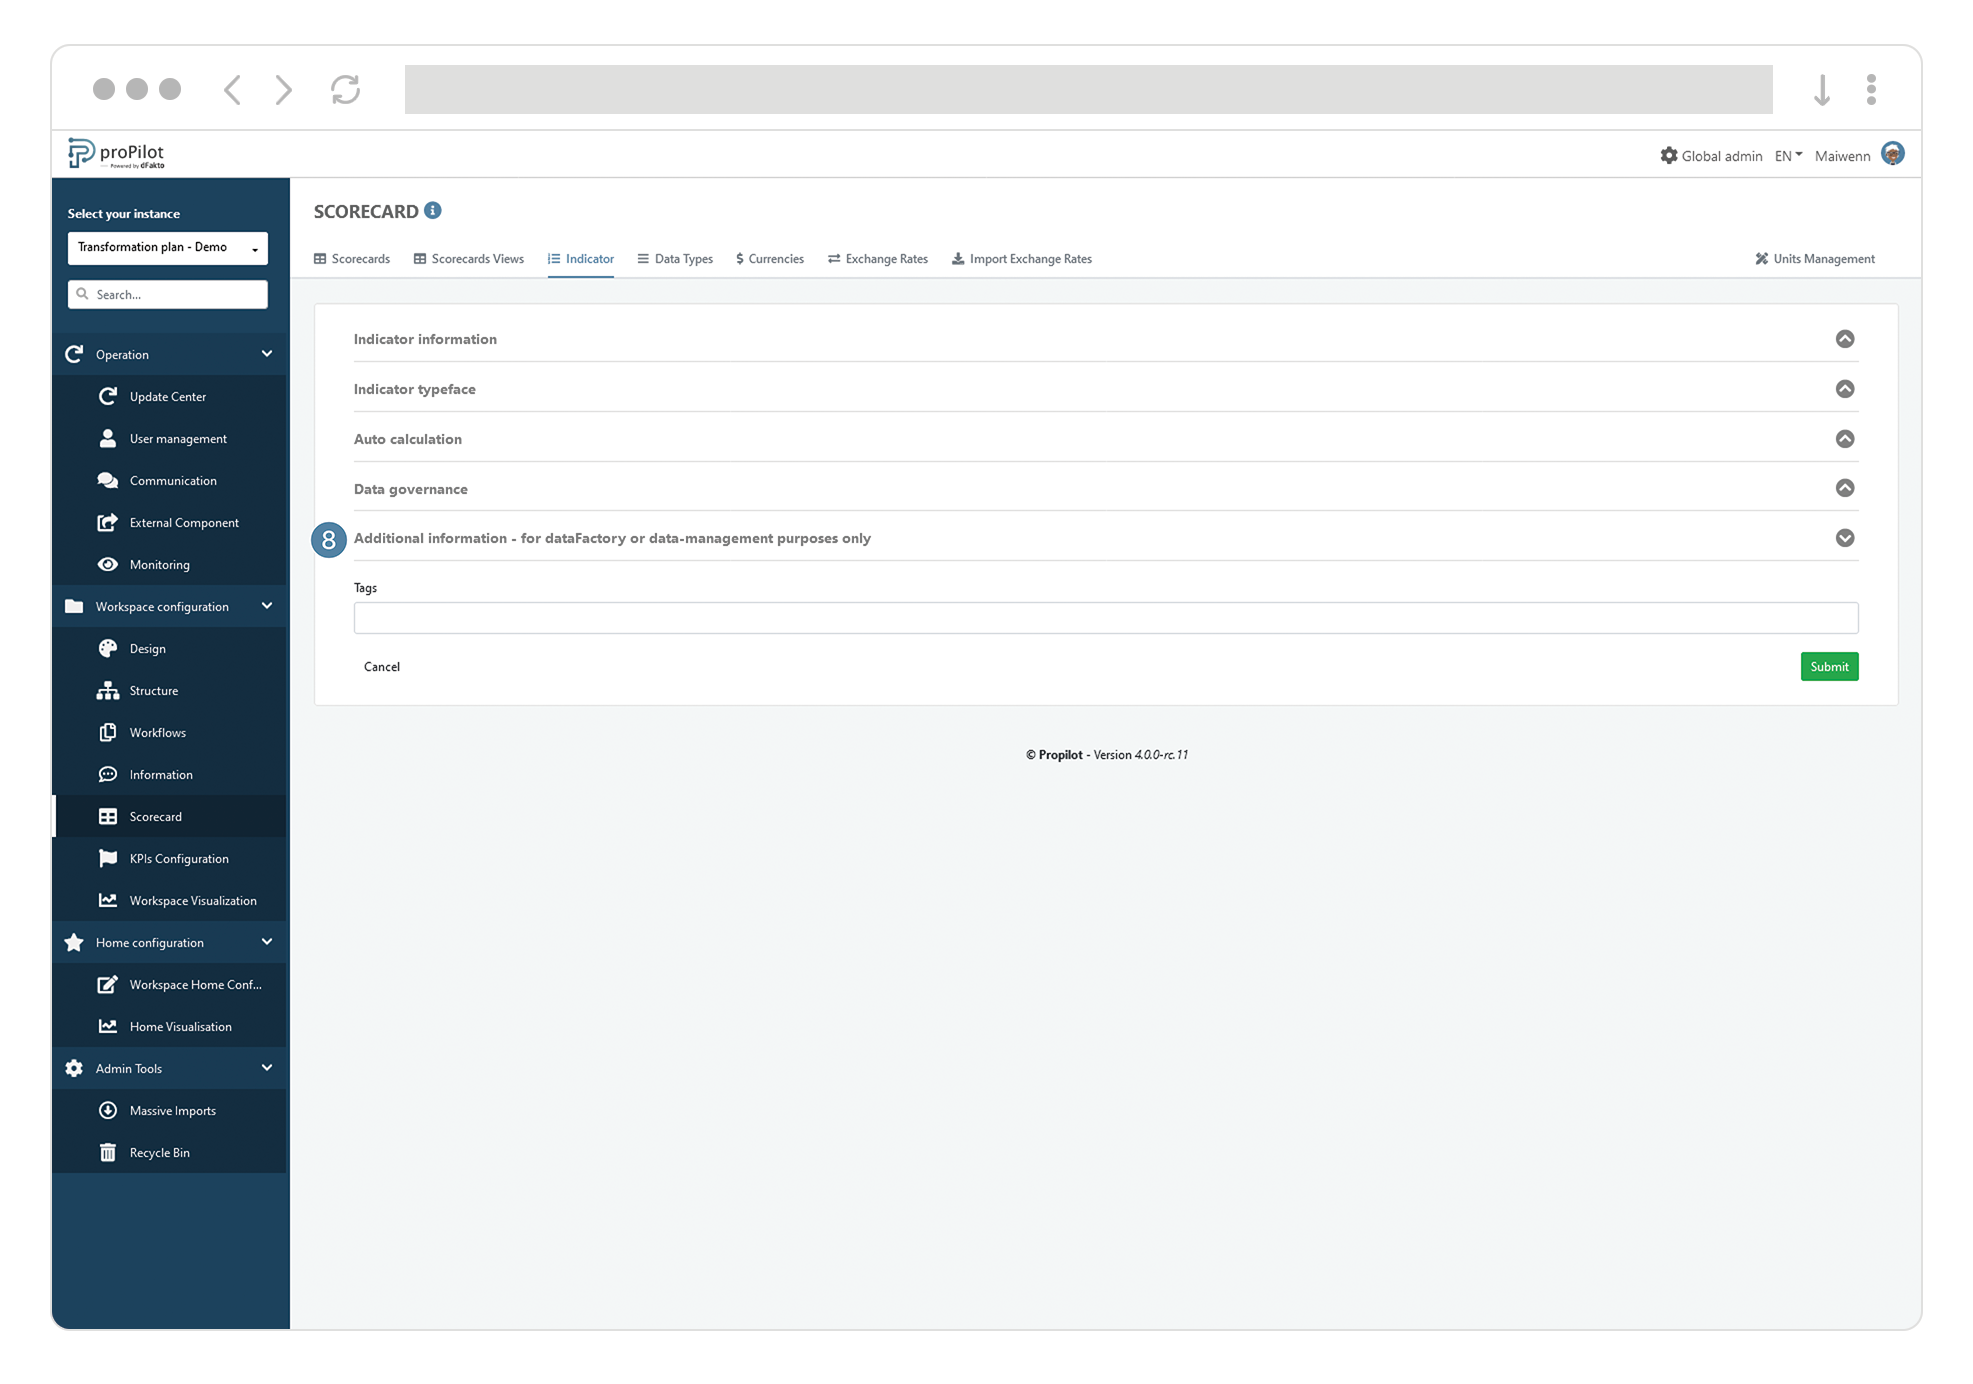
Tags are technical information that will only be available in the database for datawarehouse solutions or external reports. The tags will have no impact on the visualization within the proPilot.
Define an indicator as "auto-calculated”
-
In the left-hand menu, select "Workspace configuration" then "scorecard".
-
Then click on the "indicator" tab.
-
Click on the "edit" button of the concerned indicator.
-
In the "auto-calculation" section, define this indicator as auto-calculated.
-
In the following fields, determine the operation and the terms of the calculation based on the existing indicators. The terms and operators of the formula can be entered using the keyboard.
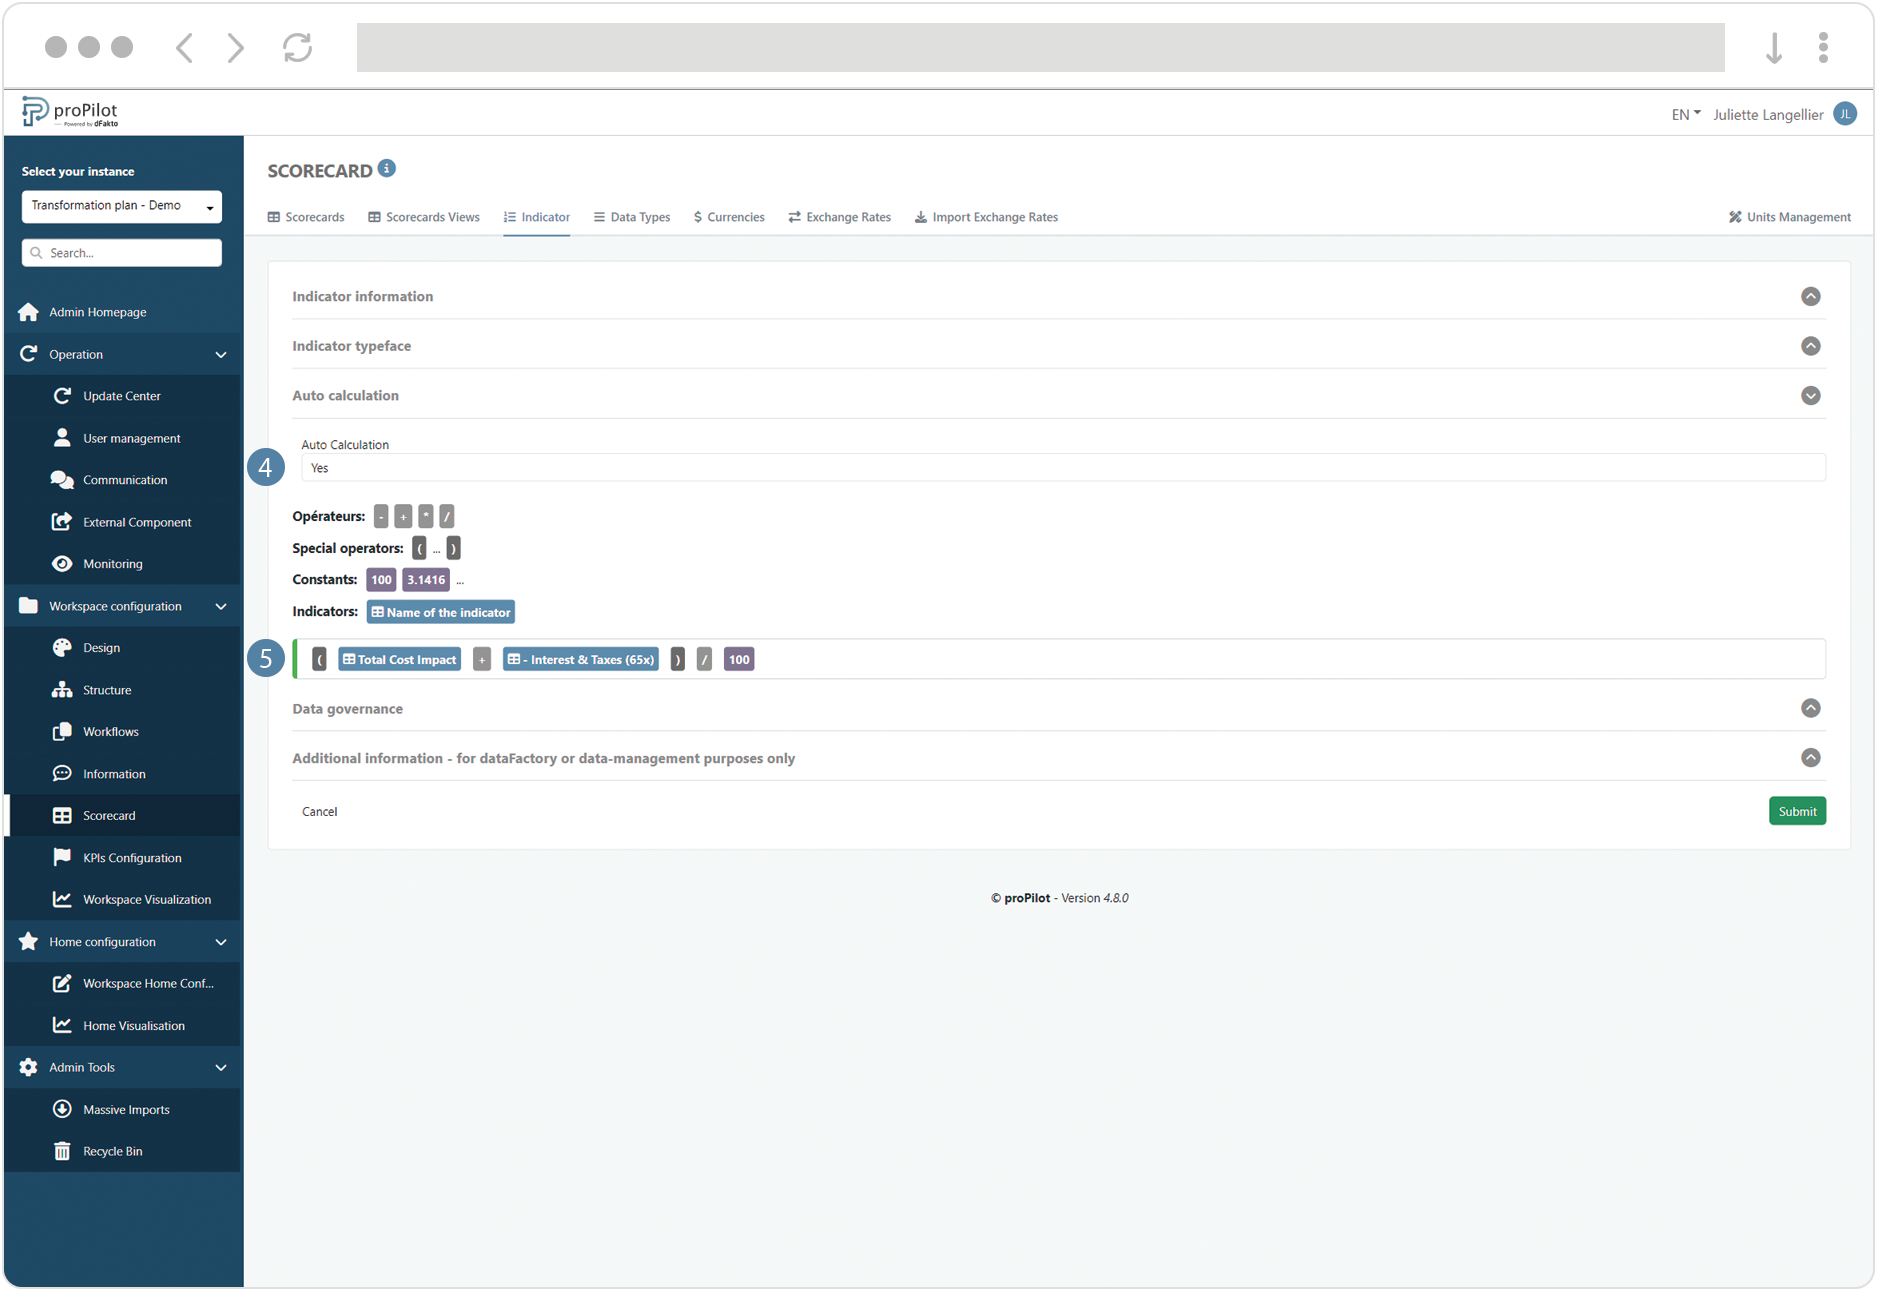
In the case of multi-currency management, the “constant” values of your calculation rule will not be impacted by the change in the exchange rate.
By setting an existing indicator as auto-calculated when editing, all previously encoded values for that indicator will be lost.
If your proPilot is connecting to external tools using the proPilot data module, it is essential to ensure that your formula contains at least one indicator from your scorecard.
Modify an existing indicator (name, description, unit,...)
-
In the left-hand menu, select "Workspace configuration" then "scorecard".
-
Then click on the "indicator" tab.
-
Click on the "edit" button of the indicator concerned.
-
Navigate through the sections to modify the type of indicator.

Add an indicator to your scorecard
-
In the left menu, select "Workspace configuration" and then "scorecard".
-
Then click on the "scorecards" tab.
-
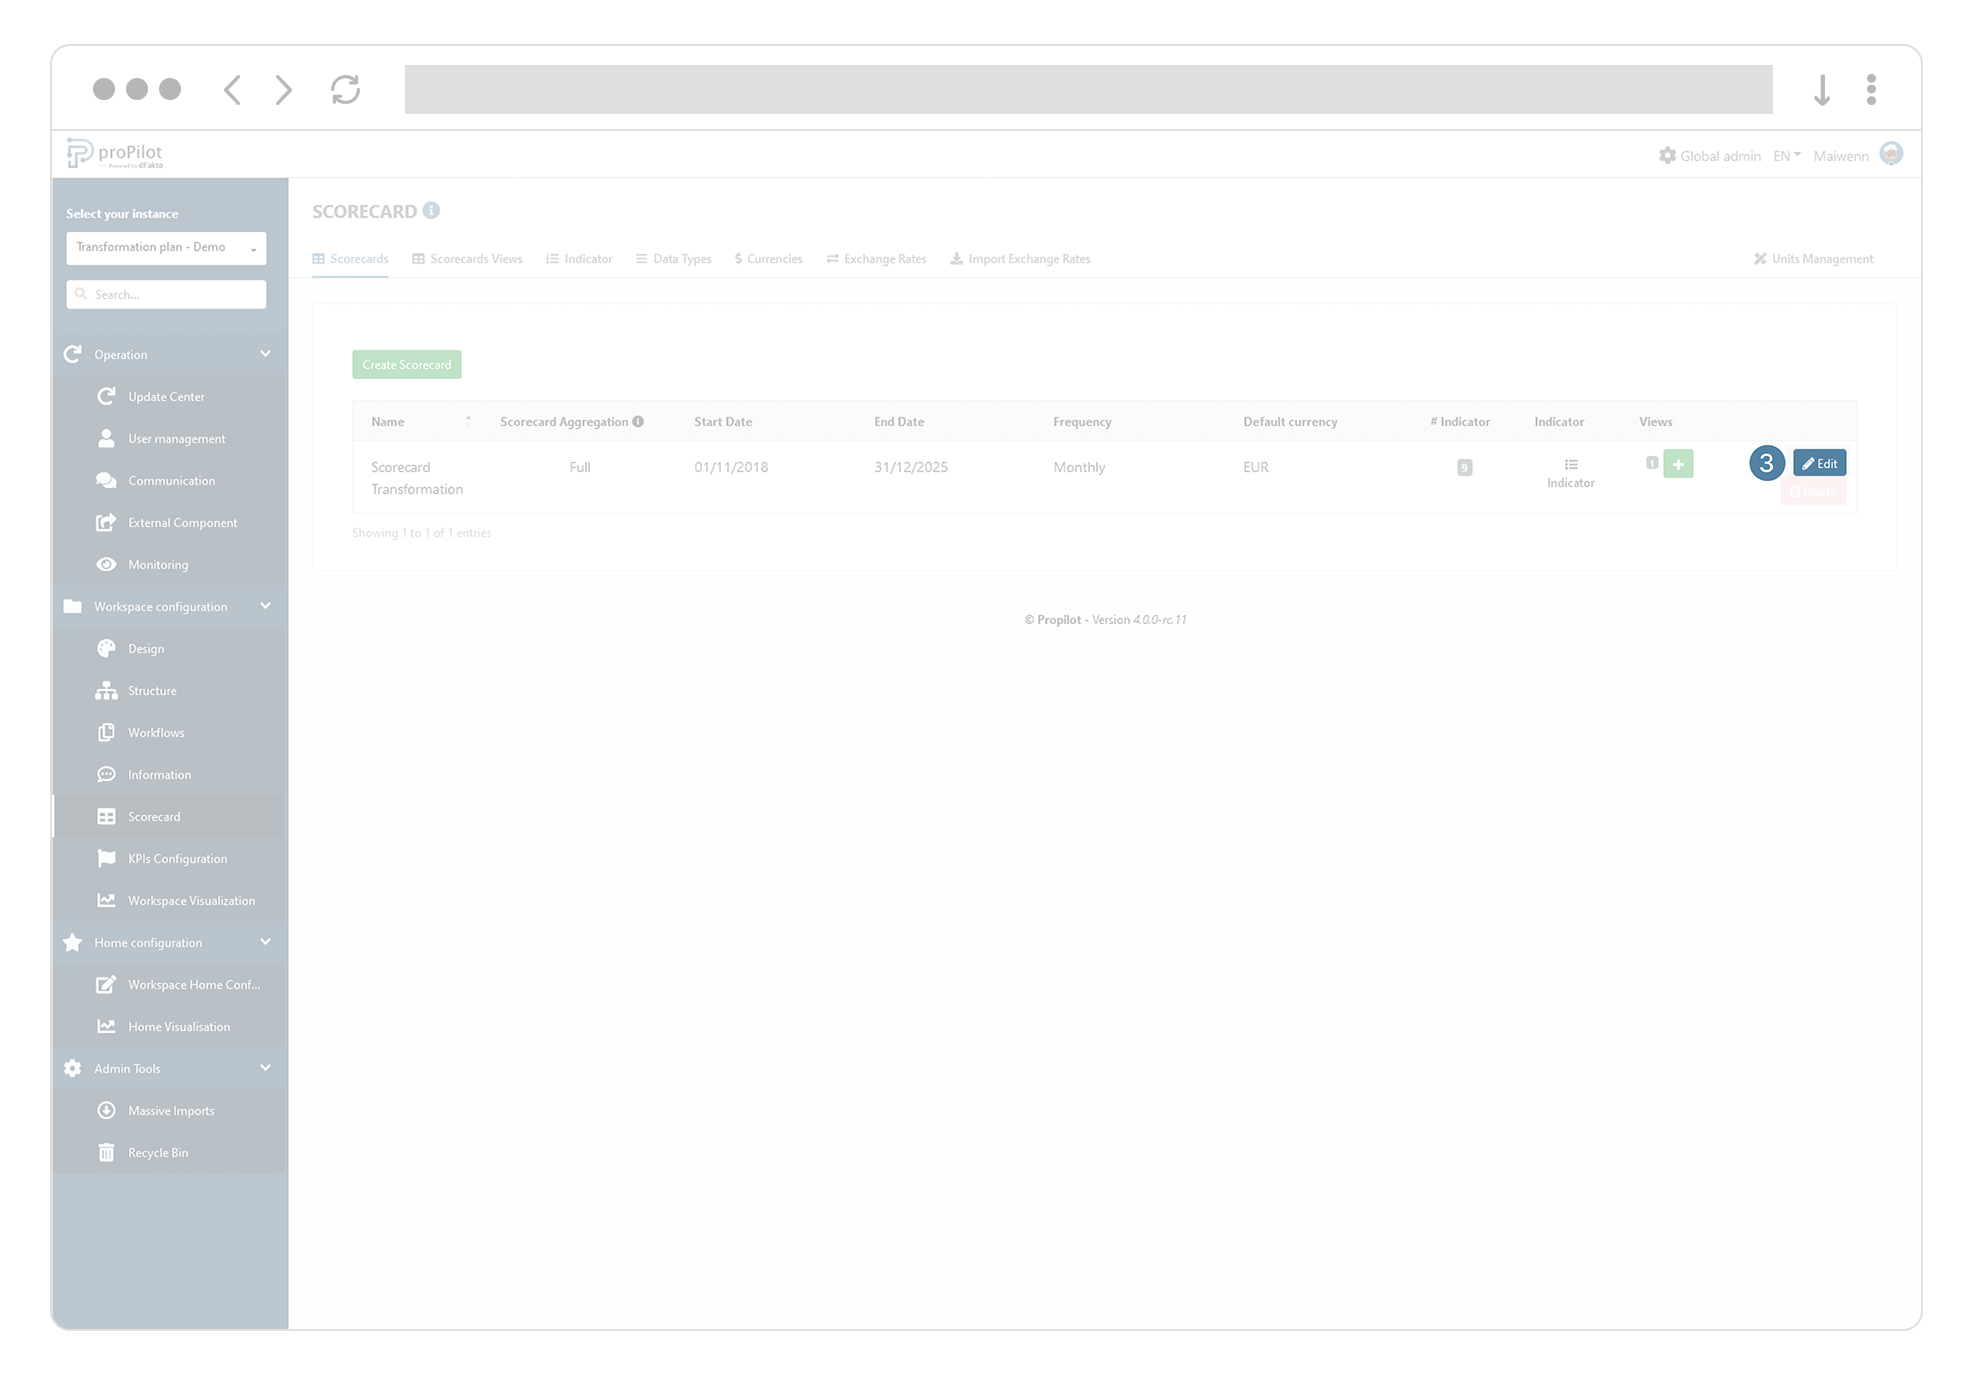
Click on the "indicators" button of the scorecard you want to update.

-
Check the “In the scorecard” for indicators you wish to integrate and then click on "save".
Create data types for your indicators
The data types will allow you to track the indicators in a business repository.
The data type will allow you to choose the reference framework in a list directly from the scorecard. This integrated management of the repository allows you to compare the same indicator for a given date with your business framework.
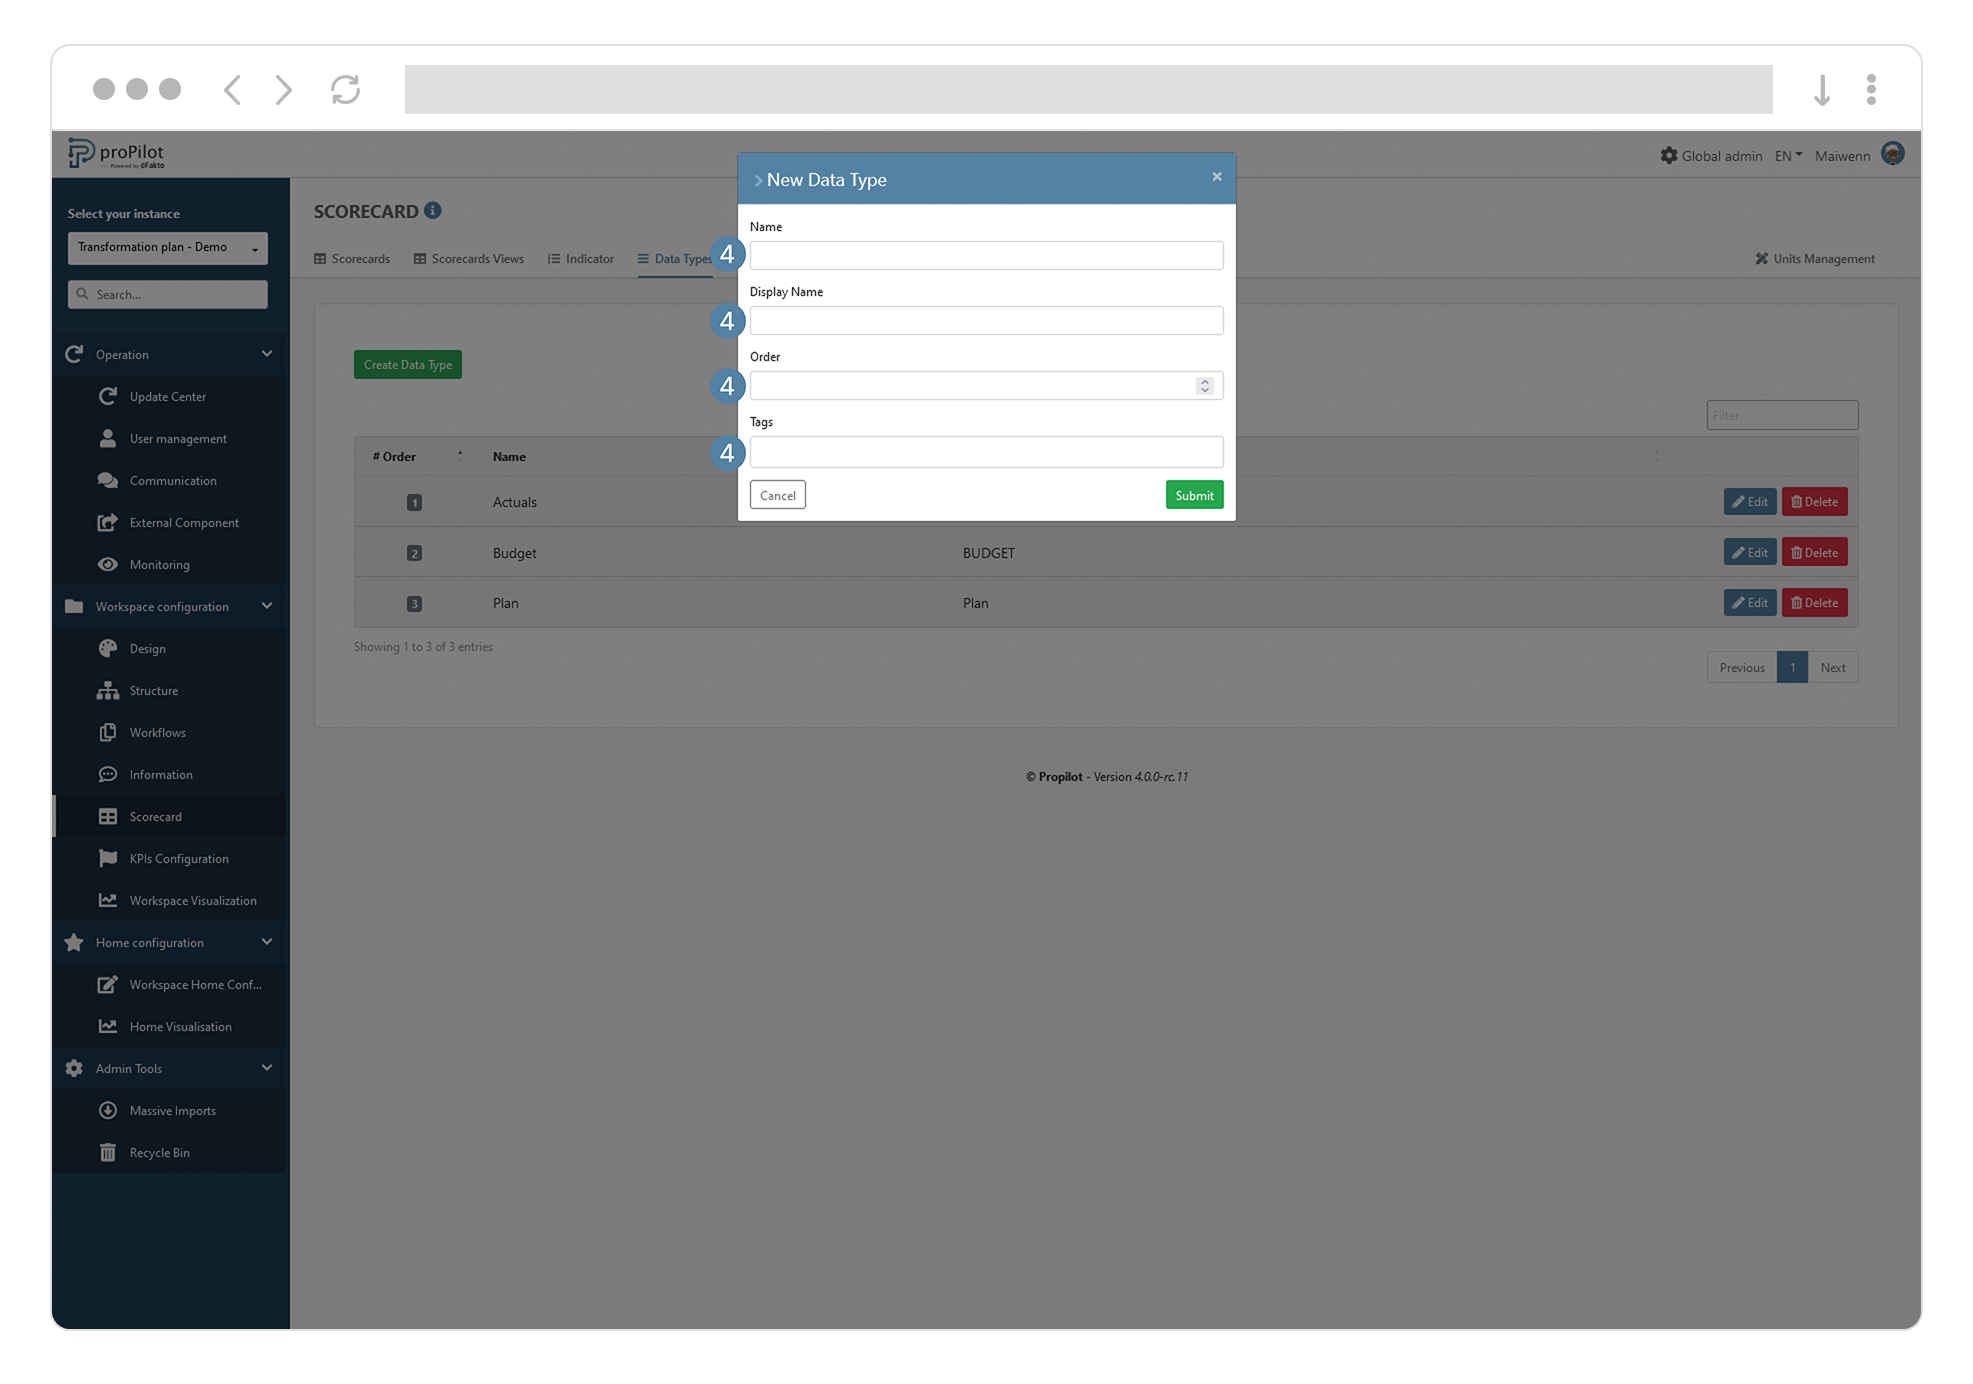
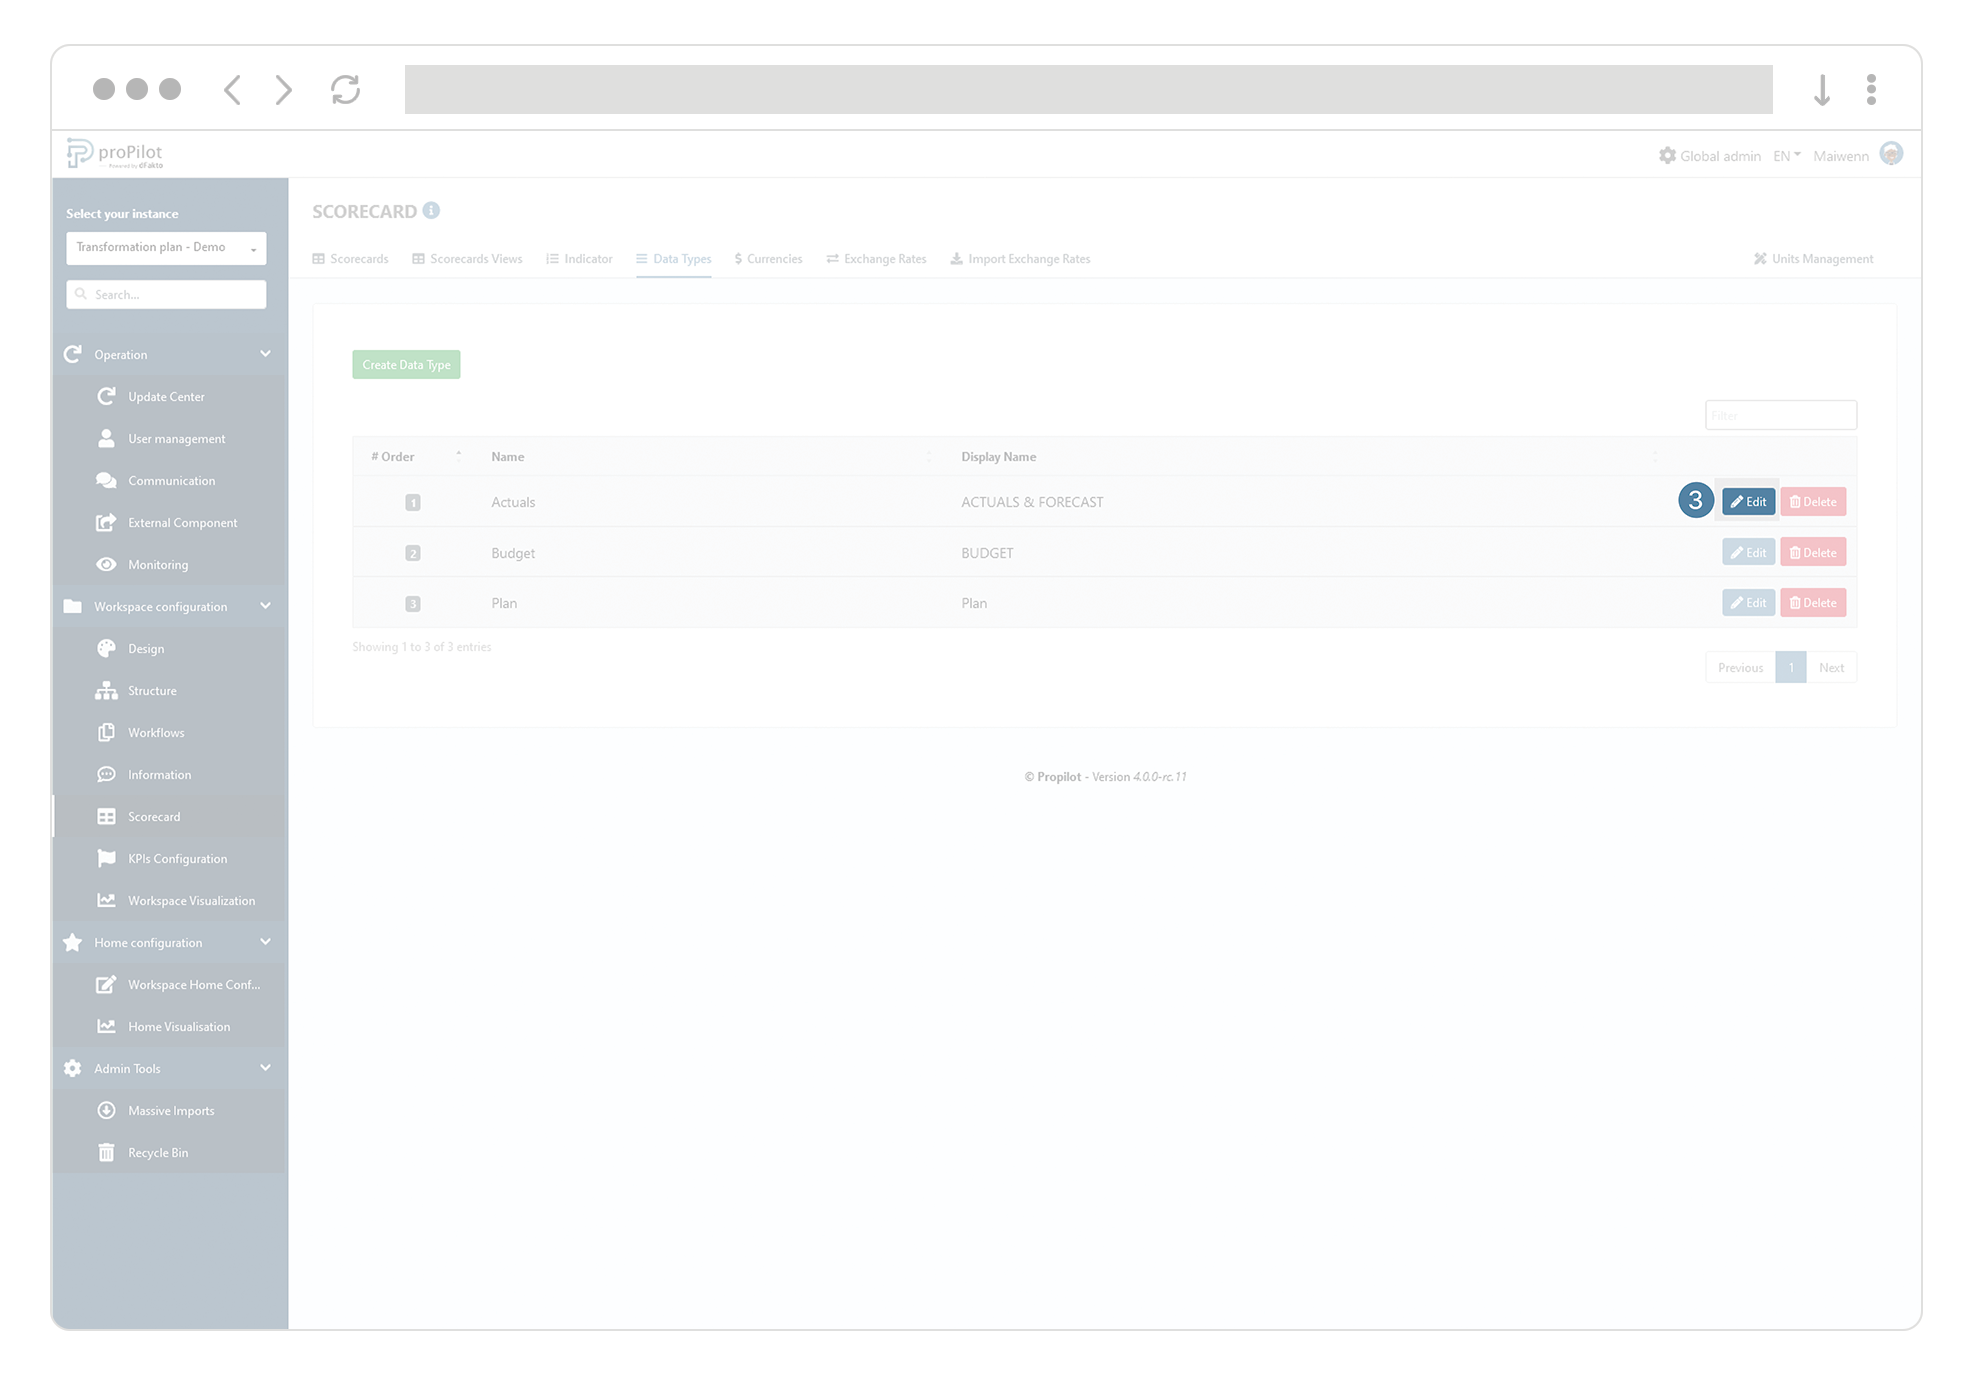
Create a new type of value that you want to track (current value, target value, objective, budget,...) for your indicators
-
In the left menu, select "Workspace configuration" then "scorecard".
-
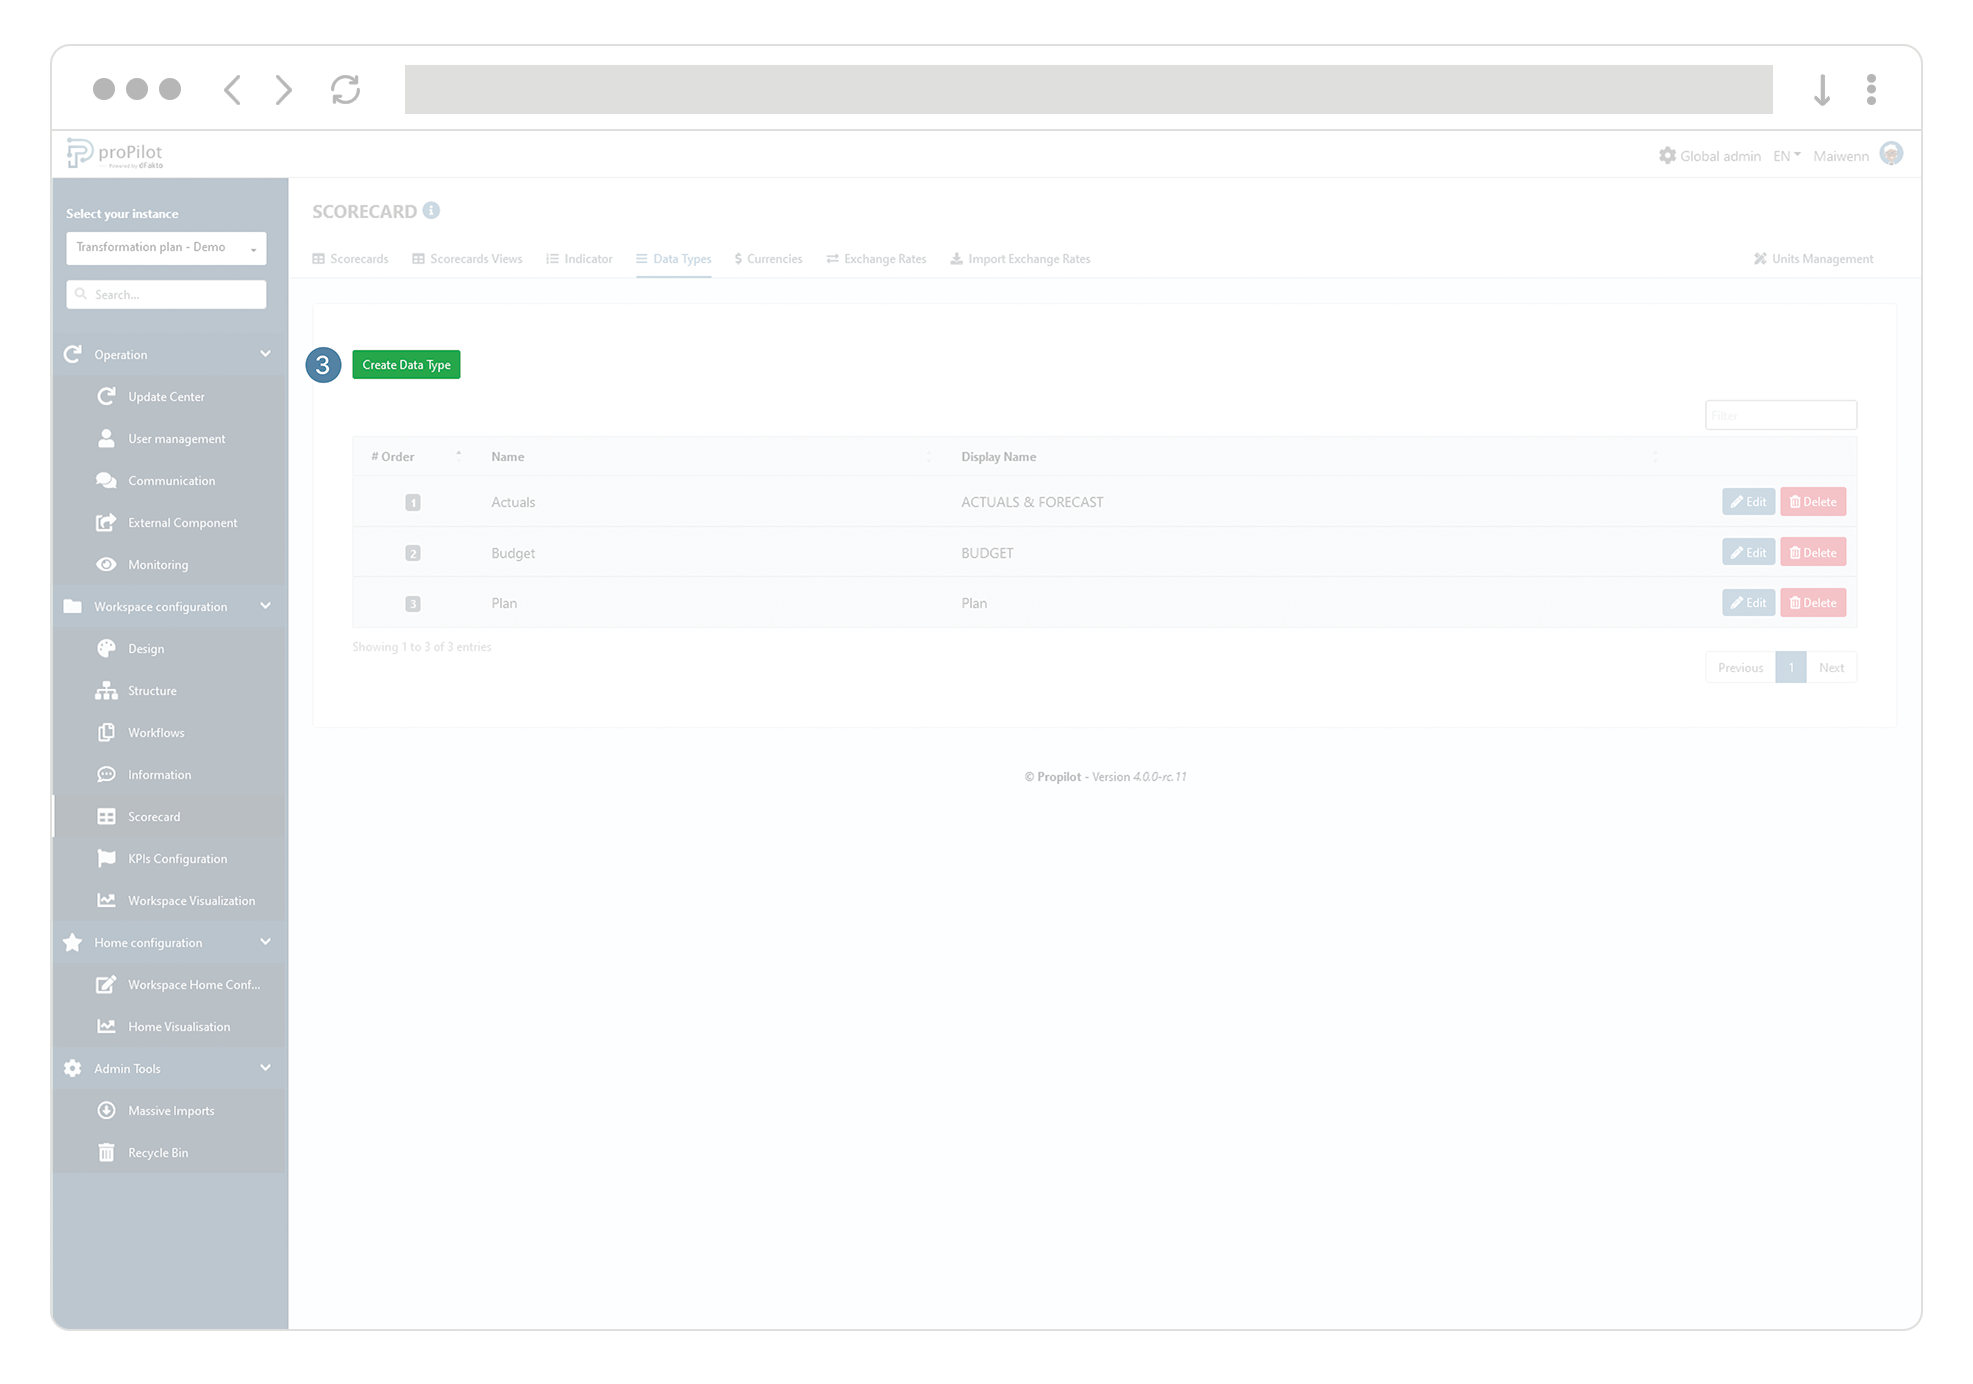
Then click on the "data types" tab.

-
Click on the "create data type" button. A pop-up window opens.
-
Integrate the following elements:
-
(technical) name
-
display name
-
Order, to define in which order the data types will be displayed in the scorecard.
-
Possible tags.
-
Tags are technical information that will only be available in the database for datawarehouse solutions or external reports. Tags will have no impact on the visualization inside proPilot.
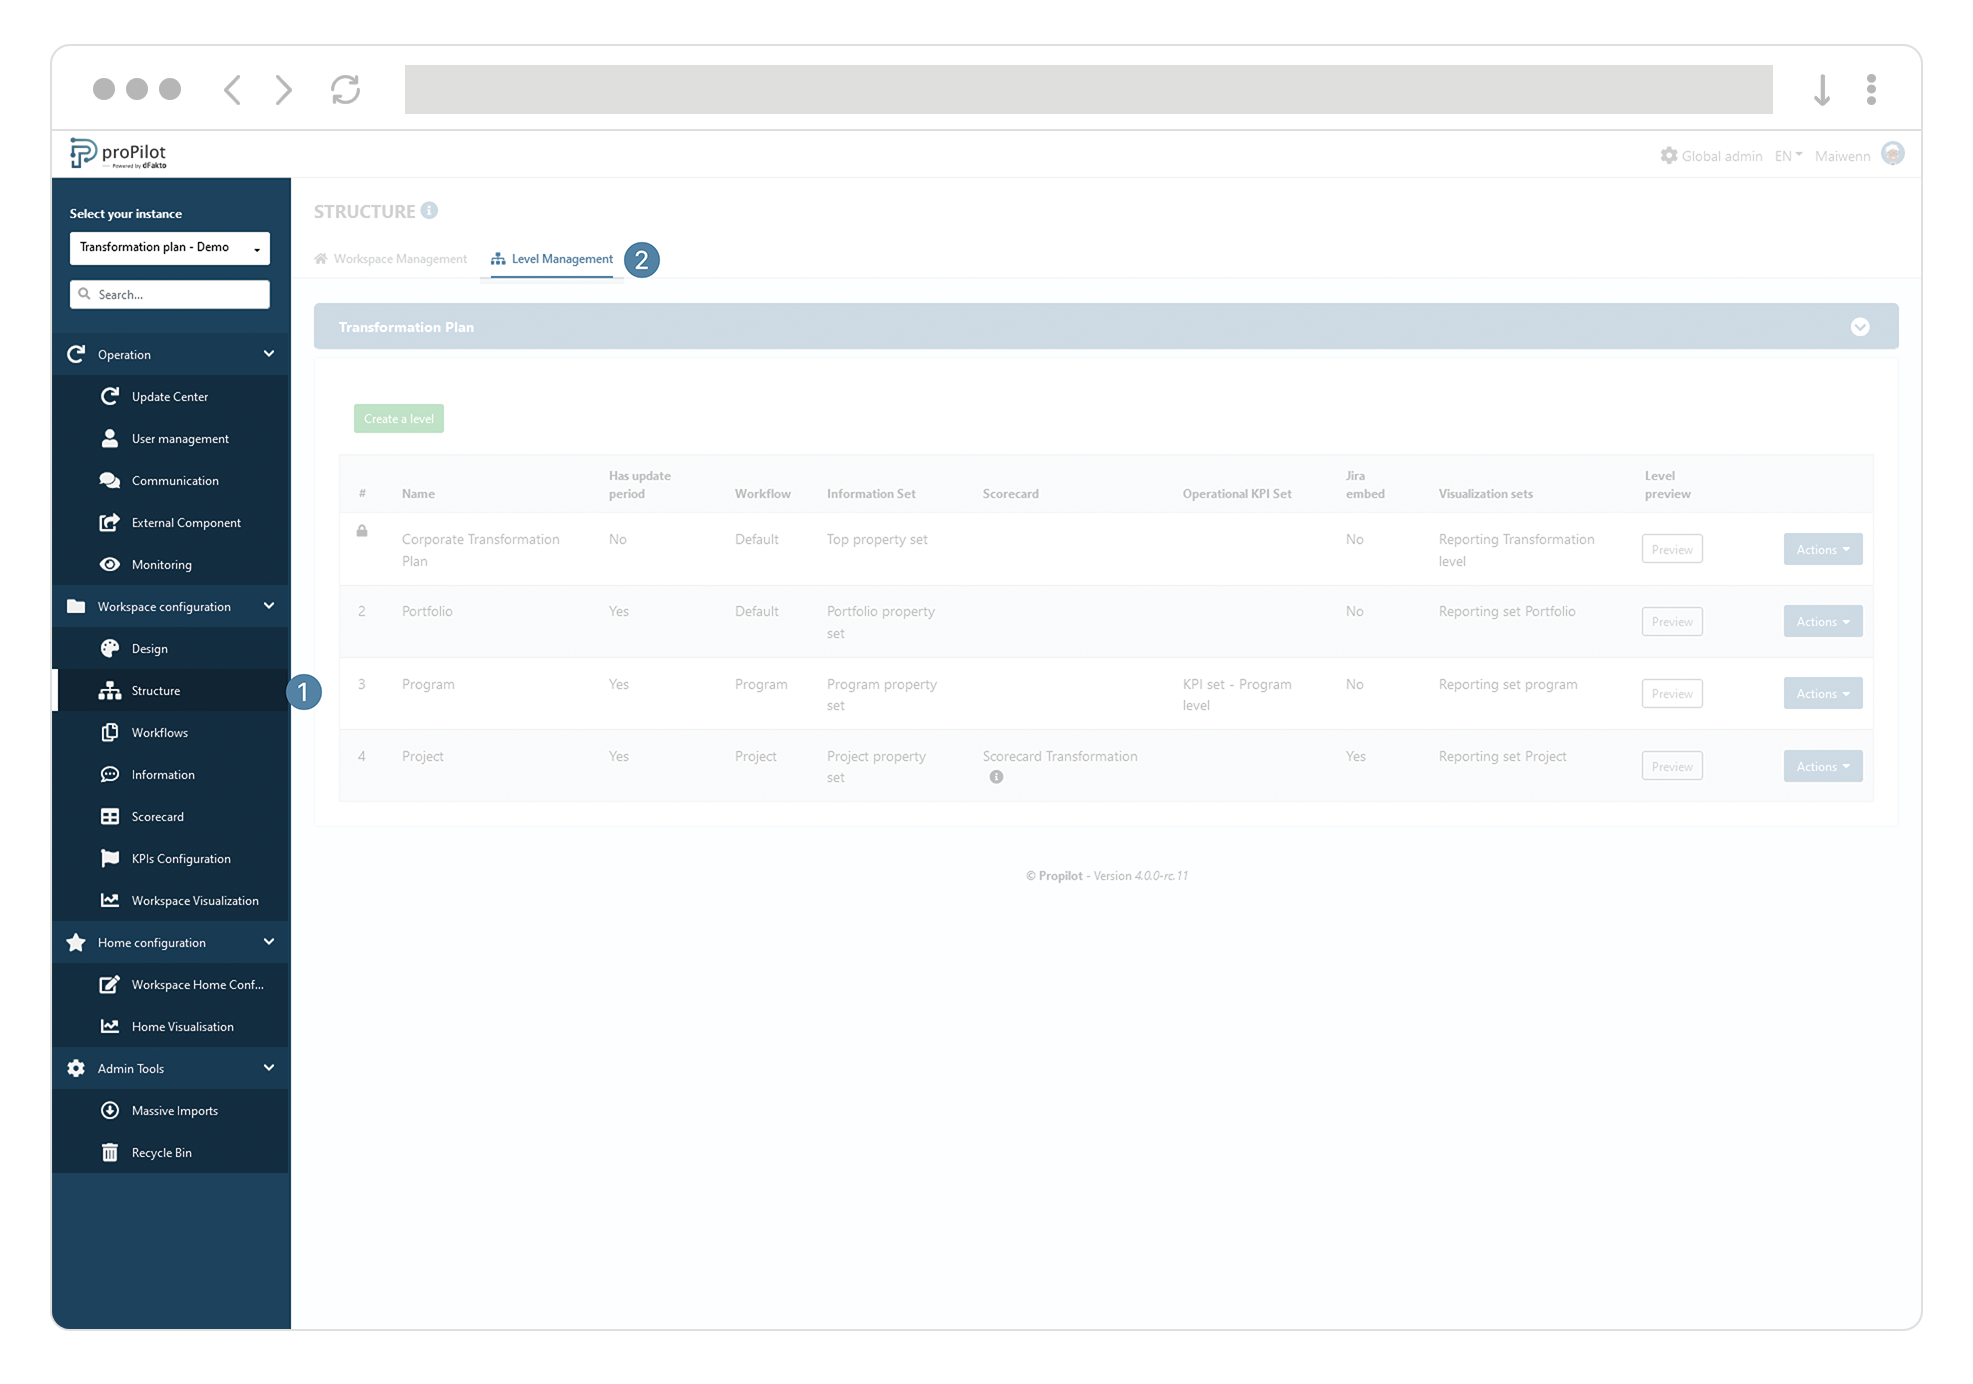
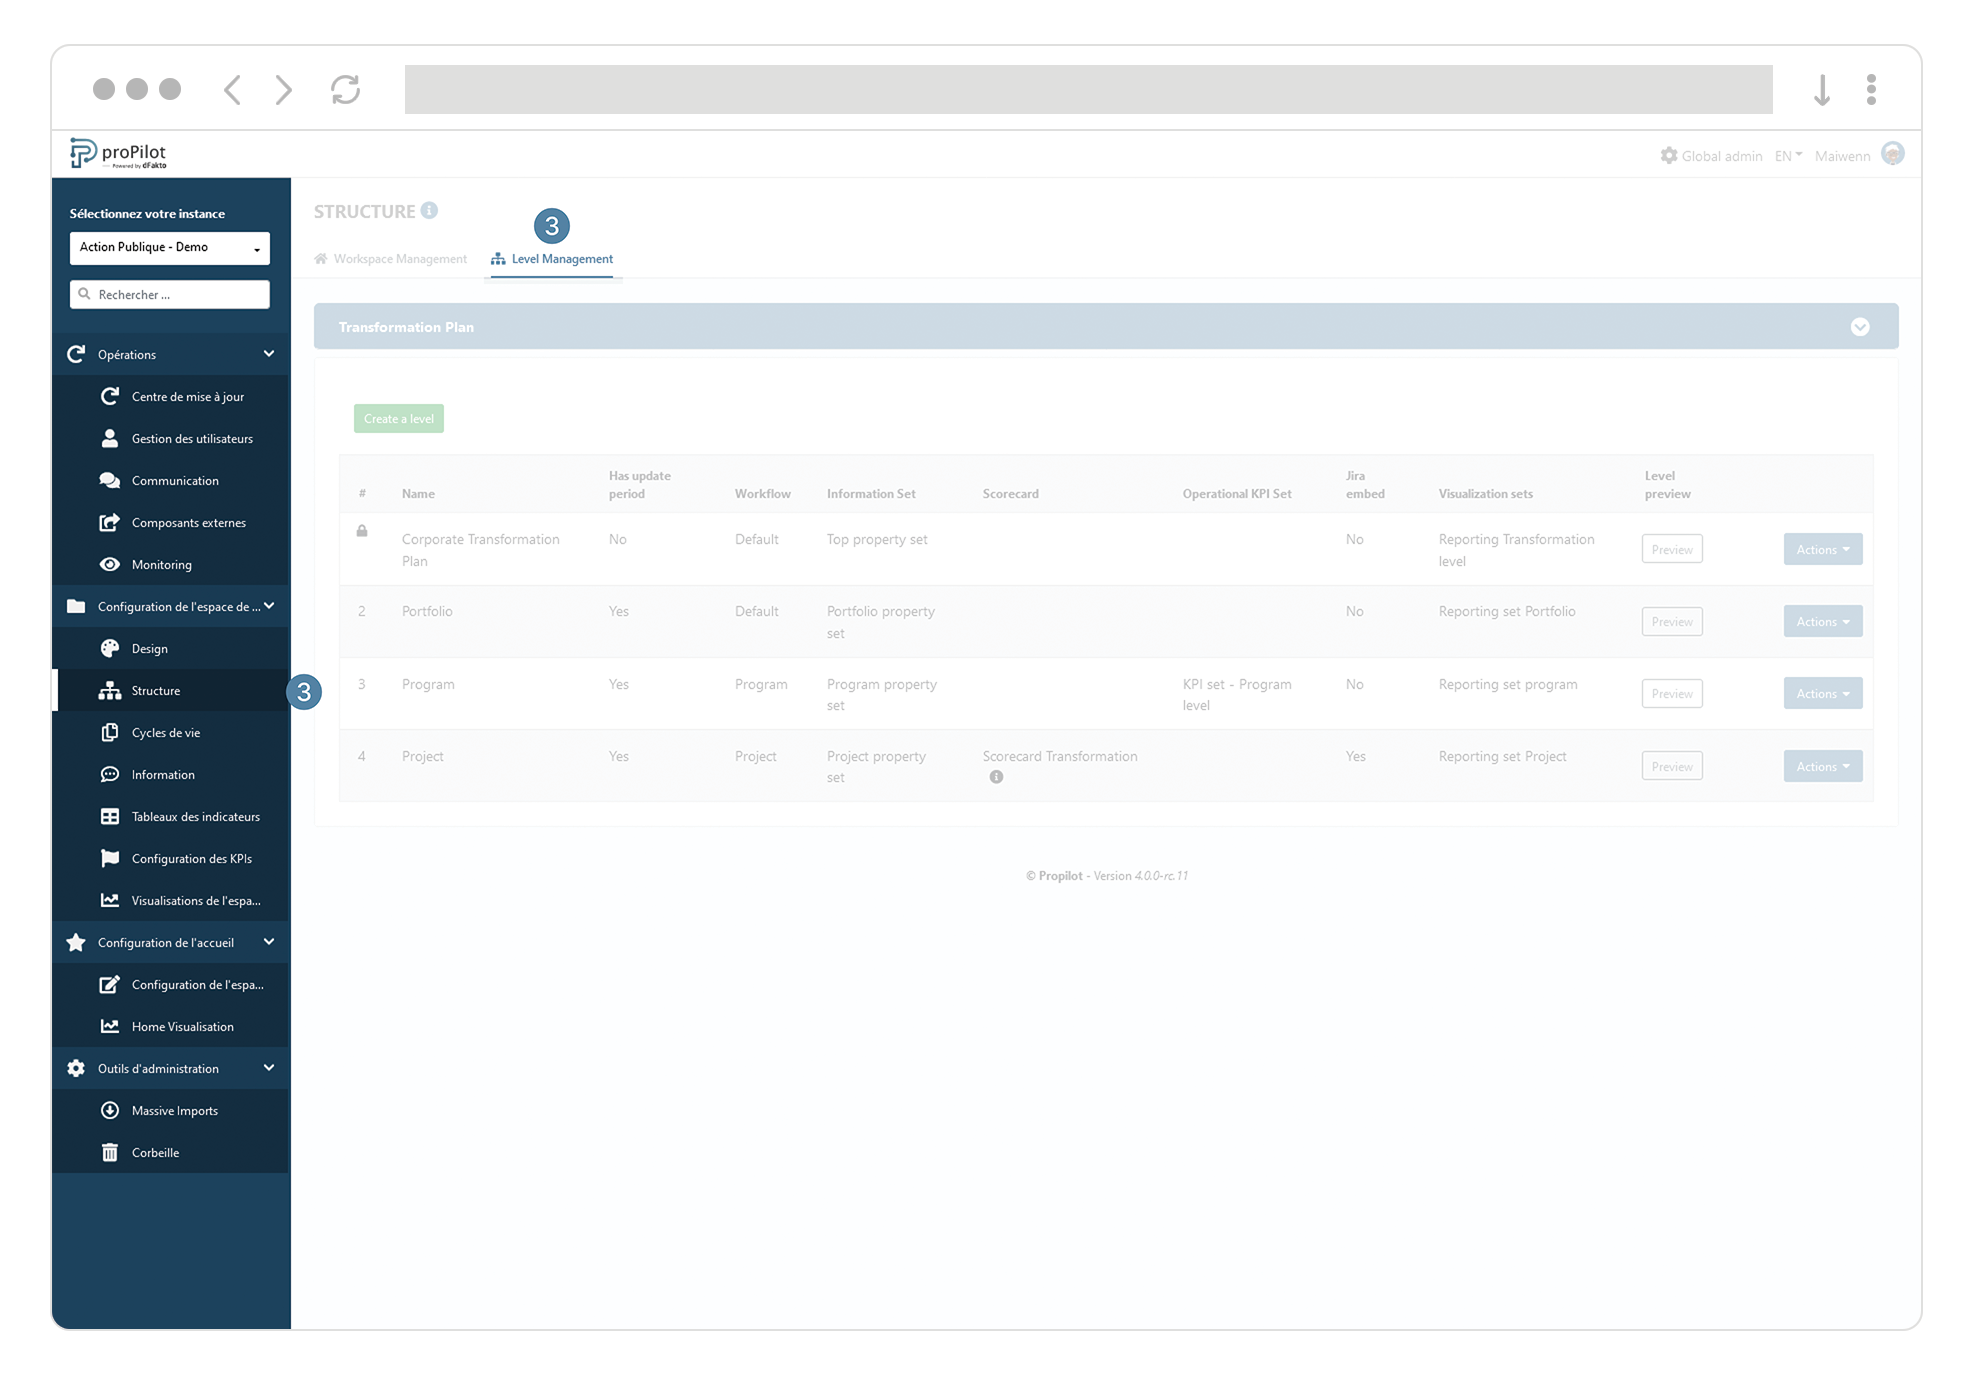
Enable data type tracking for the desired levels
In proPilot, it is possible to activate data types specifically for the different levels. This configuration is done level by level.
-
In the left-hand menu, select "Workspace configuration" and then "structure".
-
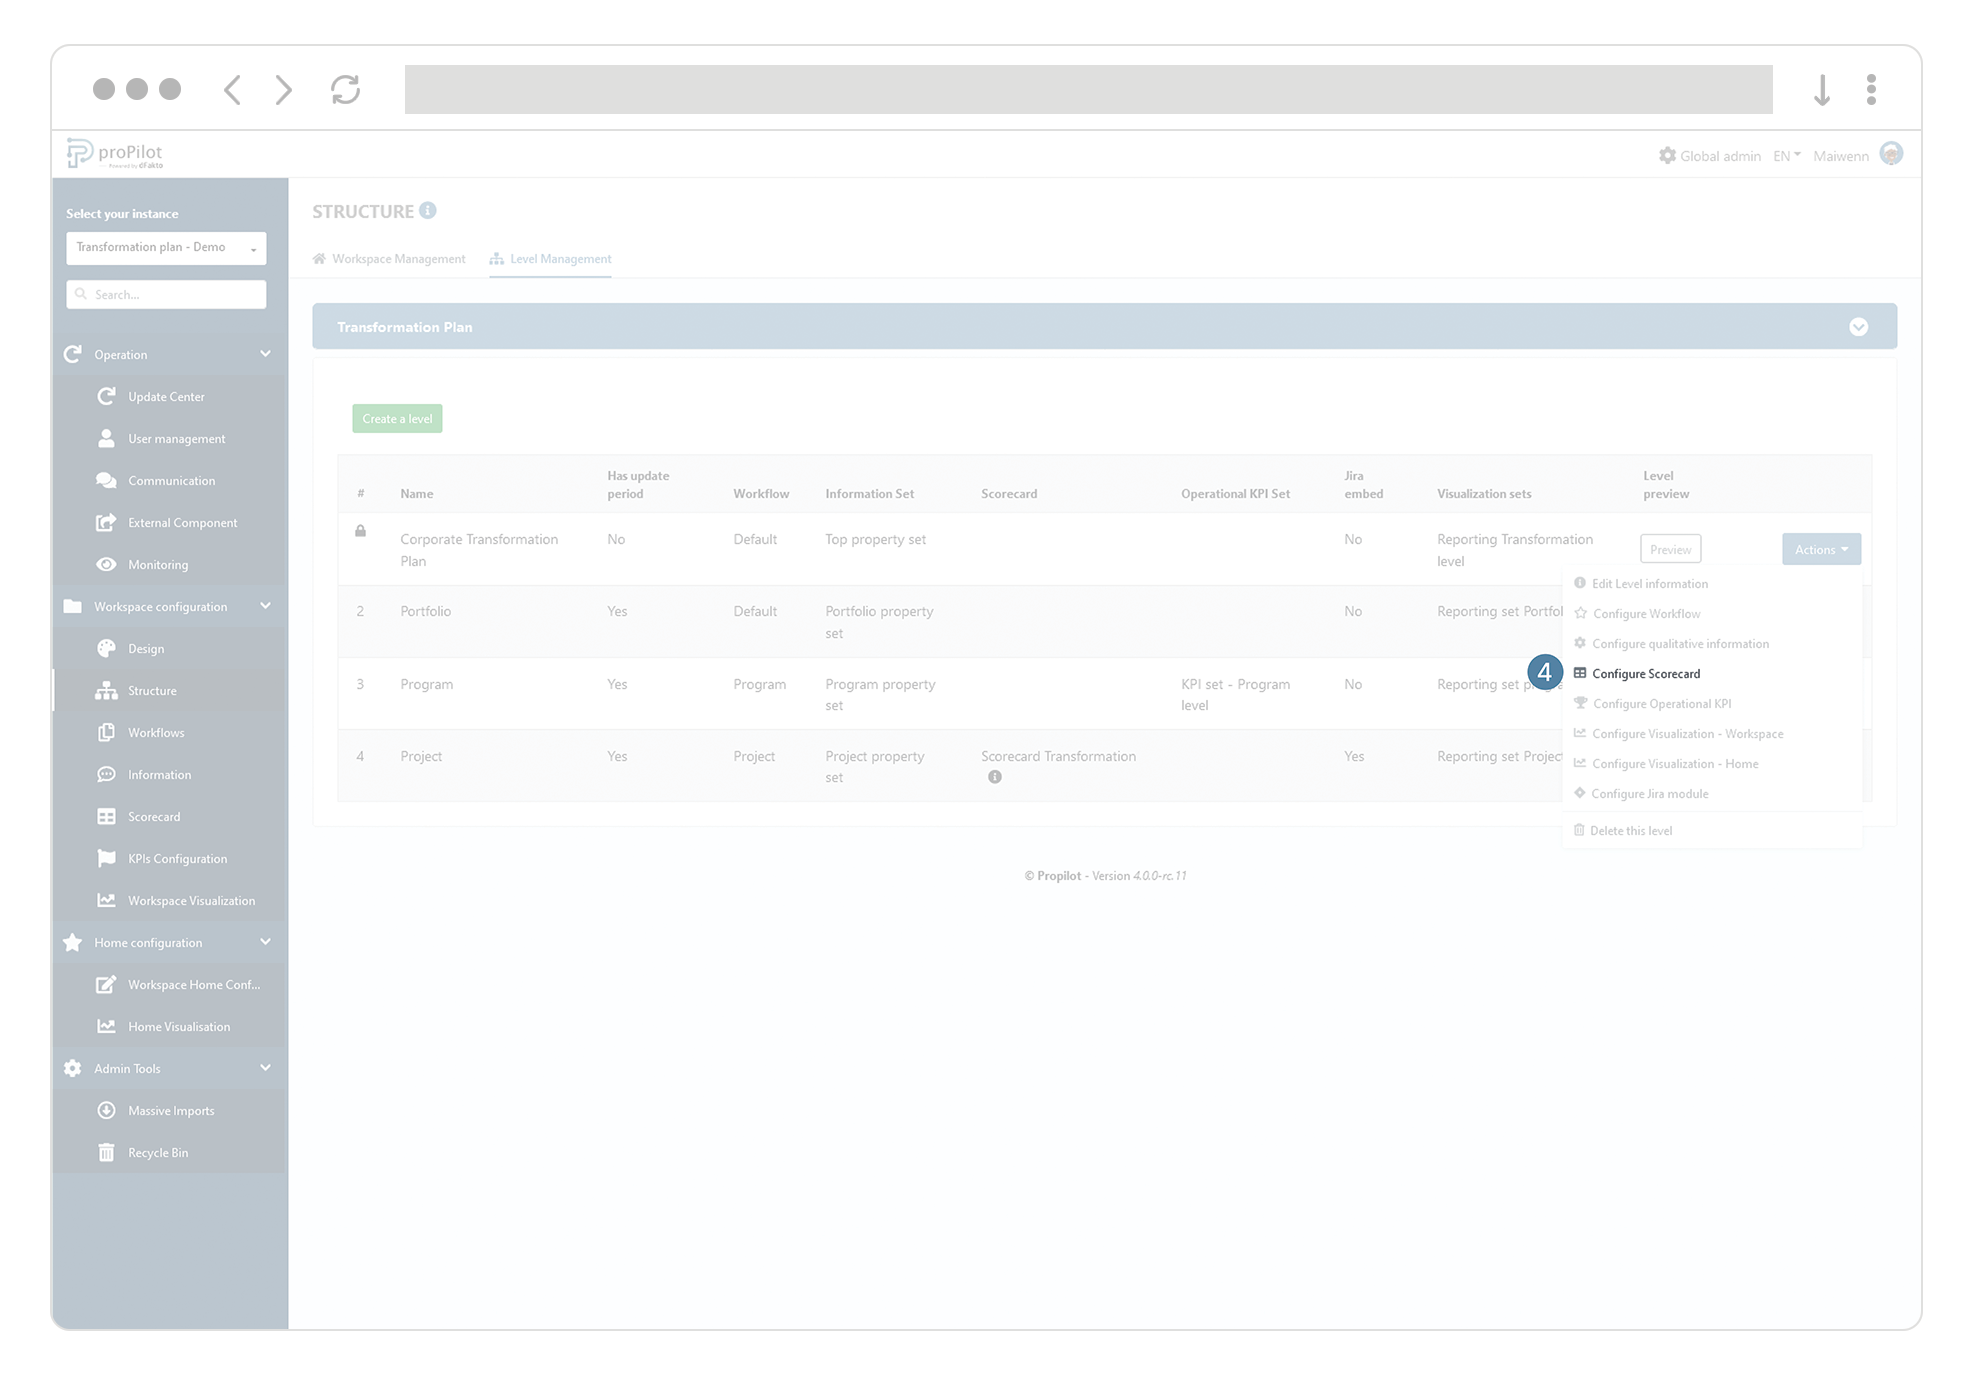
Click on the "level management" tab and select the workspace you want to update. This module allows you to manage the levels and their respective configurations.
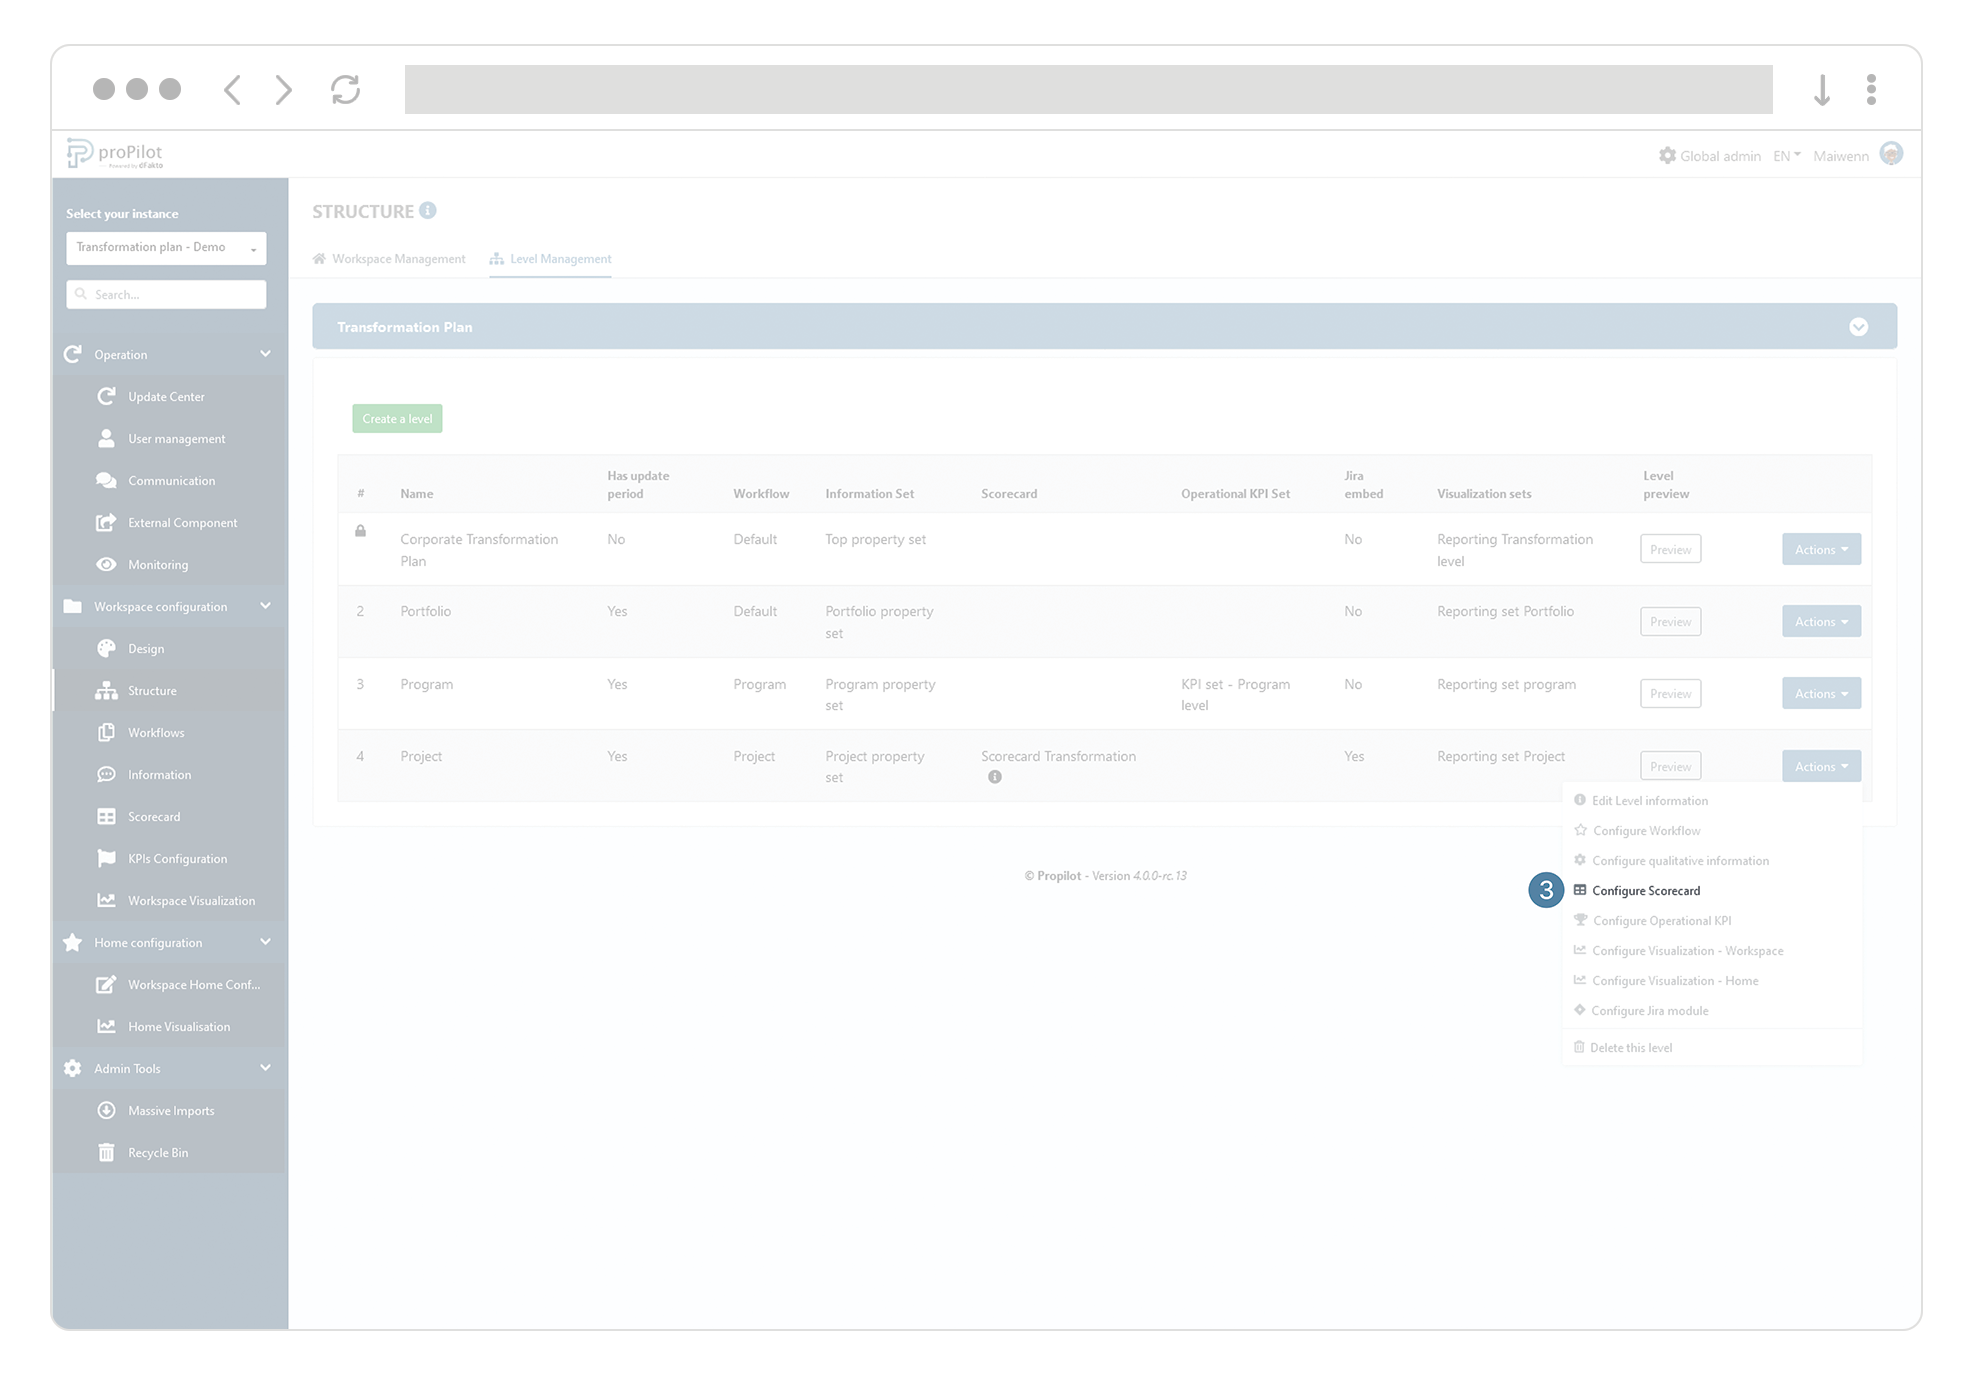
-
Click on the "actions" button of the level you want to update. Then select "configure scorecard" A pop-up window appears.

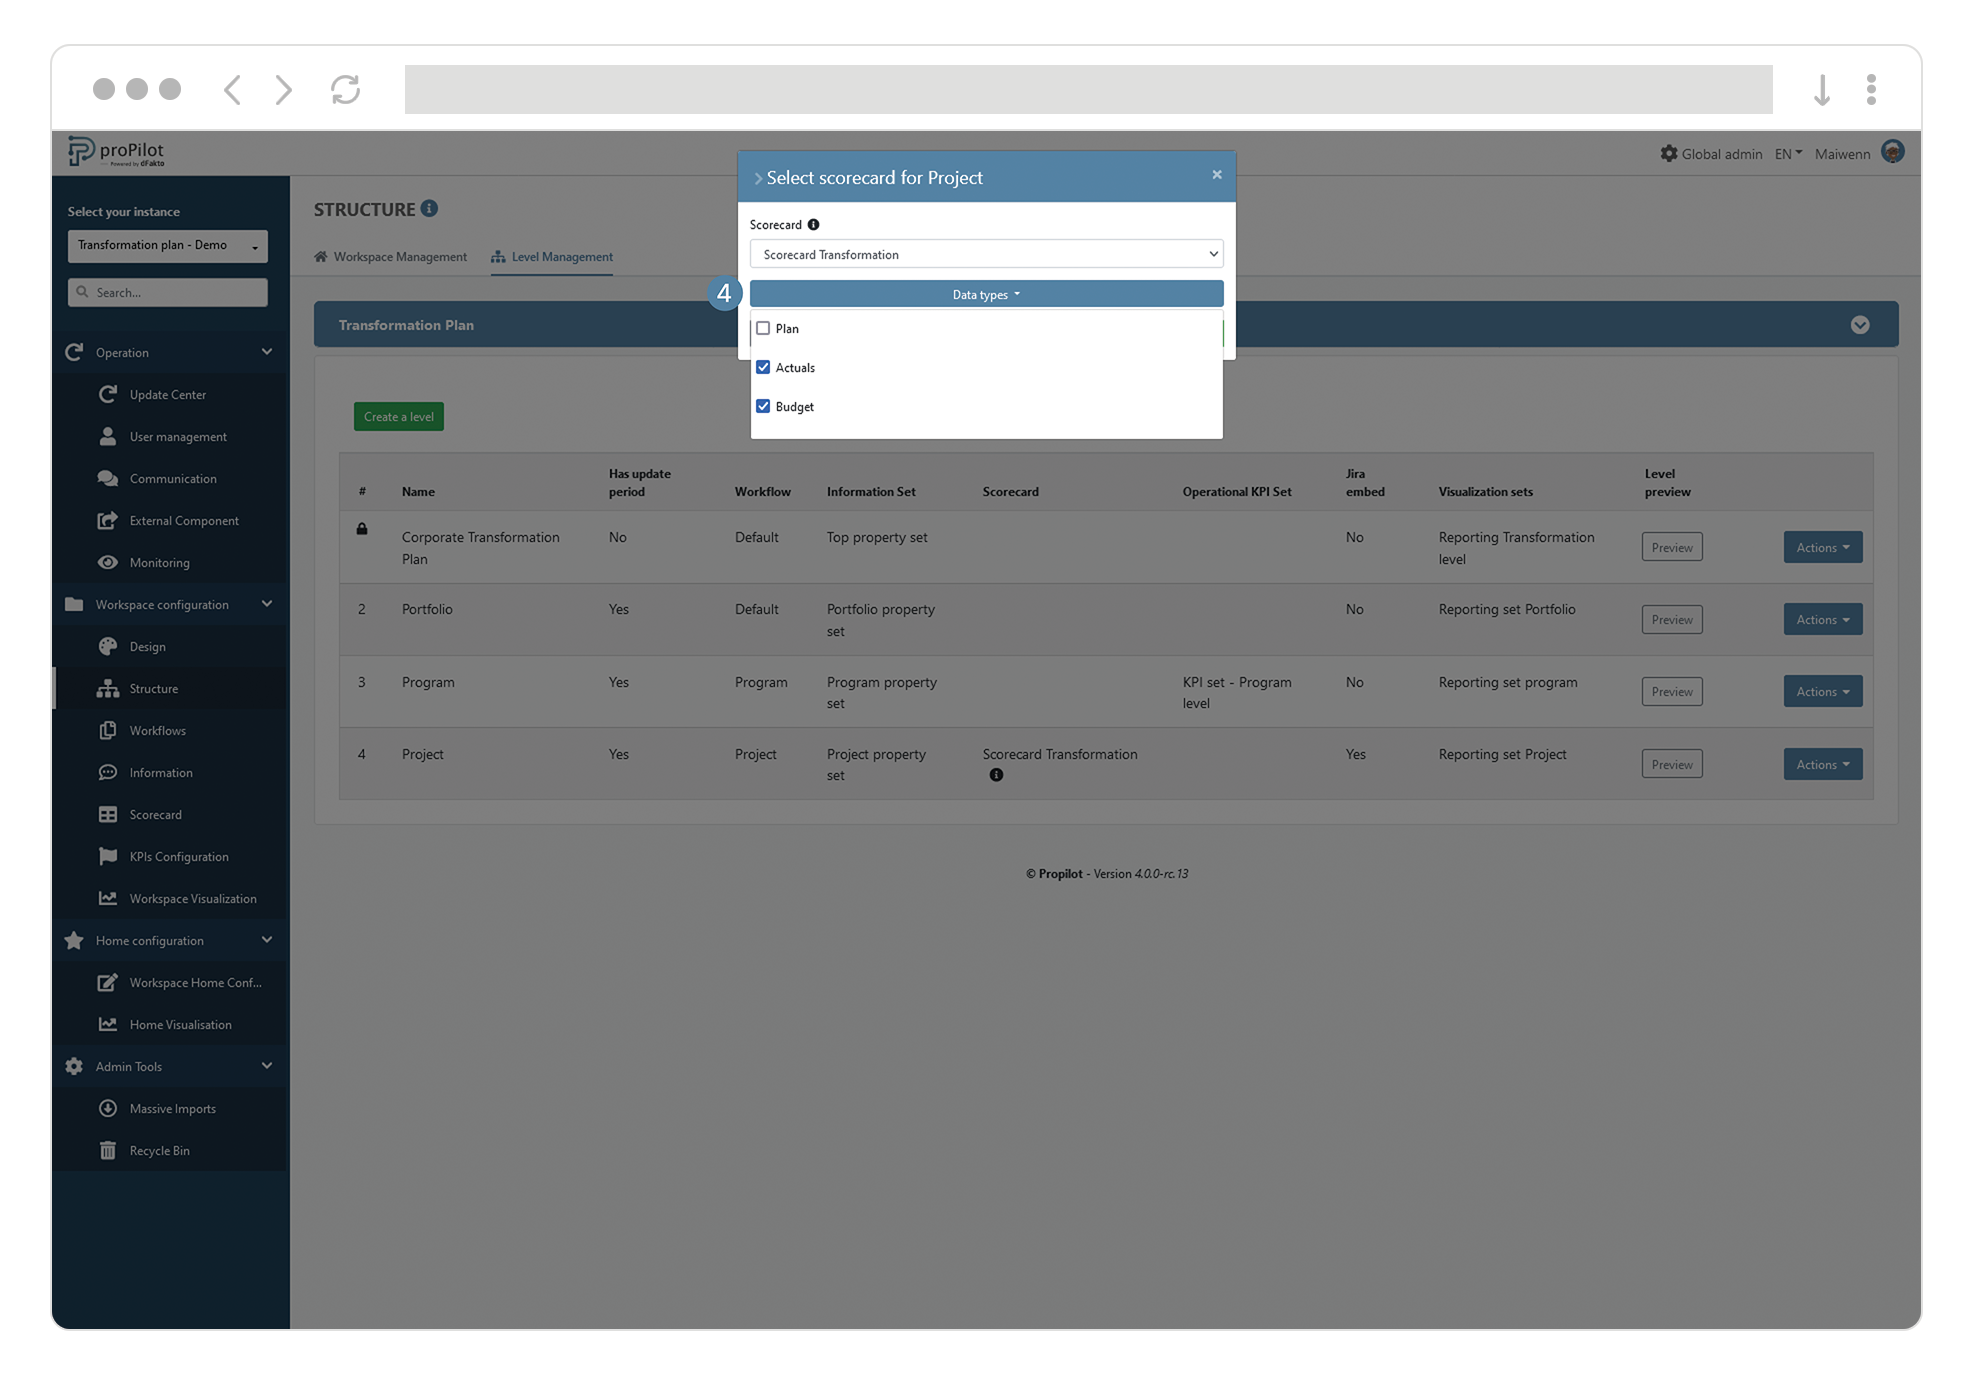
-
In the "data types" section, select those to be collected in the scorecard for the entities of this level.
Modify the name of the "Data types".
-
In the left-hand menu, select "Workspace configuration" then "scorecard".
-
Then click on the "data types" tab.
-
Click on the "edit" button of the data type you want to modify. A pop-up window opens.
-
Update the "display name" field.

Create scorecard views
By default, the available indicators will be all those in the scorecard assigned to the workspace, as long as the collection is active on the different levels.
Each of the entities across the plan will inherit the scorecard view of the "parent" entity, except in the case where a scorecard view is assigned. In this case, the latter will take over and the underlying entities will be assigned this configuration.
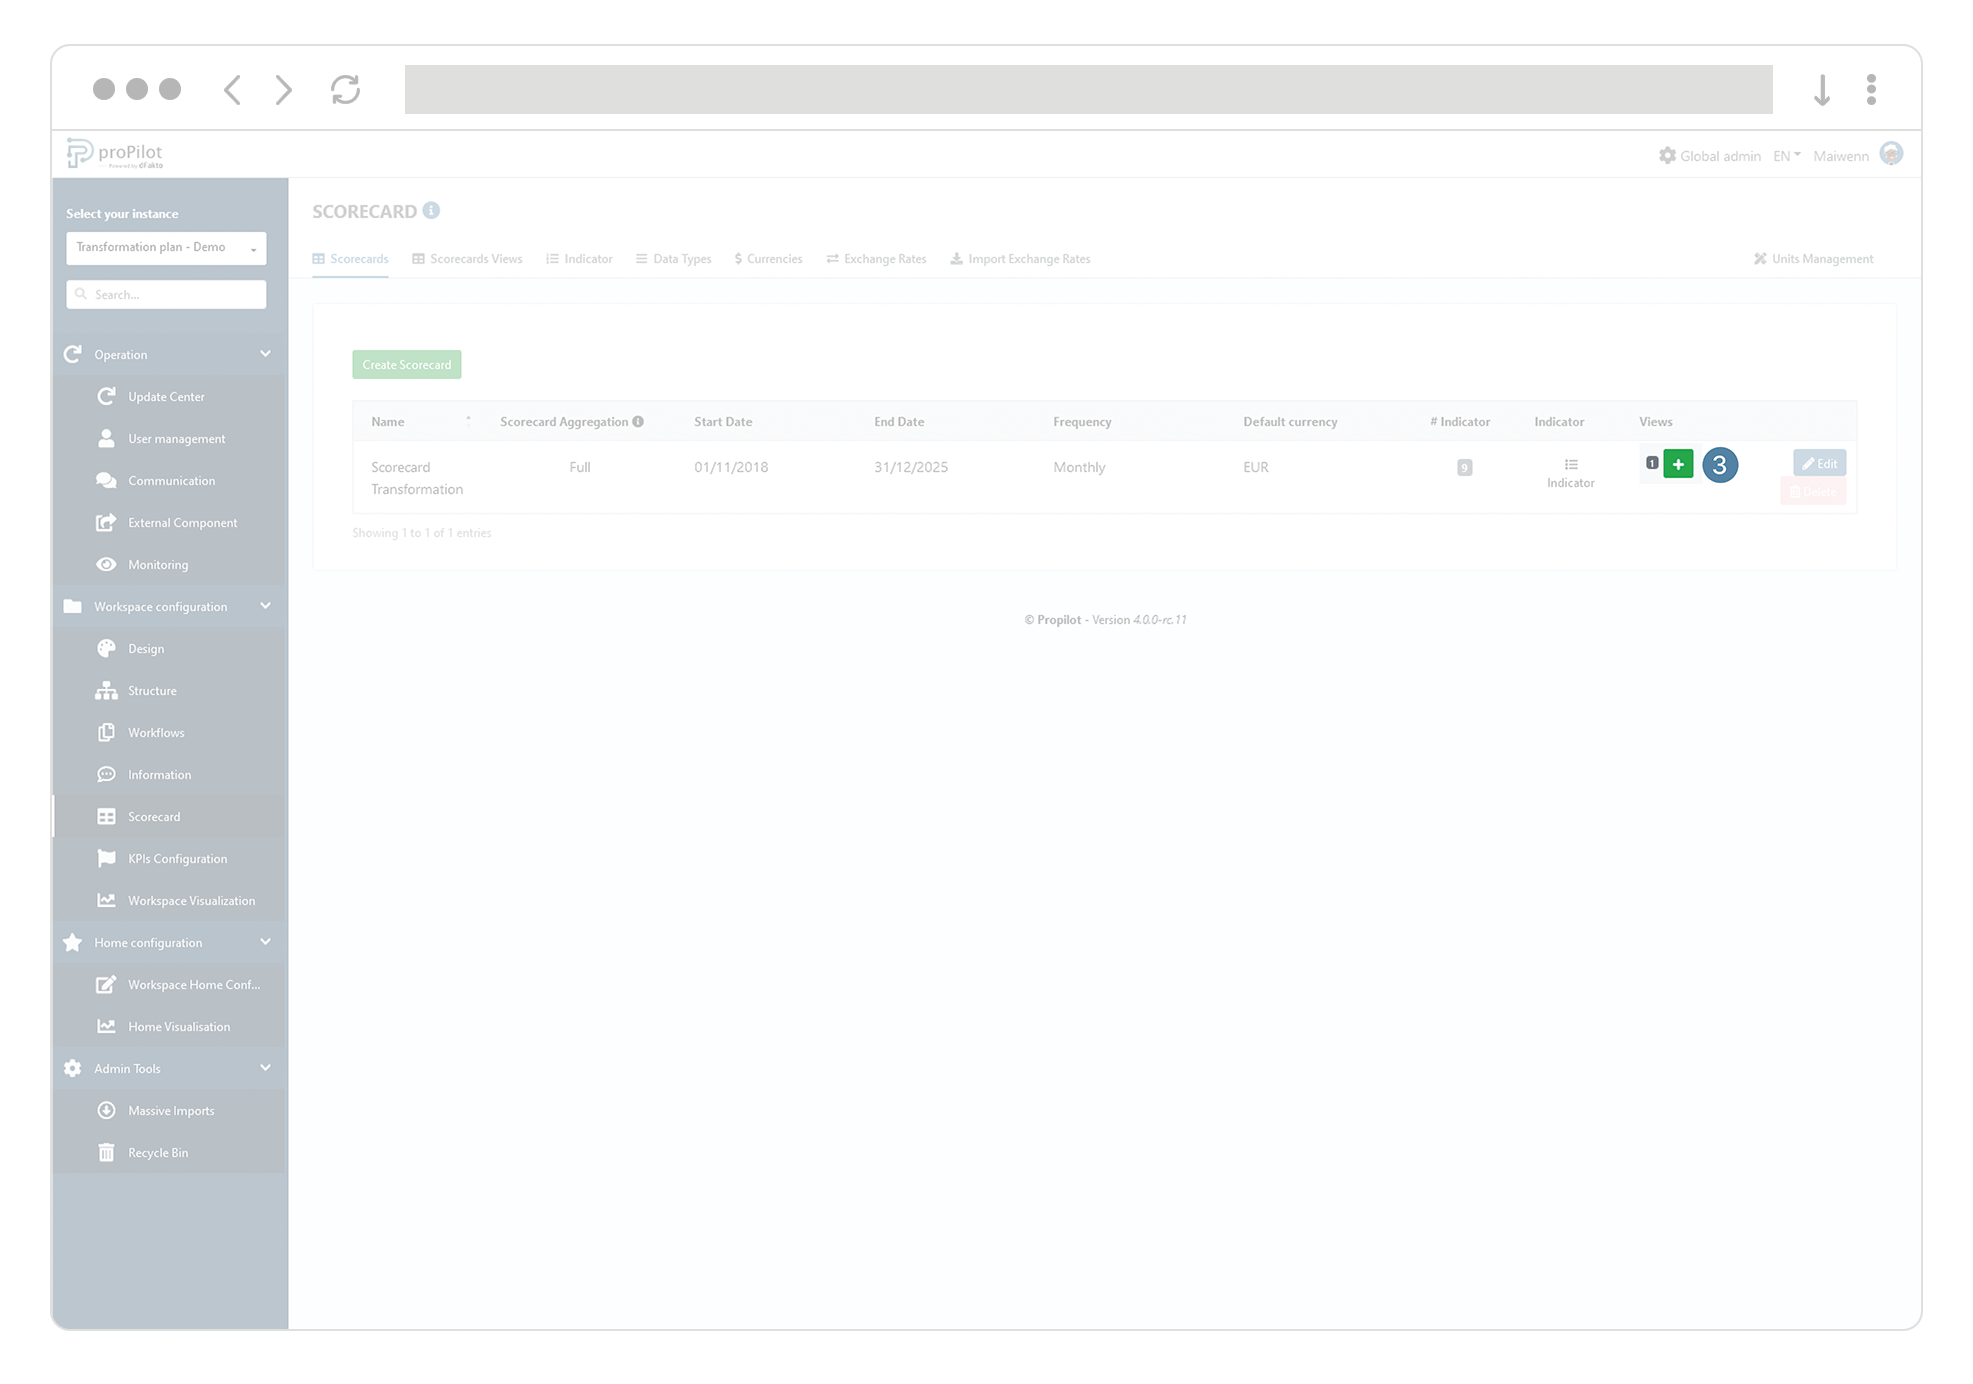
Create a scorecard view to limit the number of displayed indicators
-
In the left menu, select "Workspace configuration" and then "scorecard".
-
Then click on the "scorecards" tab.
-
In the “Views” column, click on the "+" button of the concerned scorecard in order to create a scorecard view. A pop-up window opens.
-
Enter a name and confirm the creation. You arrive on a page displaying all the indicators of the scorecard.
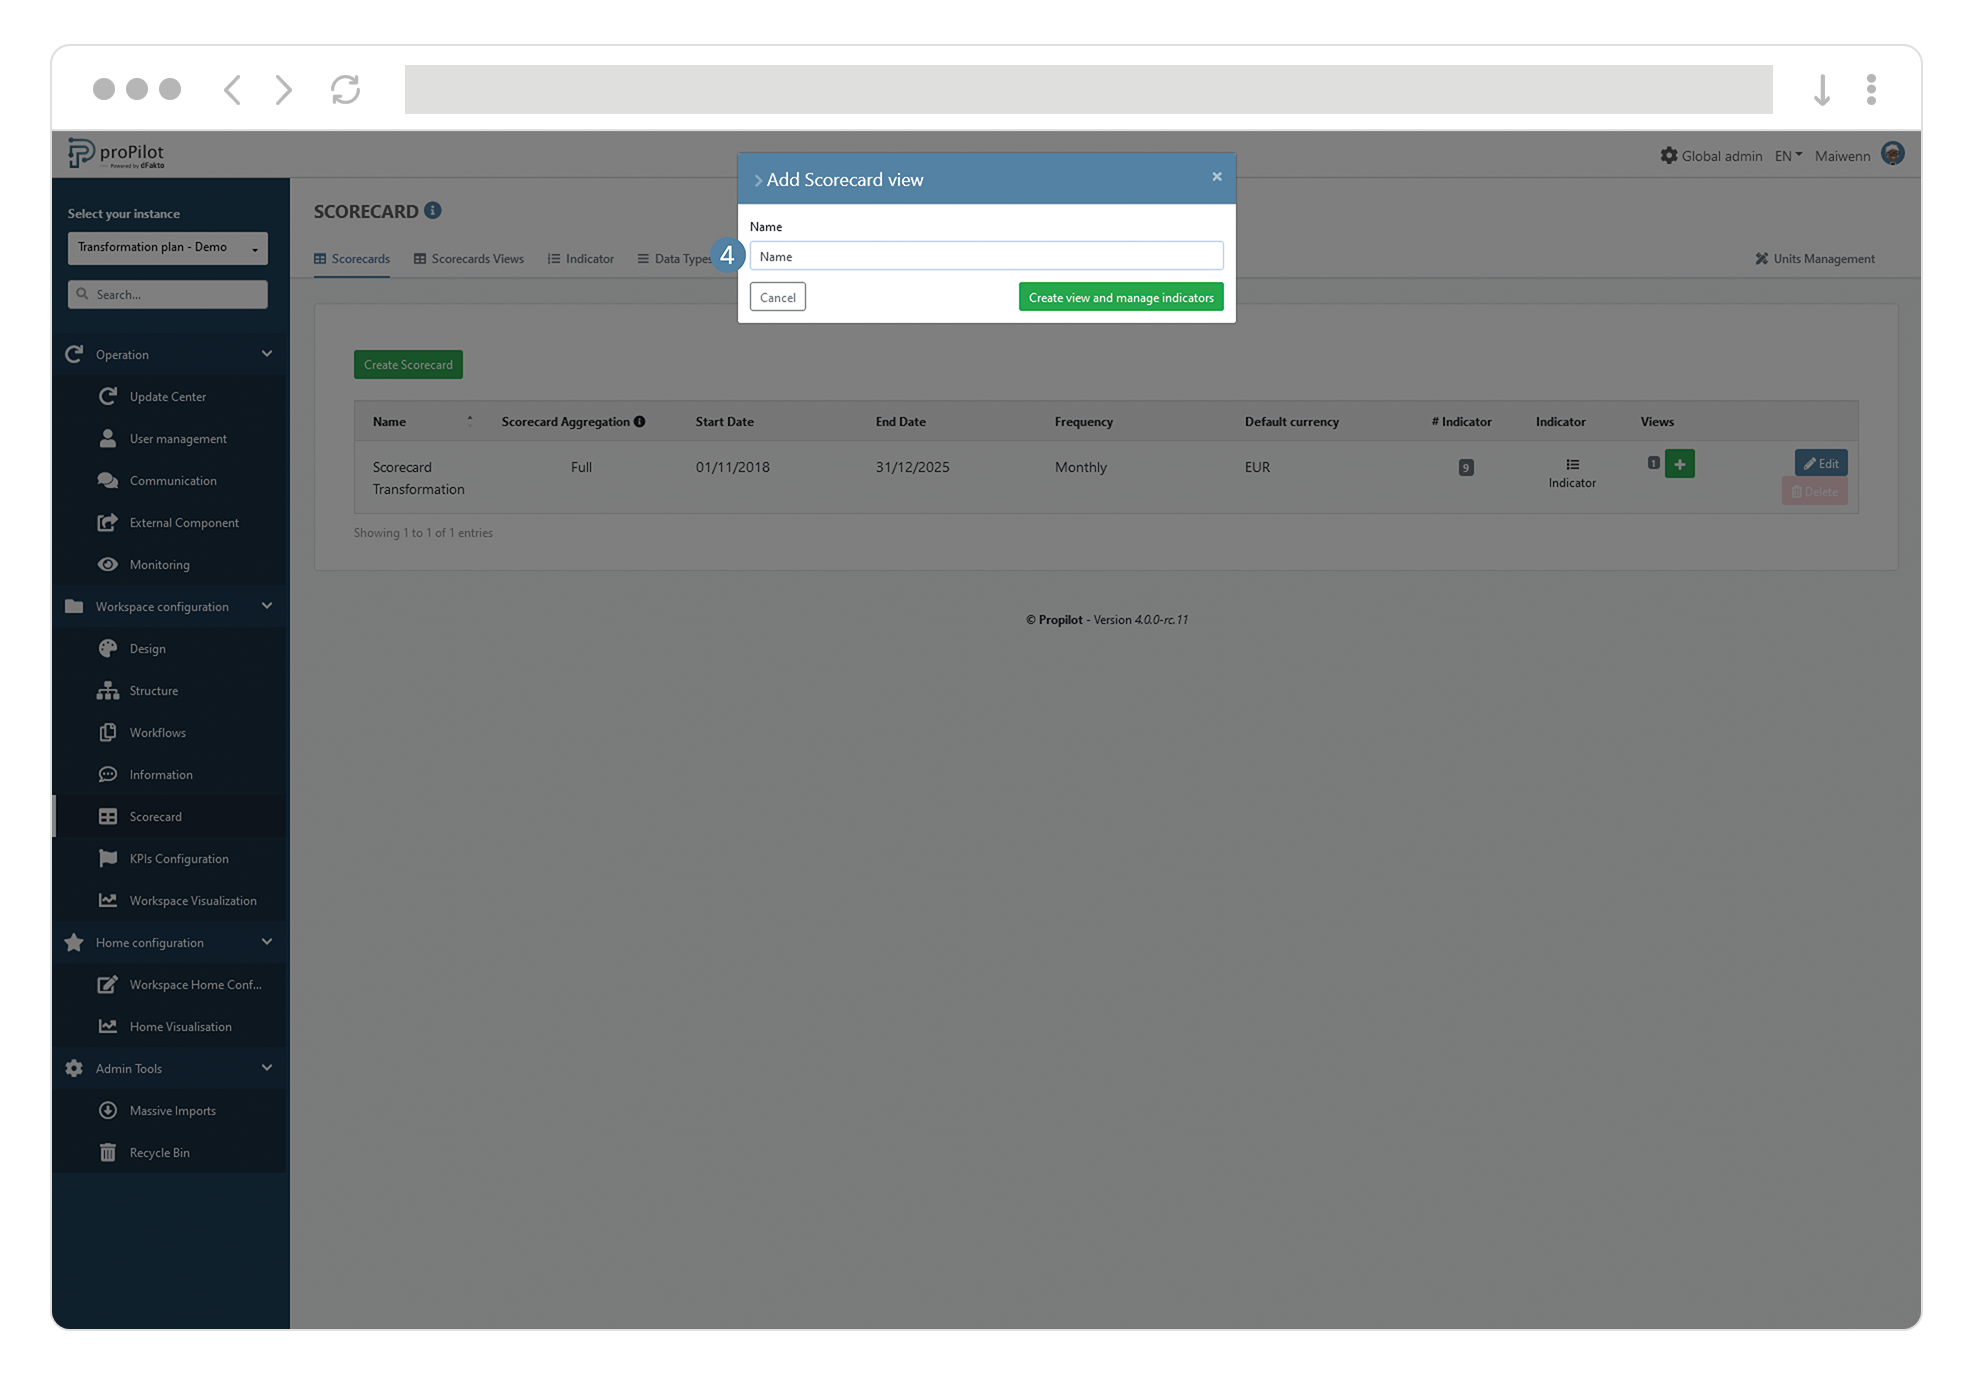
-
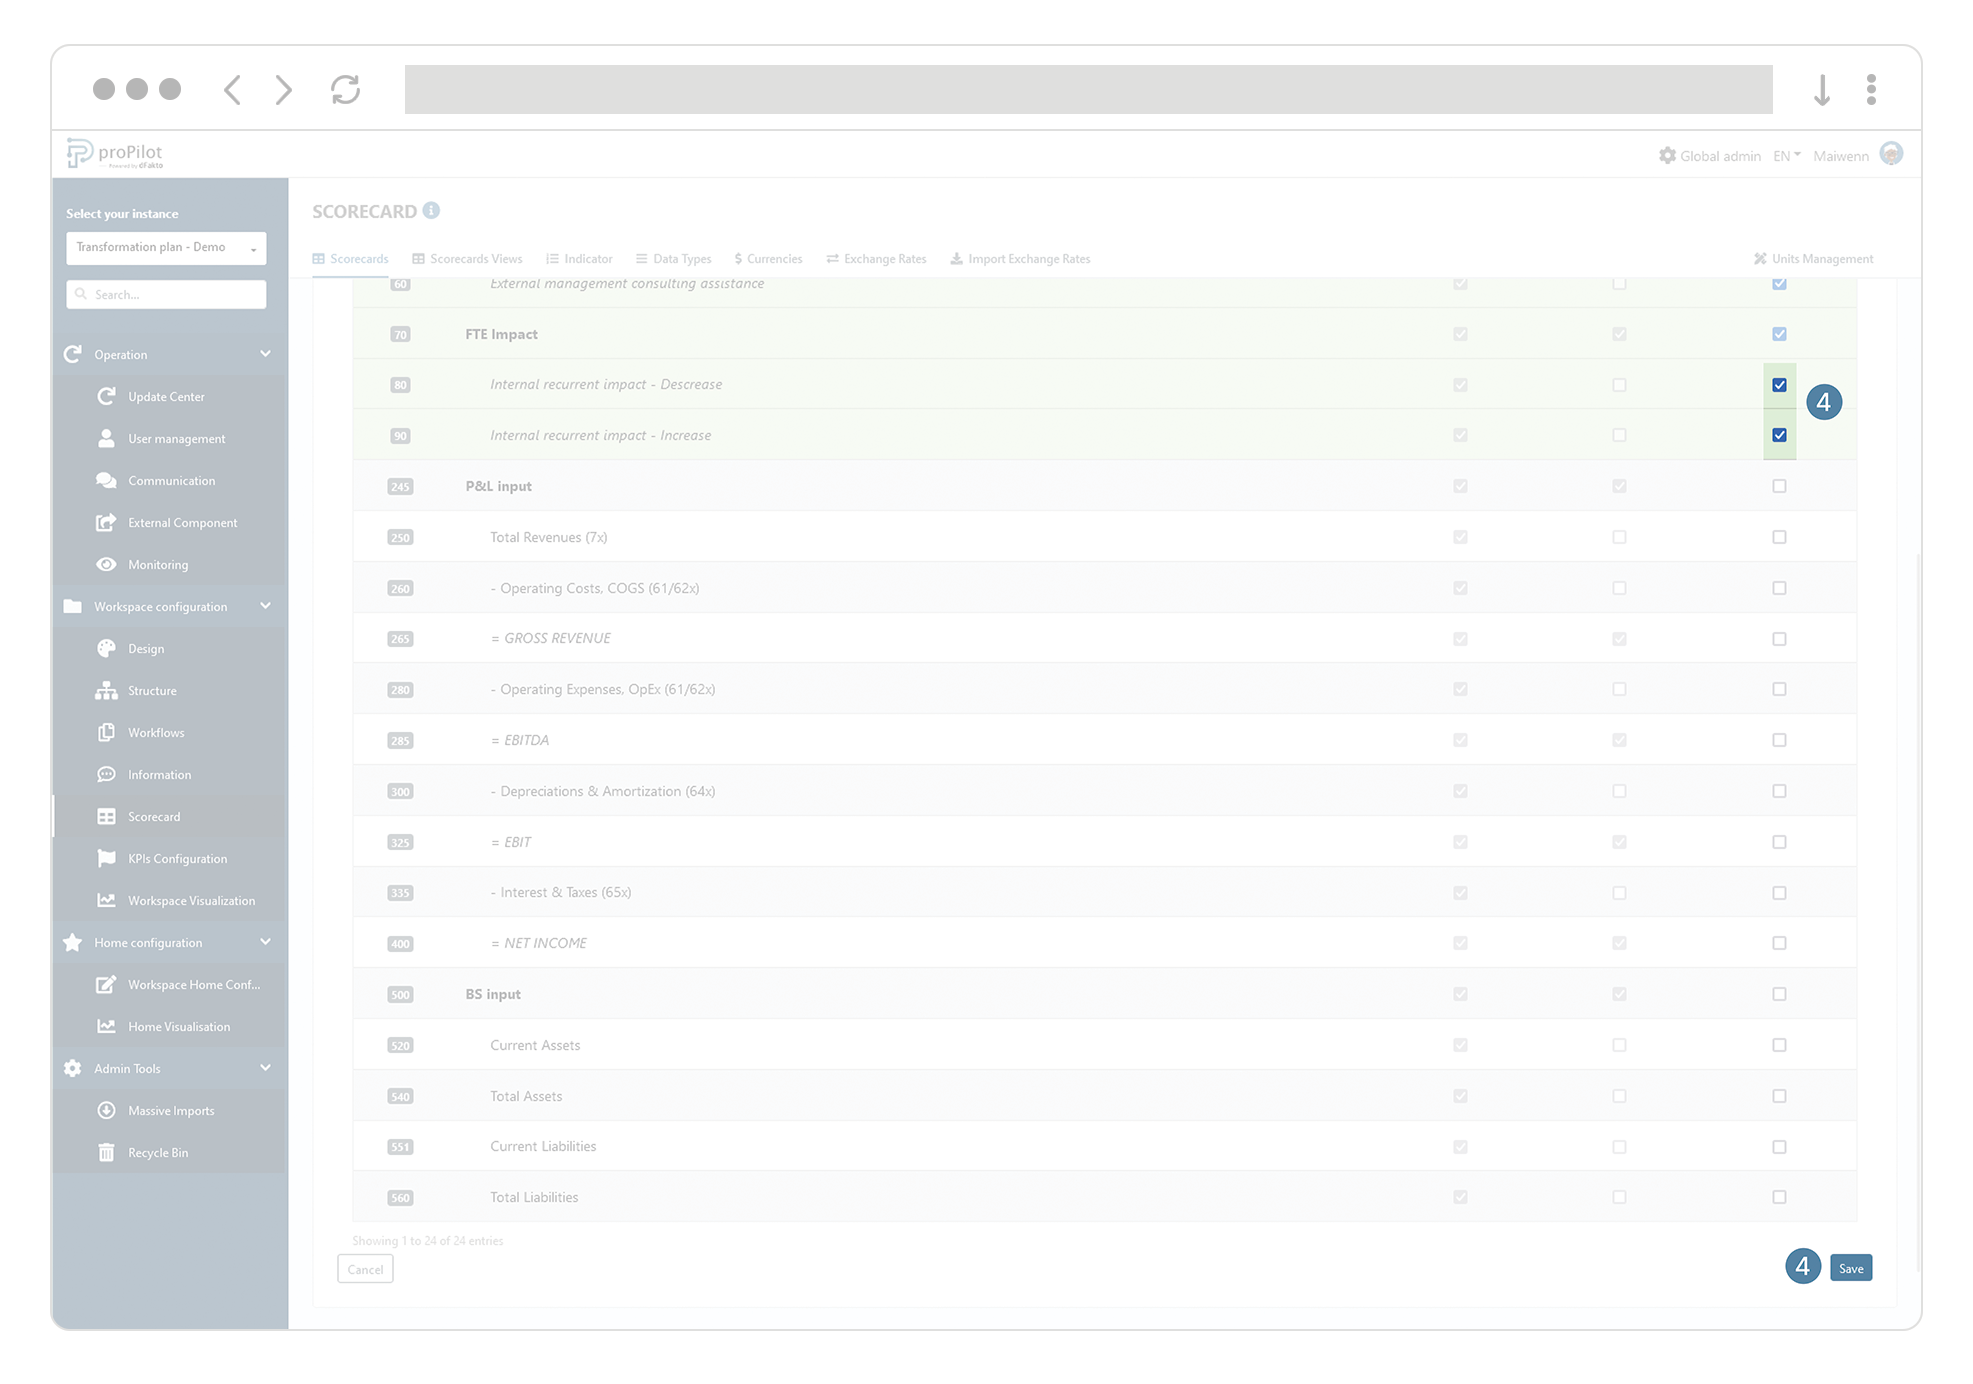
Select the indicators you want to include in the scorecard view.

Apply the scorecard view for a complete level of your workspace.
-
Make sure that a scorecard is active on your entity (see above).
-
Make sure a scorecard view has been created (see above).
-
In the “Structure” module, click on the “Level management” tab.
-
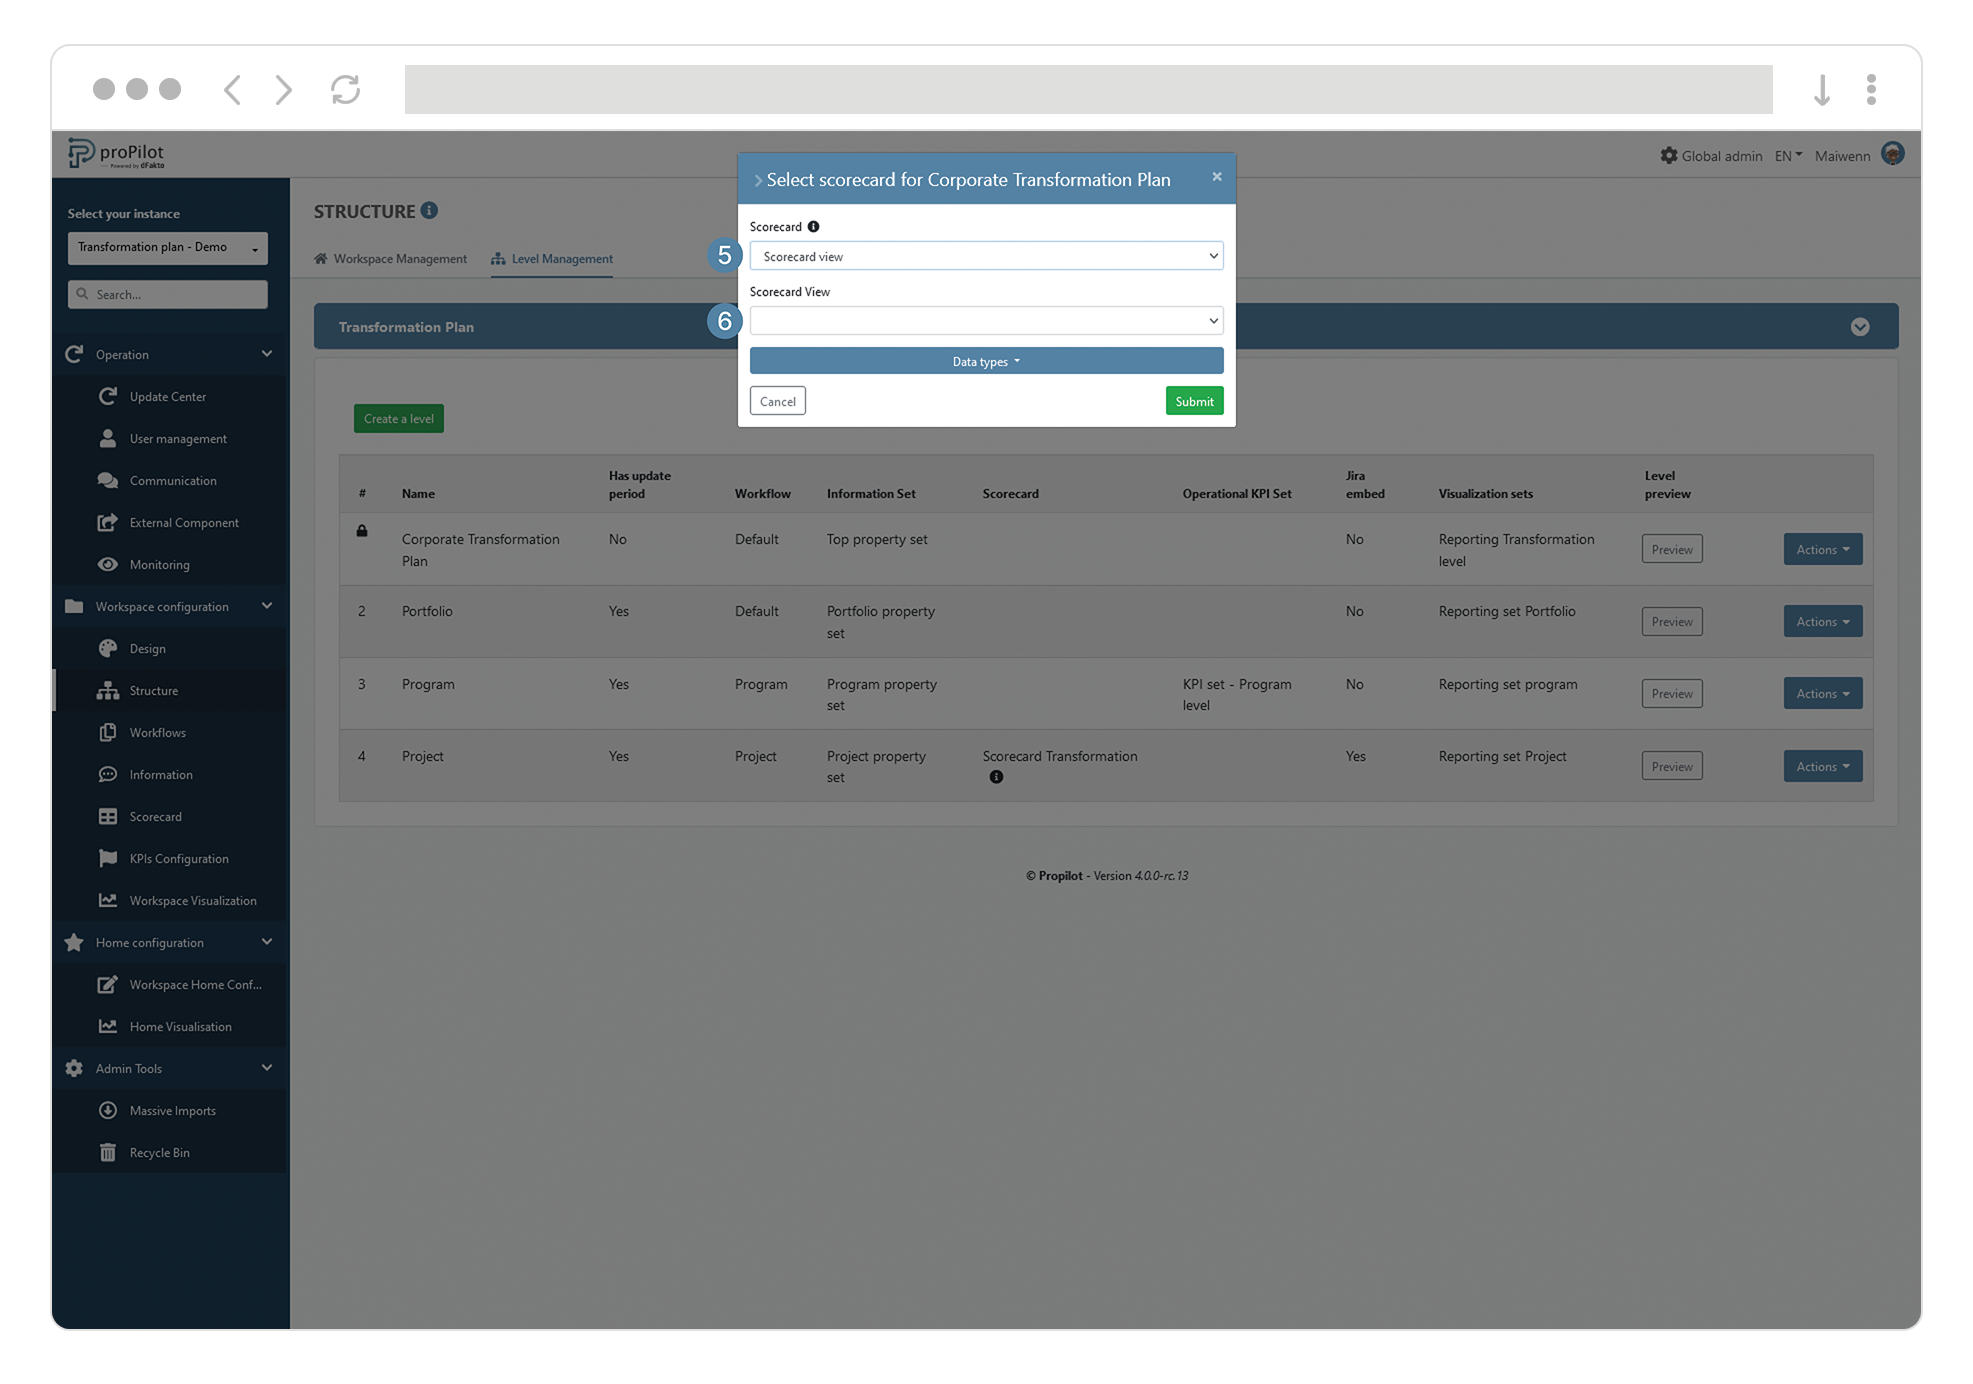
Click on the "Actions" button of the level you want to update. Then select "Configure scorecard" A pop-up window appears.
-
In the “Scorecard” field, select Scorecard view in the dropdown list.
-
In the “Scorecard view” field, select the scorecard view you want to assign. It will be assigned by default for all the entities of the level.
When updating the scorecard for the level, all existing entities will be updated except for those entities whose scorecards have been changed in the entity configuration and are no longer in the standard.
Apply the scorecard view on some entities of your workspace
-
Make sure that a scorecard is active on your entity (see above).
-
Make sure a scorecard view has been created (see above).
-
Leave the Admin area and go to the user interface of the proPilot.
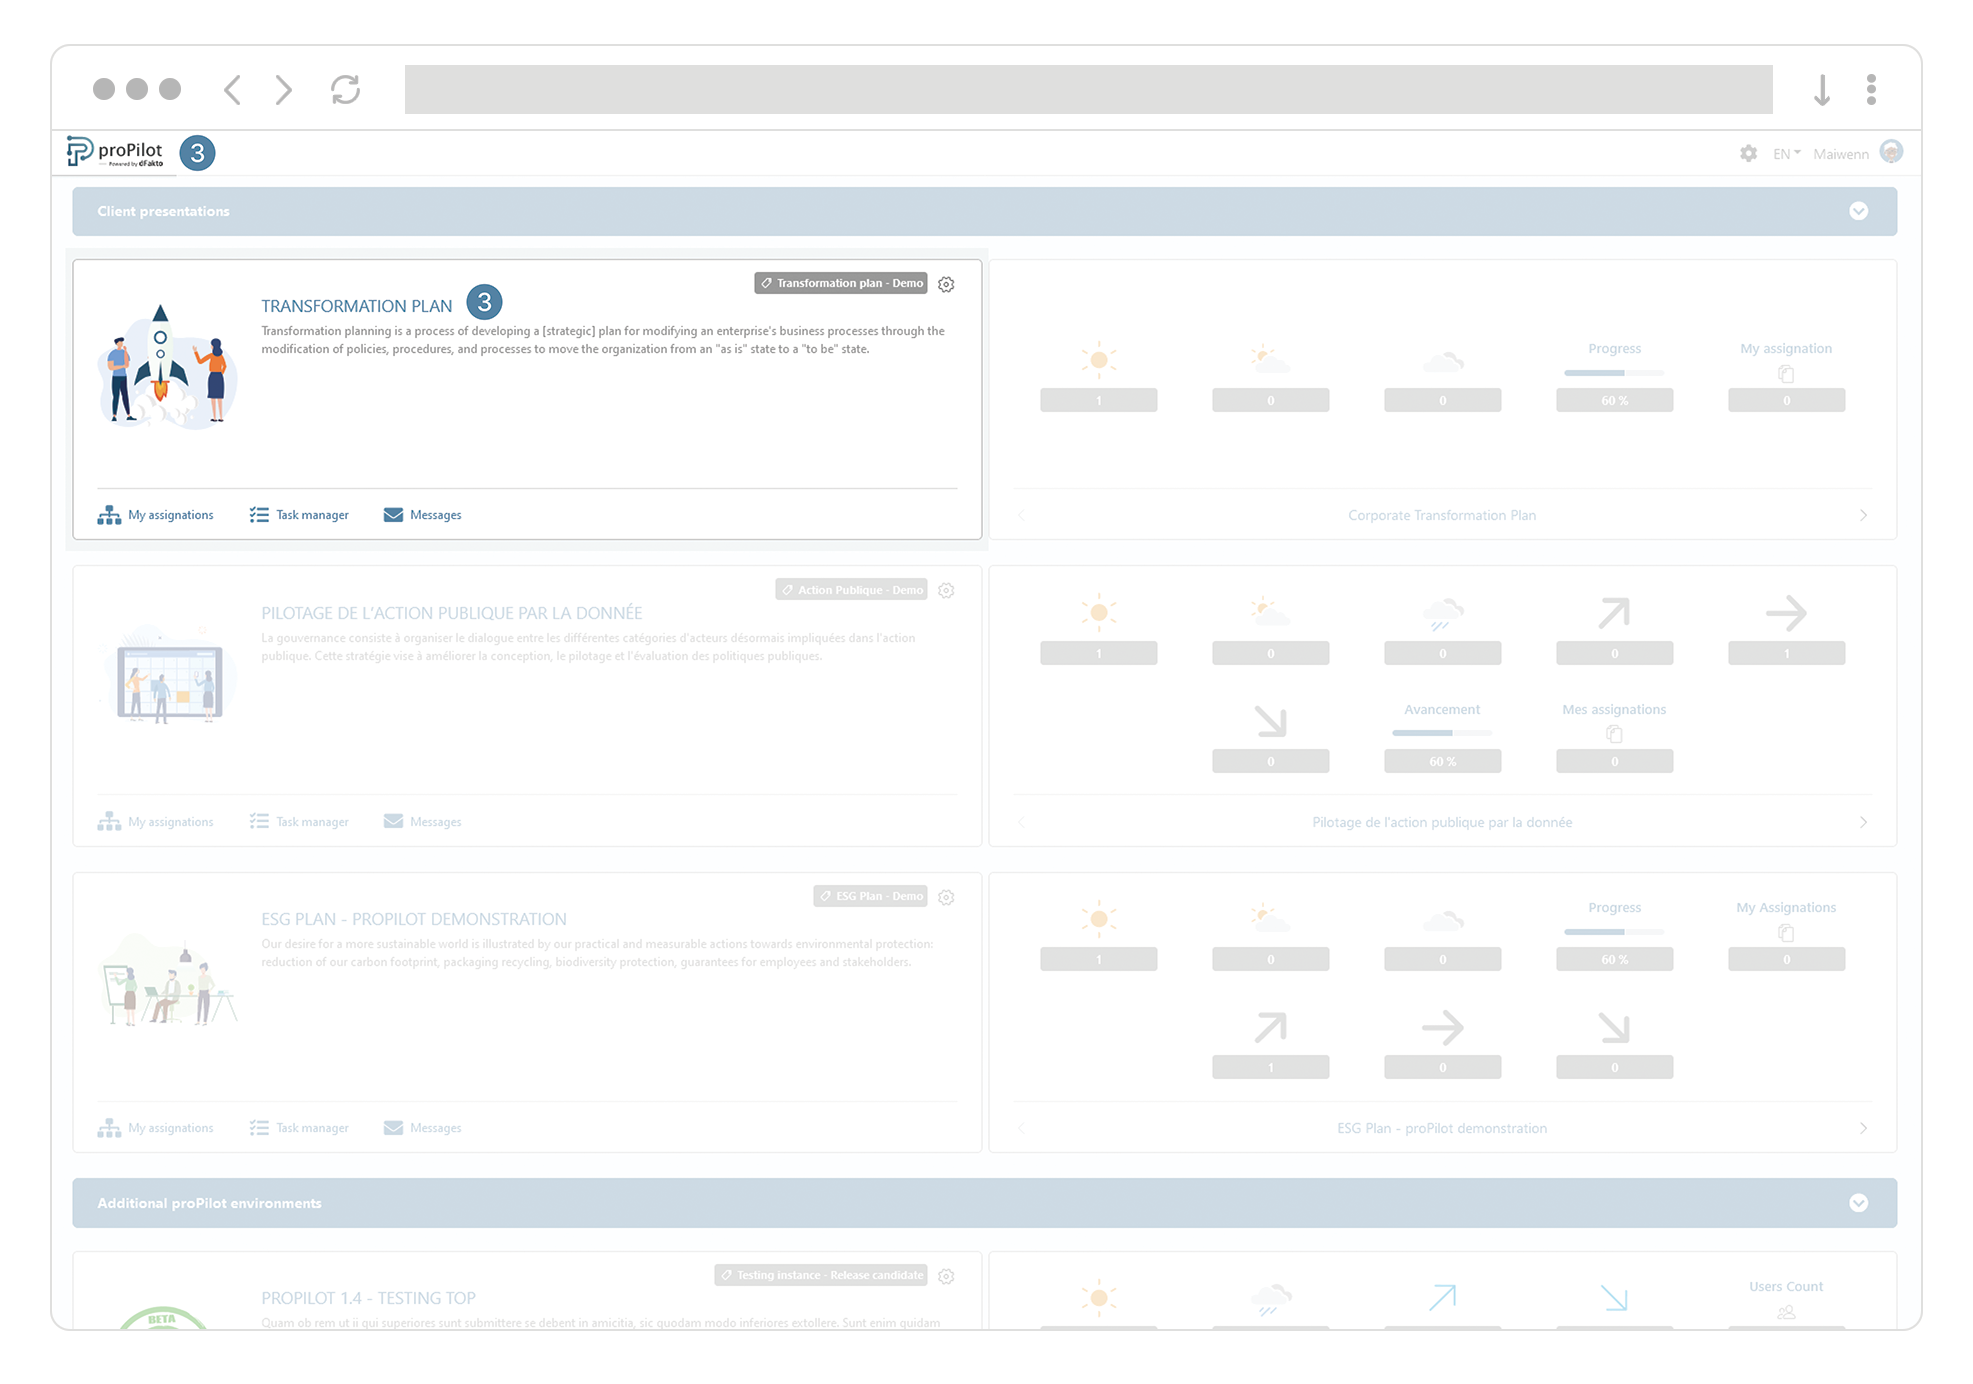
-
In your workspace, navigate to the entity for which you want to modify the scorecard.
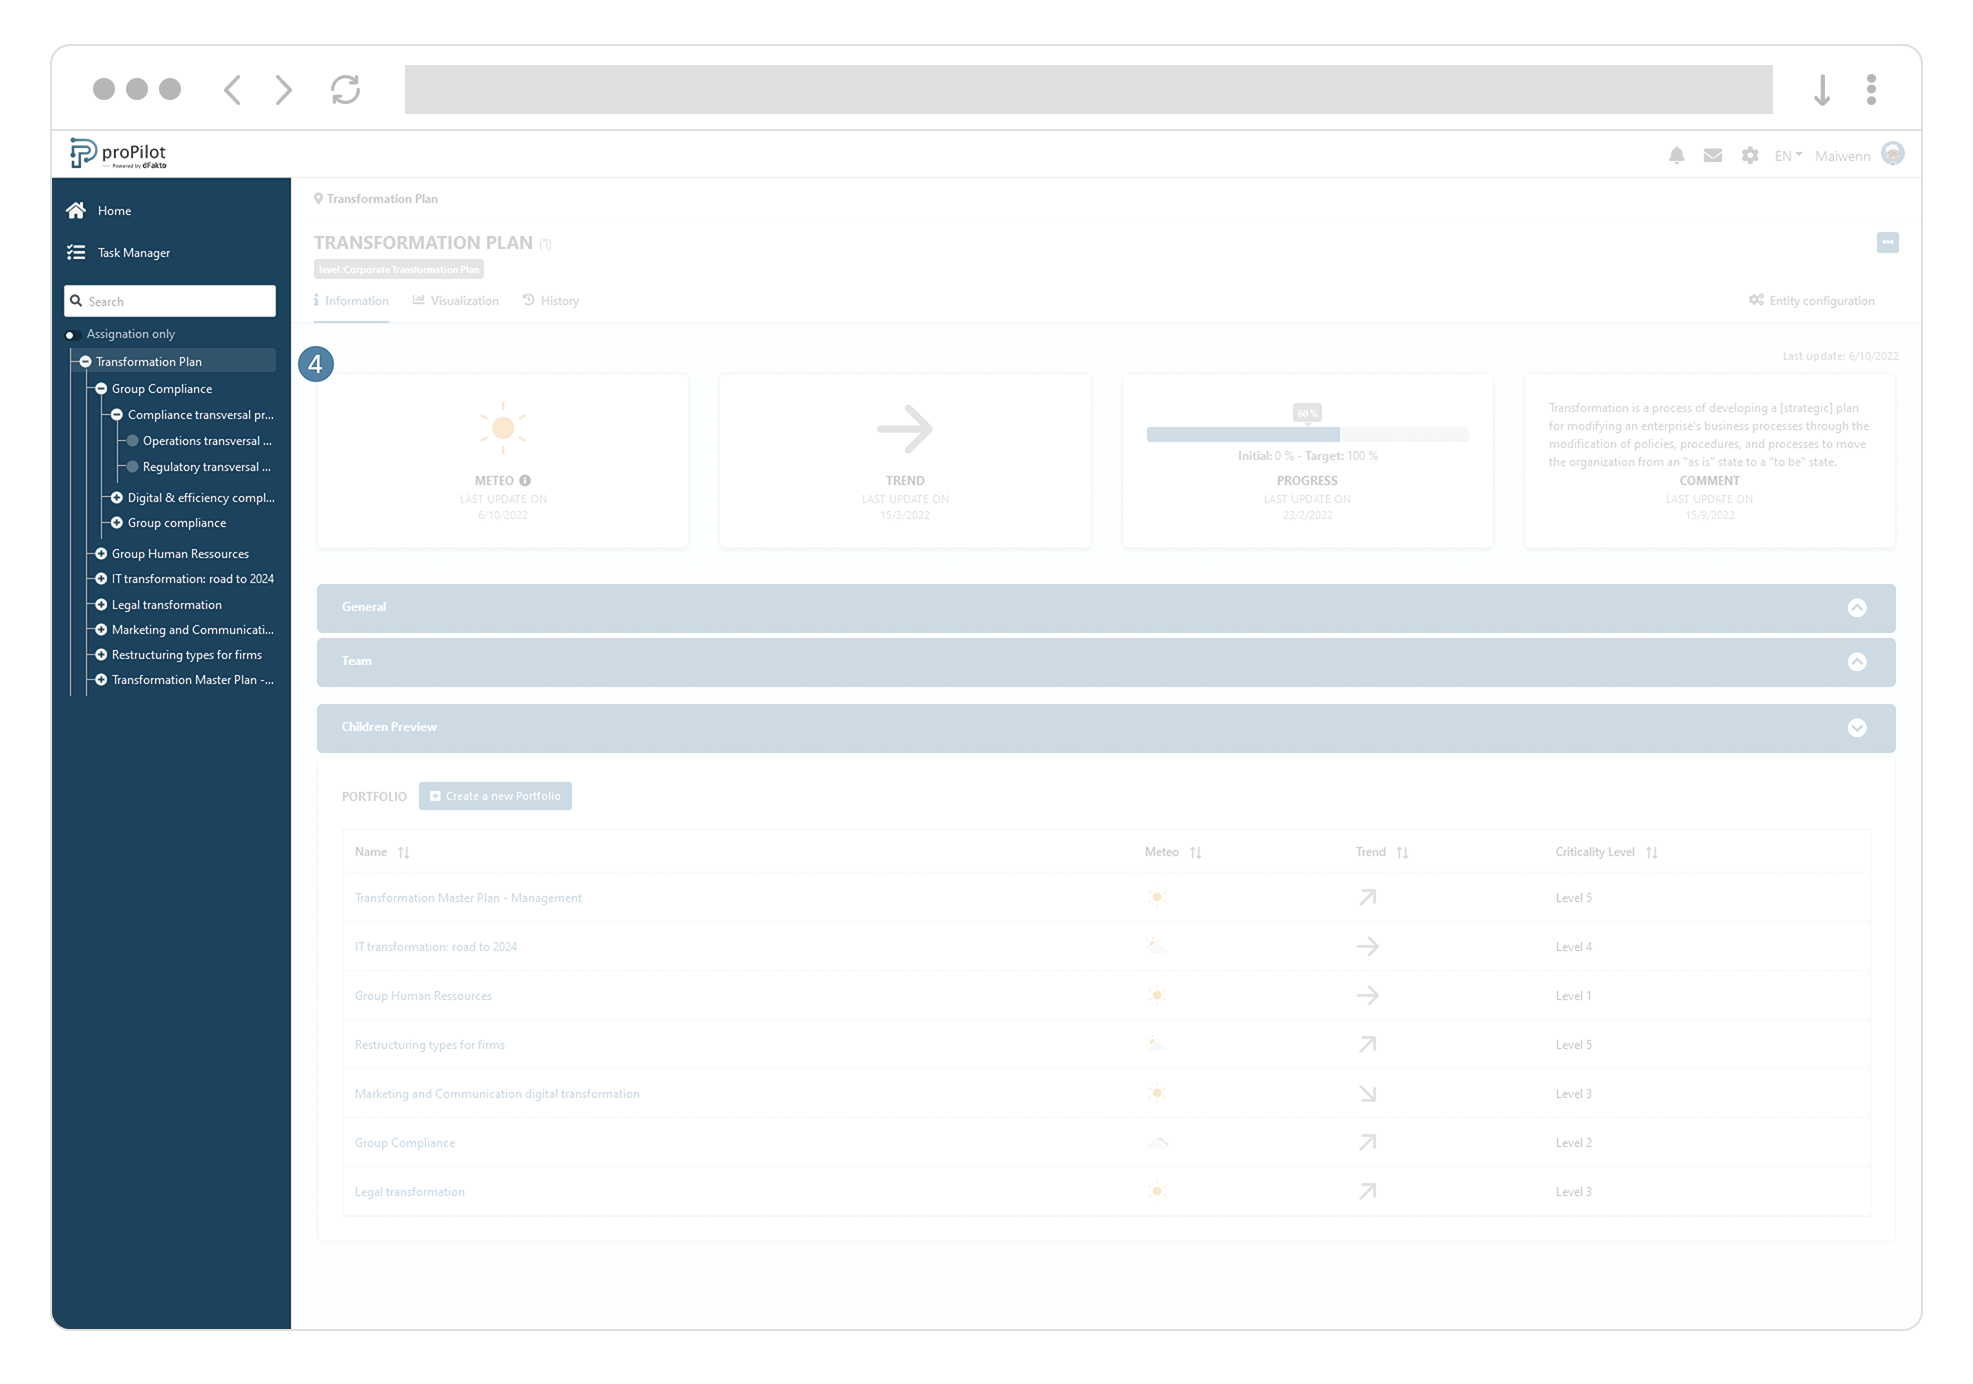
-
Click on the "entity configuration" button at the far right of the entity page.
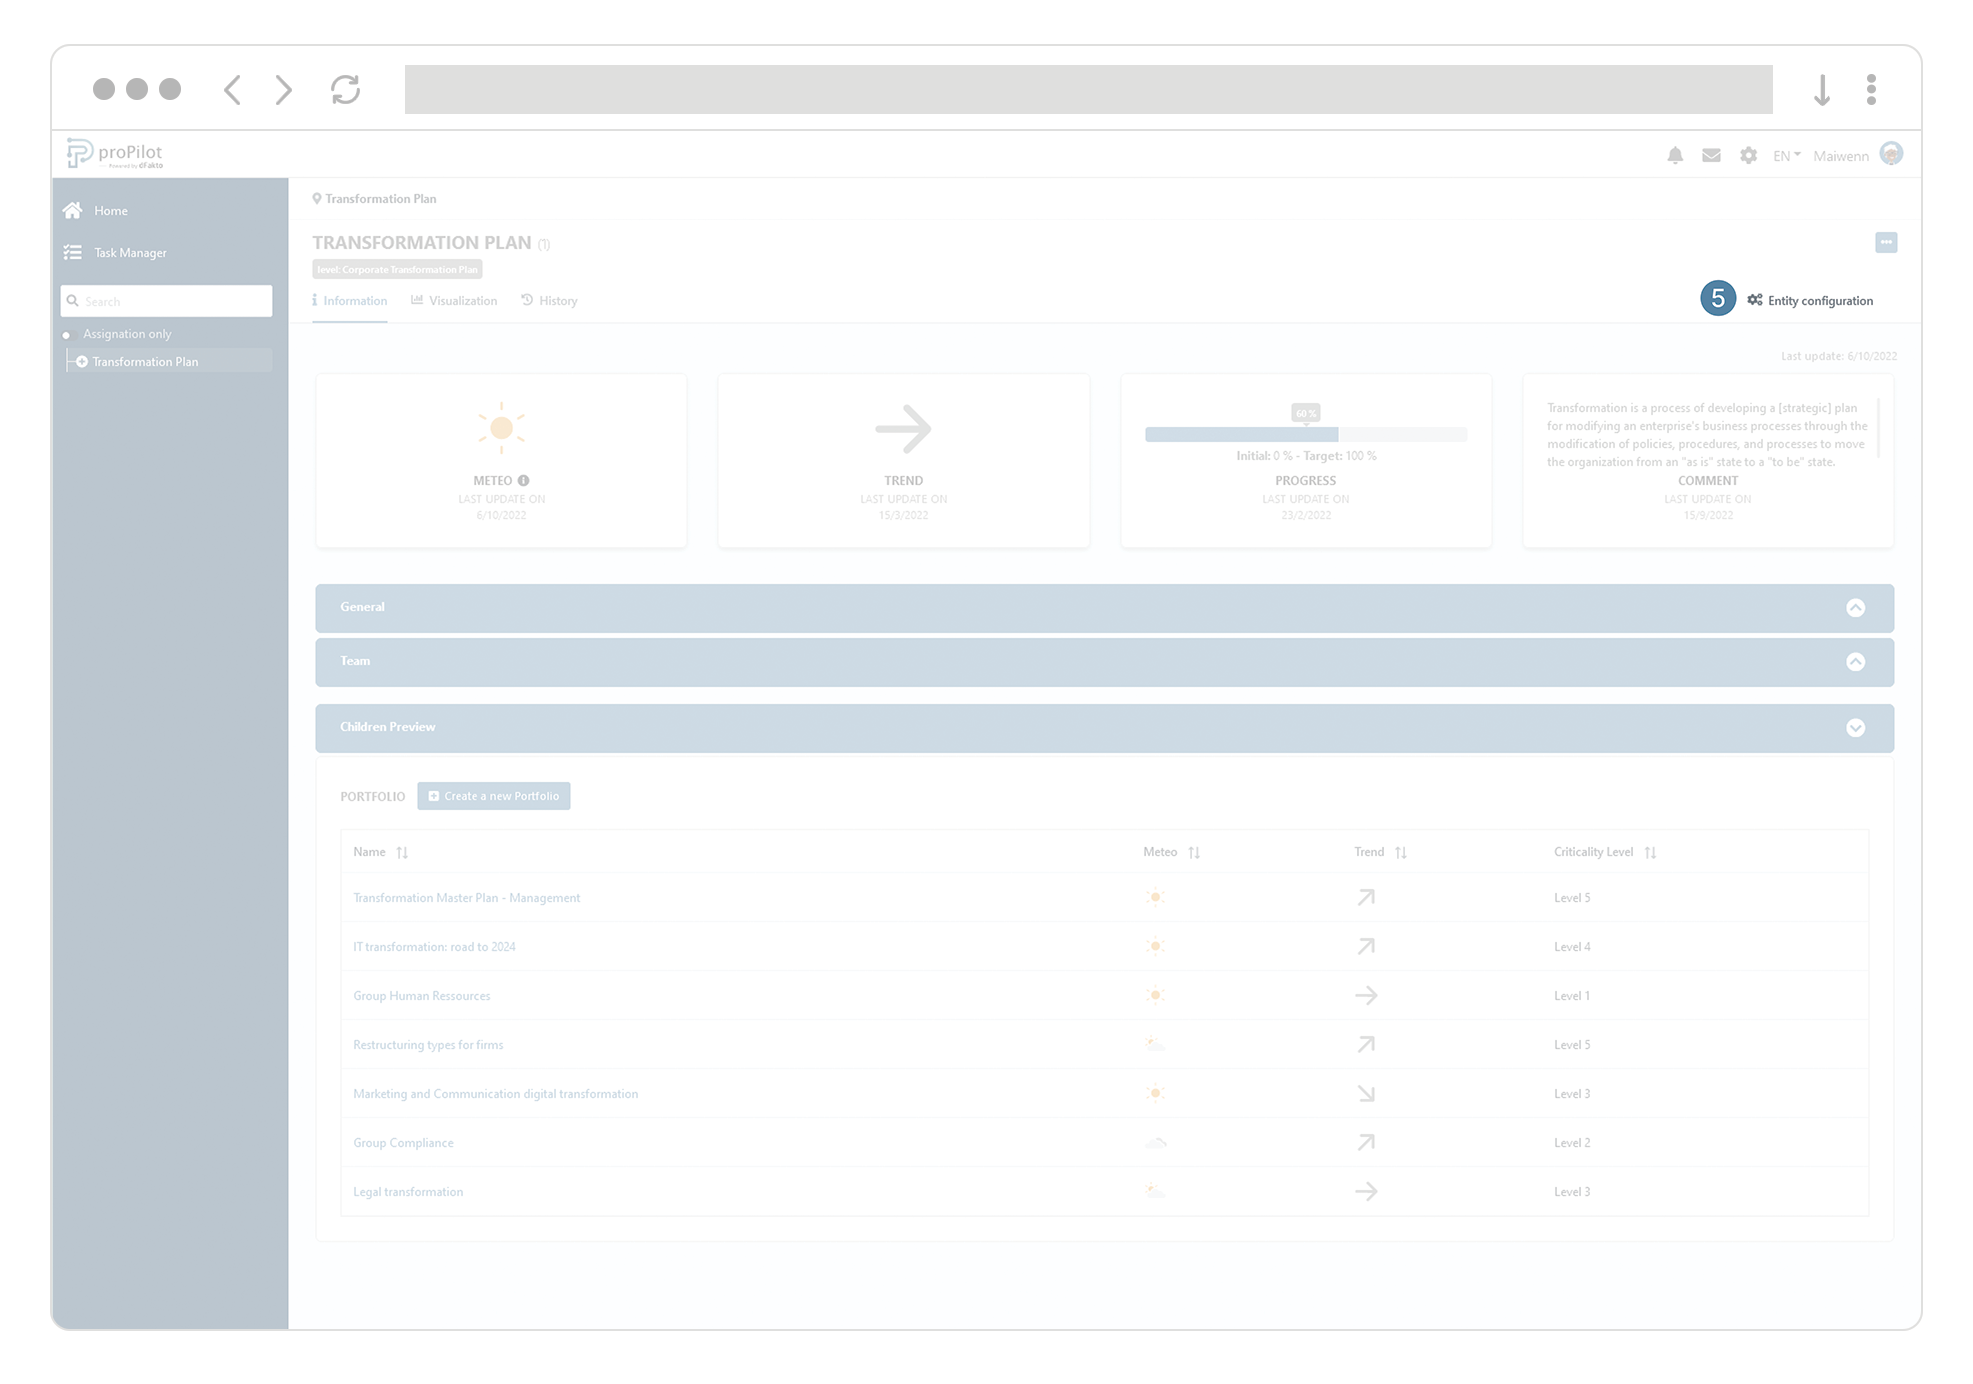
-
In the "scorecard view configuration" section, select the scorecard view in the dropdown list, you wish to apply.

This scorecard view will then be applied to this entity and all underlying entities if they were to inherit the scorecard view from the parent.
Hide the scorecard on some entities in your plan
-
Make sure that a scorecard is active on your entity (see above).
-
Leave the Admin area and go to the user interface of the proPilot.
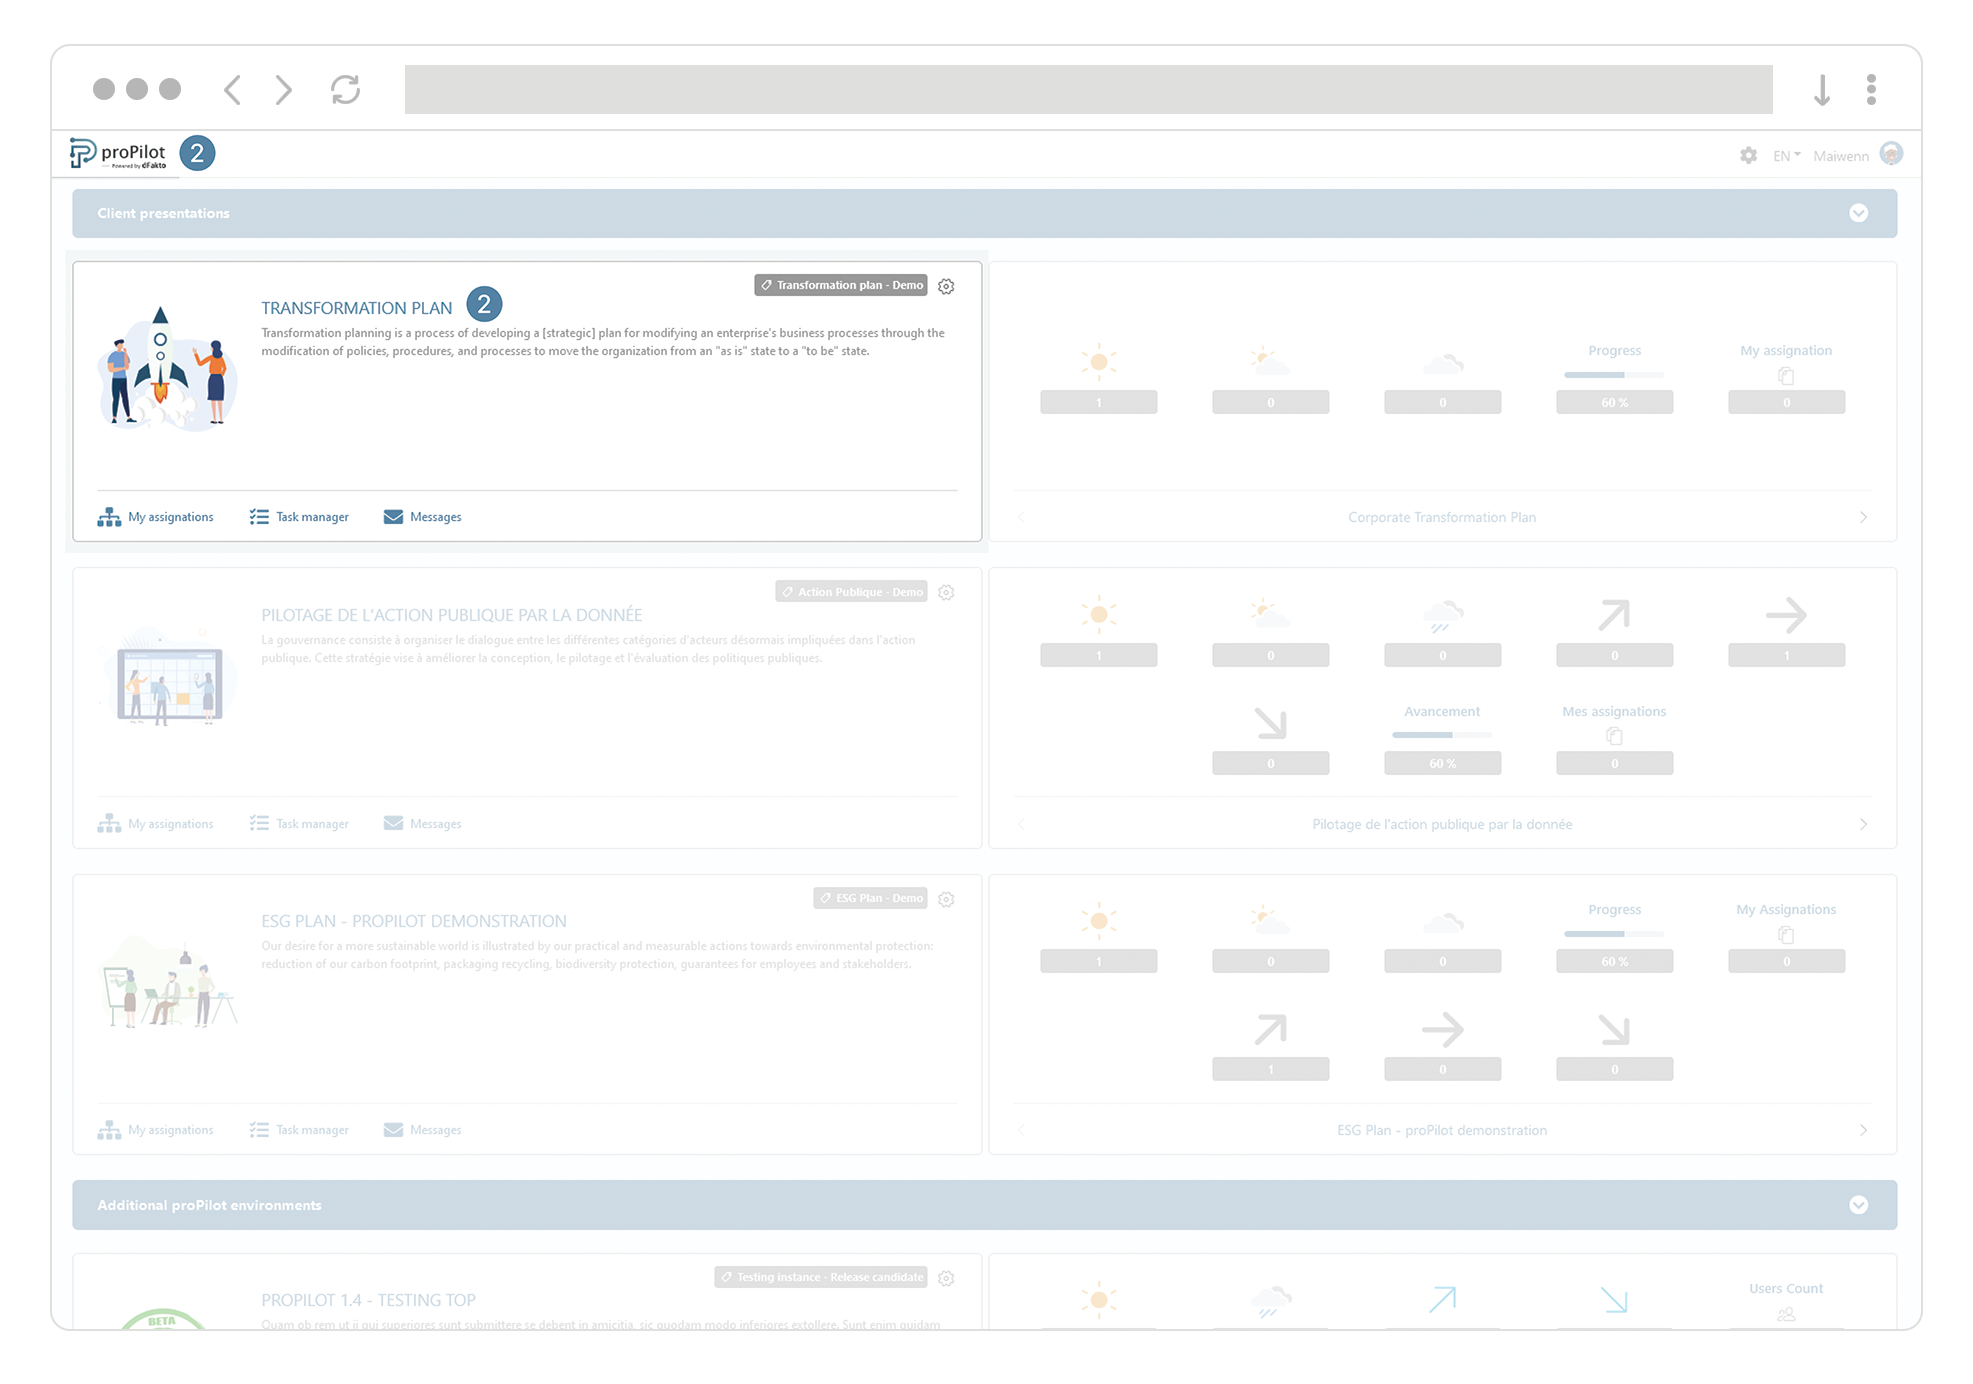
-
In your workspace, navigate to the entity for which you want to modify the scorecard.

-
Click on the "entity configuration" button at the far right of the entity page.

-
In the "Scorecard view configuration" section, open the drop-down list.
-
Select the "Hide the scorecard module" option.
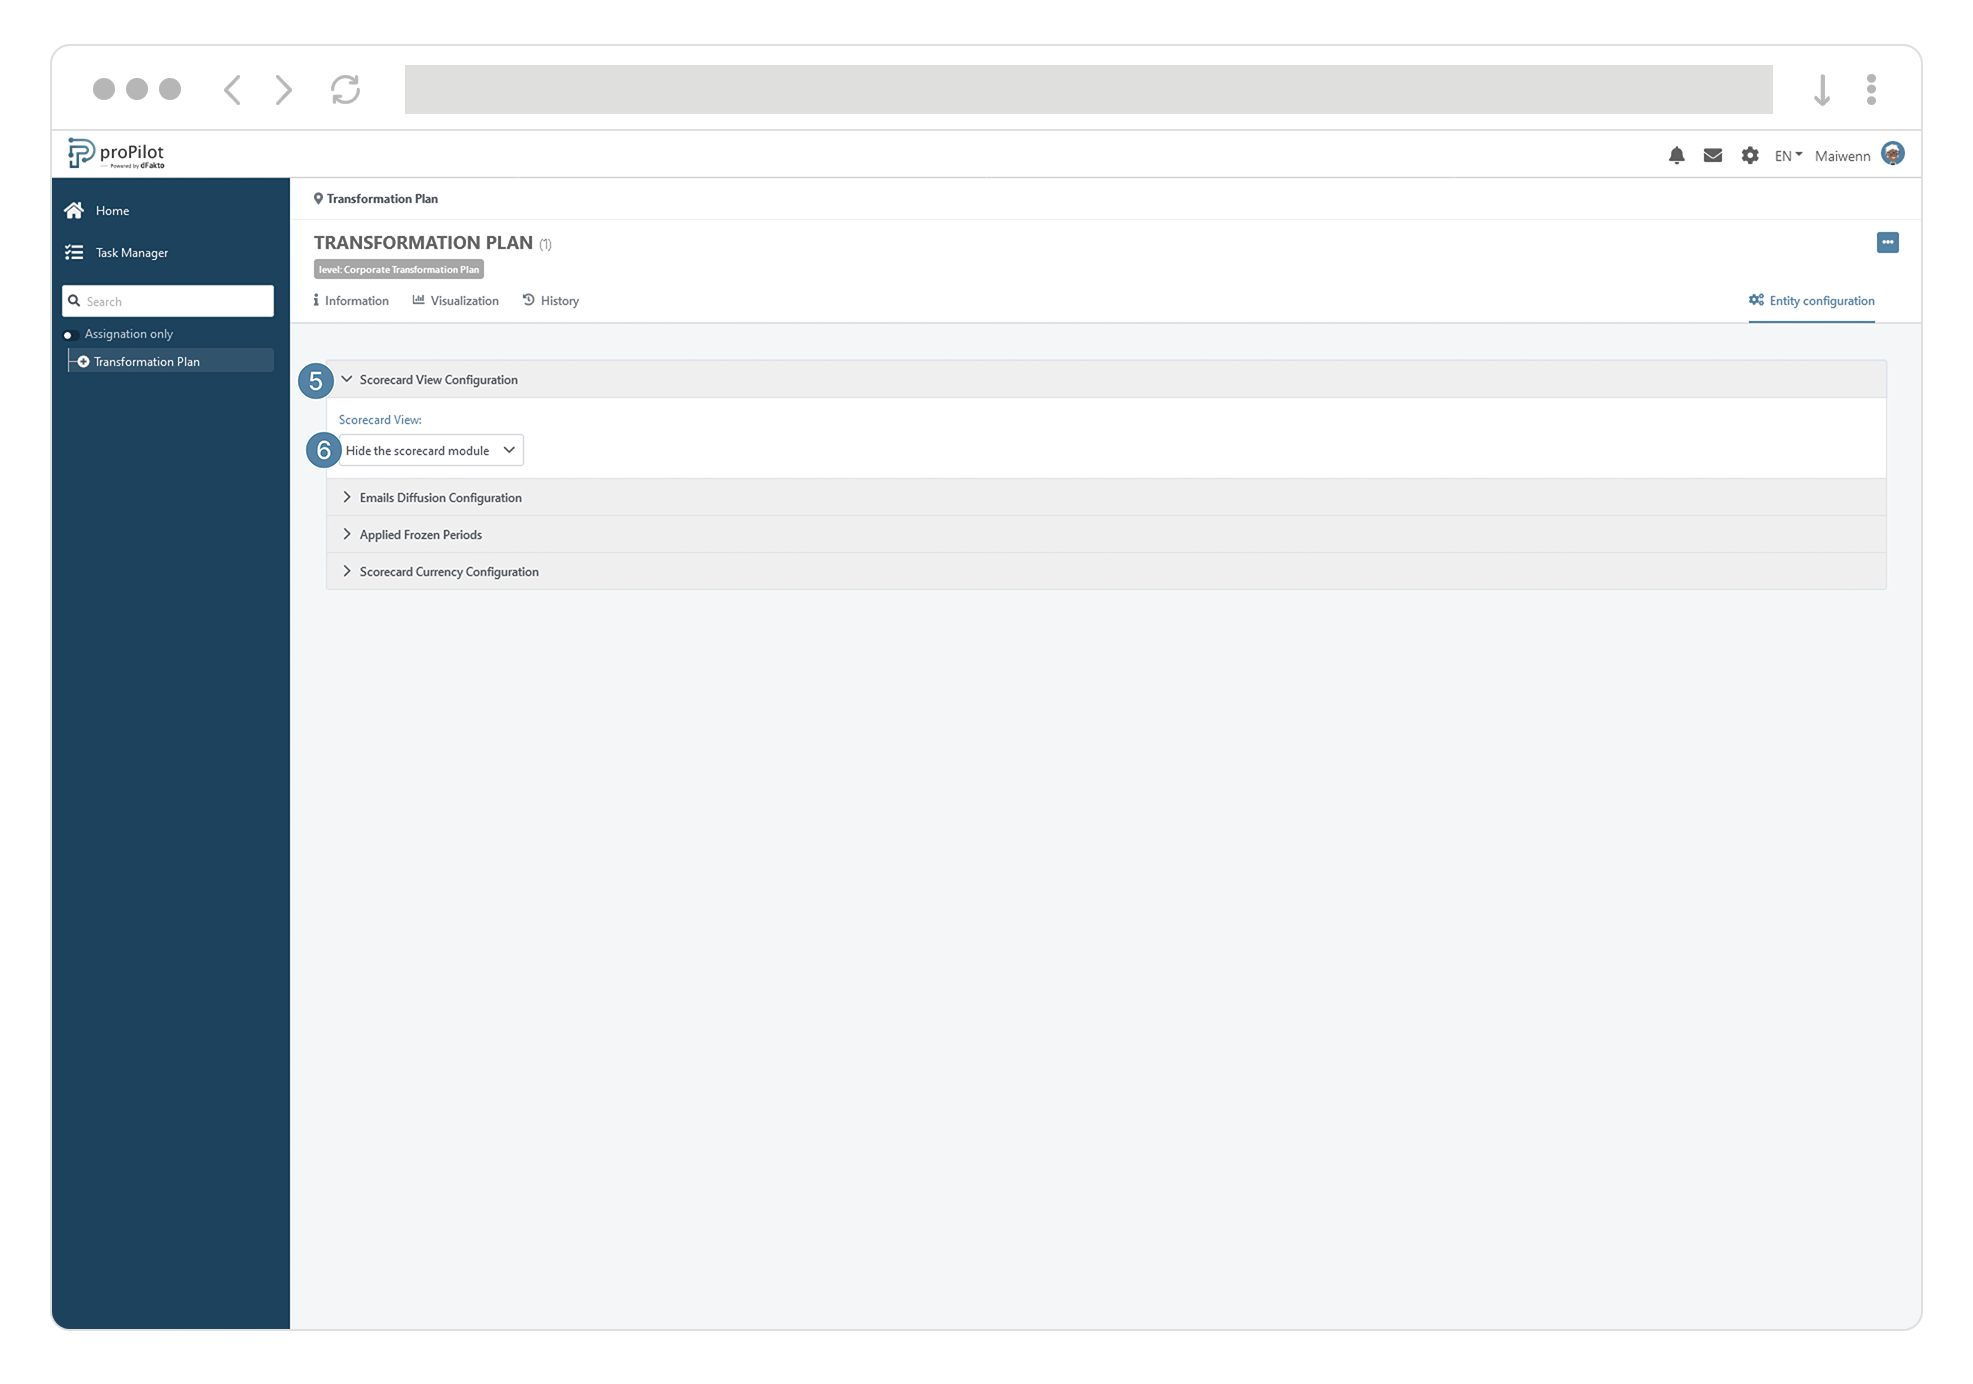
This scorecard view will then be applied to this entity and all underlying entities if they were to inherit the scorecard view from the parent.
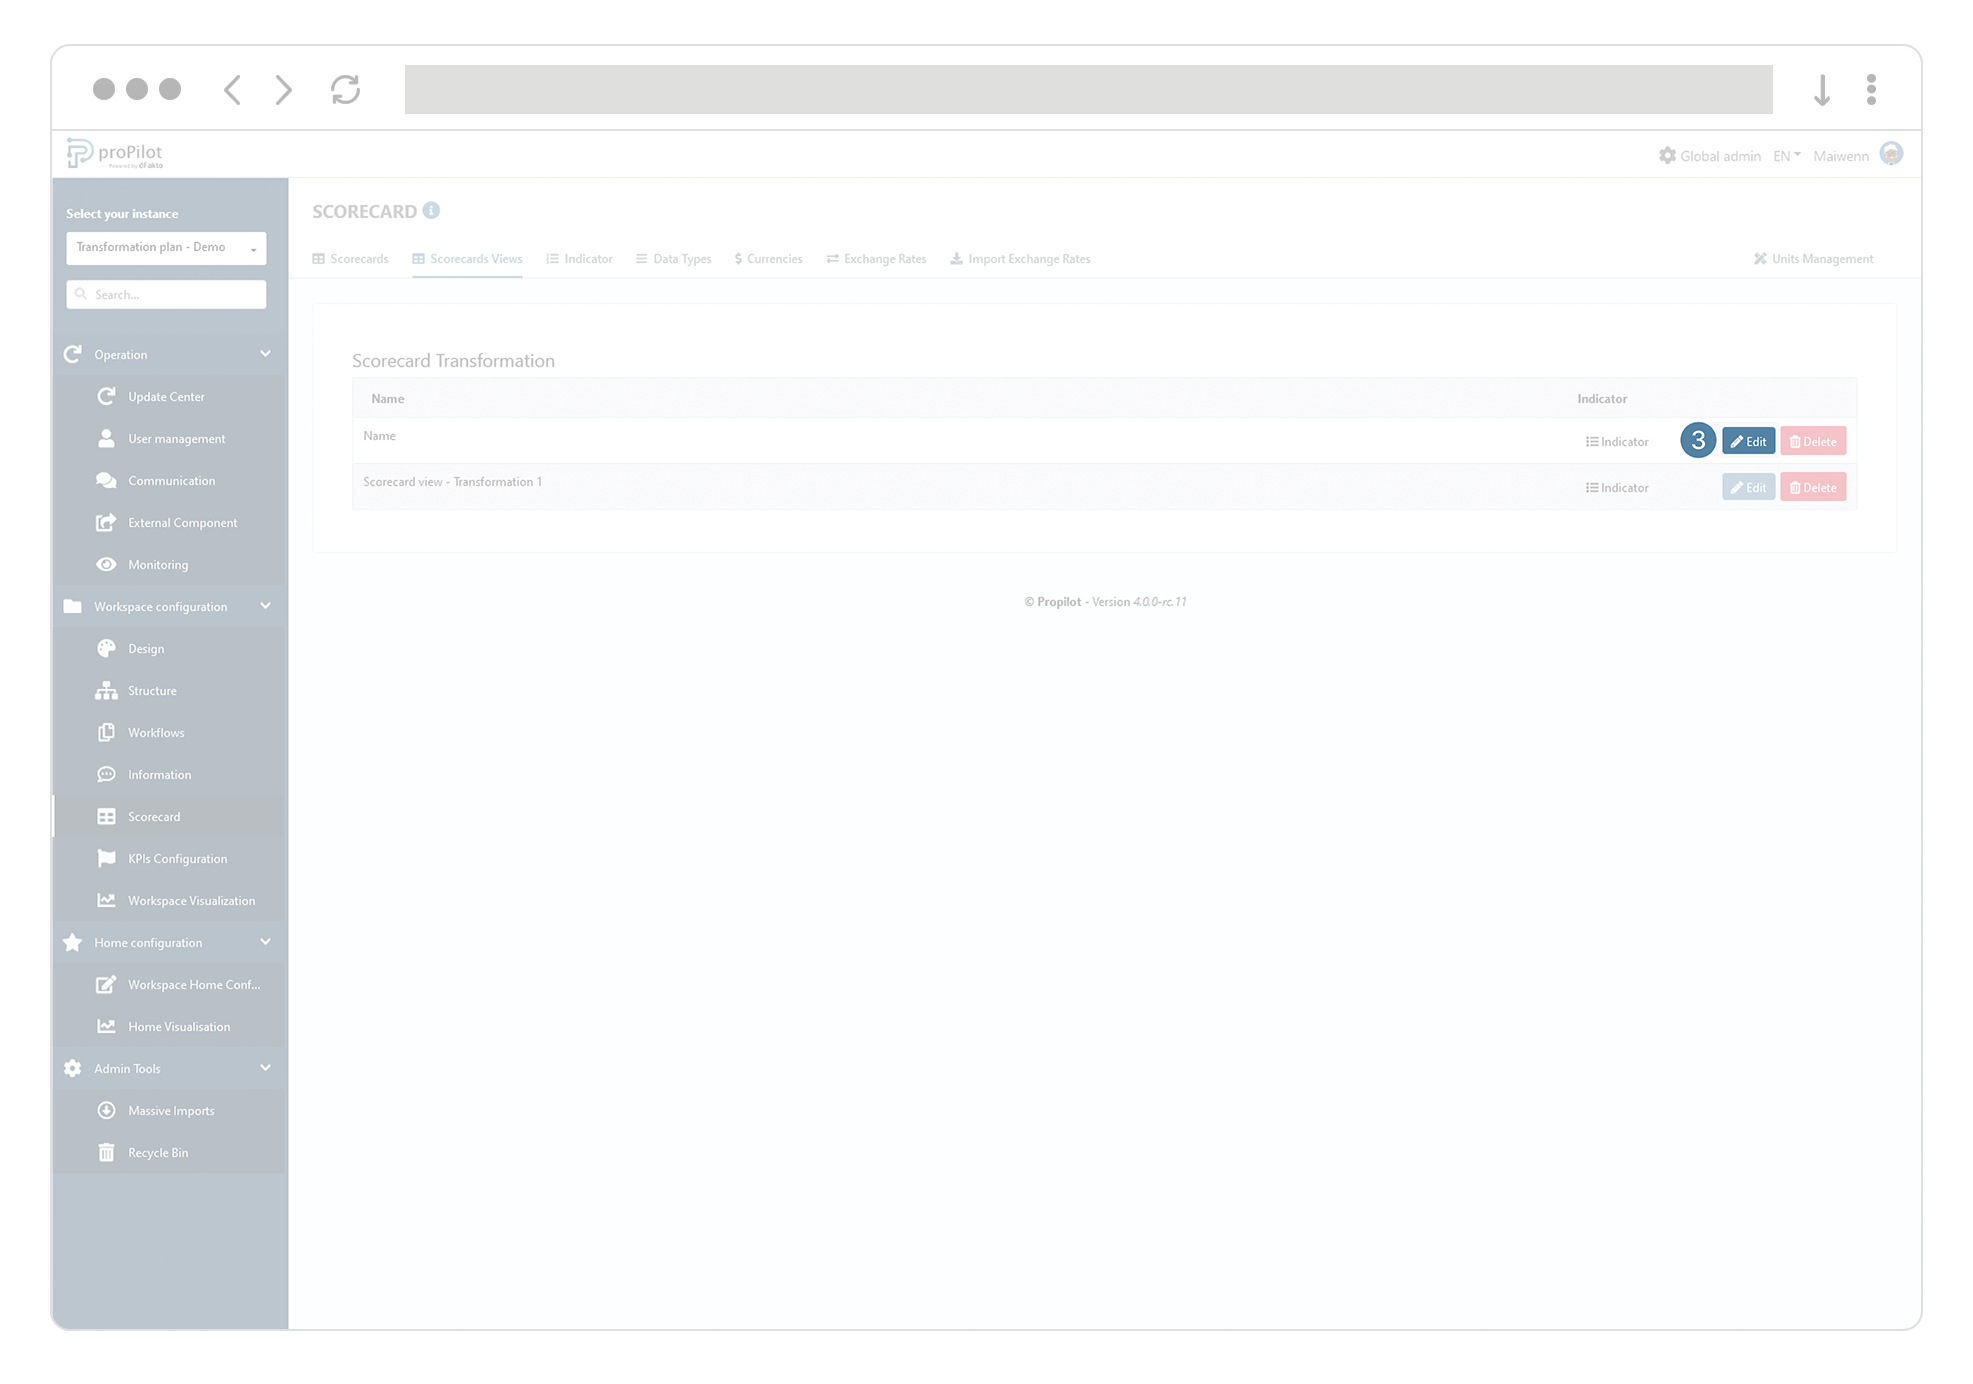
Change the name of your scorecard view
-
In the left-hand menu of the administration area, select "Workspace configuration" and then "scorecard".
-
Then click on the "scorecards views" tab.
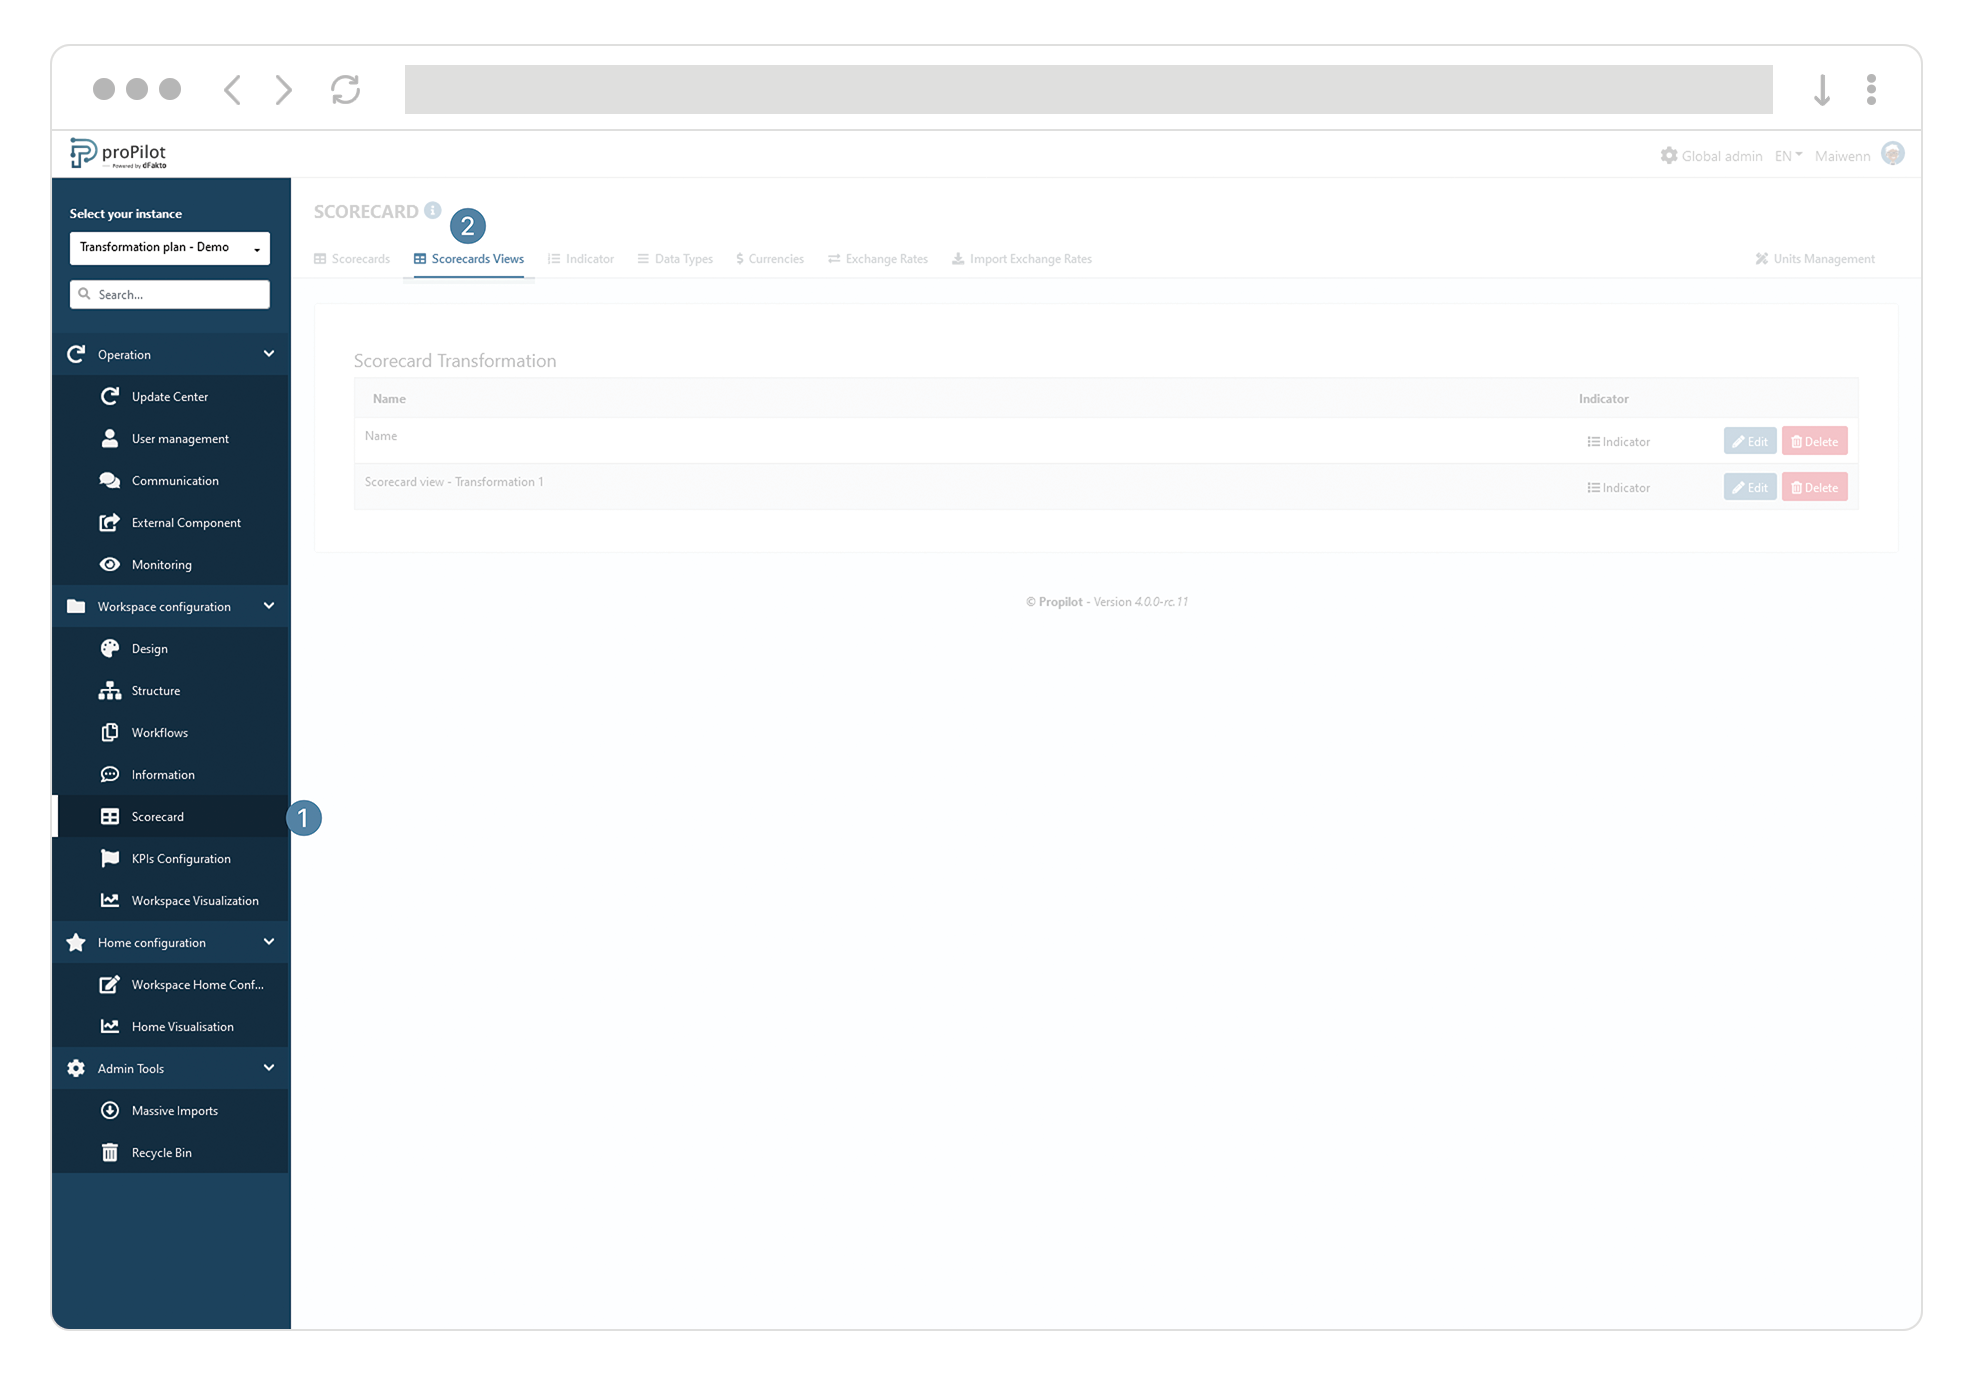
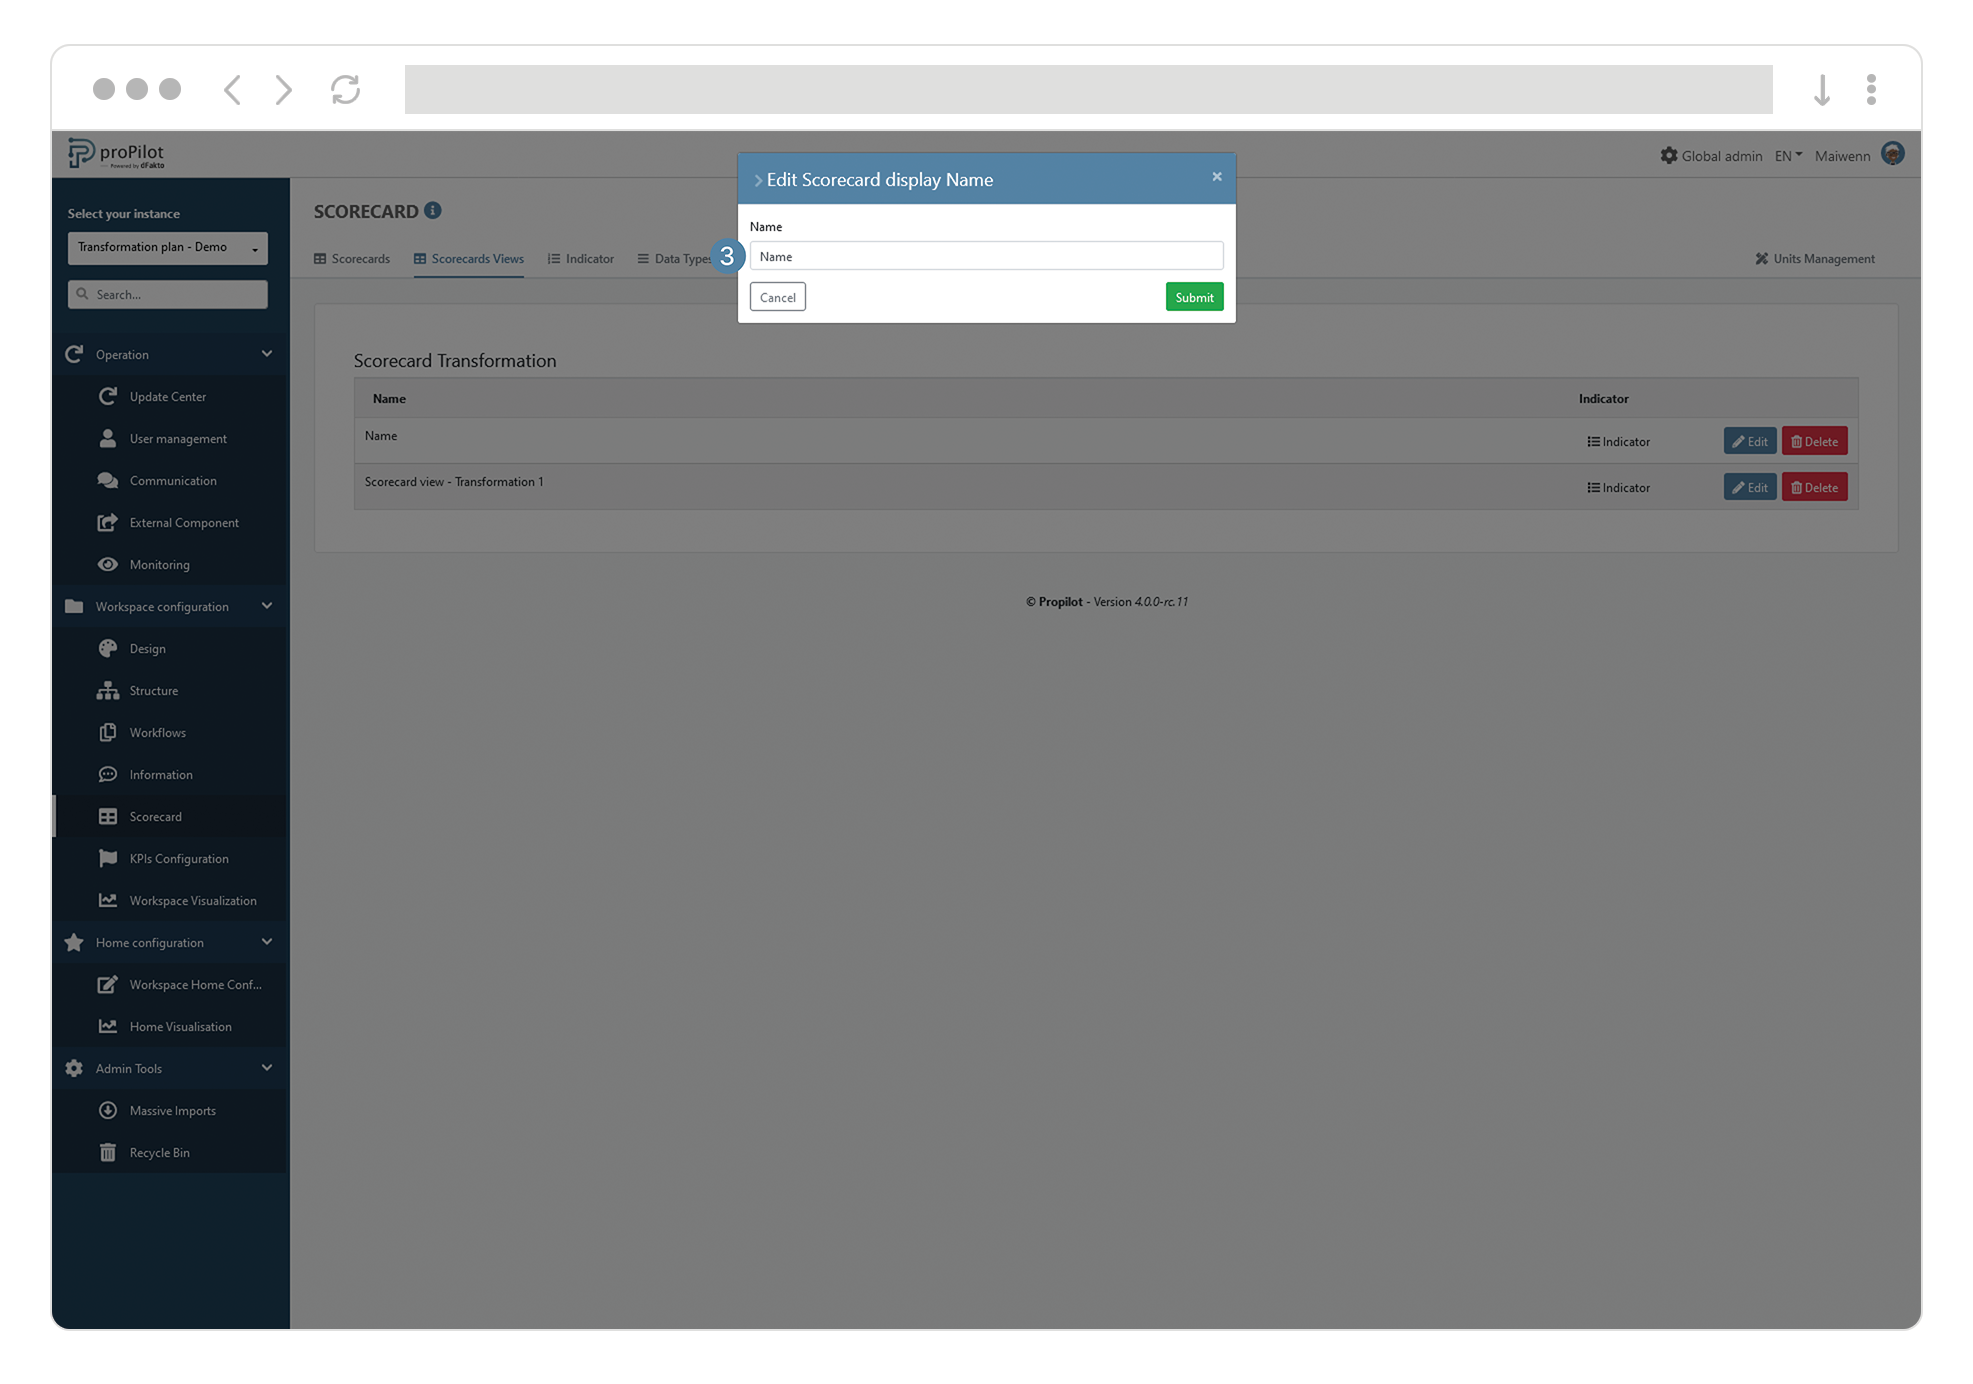
-
Click on the "edit" button of the table to be edited. A pop-up window opens, where you can change the name.
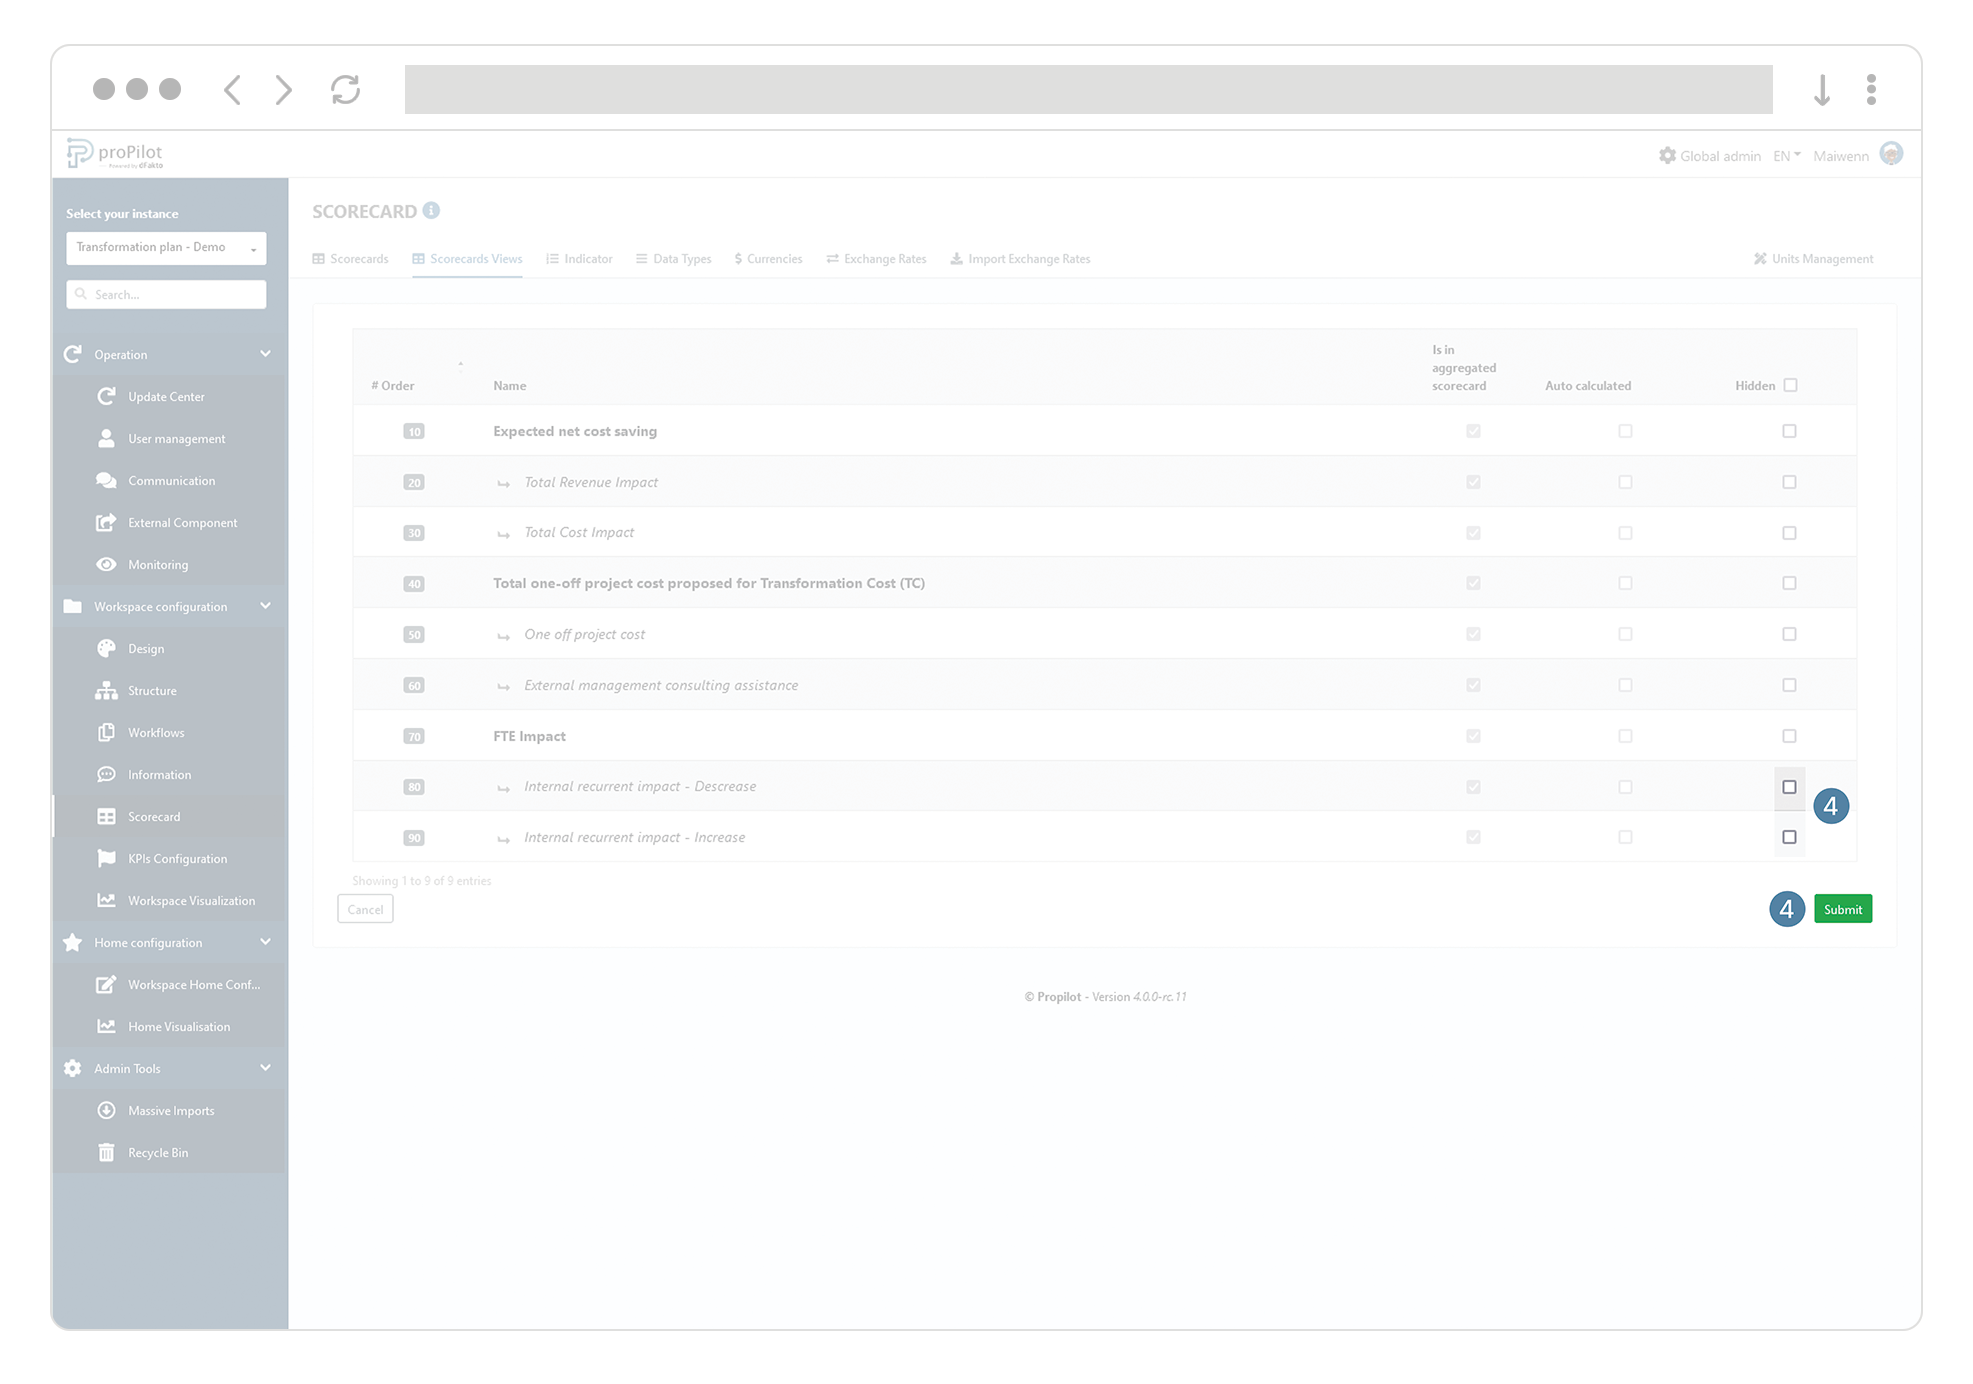
Edit the indicators in your Scorecard view.
-
In the left-hand menu of the administration area, select "Workspace configuration" and then "scorecard".
-
Then click on the "scorecards views" tab.
-
Click on the "indicator" button of the view you wish to modify. You arrive on a page displaying all the indicators in the scorecard.
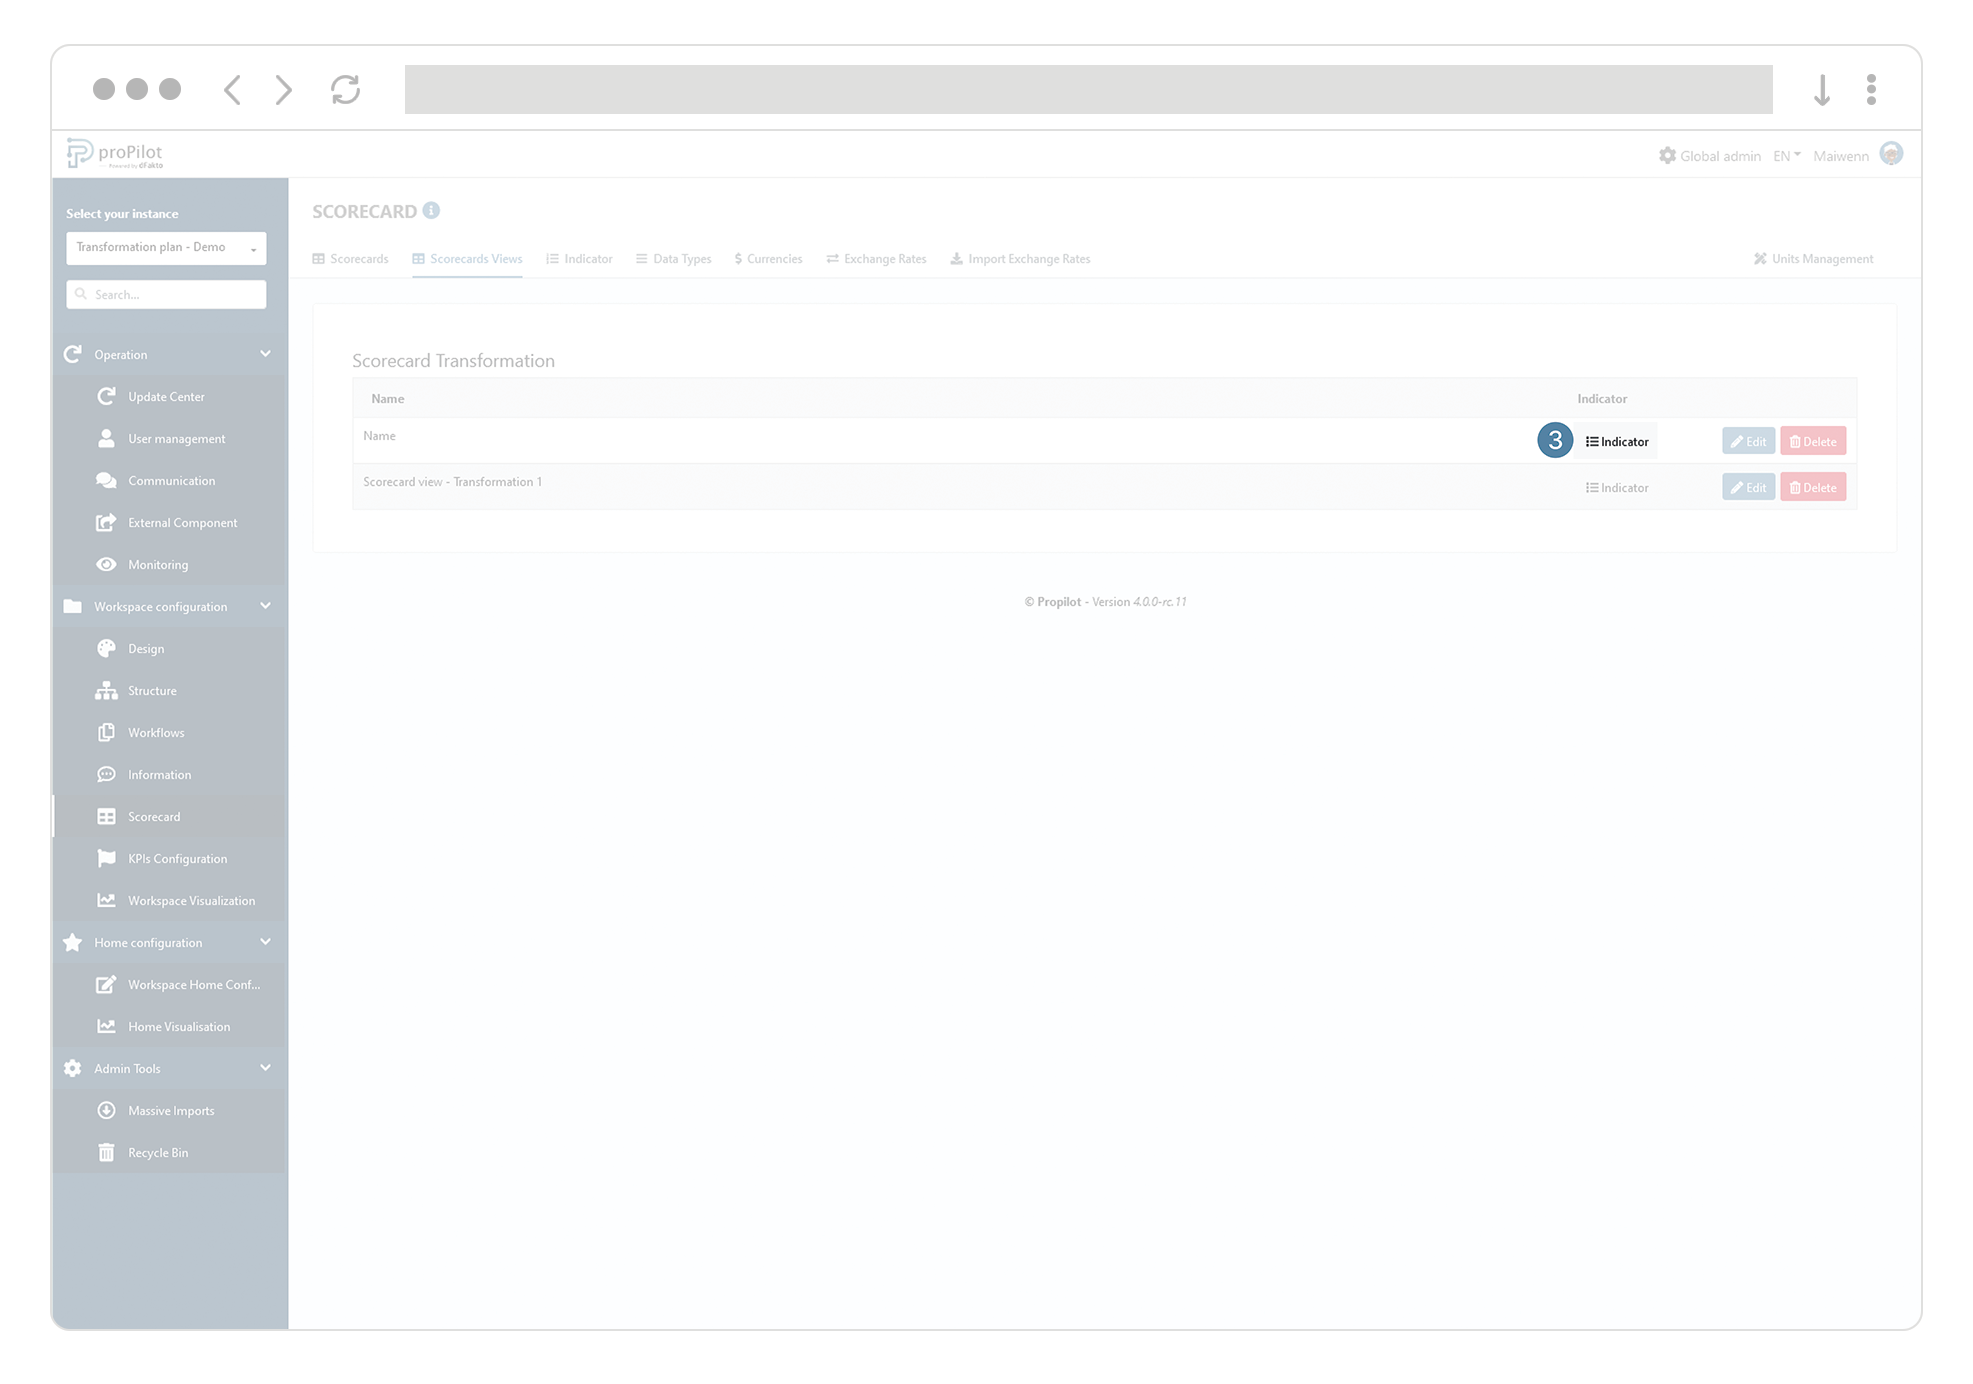
-
Select the indicators you want to integrate or hide in the view.