
Introduction
This section helps you to set up qualitative information for which you want to retrieve data through your entities. Specifically, this section allows you to understand, define and structure the qualitative information.
It is recommended that each level has its own qualitative information set. Among this set, a whole series of information are defined.
You will find in this qualitative information, for example, the name of the entity itself, the names of the managers of this entity, the front page information that needs to be completed regularly, the details that allow this entity to be categorized, etc.
The objective is to be able to define all the qualitative information. These information can then be categorized by section. These sections containing the chosen information will finally be available to users within each entity. This will allow the user to visualize the information in a structured way to be able to complete it more easily.
Create and manage sections to organize the information modules
Create additional sections to categorize your qualitative information
-
In the left-hand menu within an instance chosen via the drop-down menu at the top left of the administrator interface, select "Workspace configuration" and then "Information".
-
Click on the "sections" tab.
This module allows you to manage the different sections that may be available when displaying entities to the user.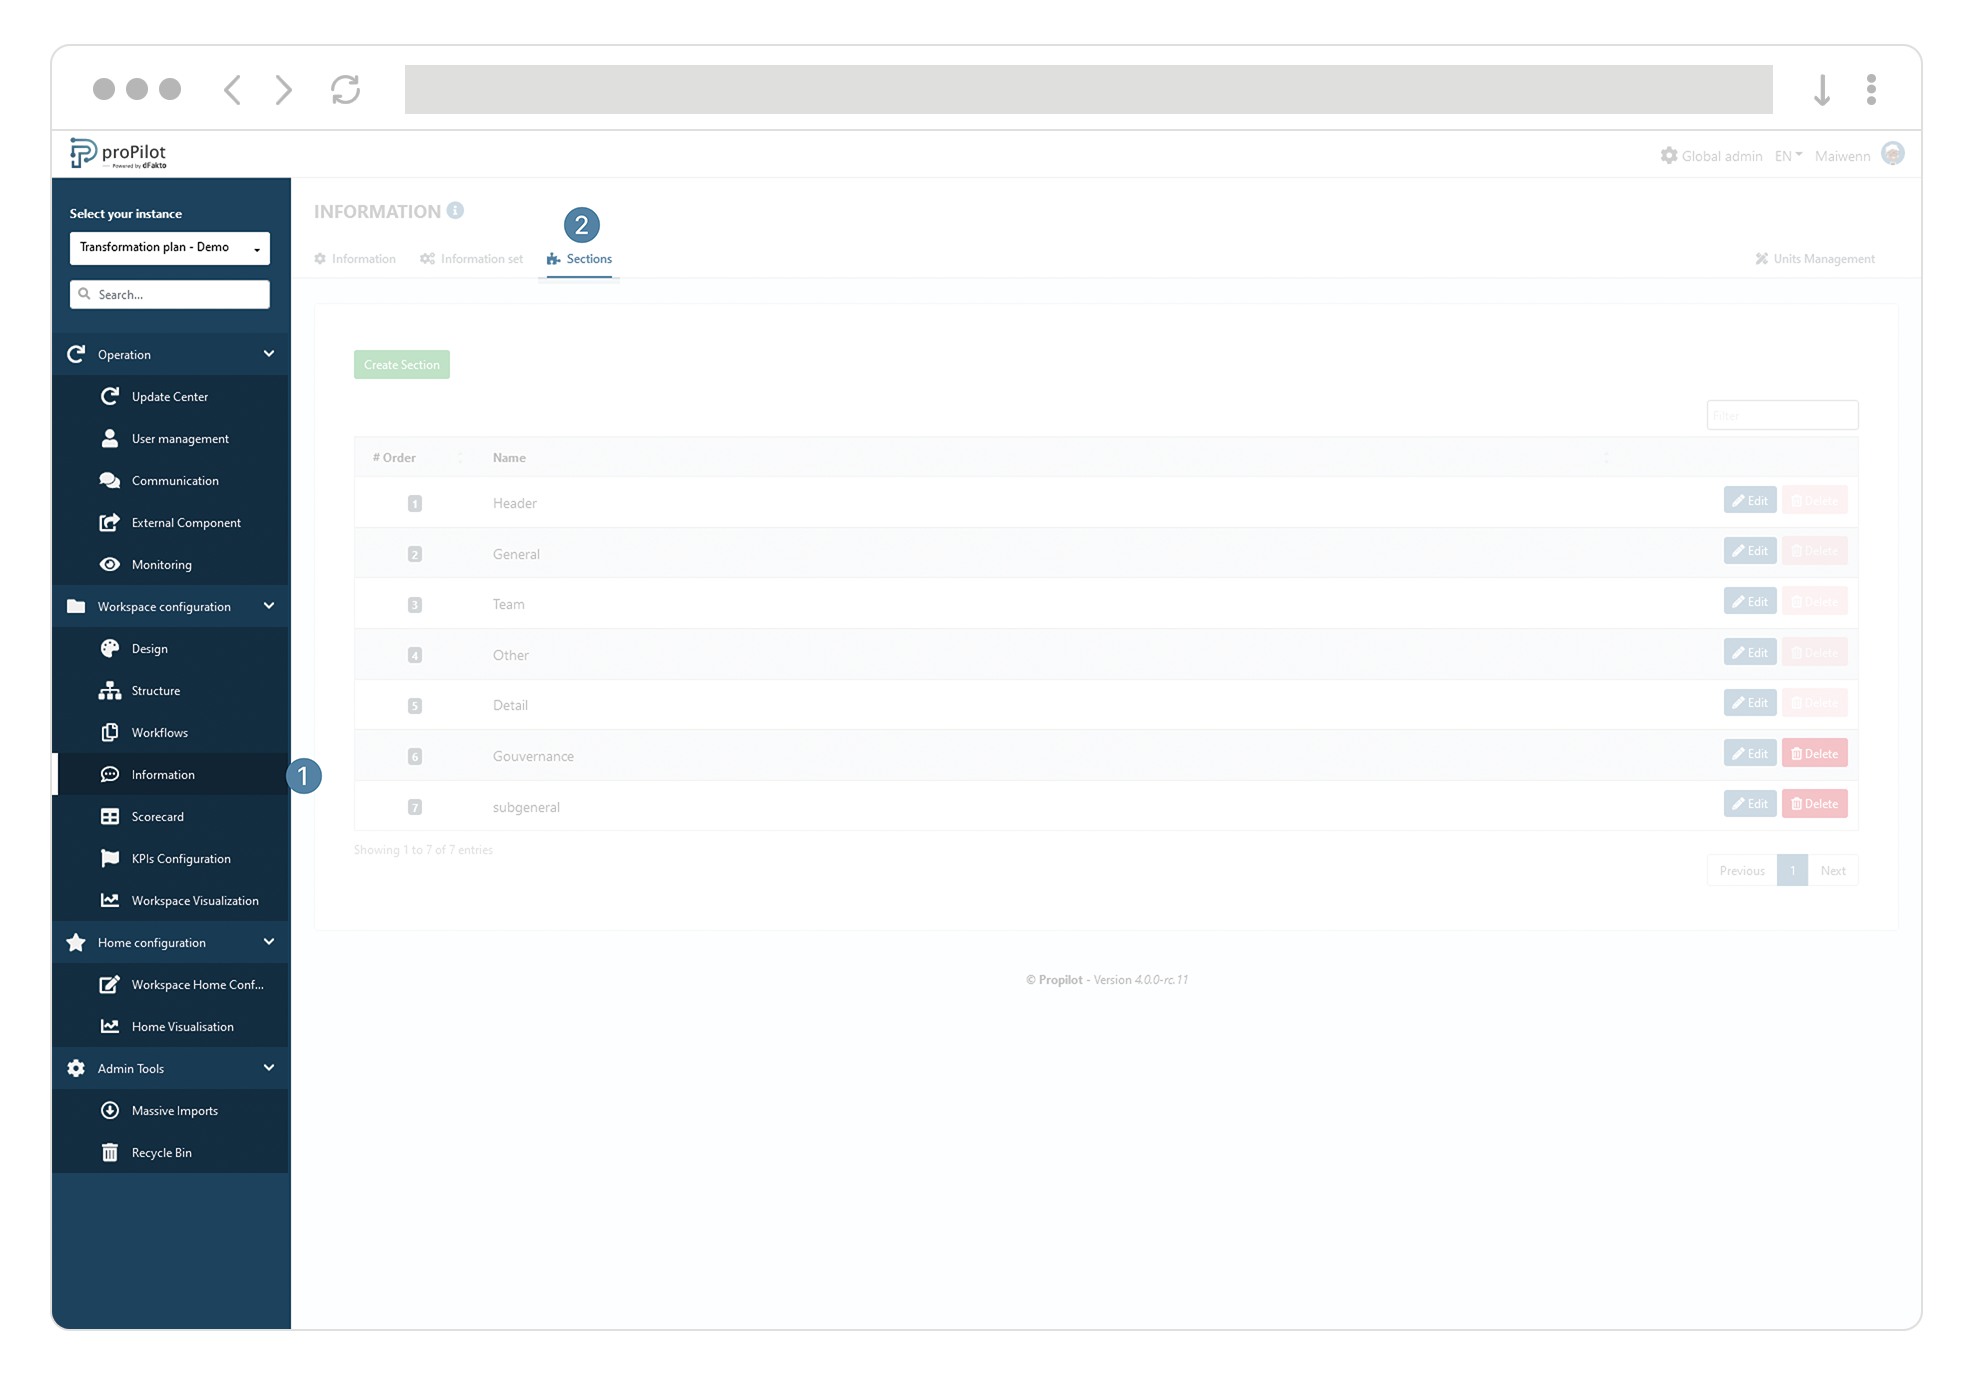
-
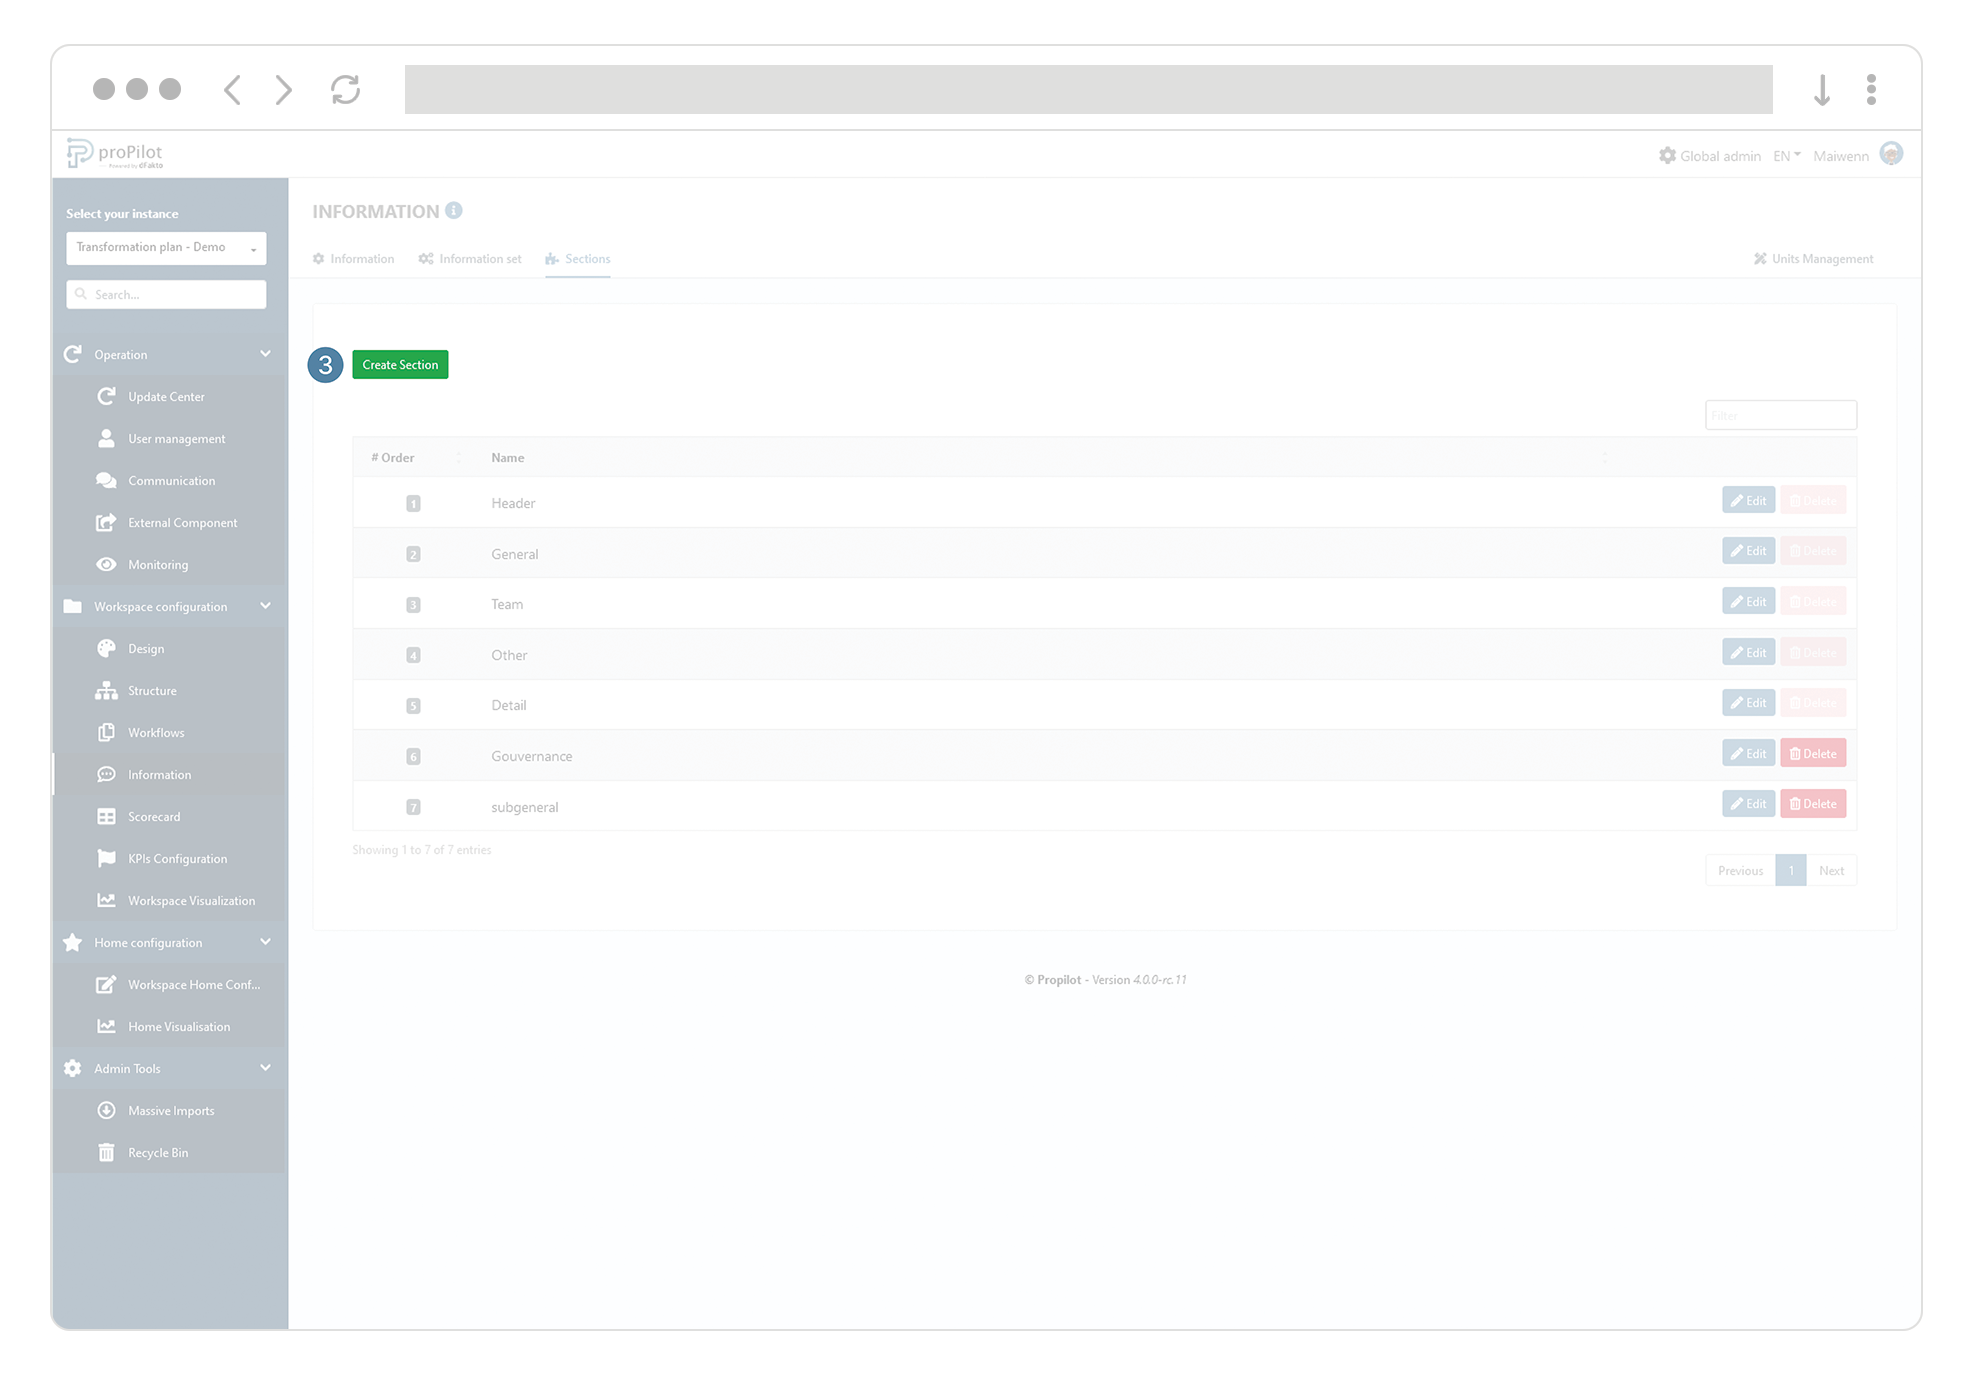
Click on "Create Section". A pop-up window will open.
-
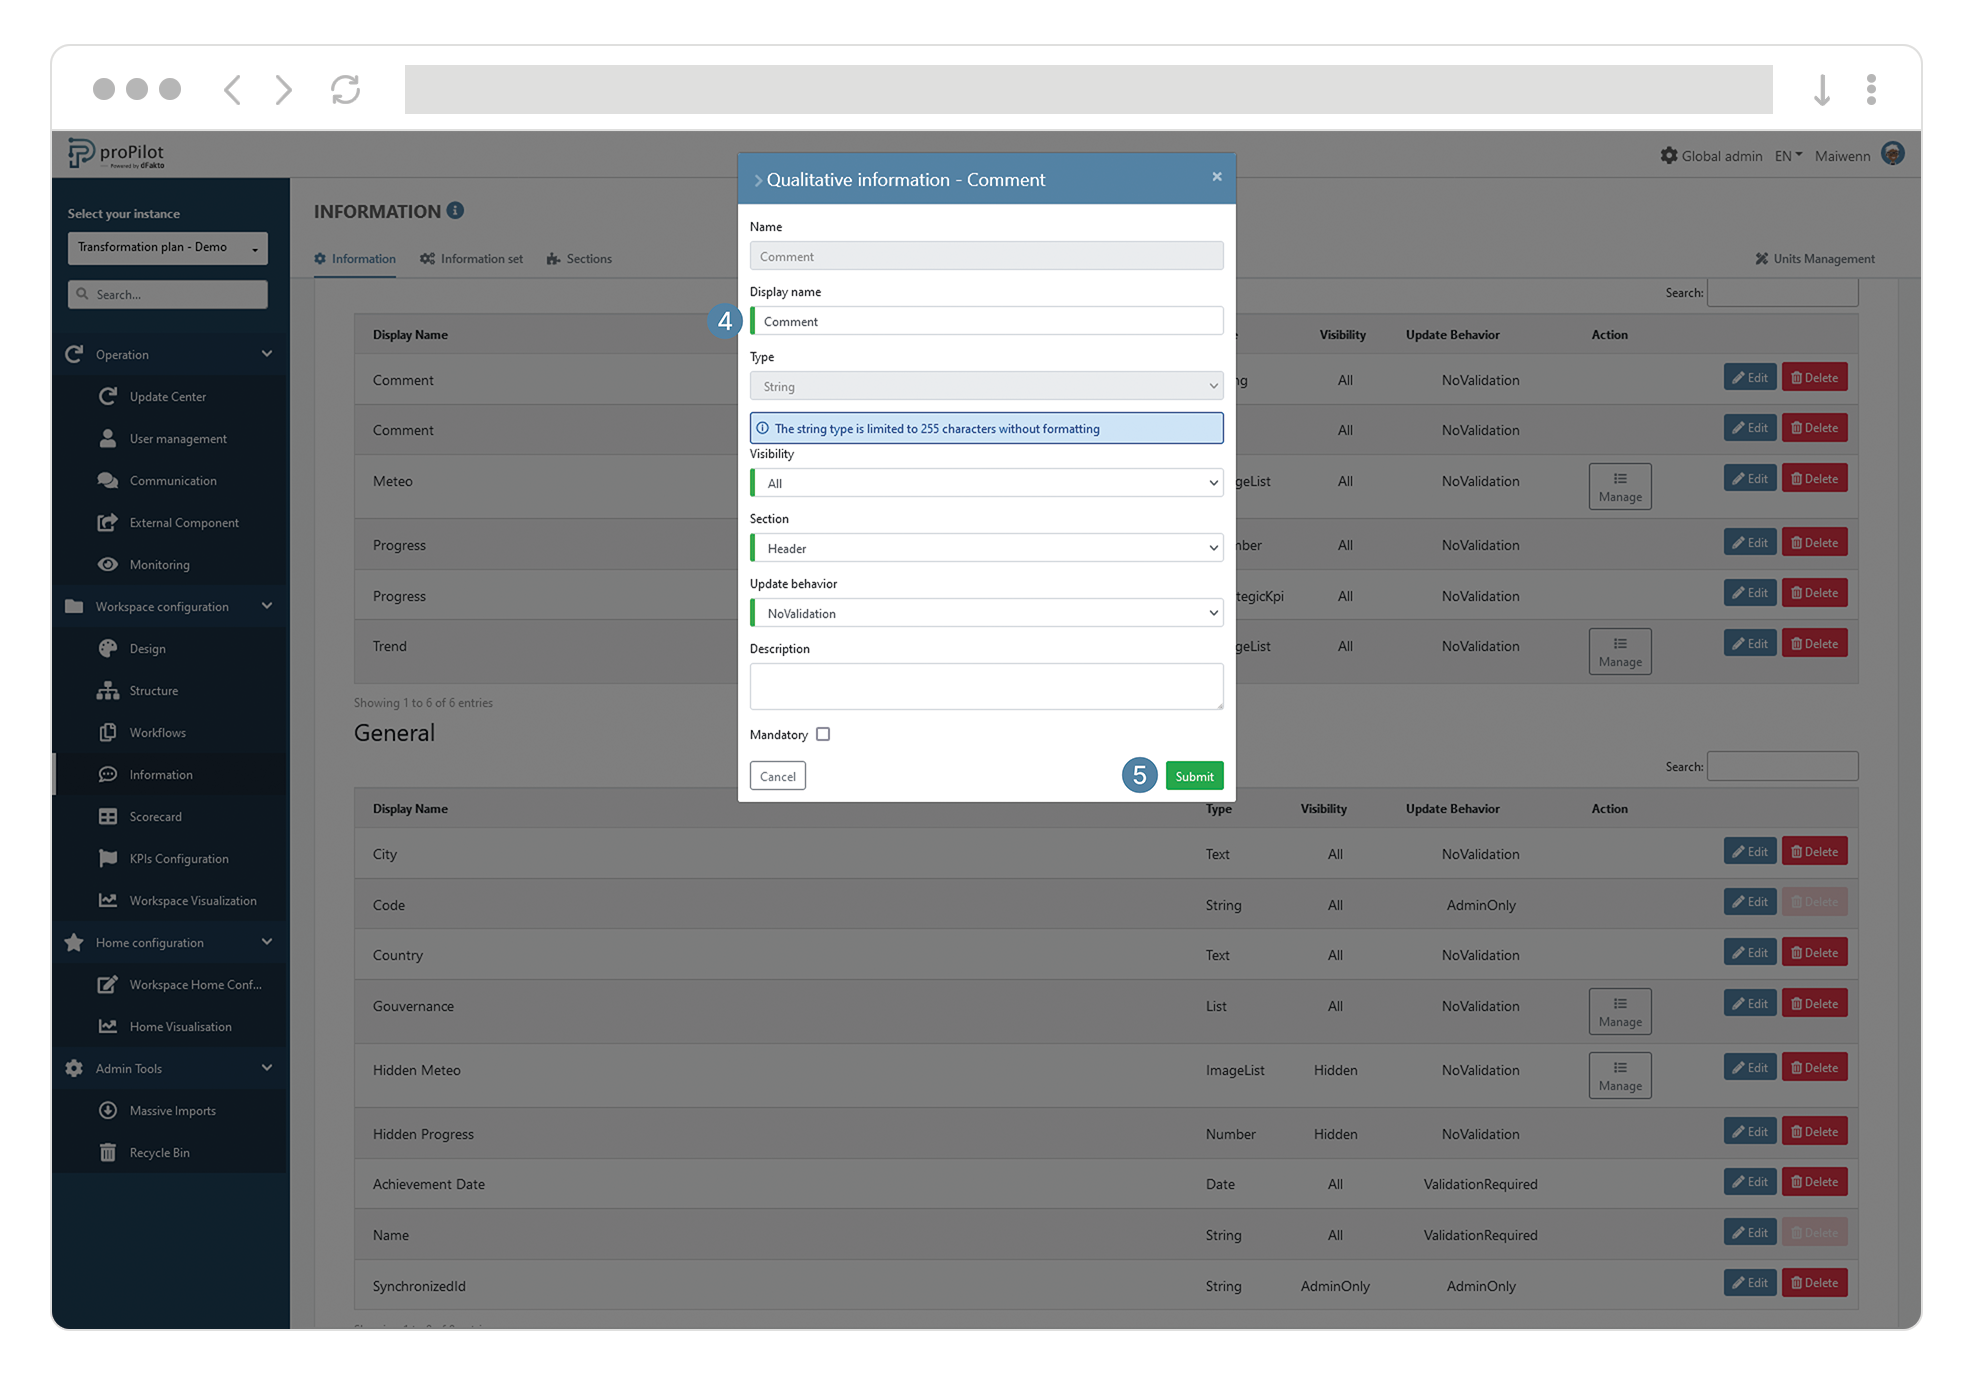
Encode the following information:
-
The name you want to display.
-
The display type, which defines how the information will appear in the section (list or tile).
-
The order, which will determine the sequence of appearance for these sections.
-
Whether the section opens by default or not.
-
Manage the display mode of a featured section to quickly view key information about your entity.
-
By default, the featured section is initially titled "Header," which you can update if needed. The information within the section is displayed in the form of tiles.
-
For each section, you can manage the type of information display (list or tiles) and whether the section is open by default.
-
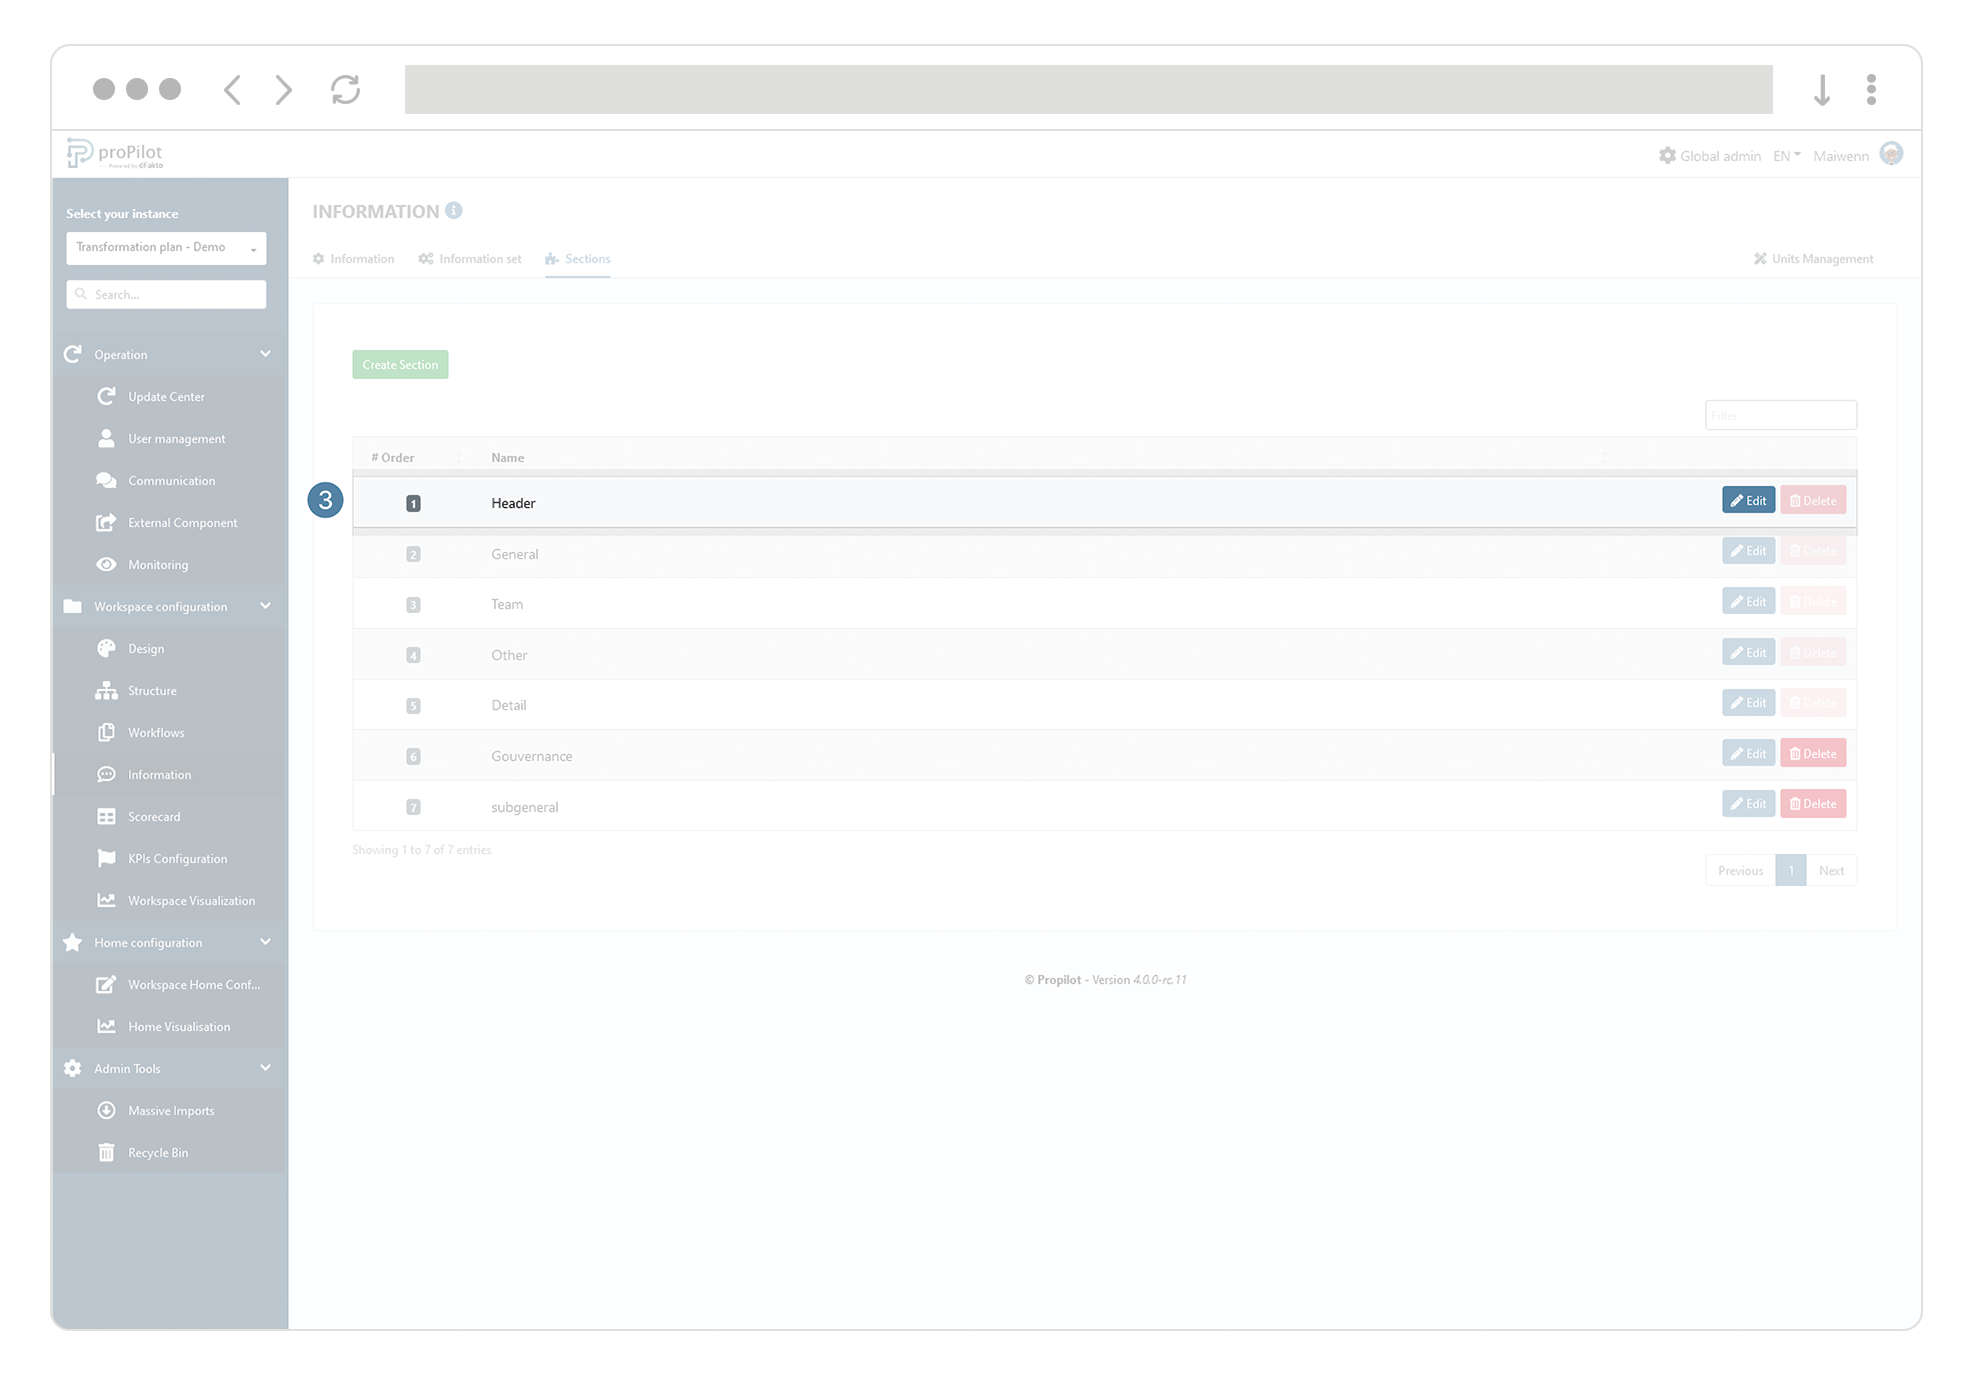
Select the section to modify and click "Edit."
-
Choose the desired display type: Tile or List.
-
Decide if the section should be expanded by default for users.
-

Delete a section to simplify the display of your qualitative information
-
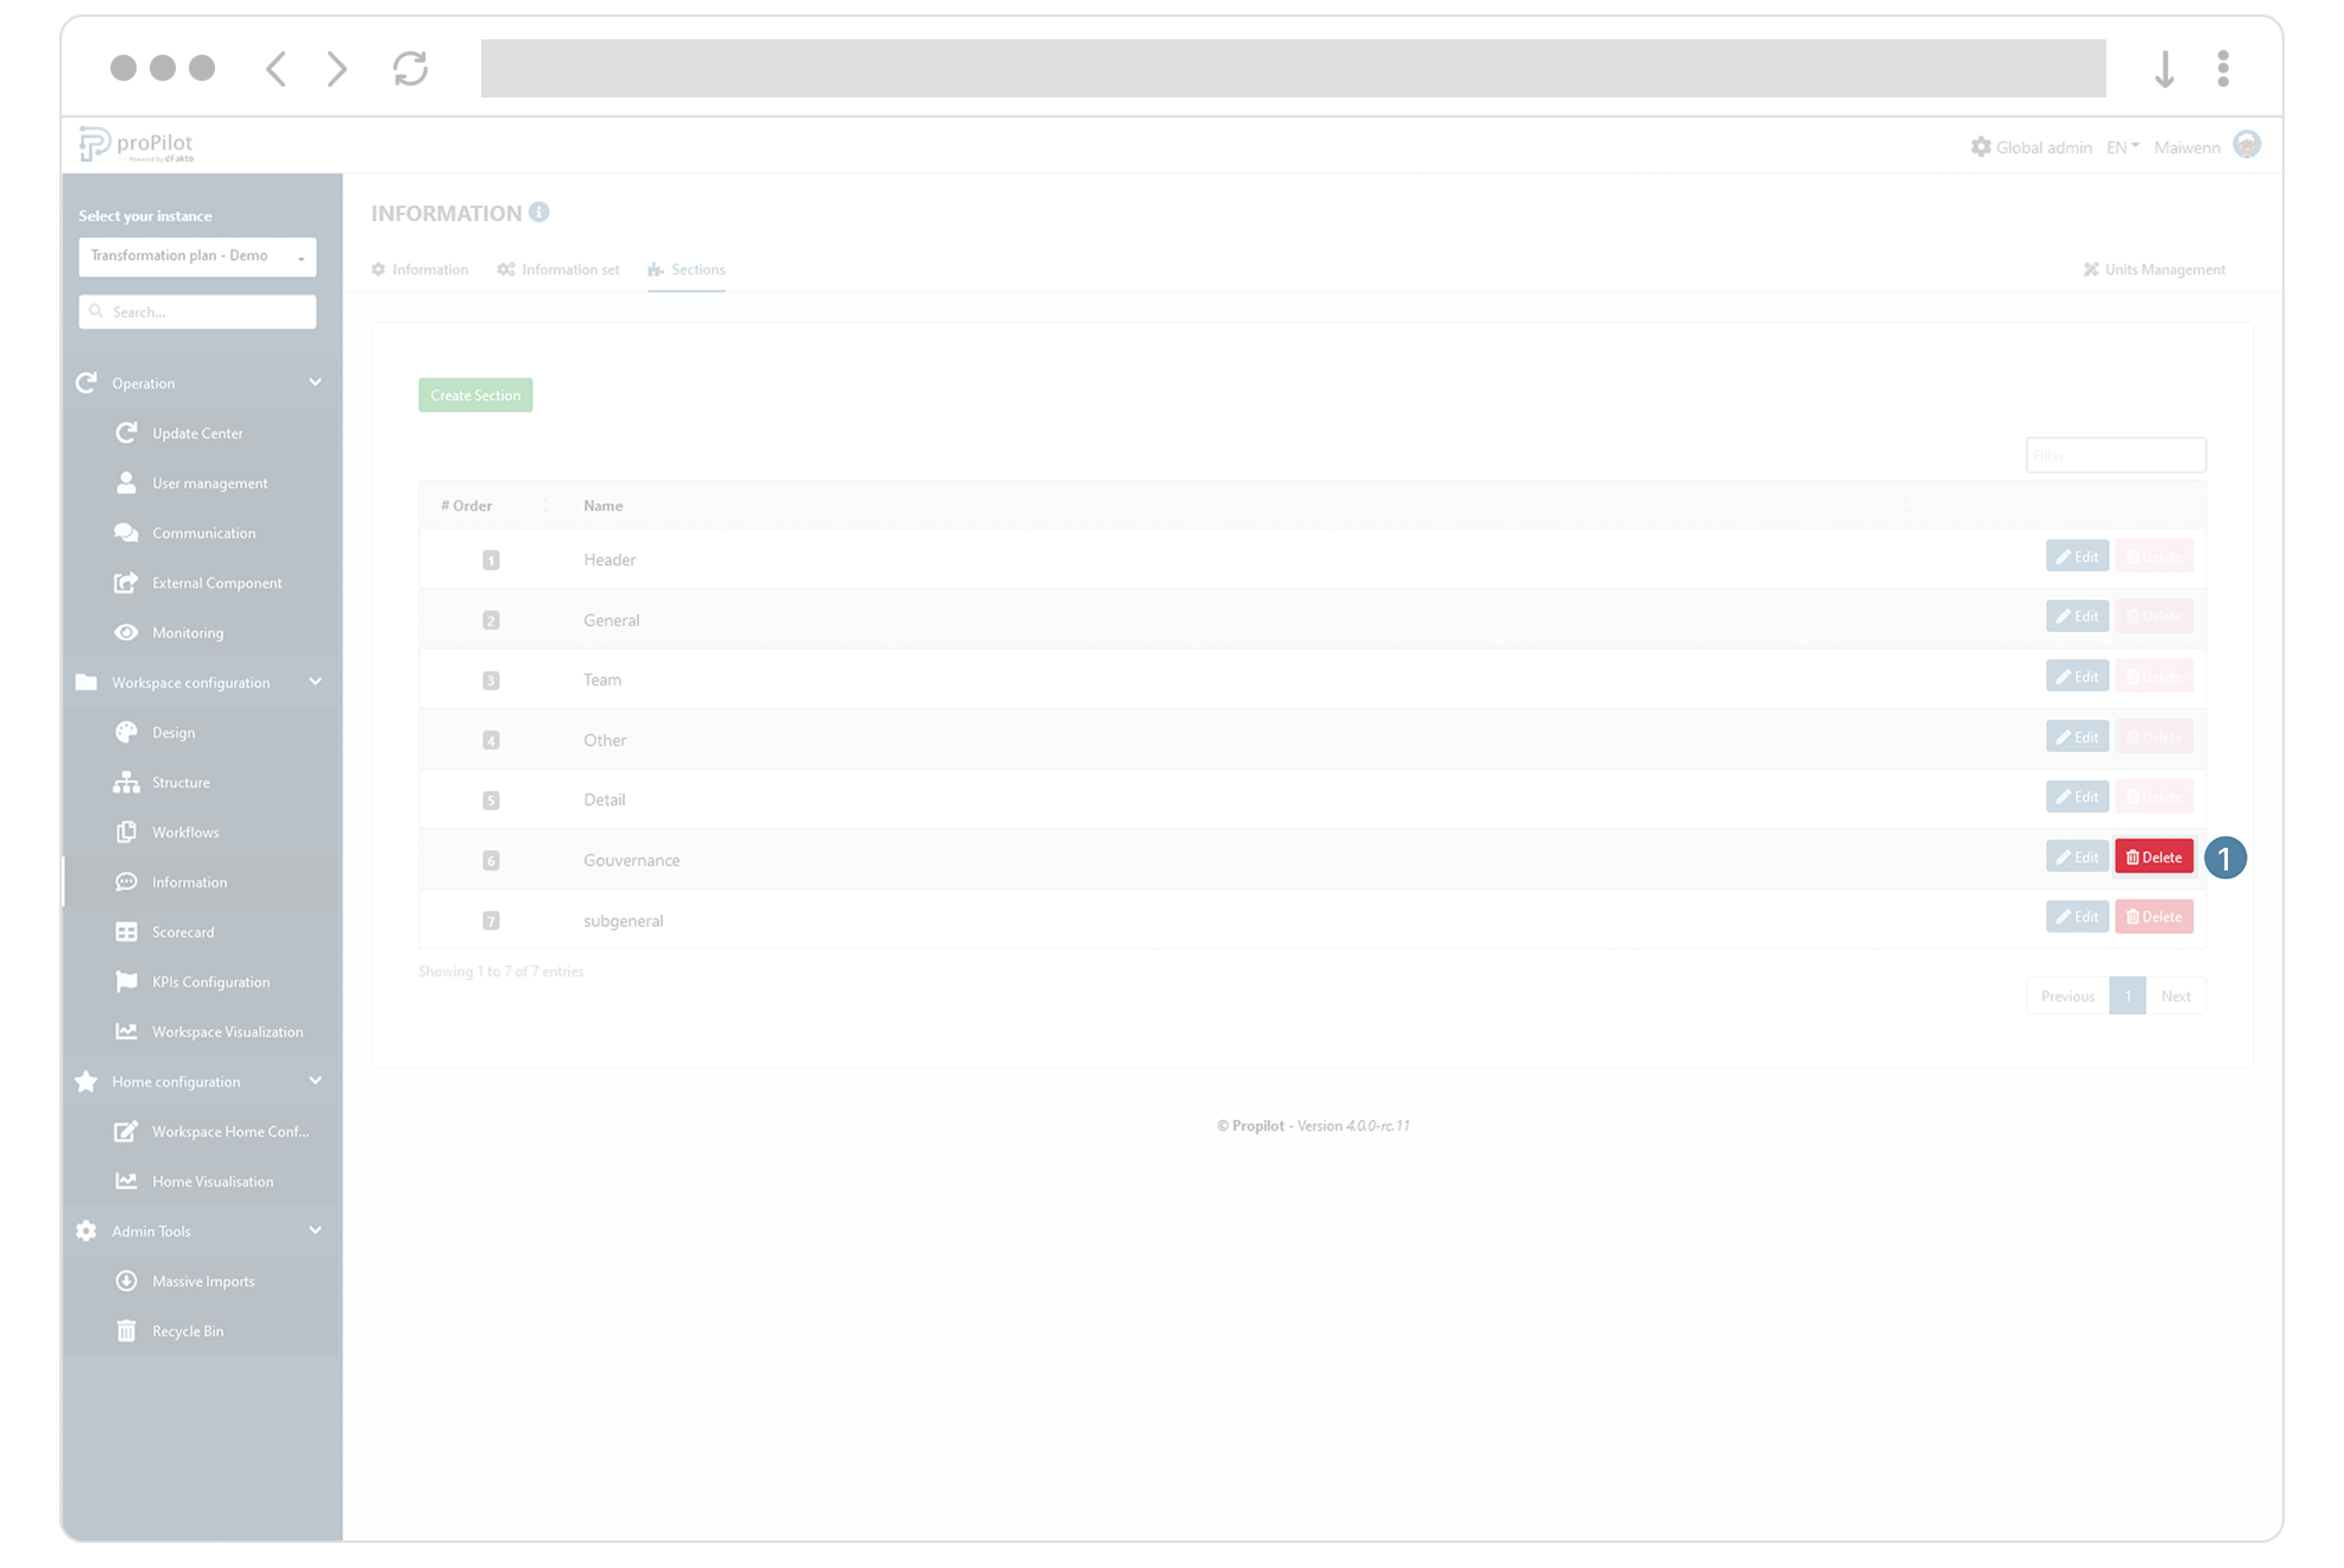
Click on the "delete" button of the concerned section.
Add pieces of information within a section
-
In the left menu, select "Workspace configuration" and then "Information".
-
Click on the "Information" tab.
This module allows you to manage the different information and settings for associates. In particular, you can set the display location.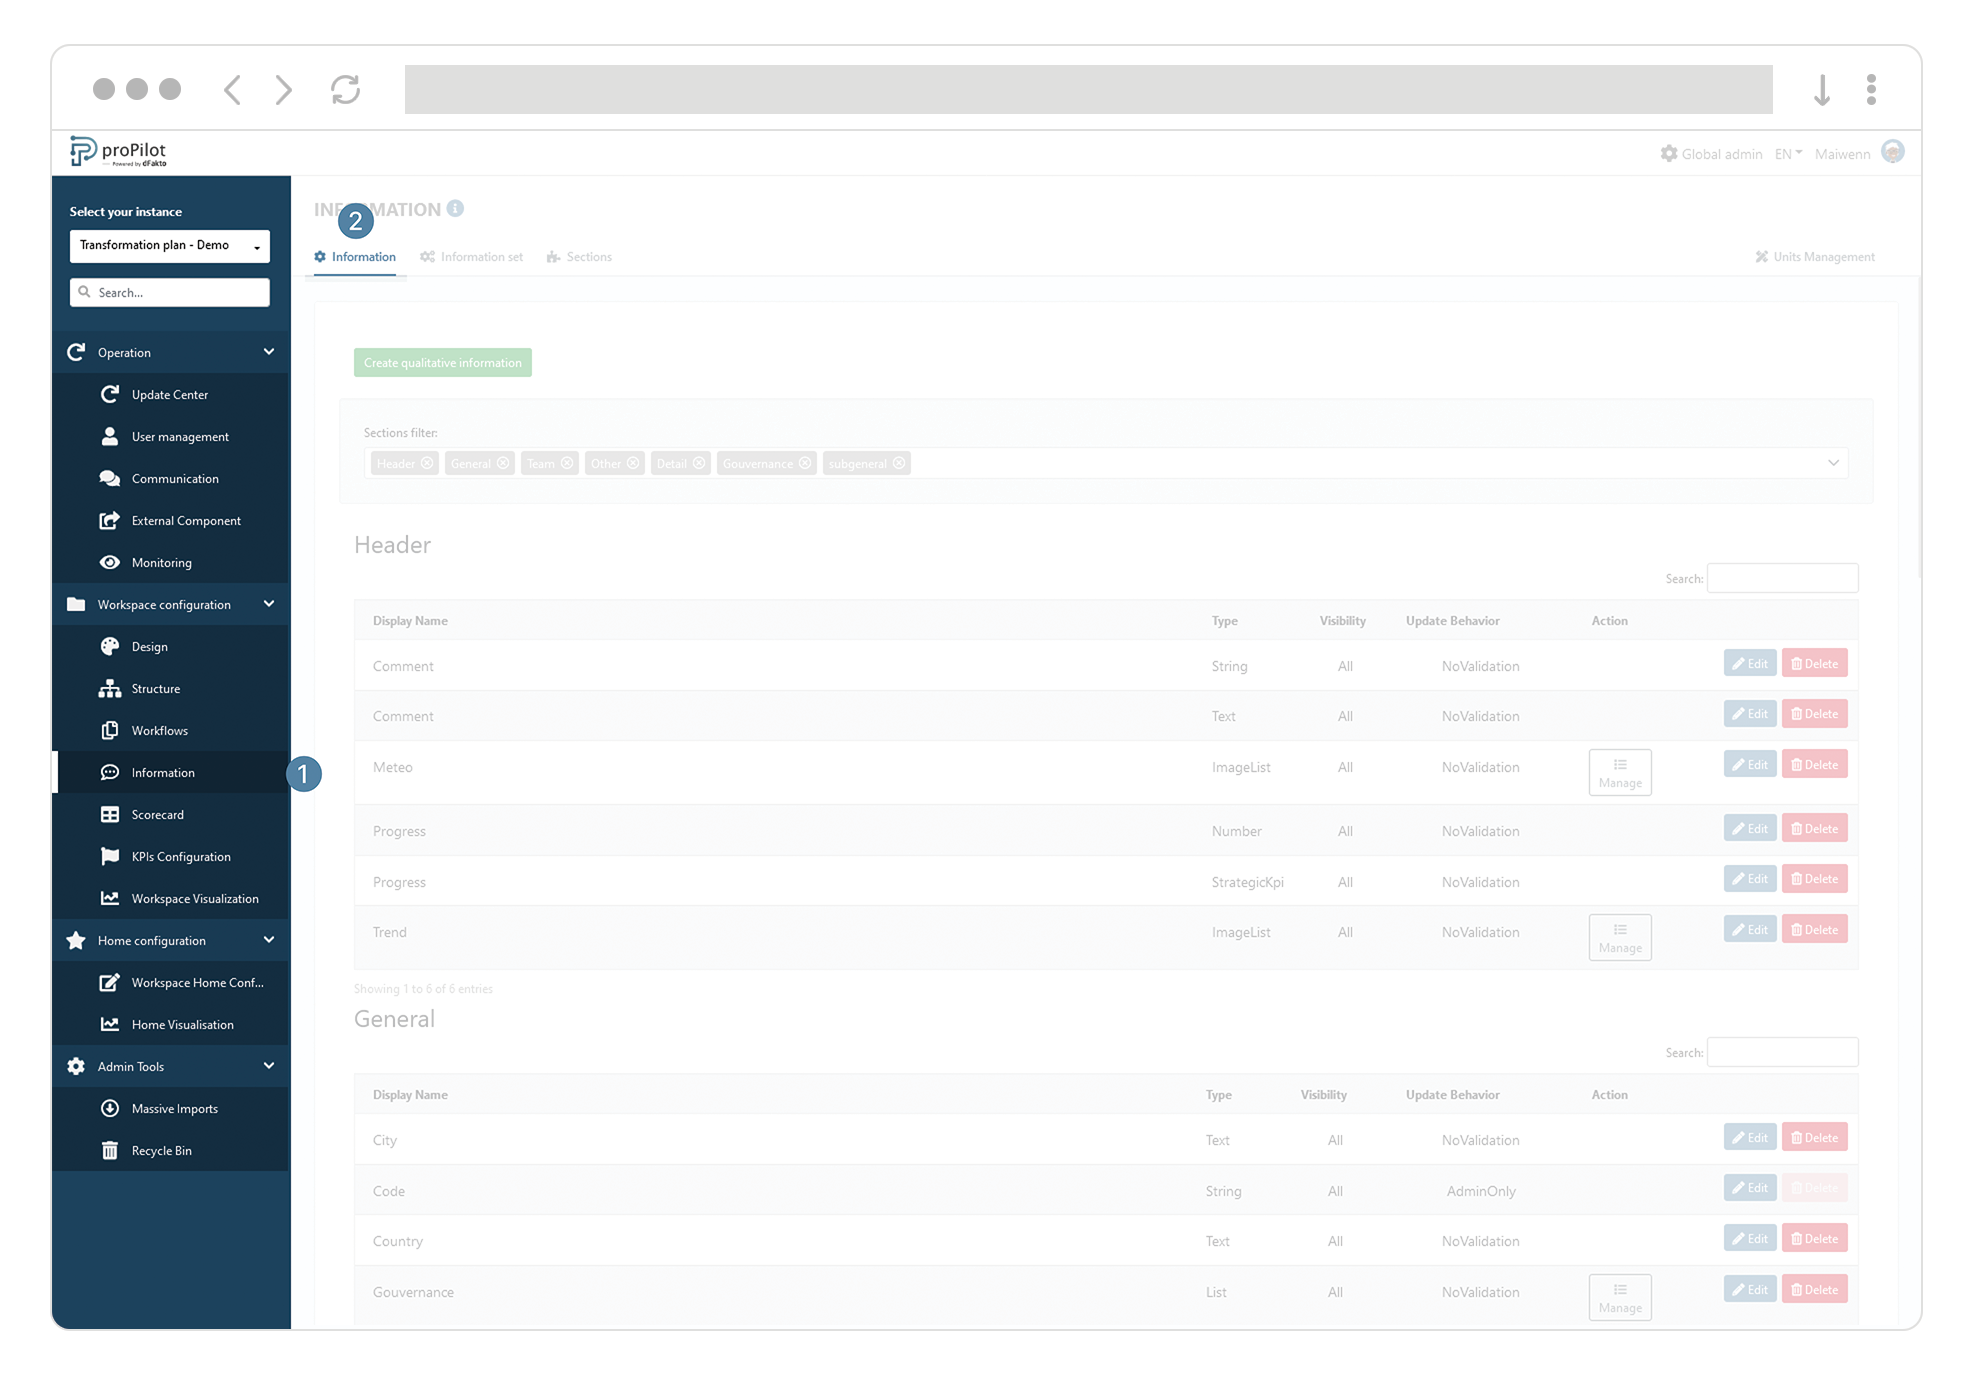
-
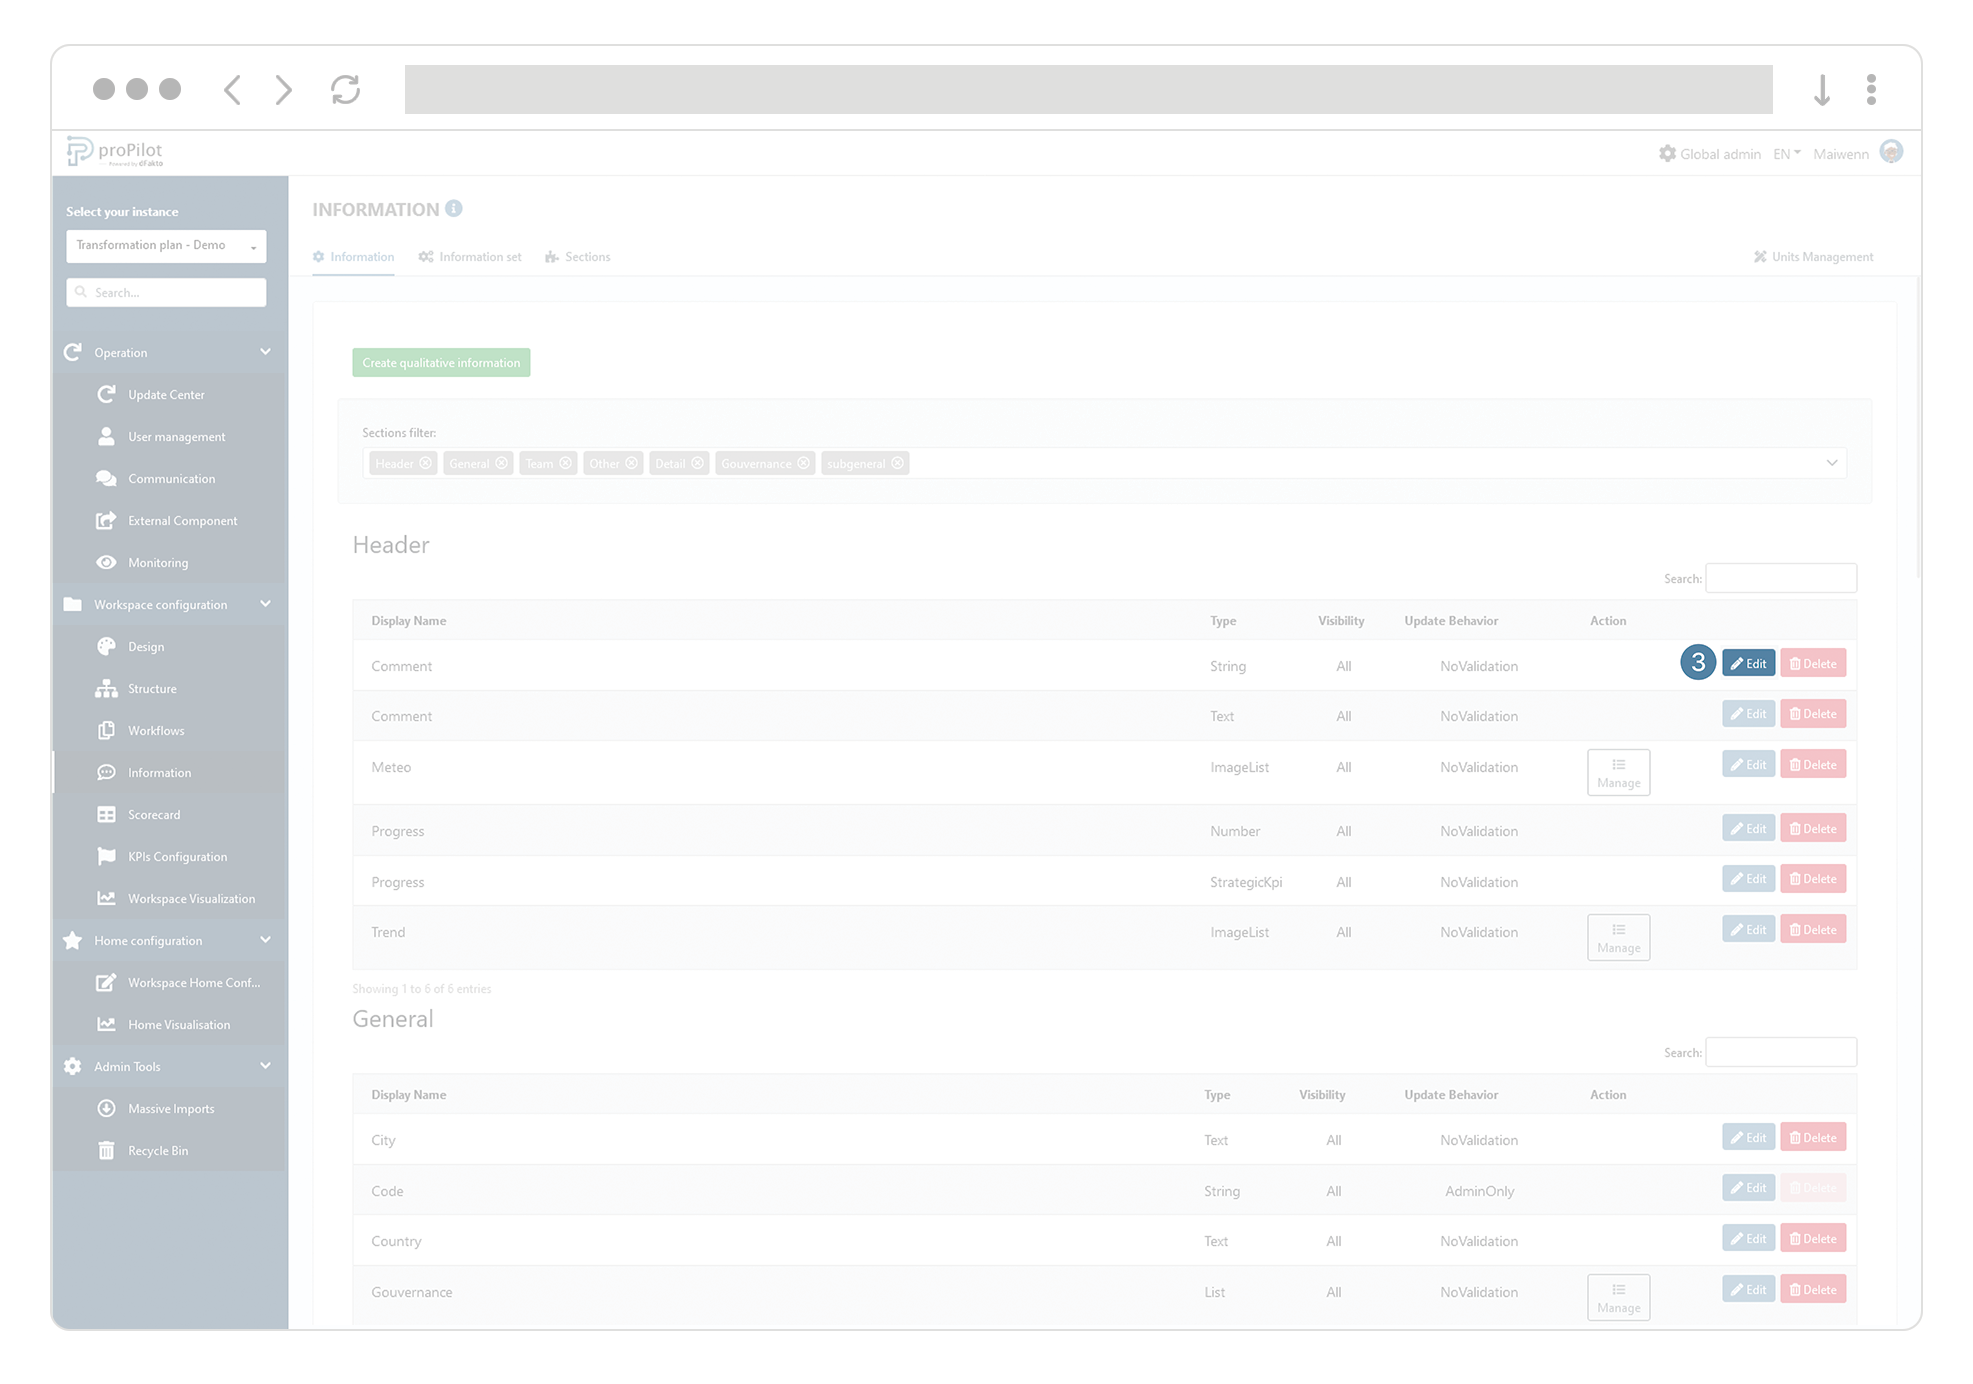
Click on the "Edit" button of the property you want to modify.
-
In the drop-down list "section", select among the available sections.

Create a qualitative piece of information
-
In the left menu, select "Workspace configuration" then "Information".
-
Click on the "Information" tab.
This module allows you to manage the different information and associated settings.
-
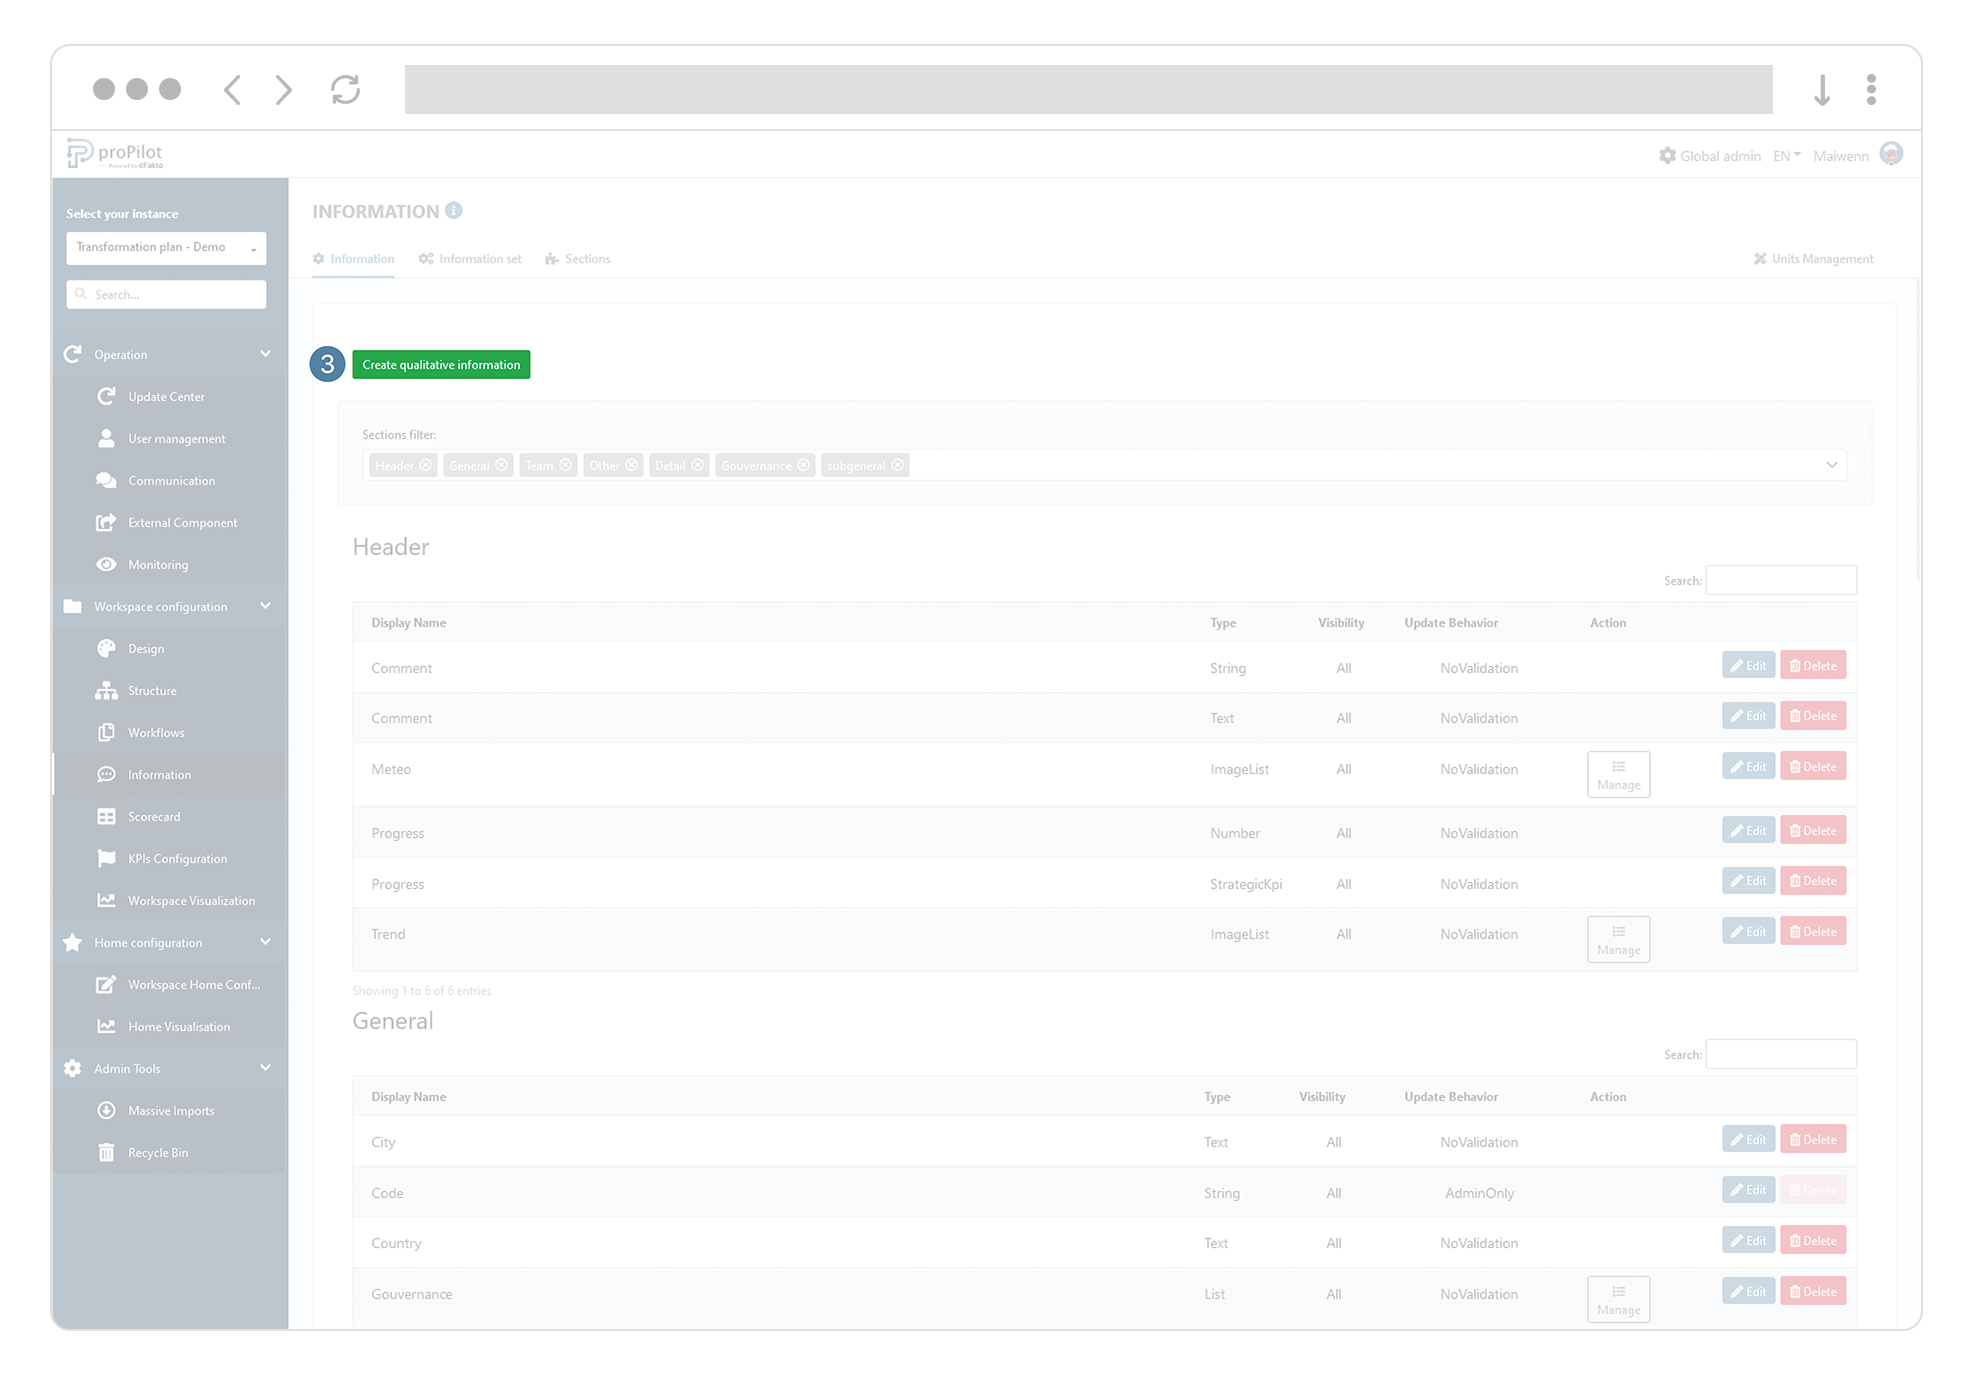
Click on "Create qualitative information".
Modify the name of an existing qualitative information (property)
-
In the left menu, select "Workspace configuration" and then "Information".
-
Click on the "Information" tab.
This module allows you to manage the different information and associated settings.
-
Click on the "Edit" button of the property in question.
-
Change the (technical) name or the display name
-
Click on submit.
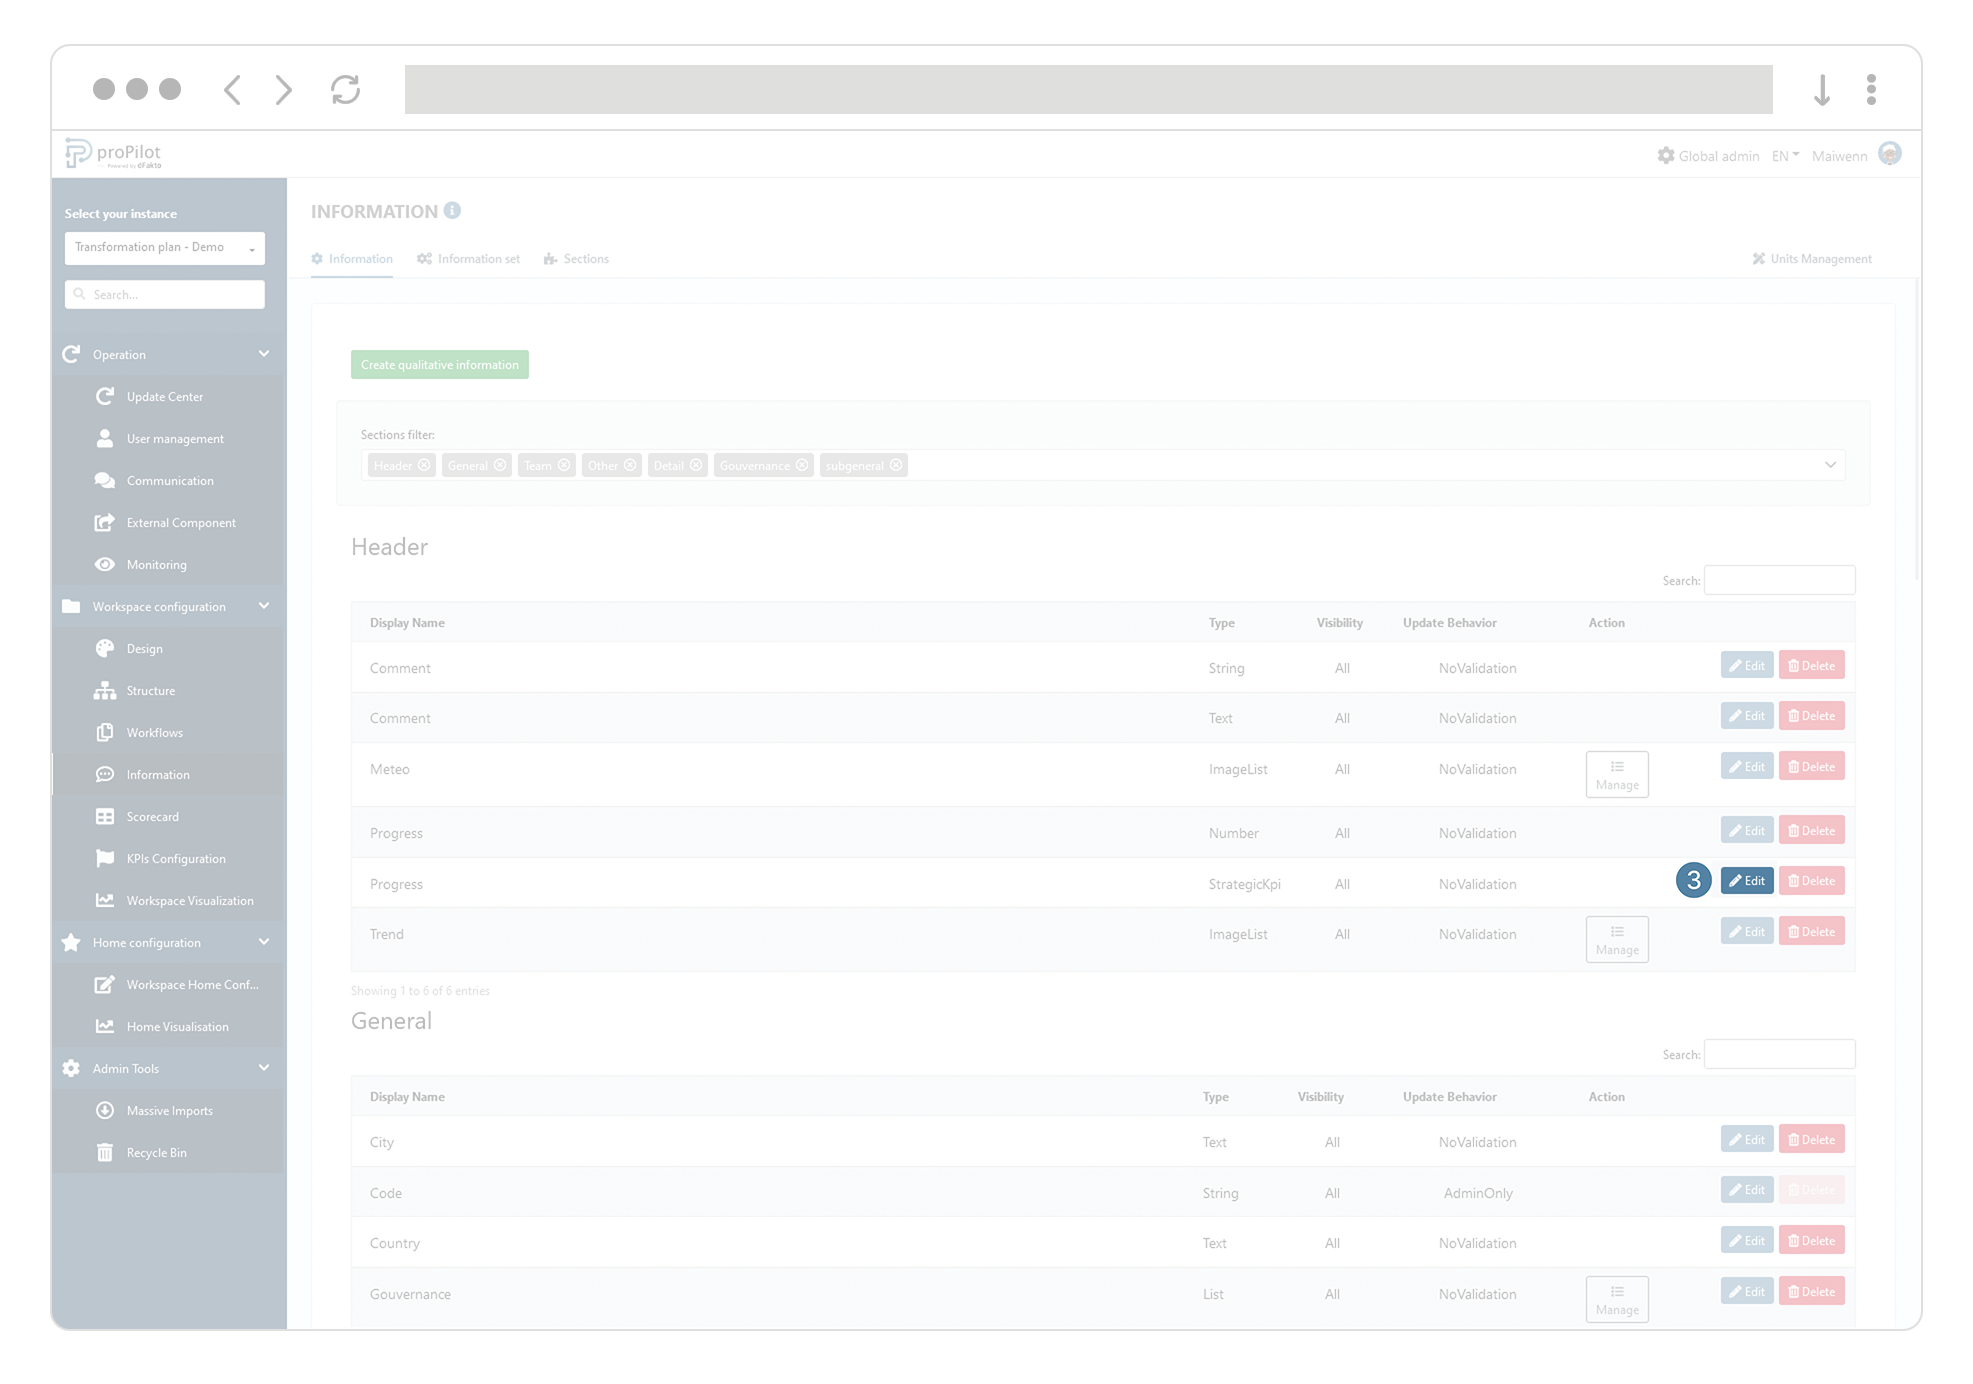
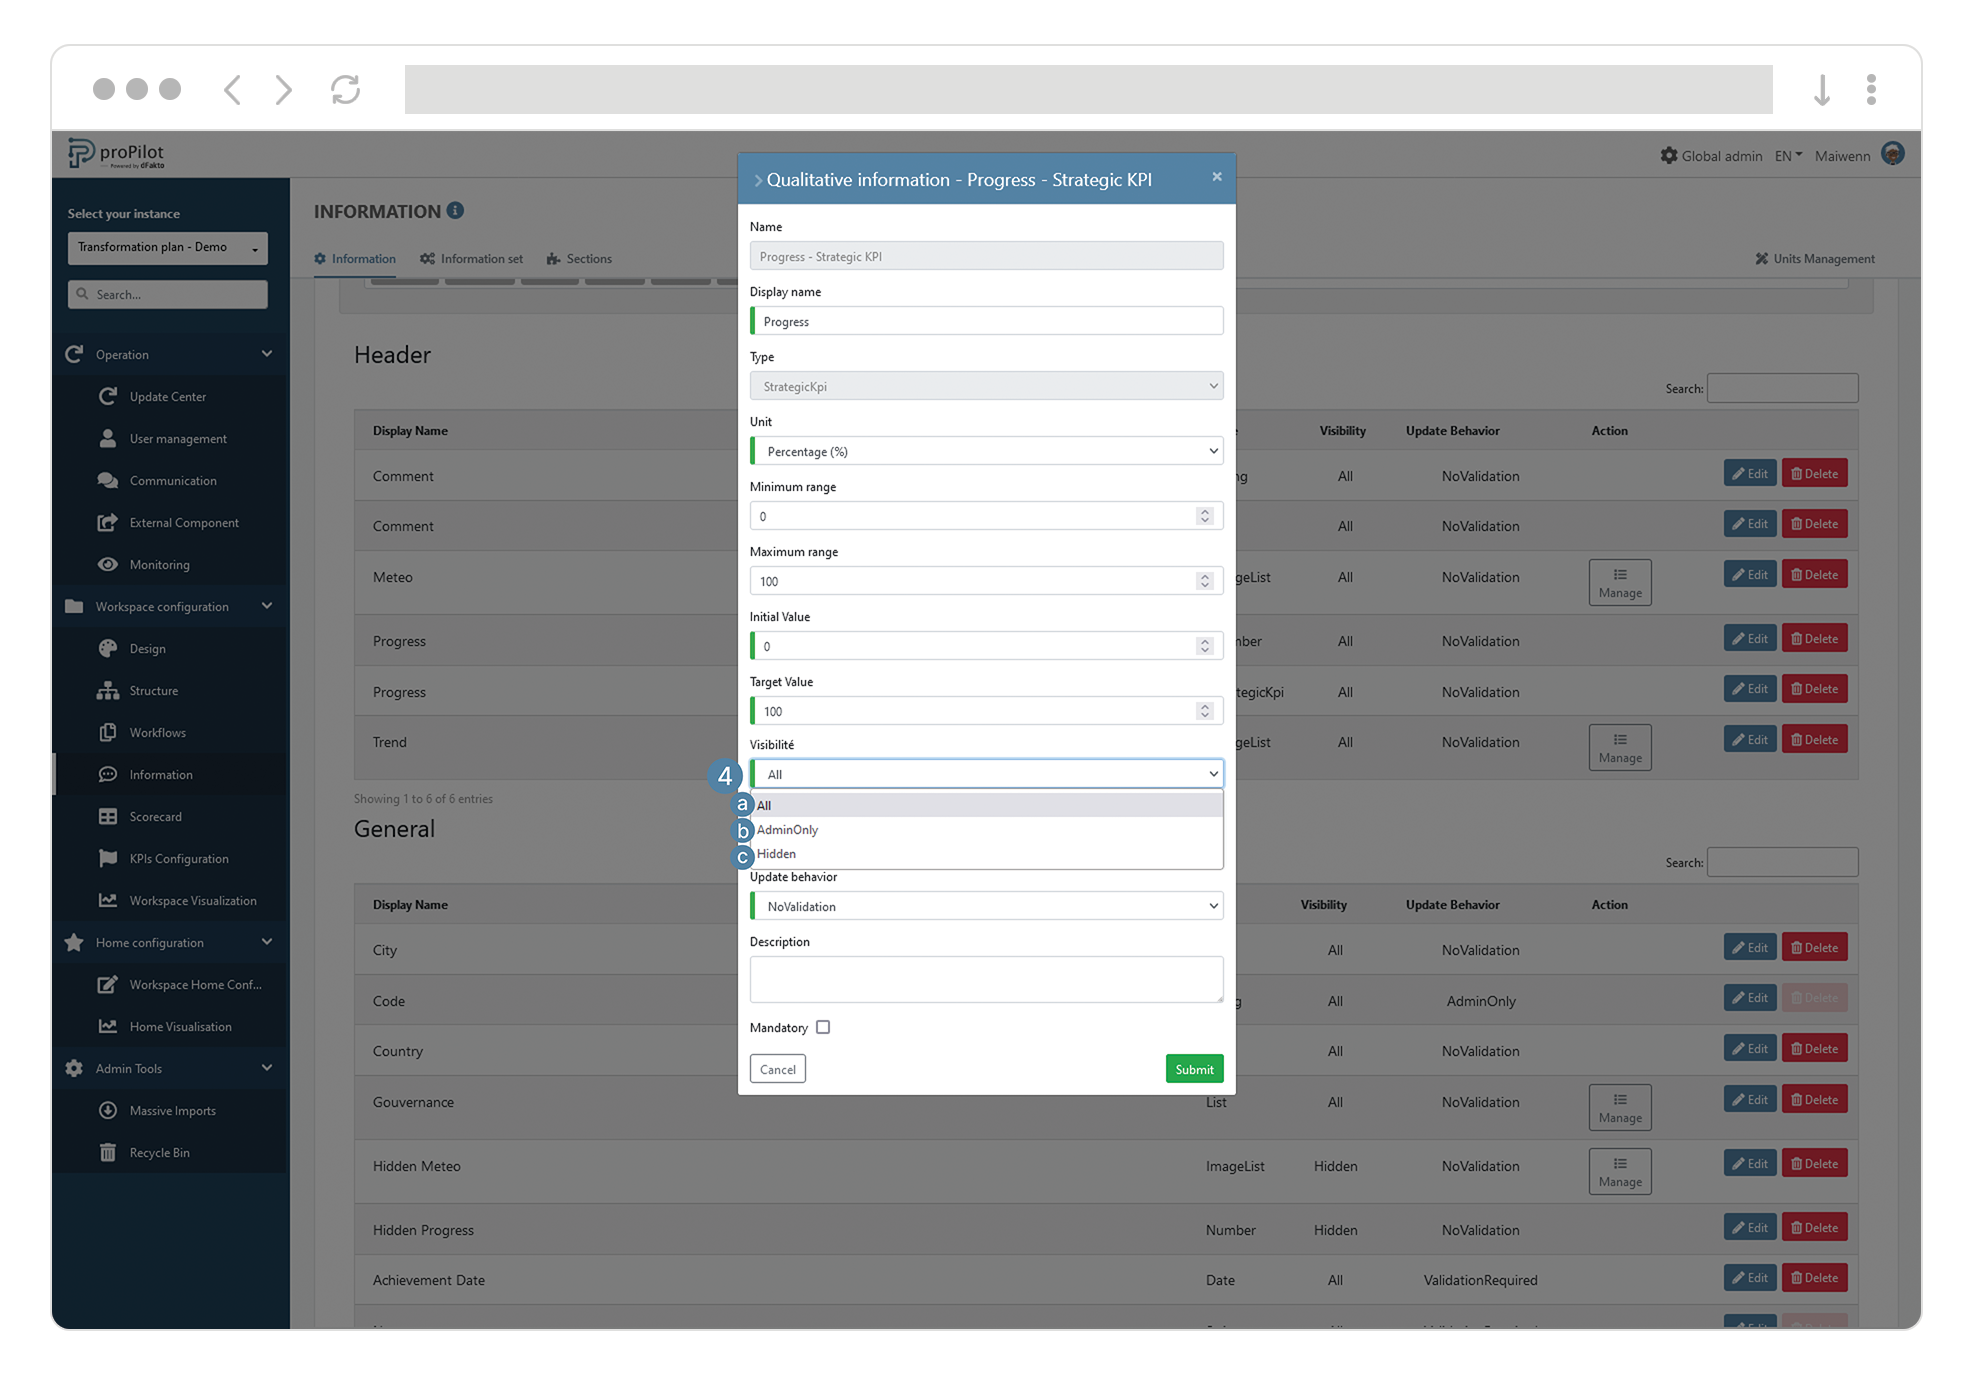
Define the type of users who can edit a information
-
In the left menu, select "Workspace configuration" then "Information".
-
Click on the "Information" tab.
This module allows you to manage the different information and associated settings.
-
Select the concerned information and click on the associated "Edit" button.
-
Modify the people who can update this information:
-
no validation required;
-
validation required from the manager;
-
update only for users.
-
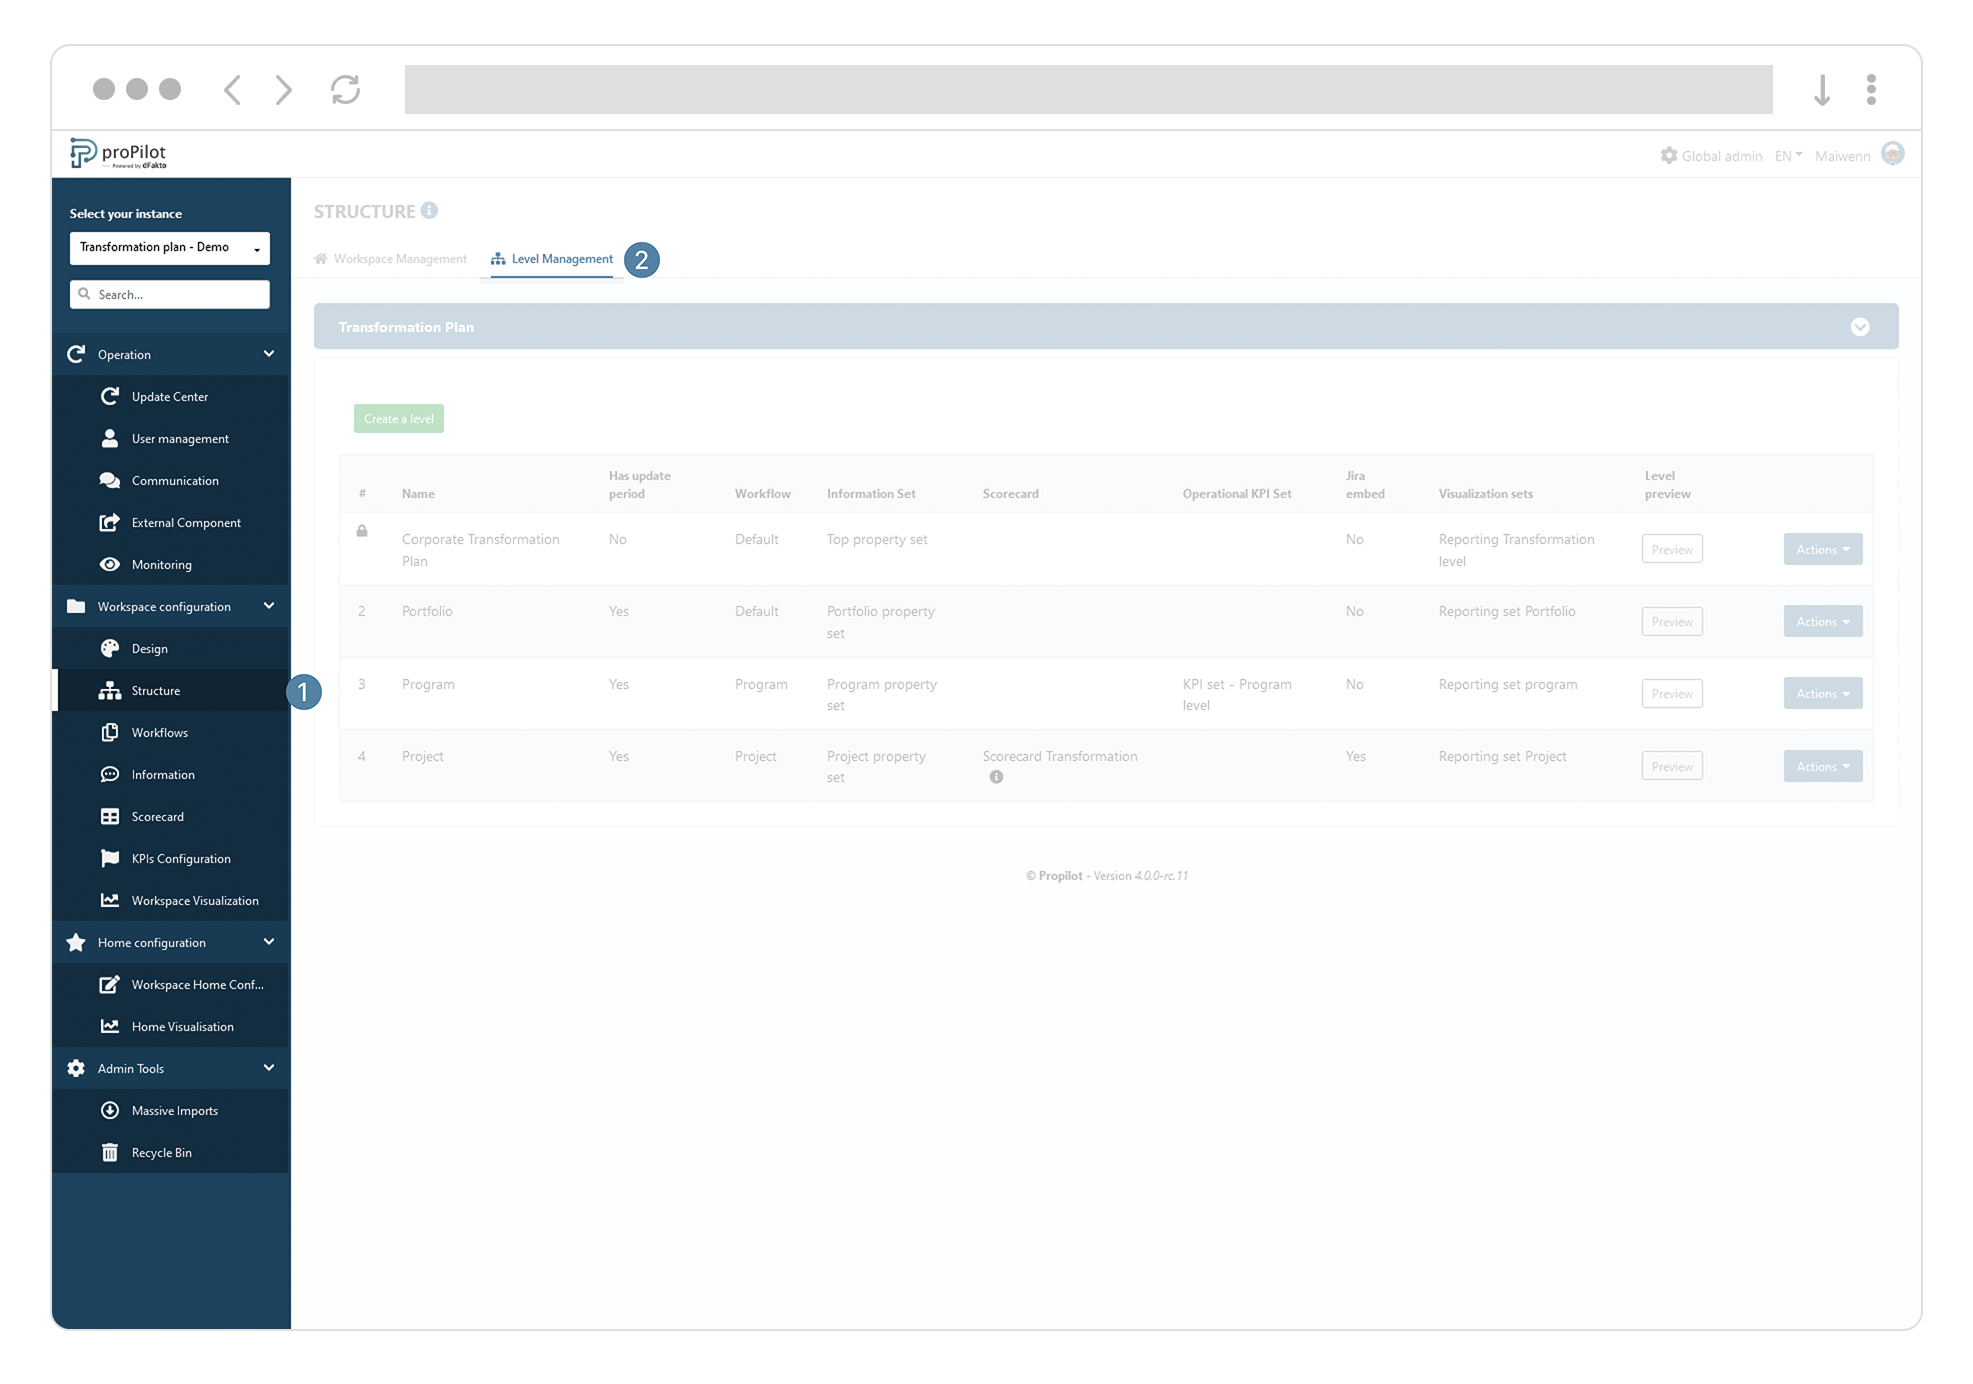
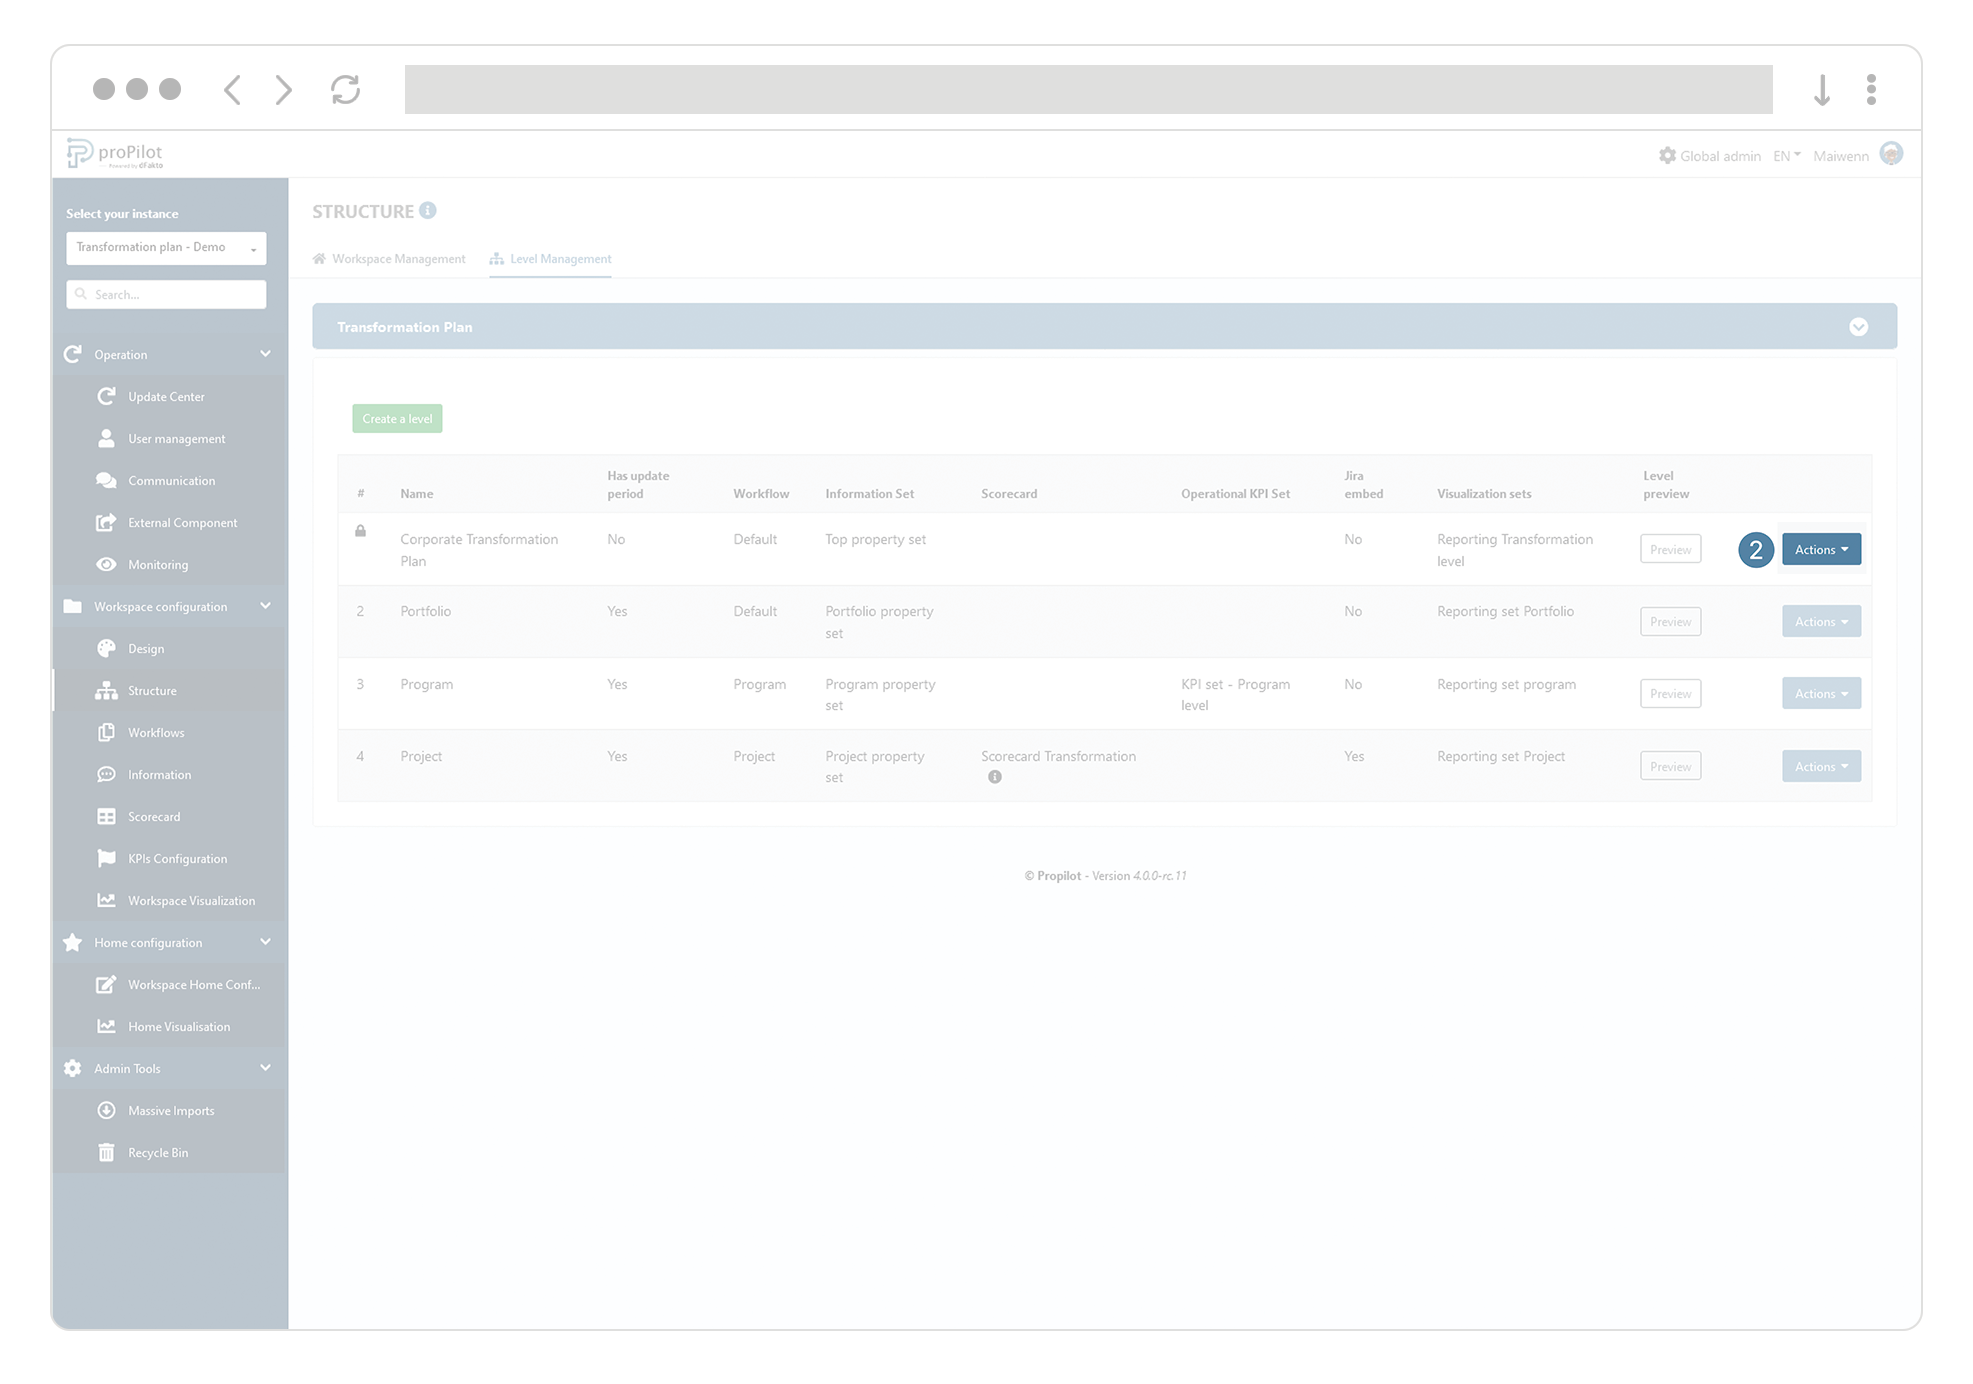
Assign information set to level
Define the set of information to be shown for entities at a given level
Some information will only be relevant at a given level, which is why it will be useful to be able to define which information will be assigned to which level via a "set" of information. This set will then be assigned to the required level.
For example, if you have 10 qualitatives information for your instance but only 4 will be relevant at the project level of your workspace (top), it will be useful to create the "project" qualitative information set in which these 4 qualitatives information will be assigned. Then this set will be assigned to the "project" level, which will make the defined information appear in all entities of the "project" level of the defined top/workspace.
To do this:
-
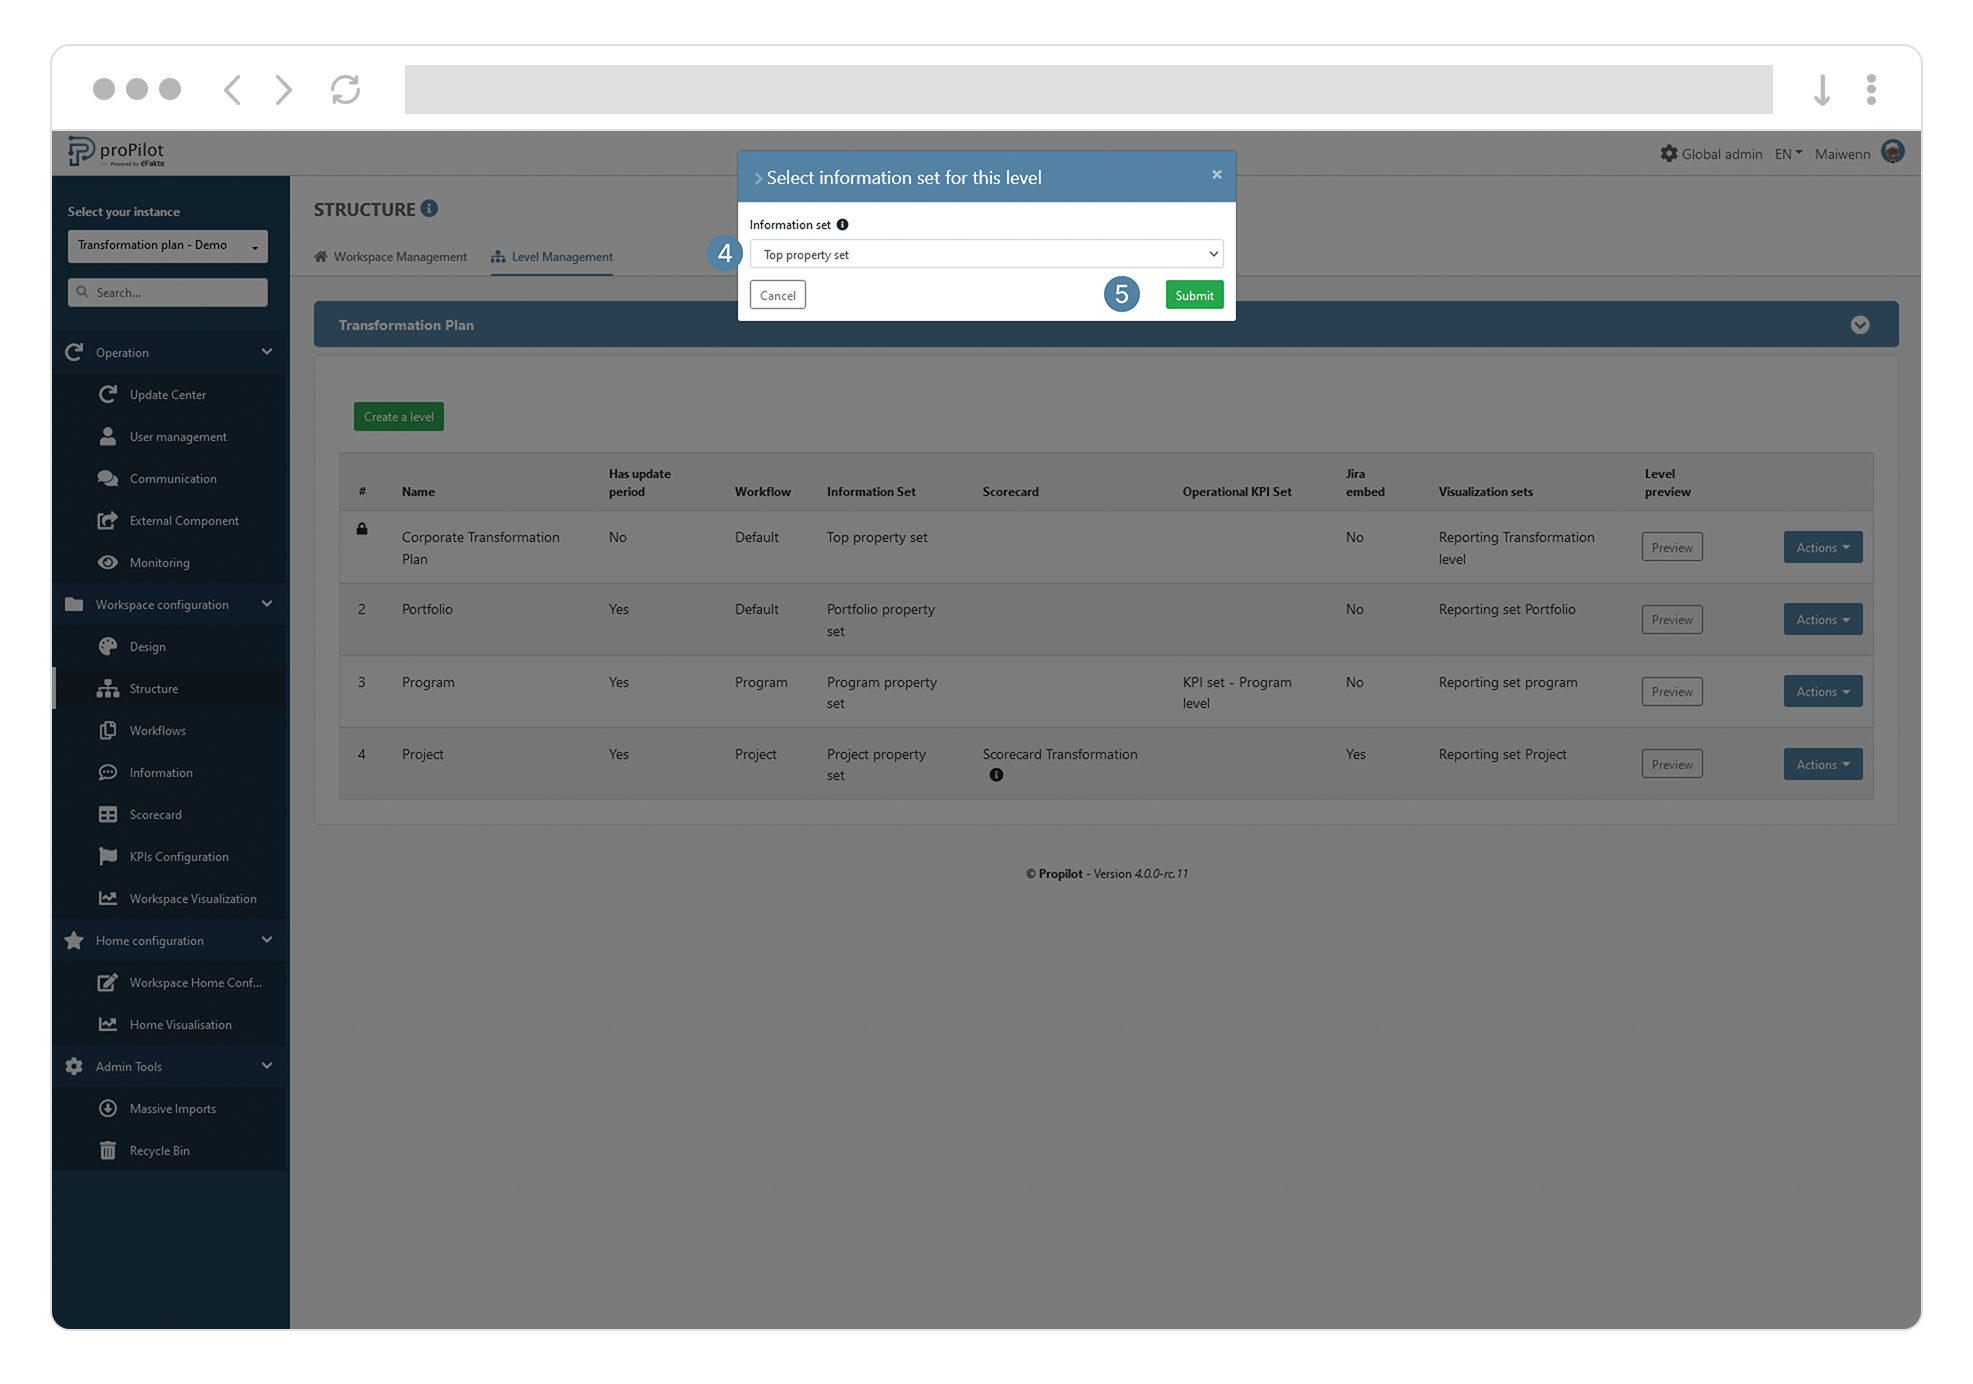
From the left menu of the administration interface, select "Workspace configuration" and then "Structure".
-
Click on the "Level Management" tab and select the workspace you want to update. This module allows you to manage the levels and their respective configurations.
-
Click on the "Actions" button of the level you want to update. A pop-up window appears.
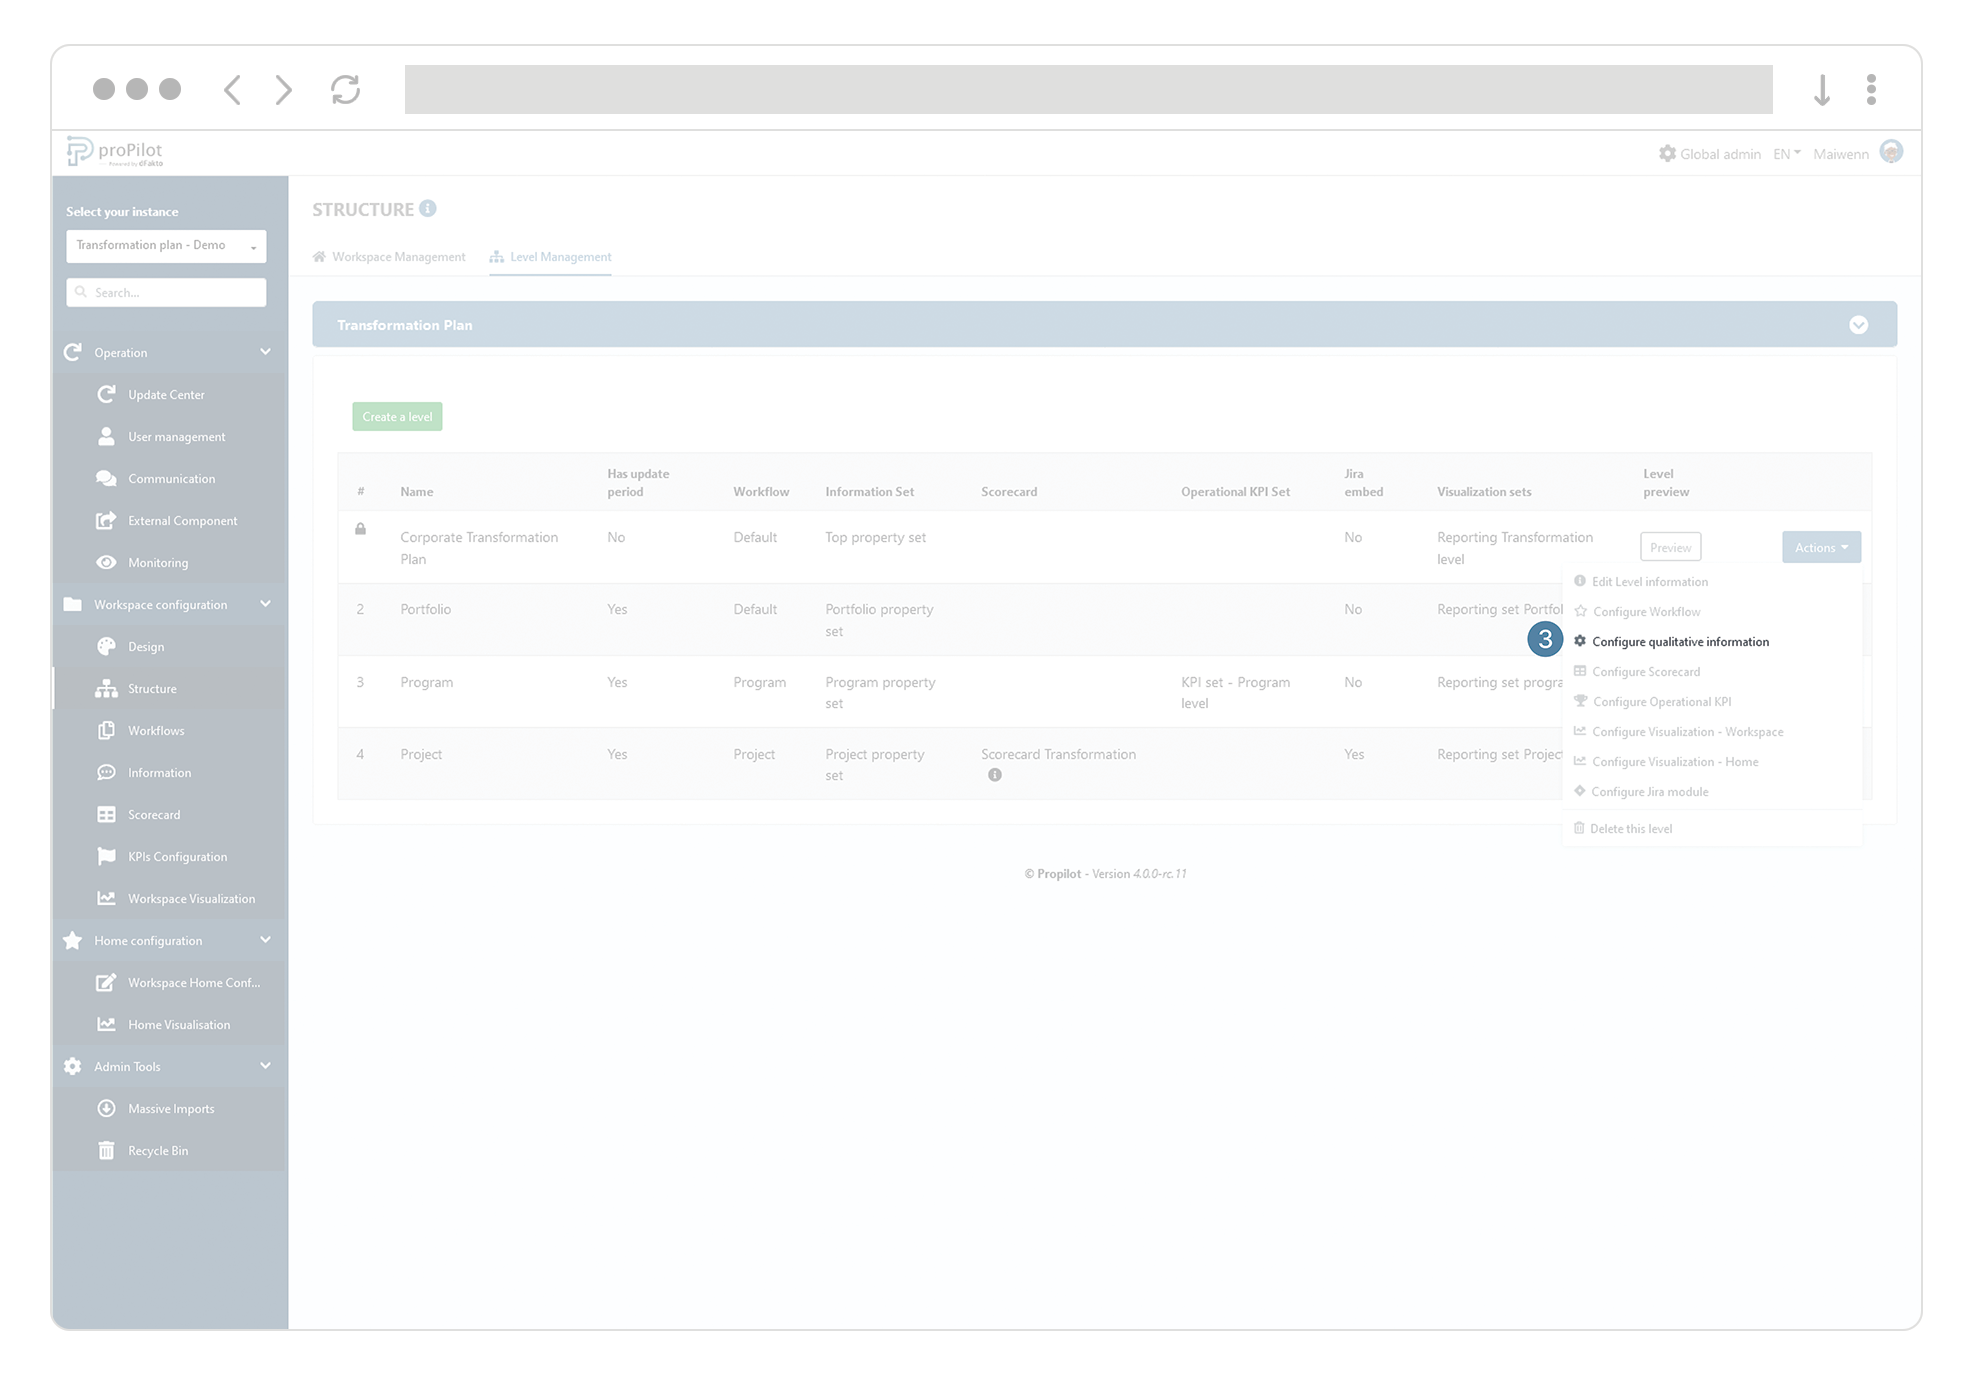
-
In the "Information Set" drop-down list, select the information set you wish to integrate for the entities of this level.
-
Click on "Submit". You will see the updated configuration in the summary table.
Manage your information in entity level
Add an additional information to the entities of a given level
As explained above, information sets allow you to manage the information that will be displayed on the entities of a given level. You can add/edit information belonging to a given set by following these steps:
-
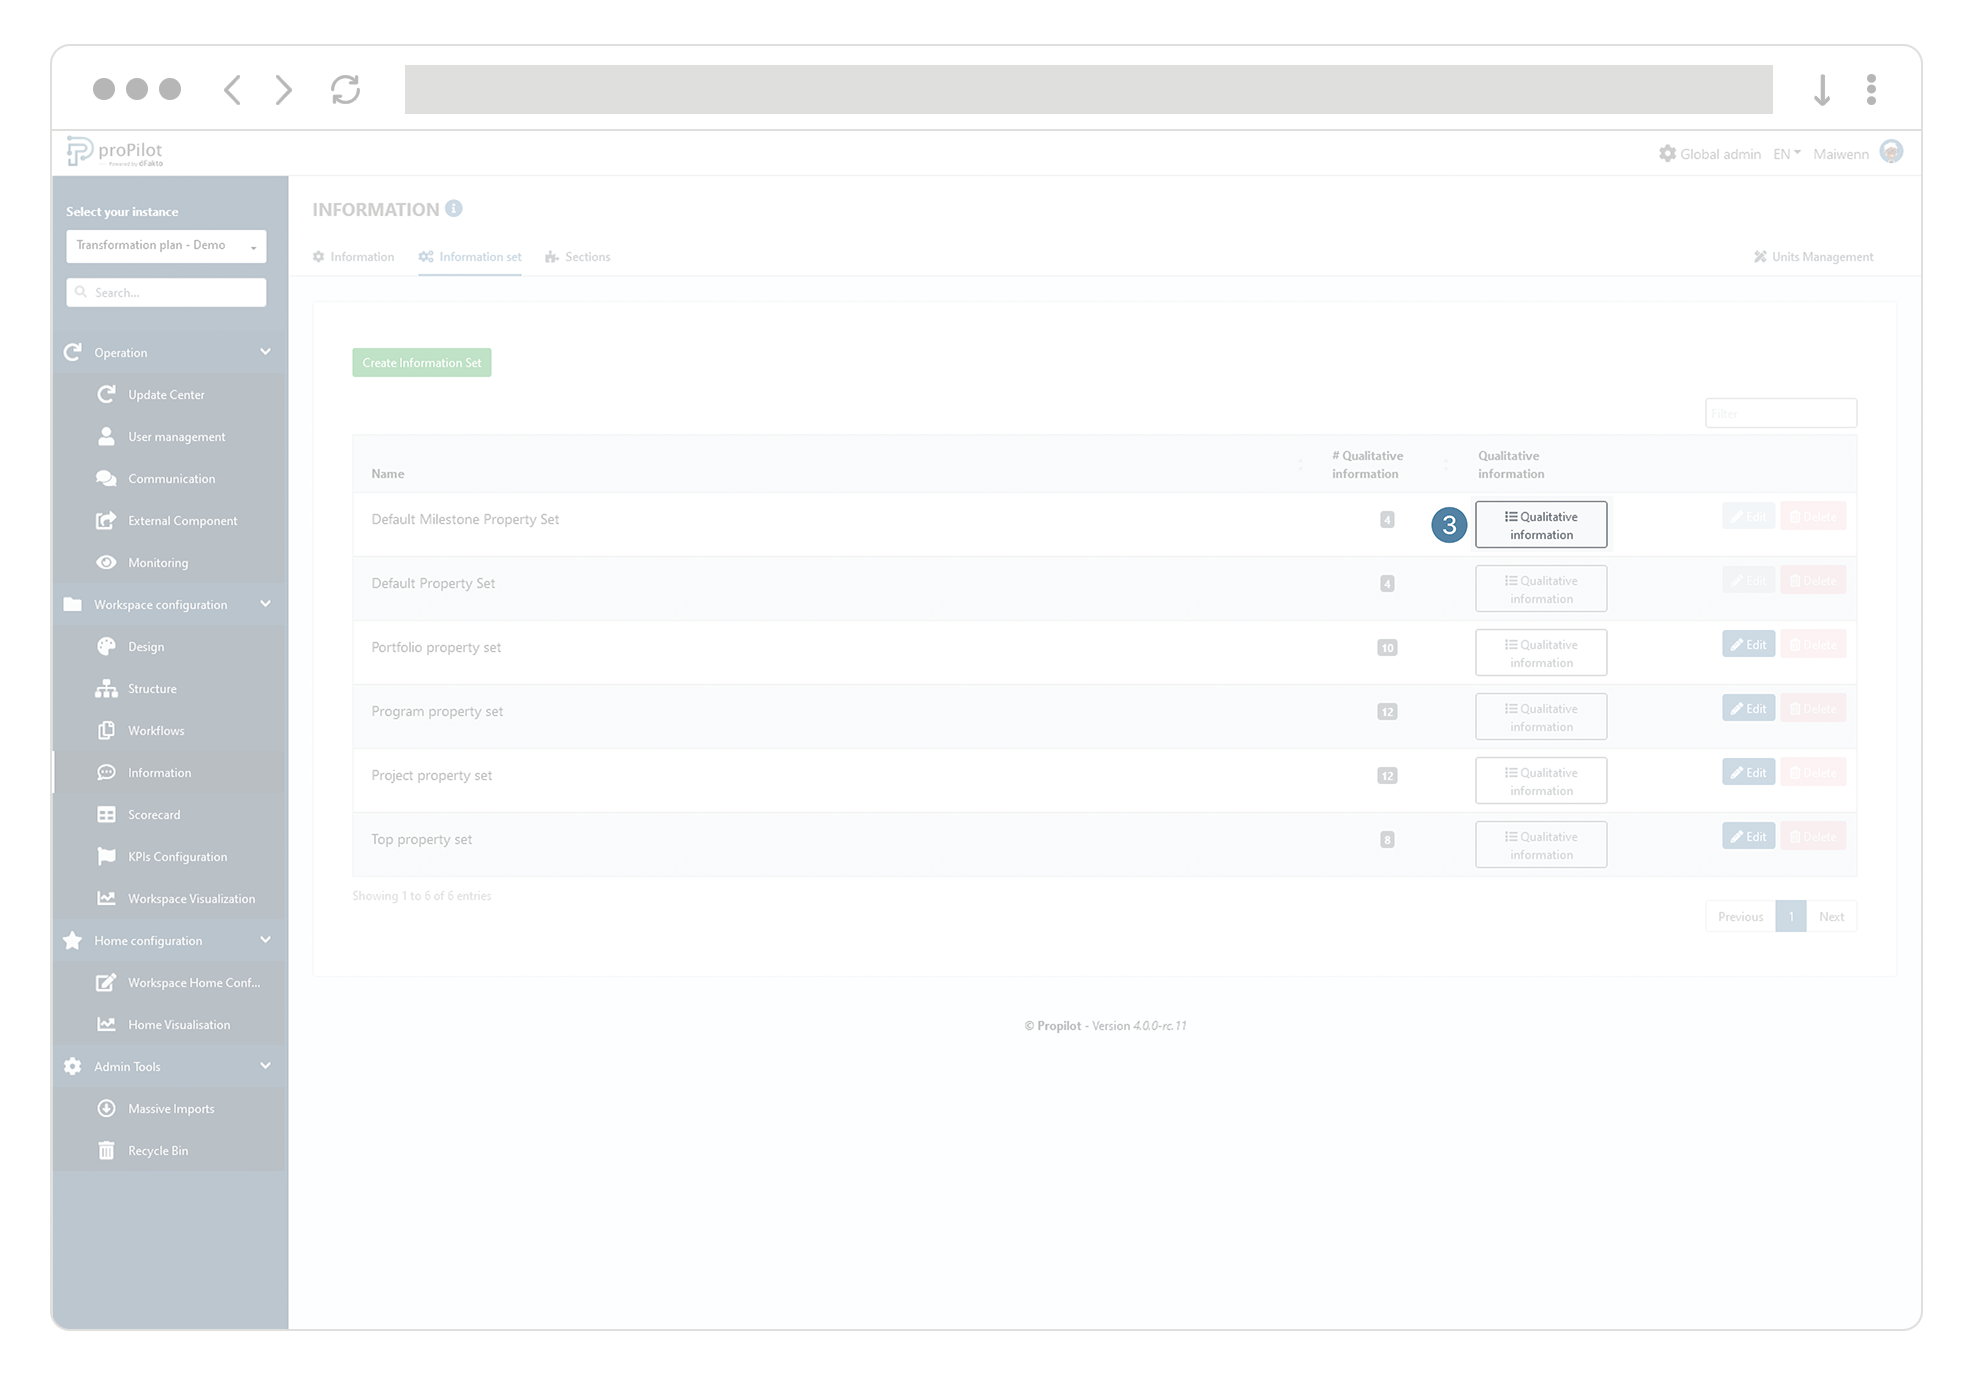
From the left menu, select "Workspace configuration" and then "Information".
-
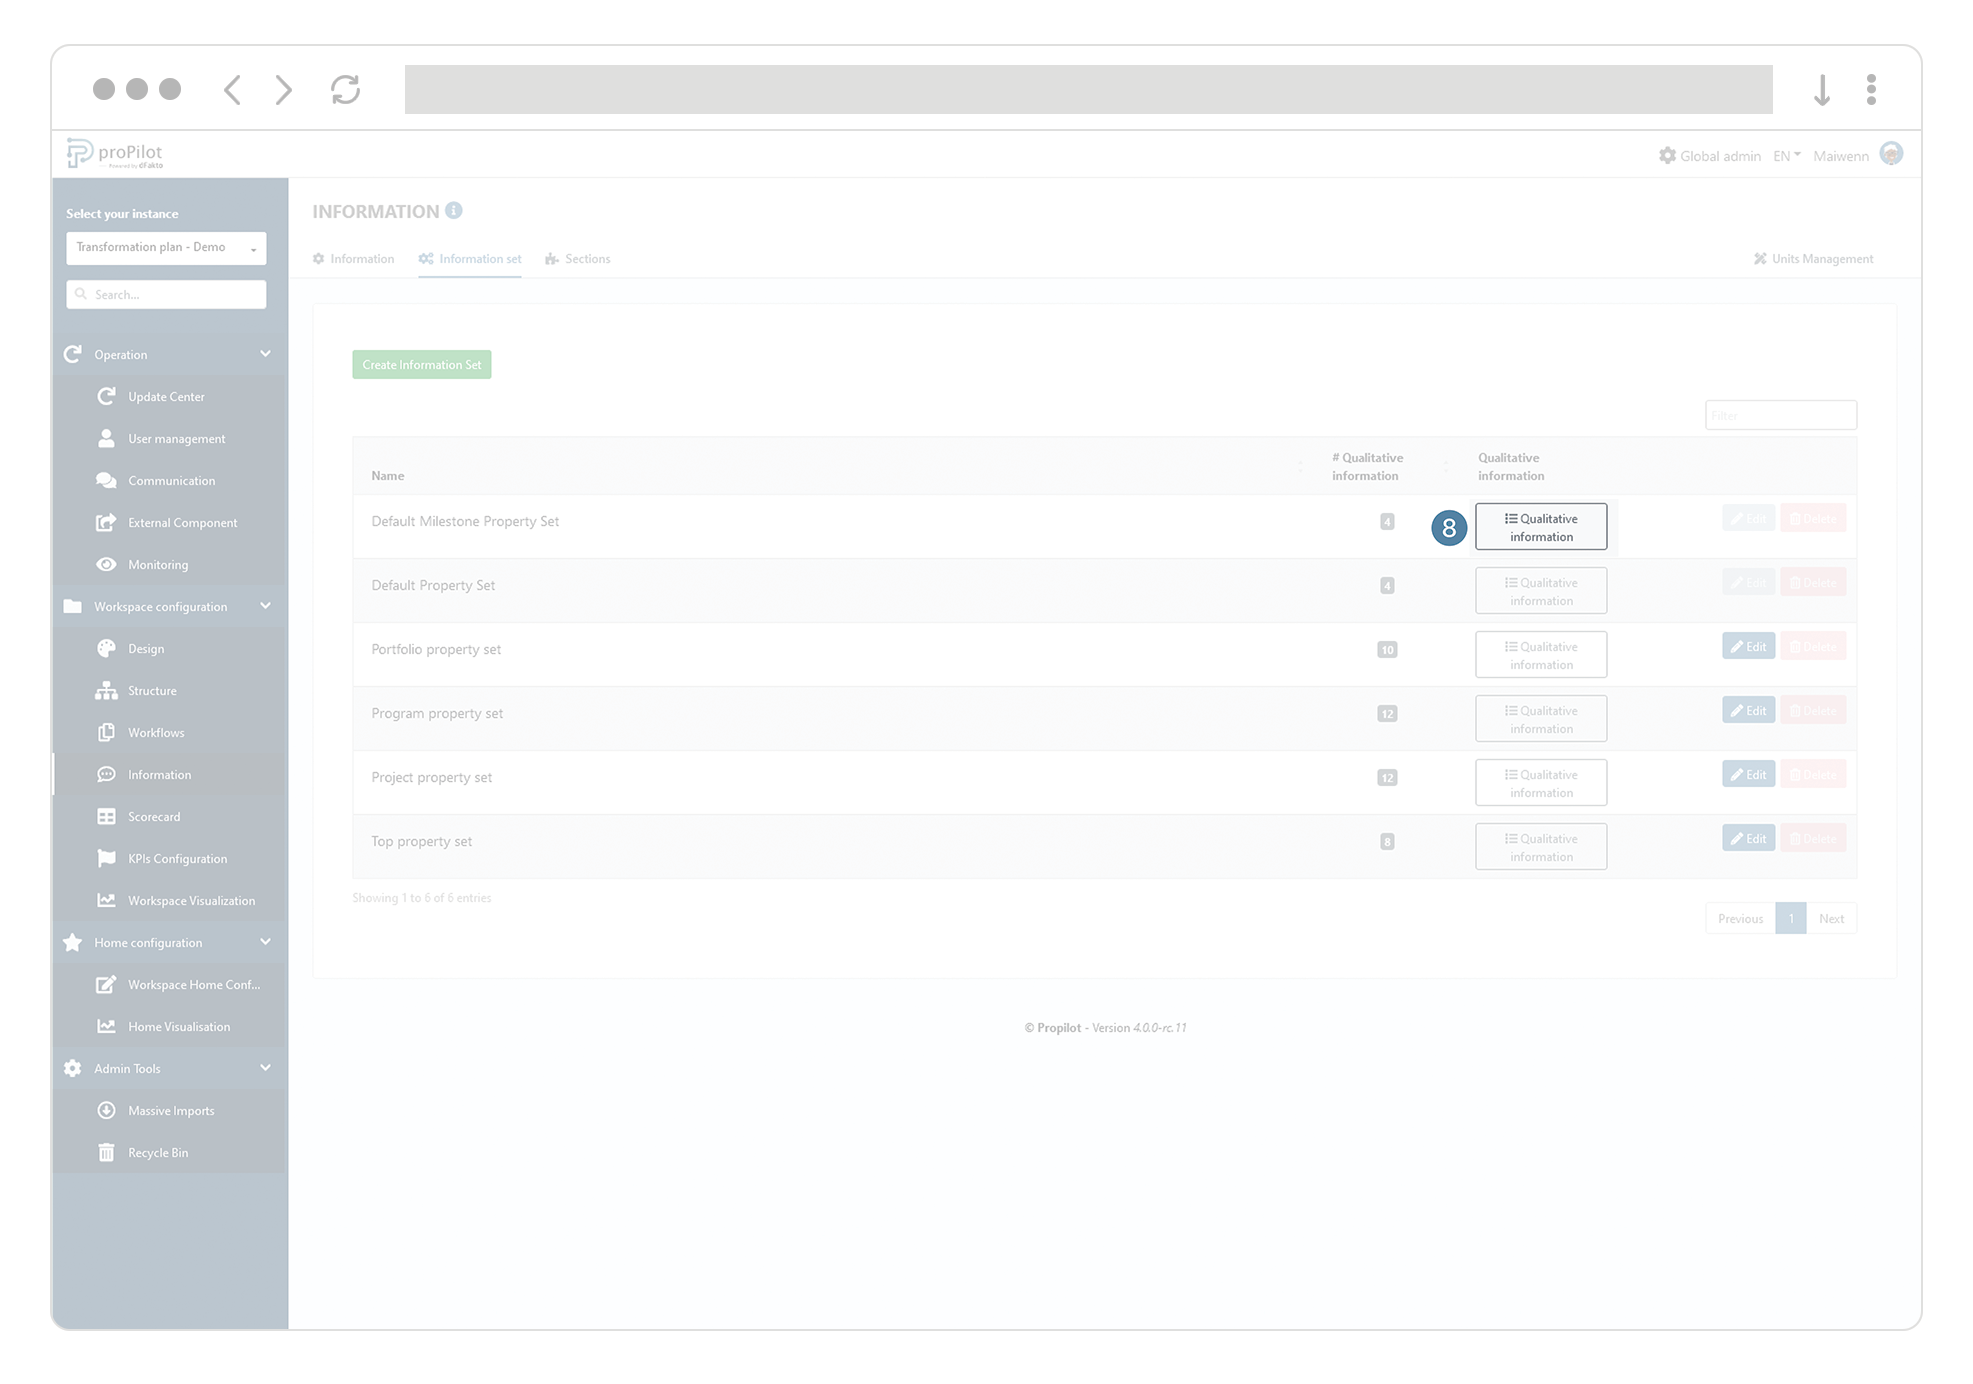
Click on the "Information set" tab and select the one you want to update.
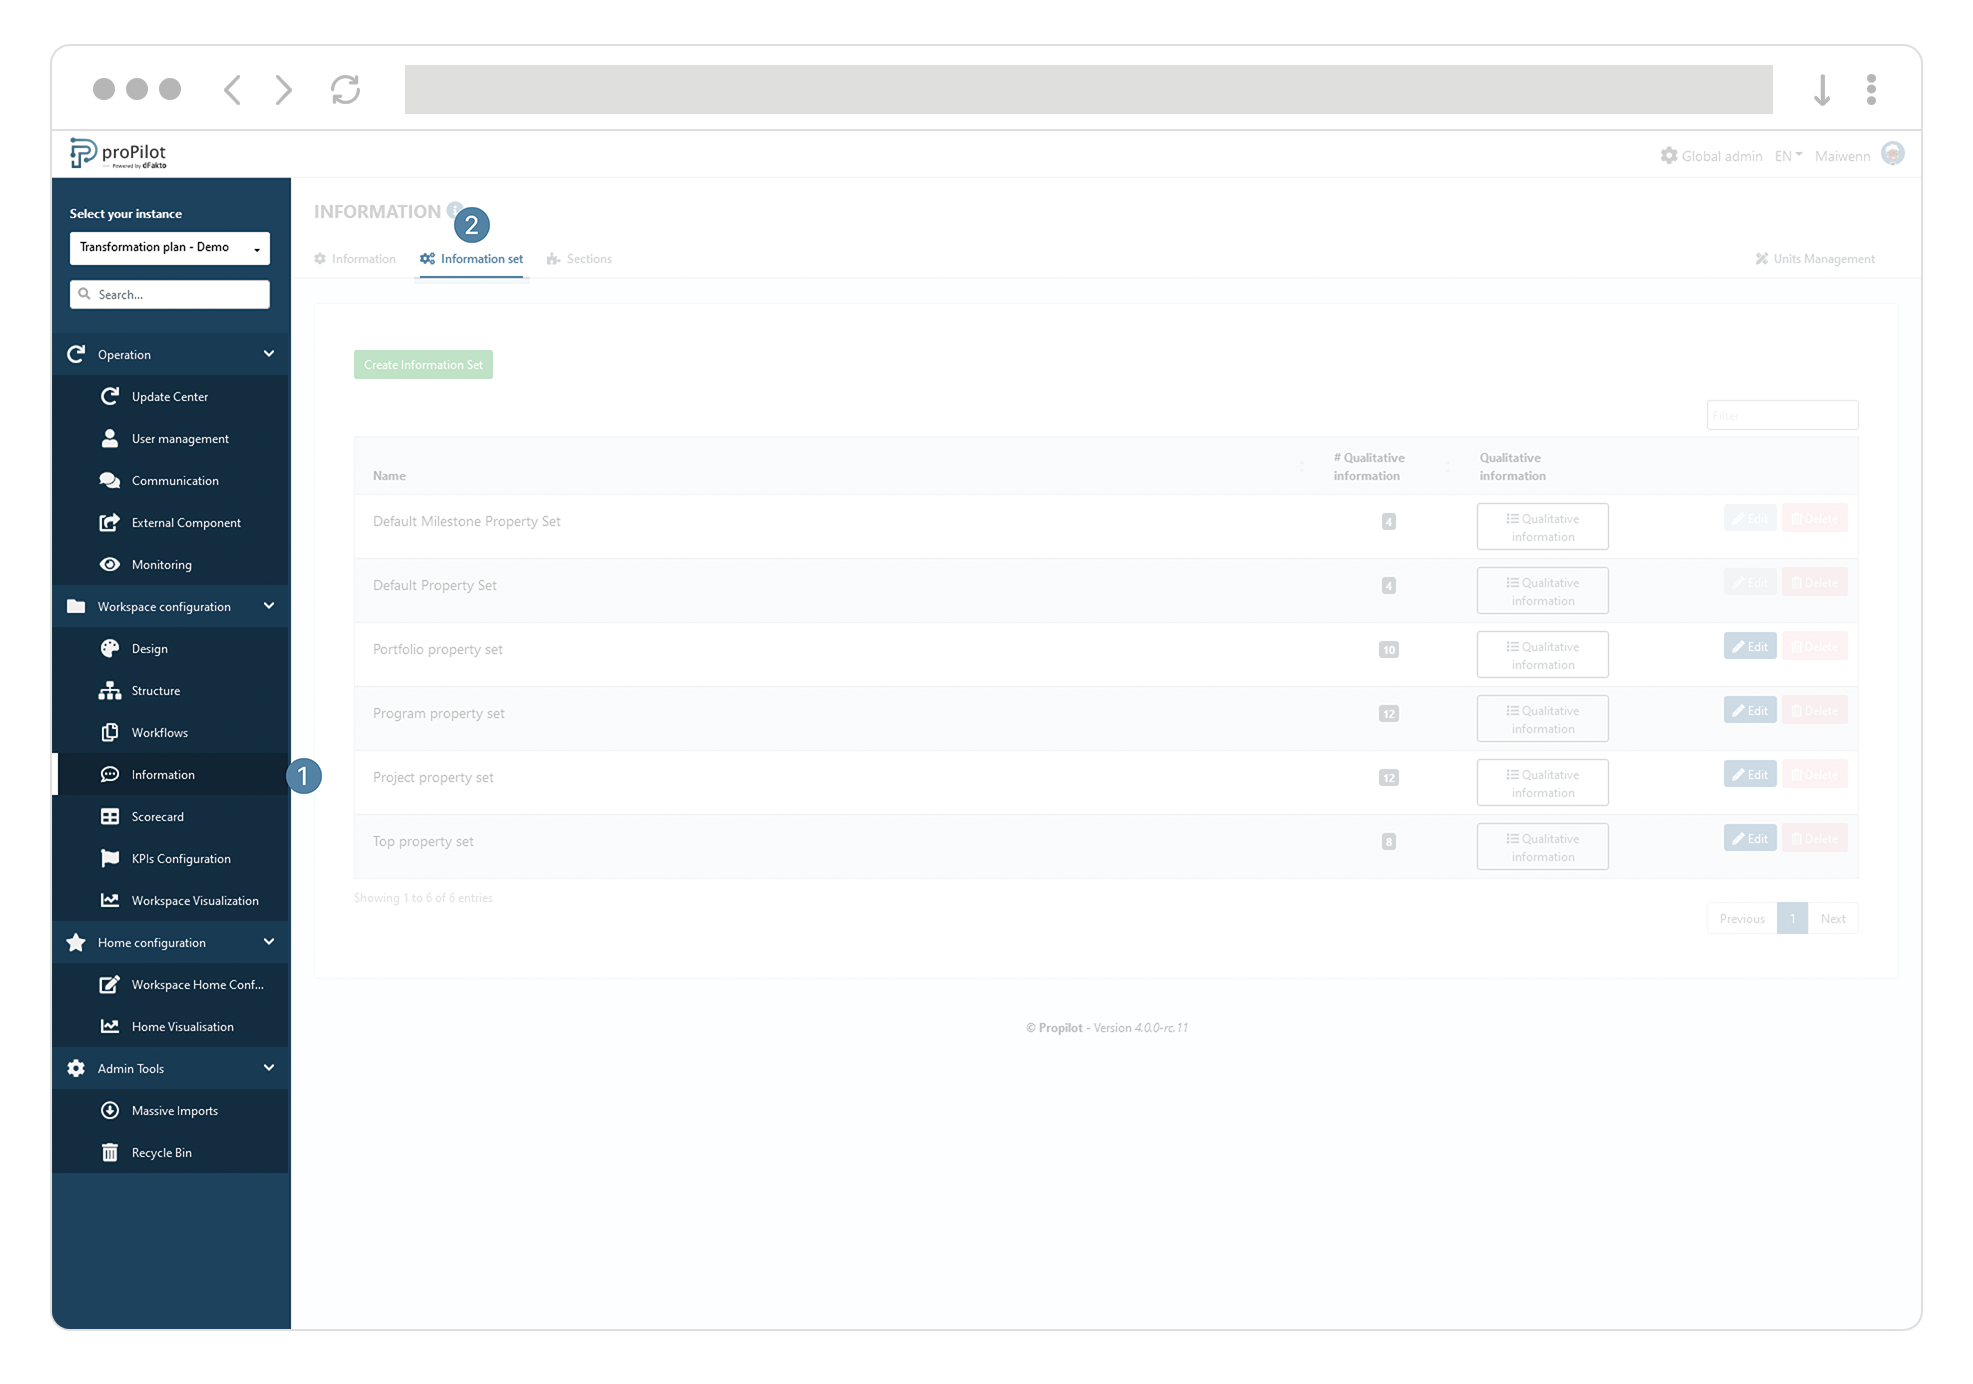
-
Click on the associated “Qualitative information" button.
-
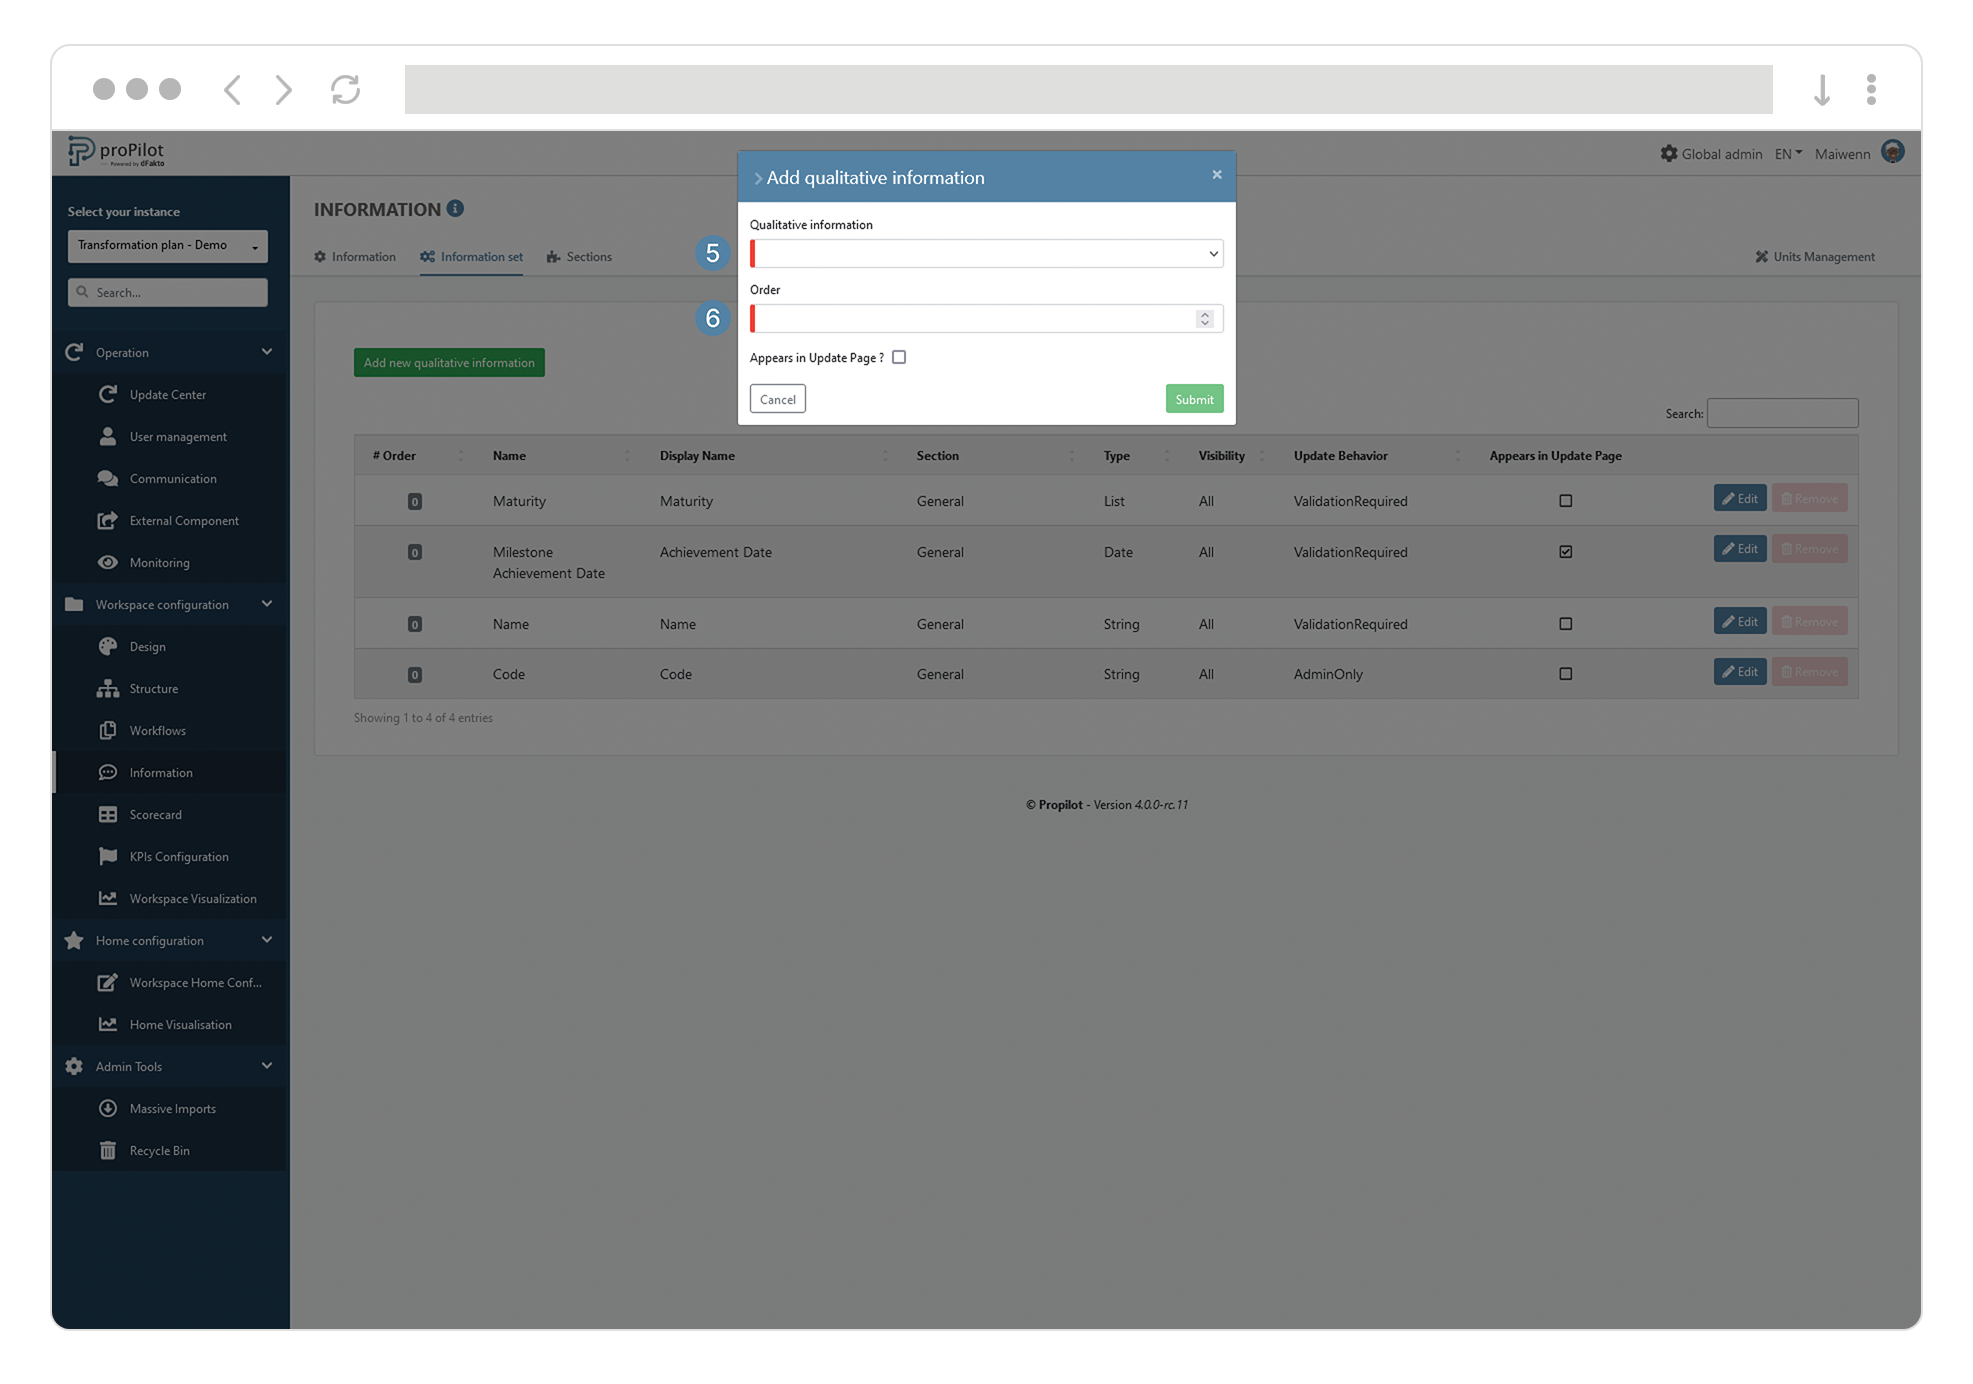
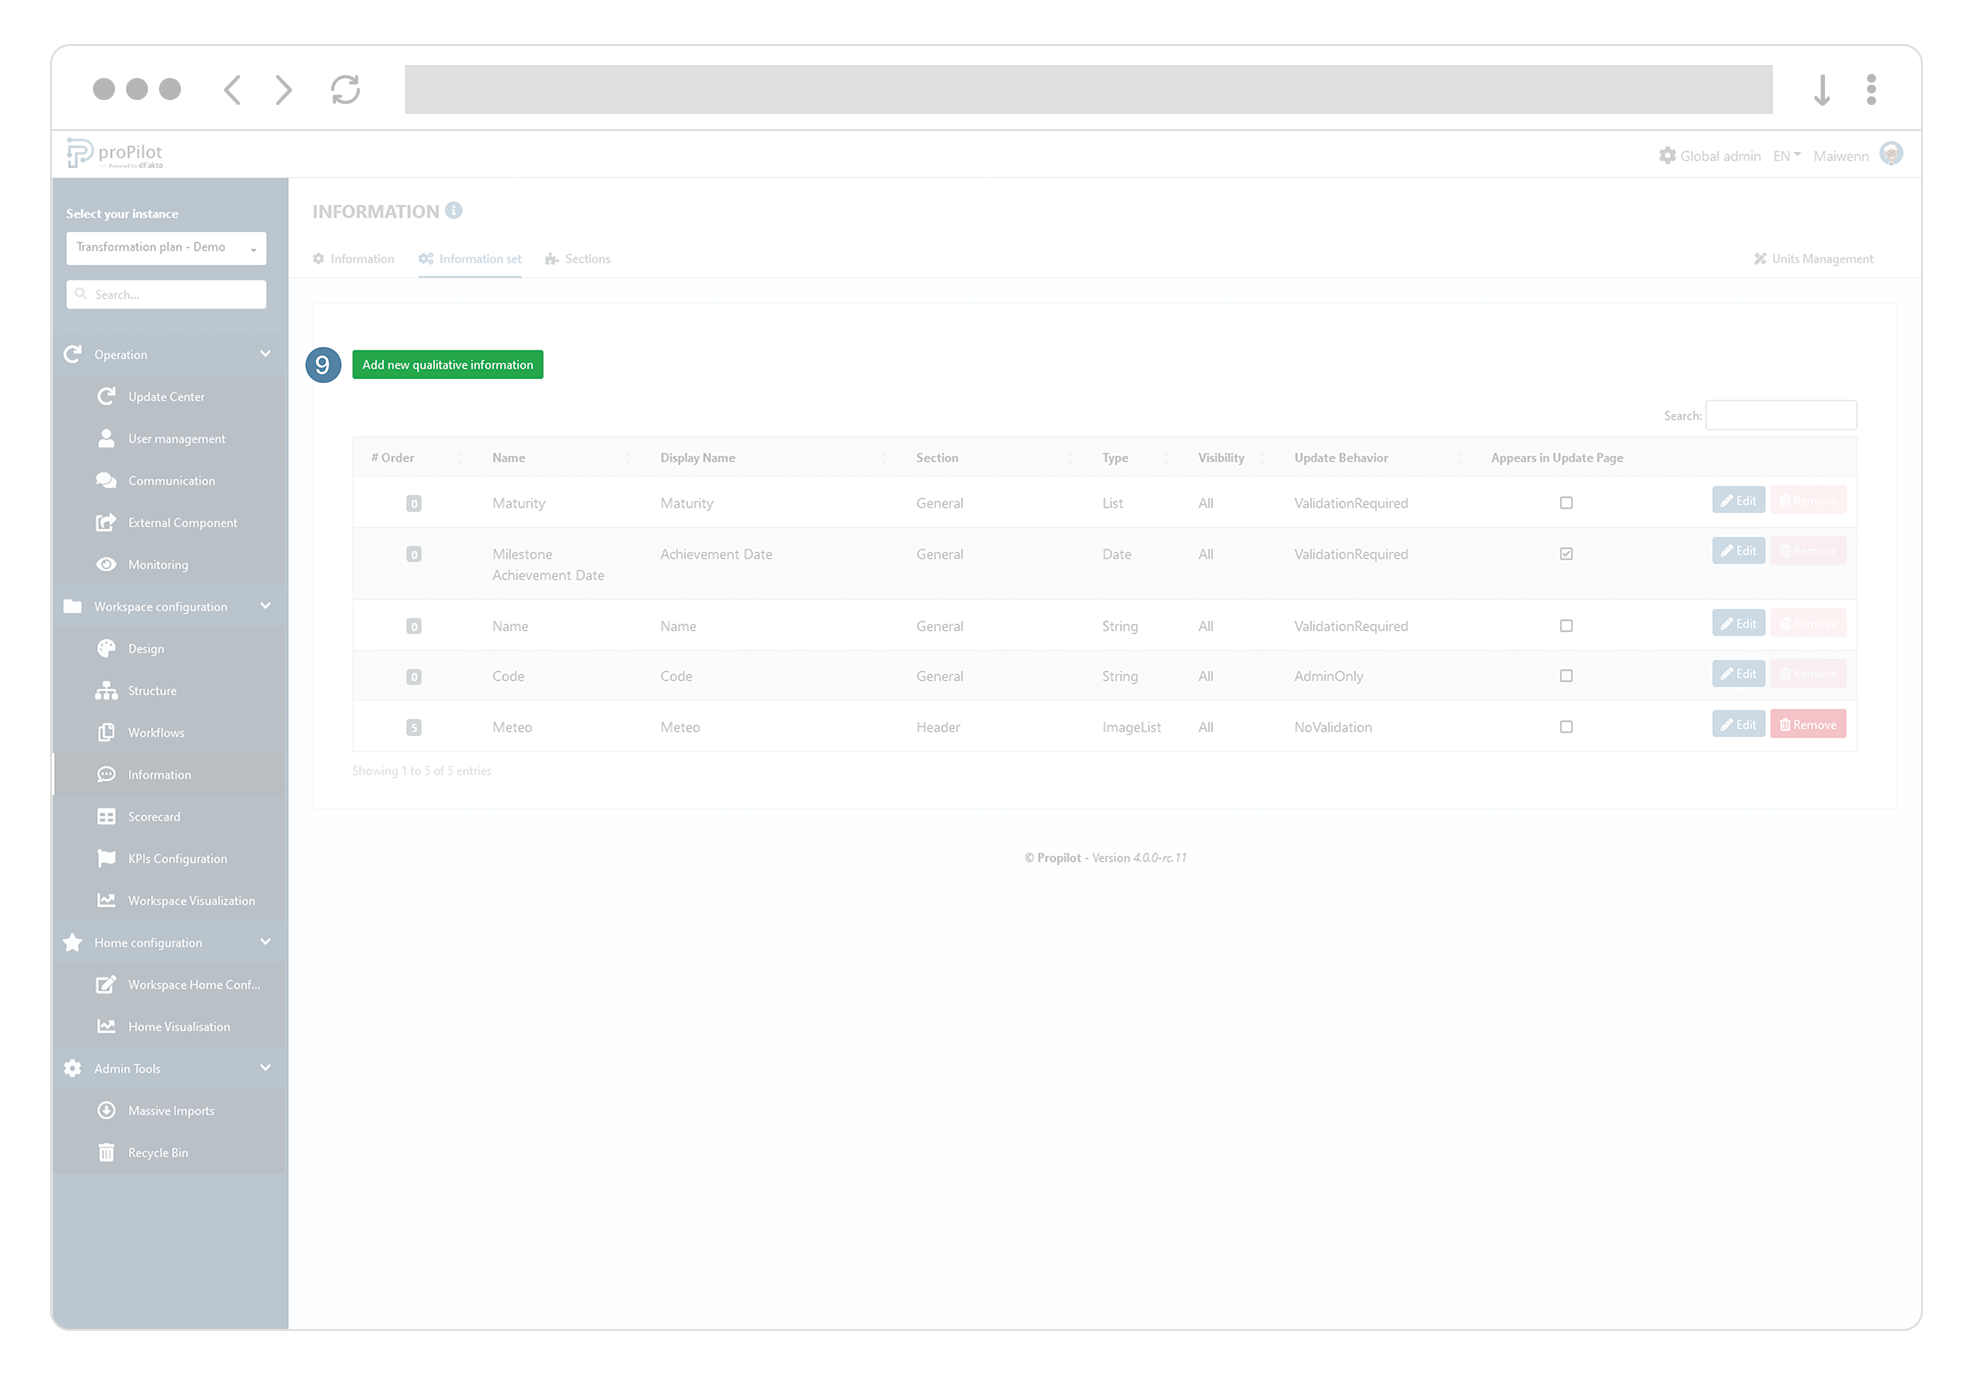
Click on "add a new qualitative information". A pop-up window opens.

-
Select a qualitative information from the drop-down list. You will only find existing information that have not yet been integrated into this information set.
-
Set a value in the "order" section, to define the order in which the qualitative information appear in the user area.
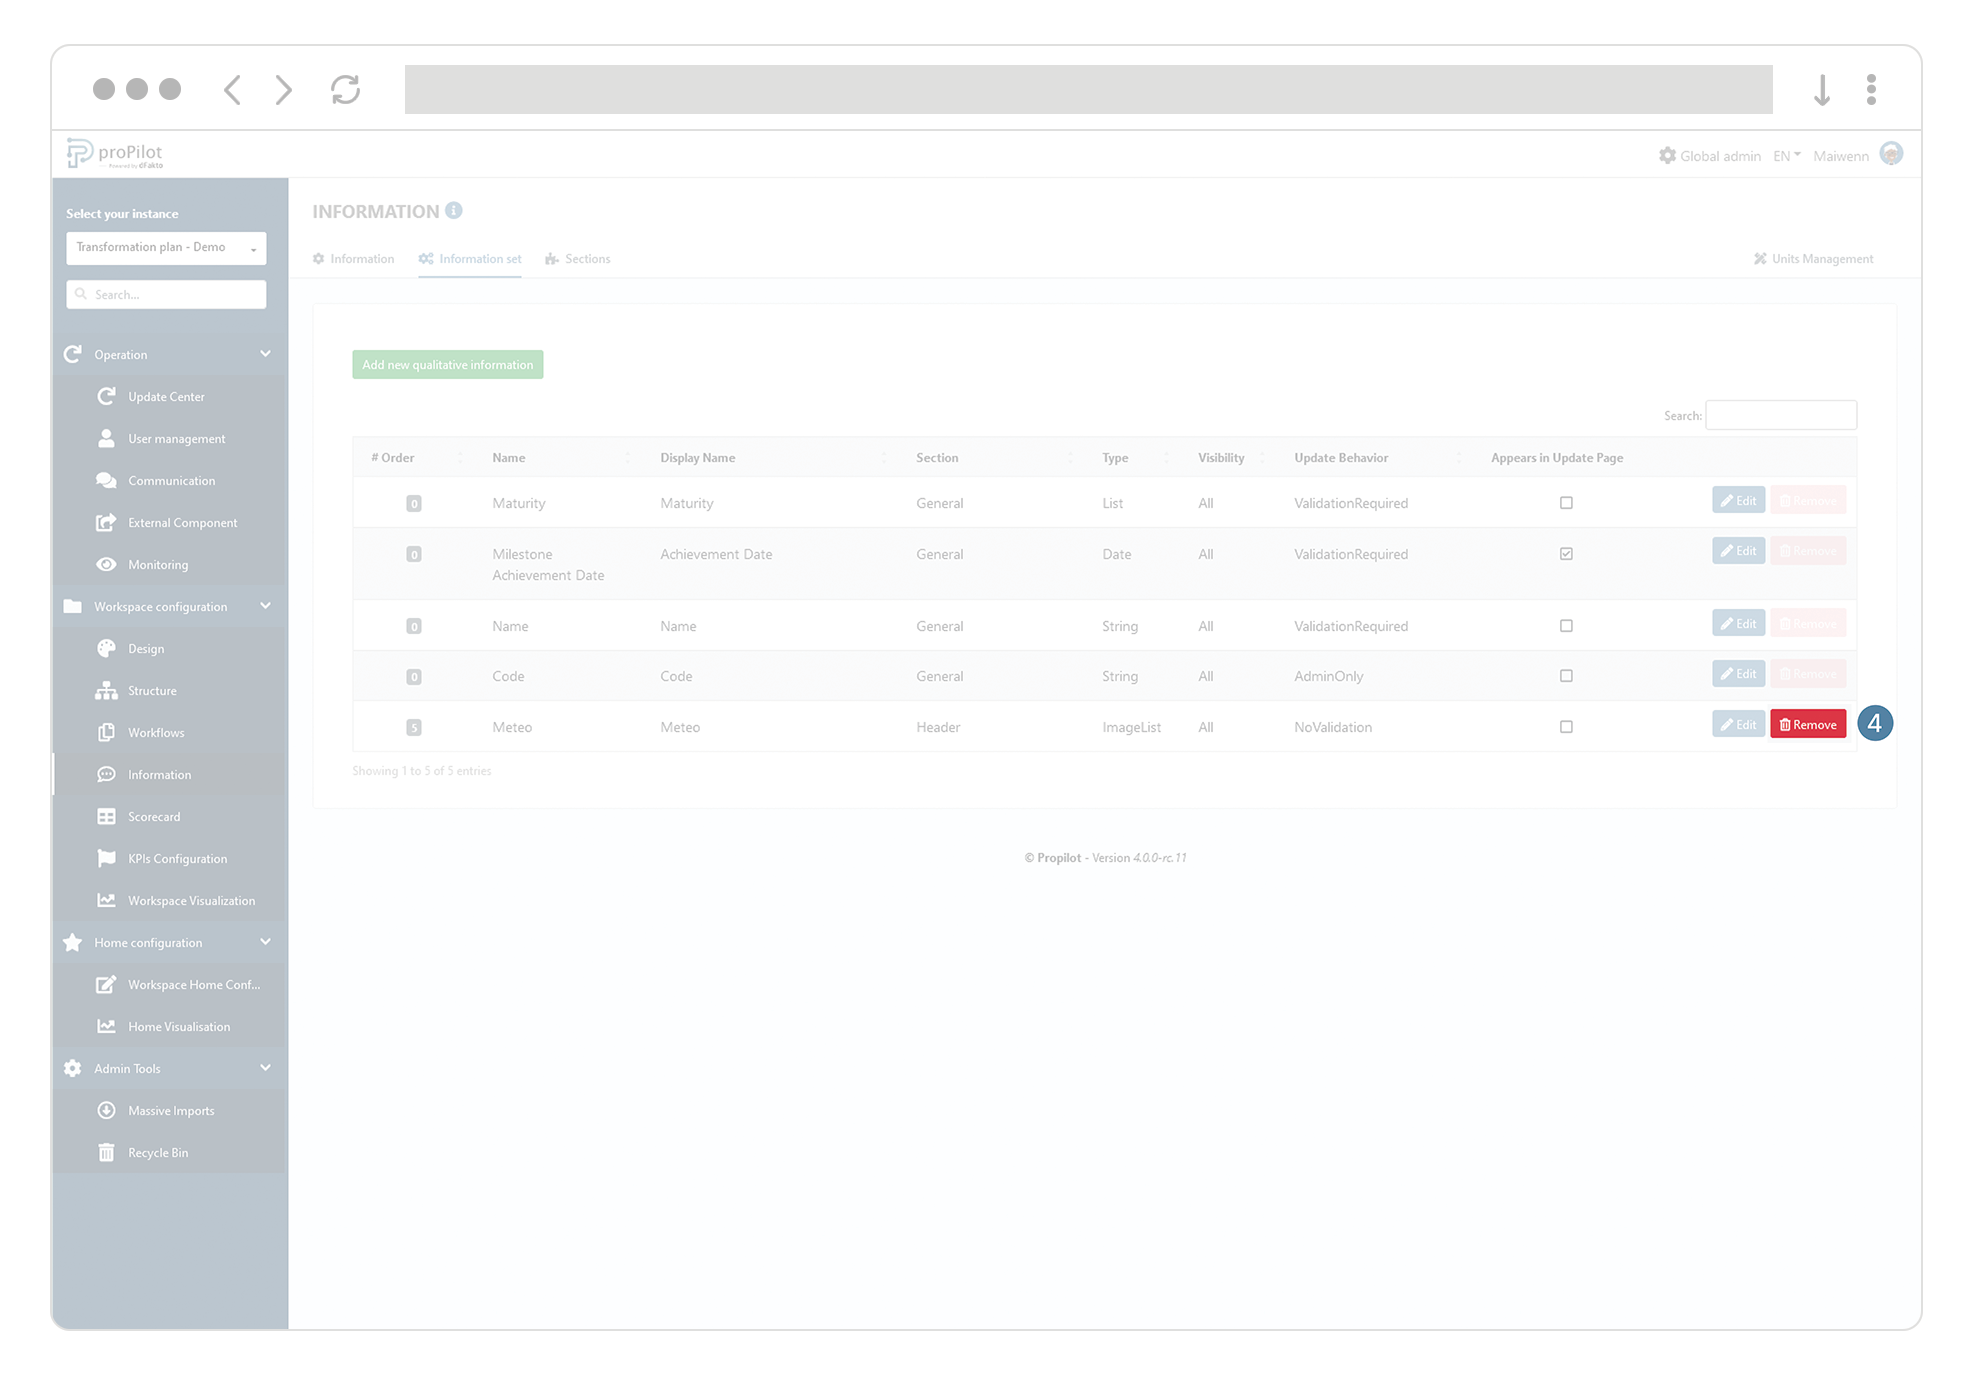
Remove an information for entities of a given level
-
In the left menu, select "Workspace configuration" then "Information".
-
Click on the "Information set" tab and select the one you want to update.
-
Click on the associated "Qualitative information" button.
-
Click on the "delete" button of the associated information.
Define the information section in which you want information to appear
-
In the left-hand menu, select "Workspace configuration" and then "Information".
-
Click on the "Information" tab.
-
Click on the "Create qualitative information" button.
-
In the "section" drop-down list, select the section where you want the qualitative information to appear
-
Click on "submit".
-
Then go back to the left menu, select "Workspace configuration" and then "Information".
-
Click on the "Information set" tile and select the active one for the level.

-
Click on the associated "Qualitative information" button.
-
Click on "add a new qualitative information". A pop-up window opens.
-
Select a qualitative information from the drop-down list. You will only find existing information that have not yet been integrated into this information set.
-
Define a value in the "order" section, in order to define the order of appearance of the information in the user area.

Customize the tab name dedicated to information.
For each set of information, you can assign a custom display name to the tab under which the information will be presented to users.
-
In the left menu, select “Workspace Configuration” and then “Information”.
-
Click on the “Information Sets” tab and select the one you want to update.
-
Click “Edit”.
-
In the “Edit an Information Set” section, choose the option “Custom Tab Display Name” and enter the name that will appear on the tab for entities using the information set.