
Manage sections in the global admin
Sections enable you to organise your homepage. In this regard, each instance can be categorized in one the sections of your choice.
Create a section
-
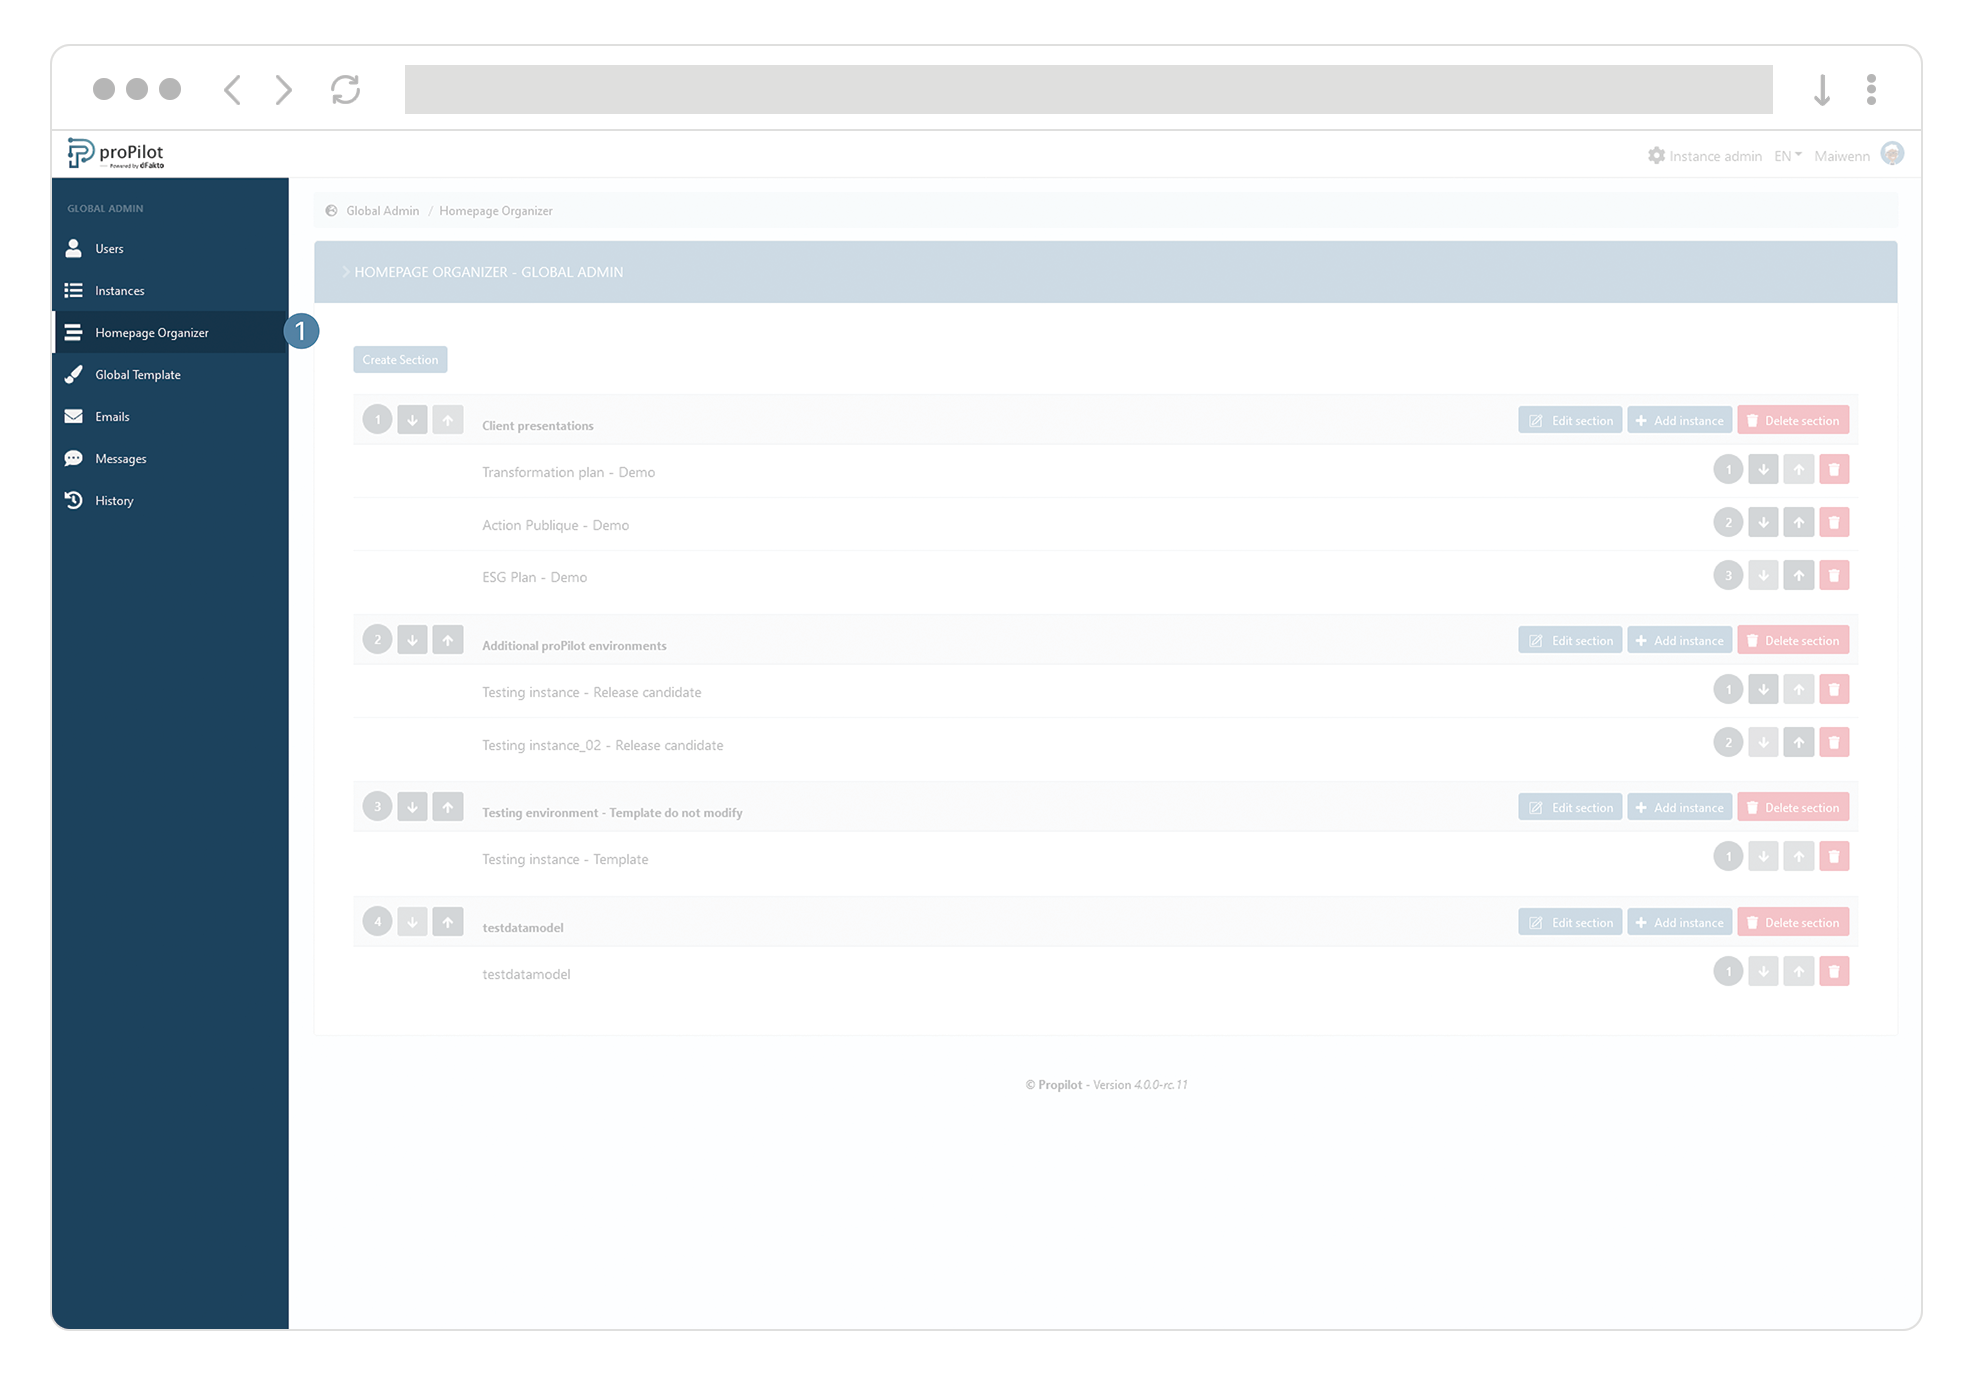
In the global administration of the tool, open the “Homepage organizer” tab.
-
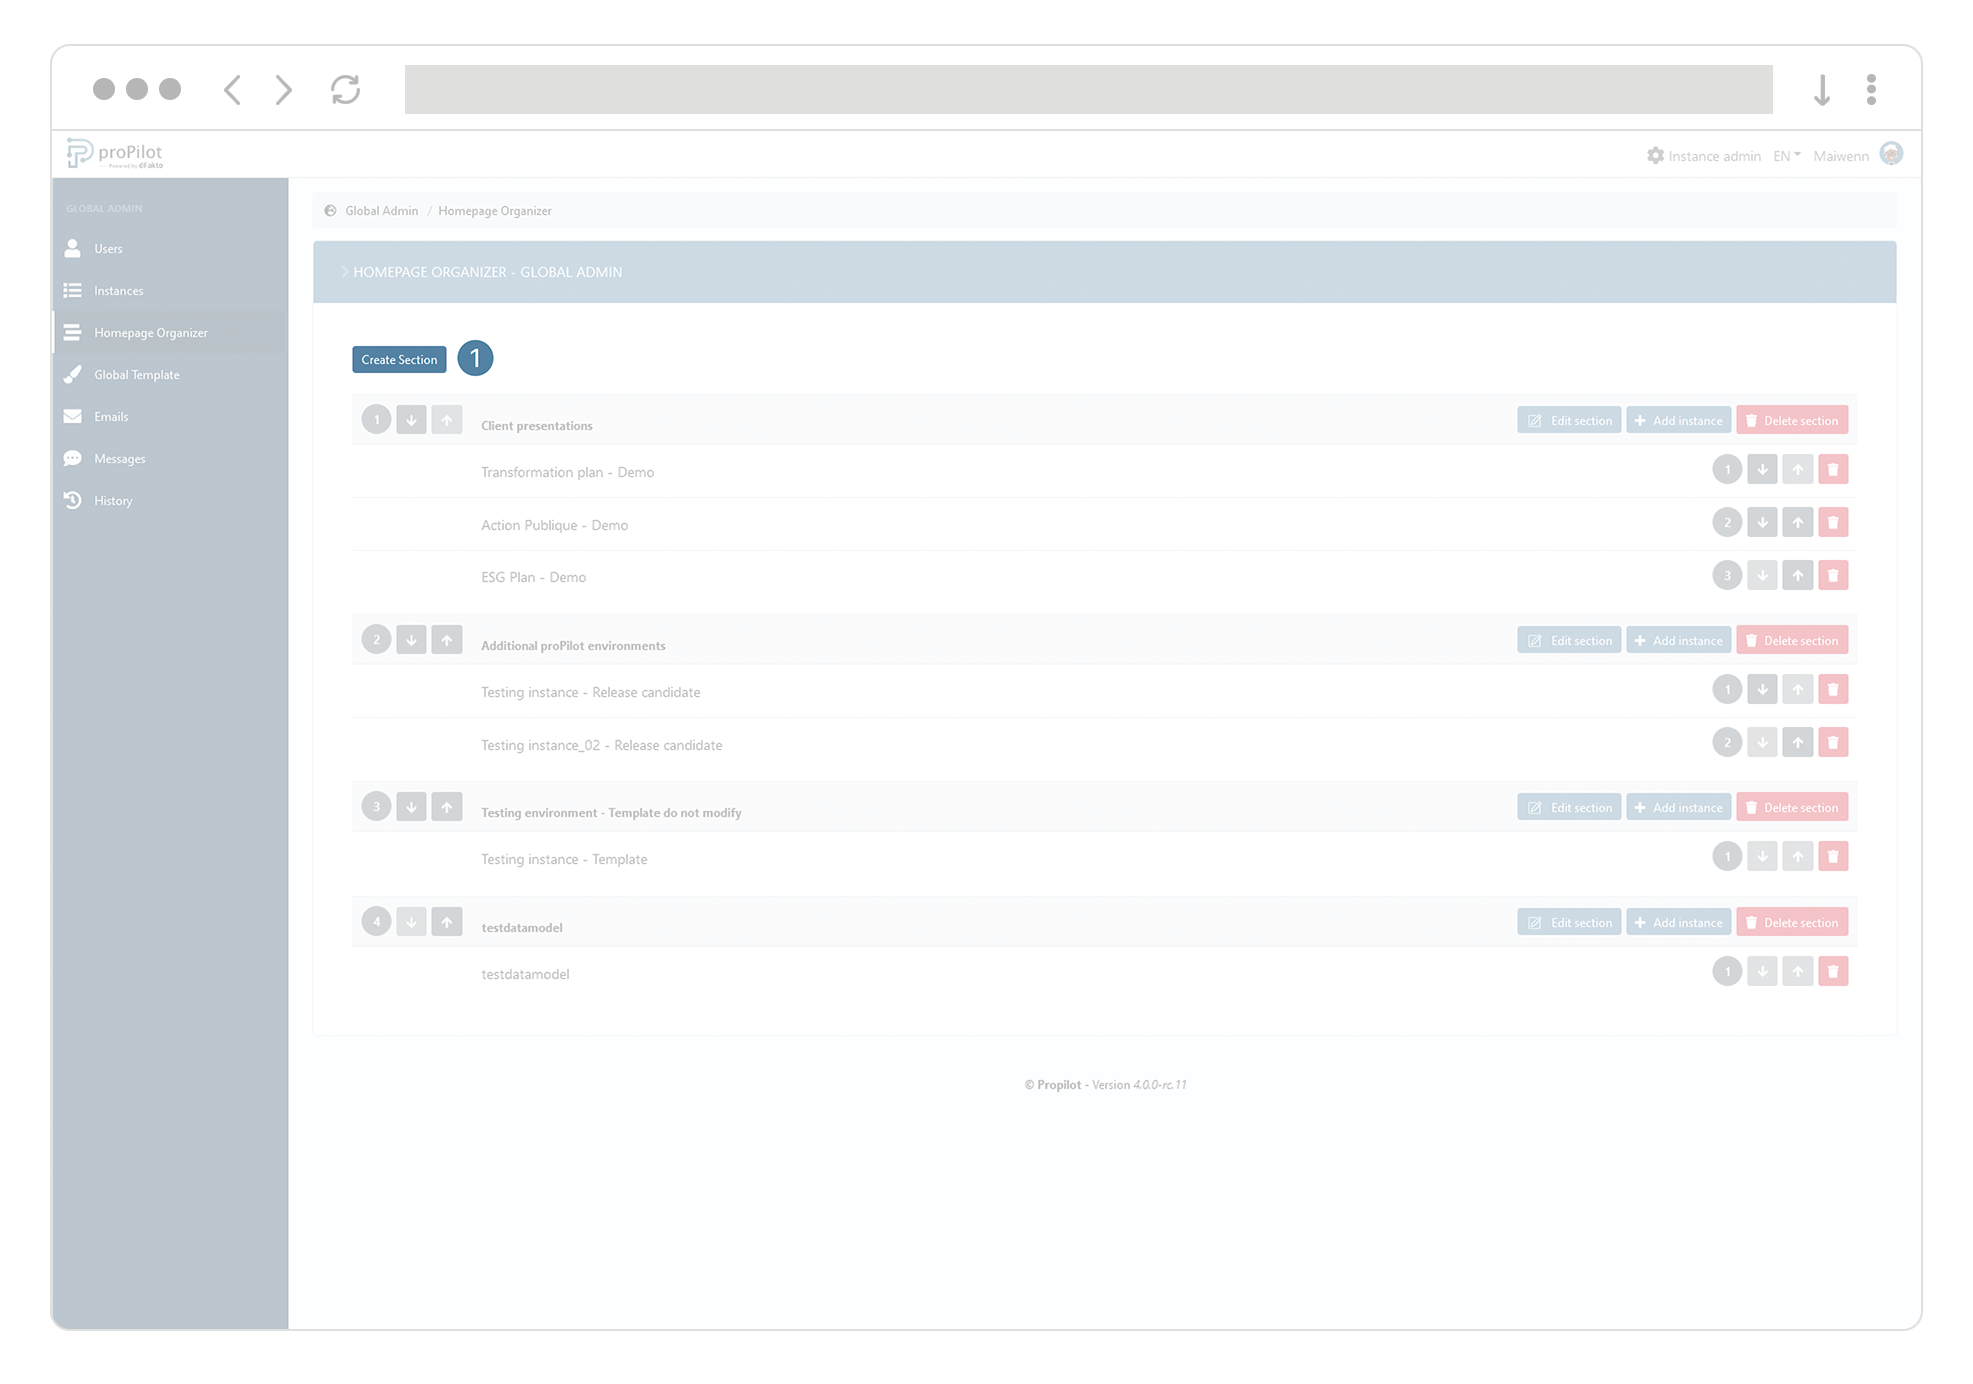
Click on the button “Create a section” .
-
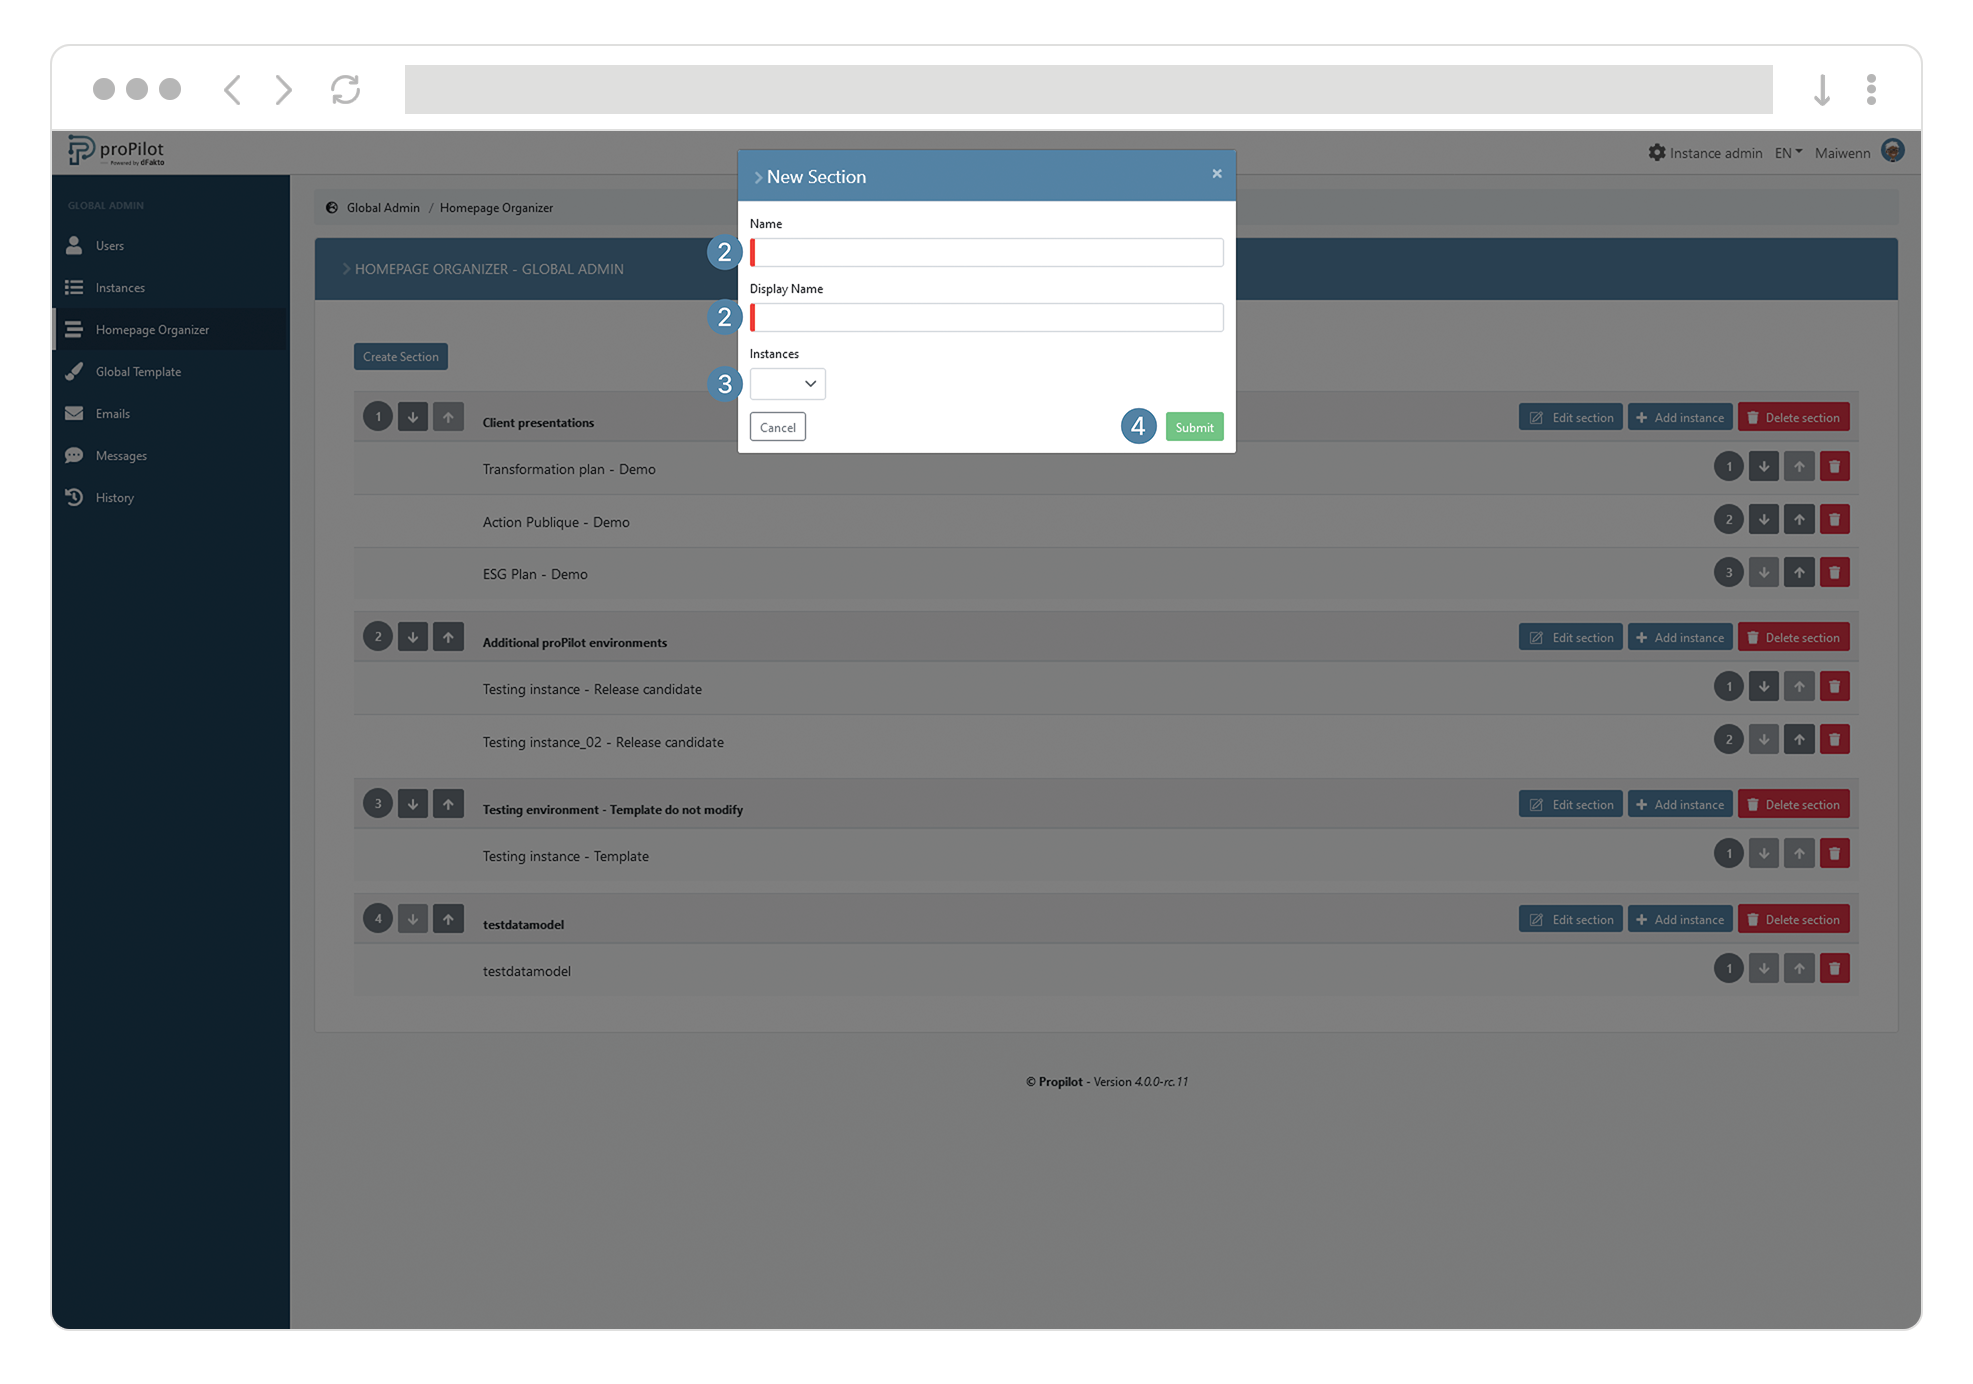
Fill in a (technical) name and a display name among the different available fields.
-
Select the instances you’d like to include in this section among the dropdown list.
-
Click on “submit”.
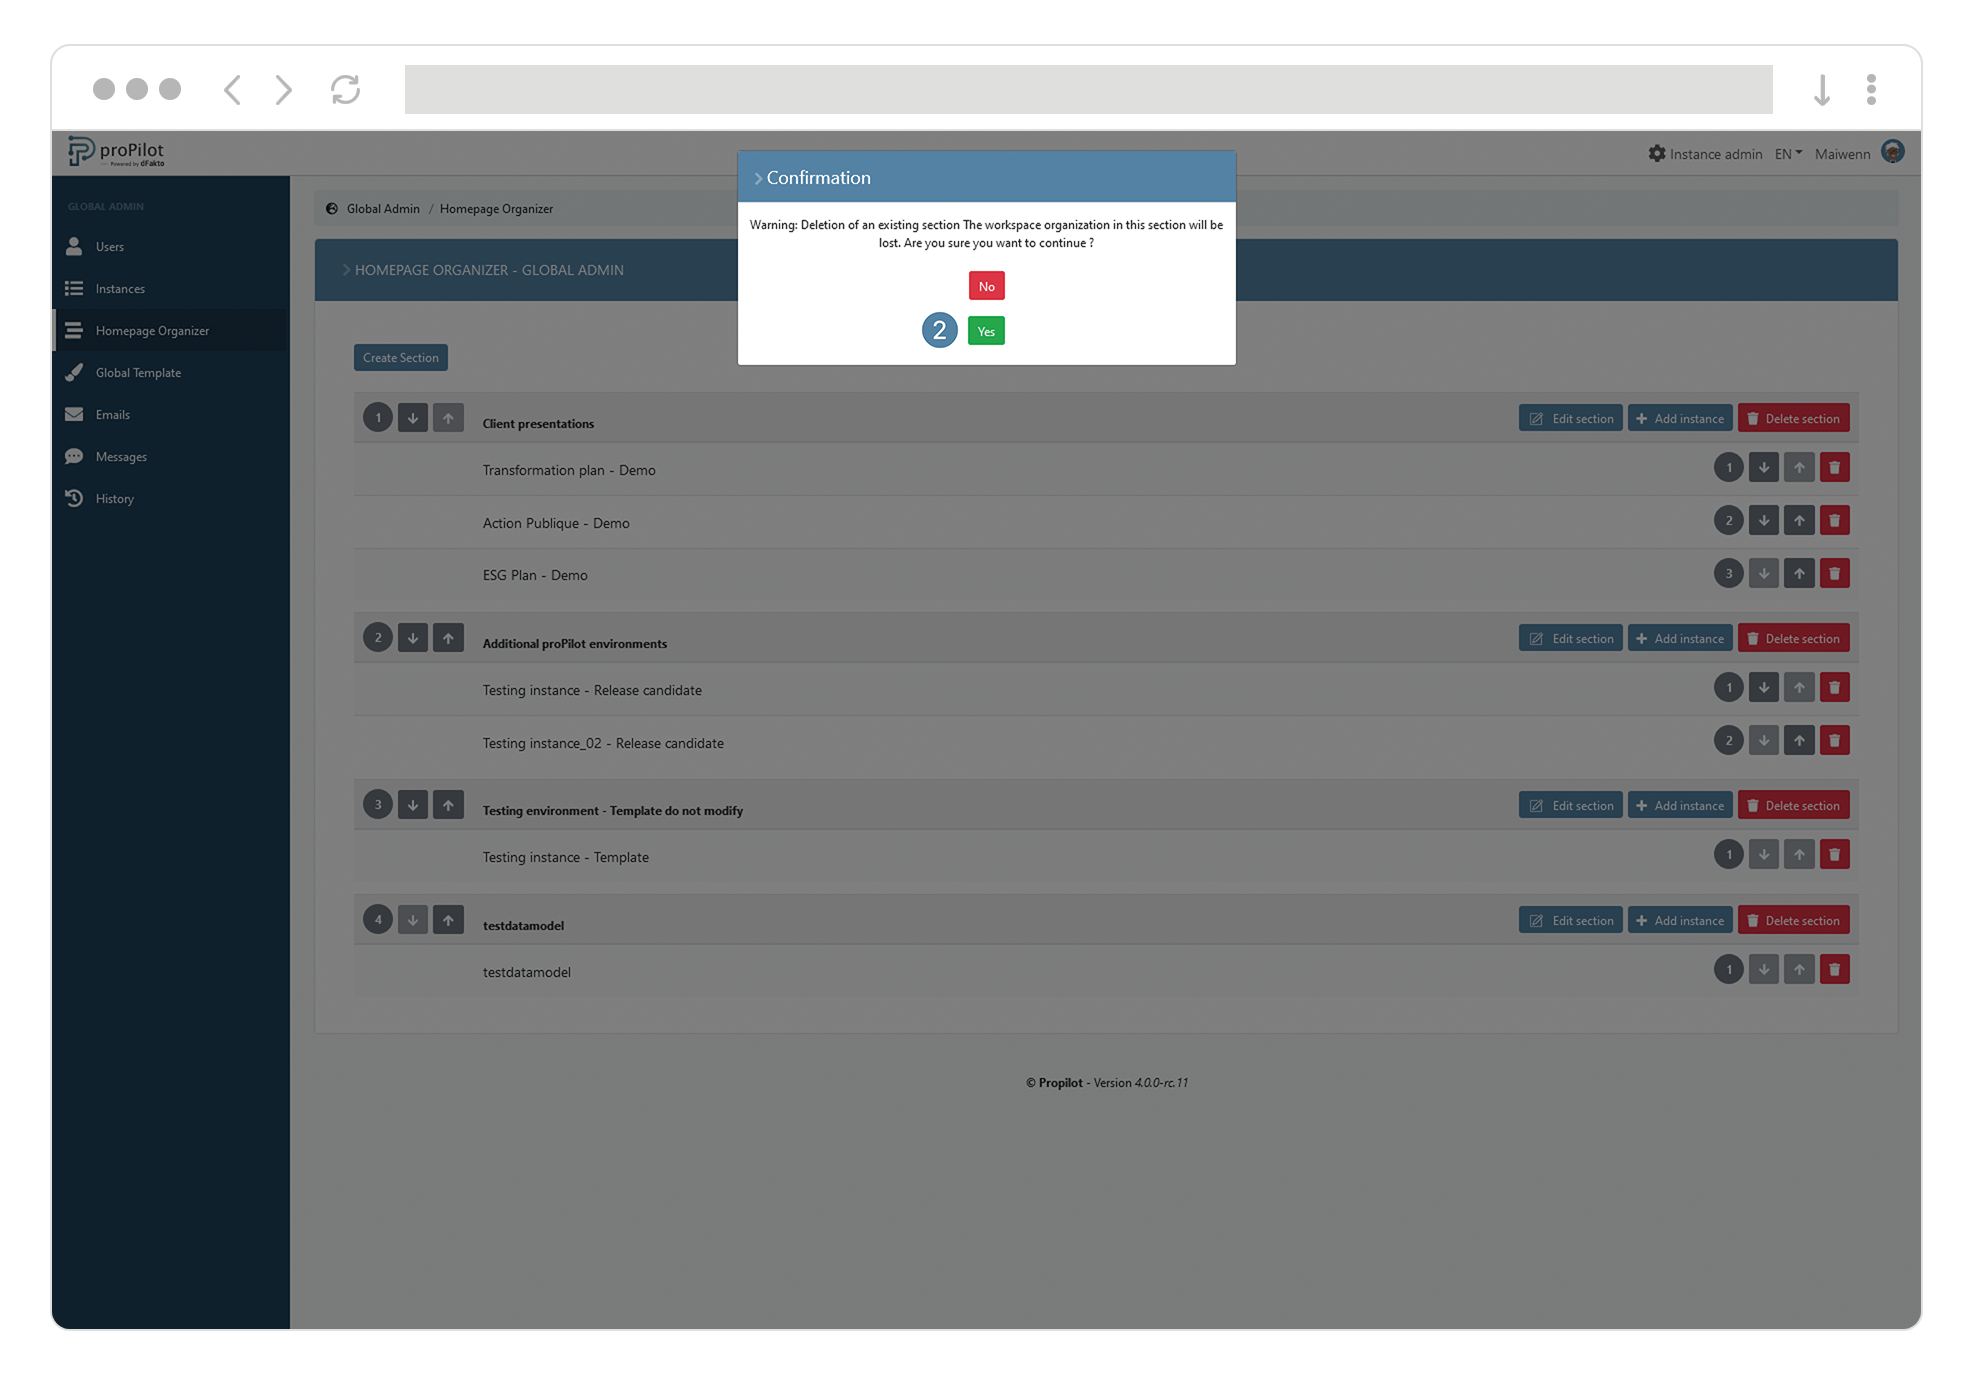
Delete a section
-
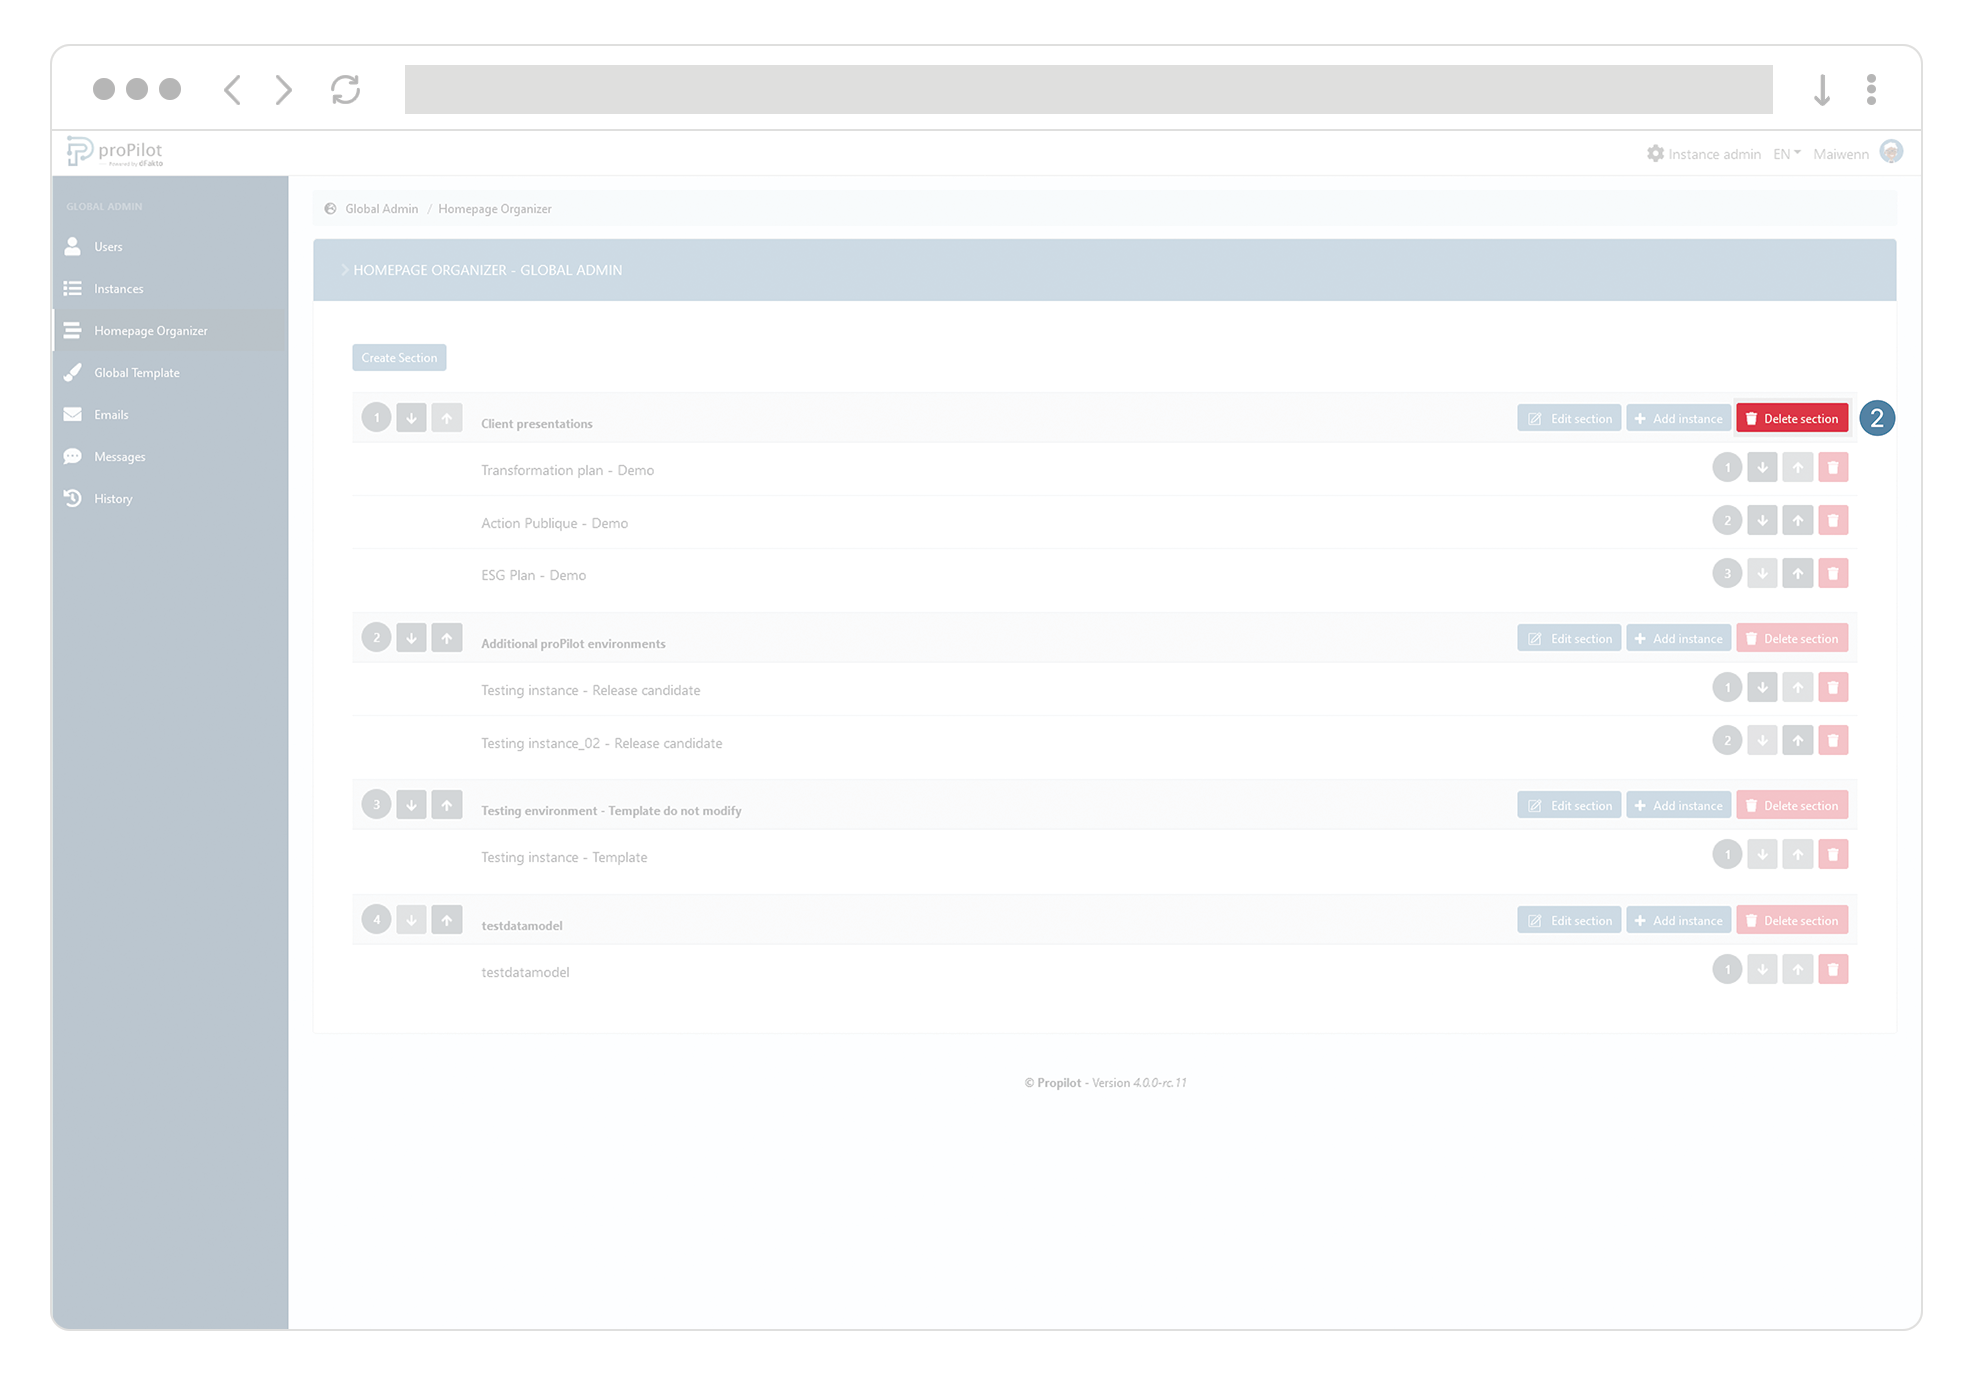
Open the “Homepage Organizer” tab in the global admin to visualize the different available sections.
-
Click on the button “Delete section” of the desired section, then confirm deletion.
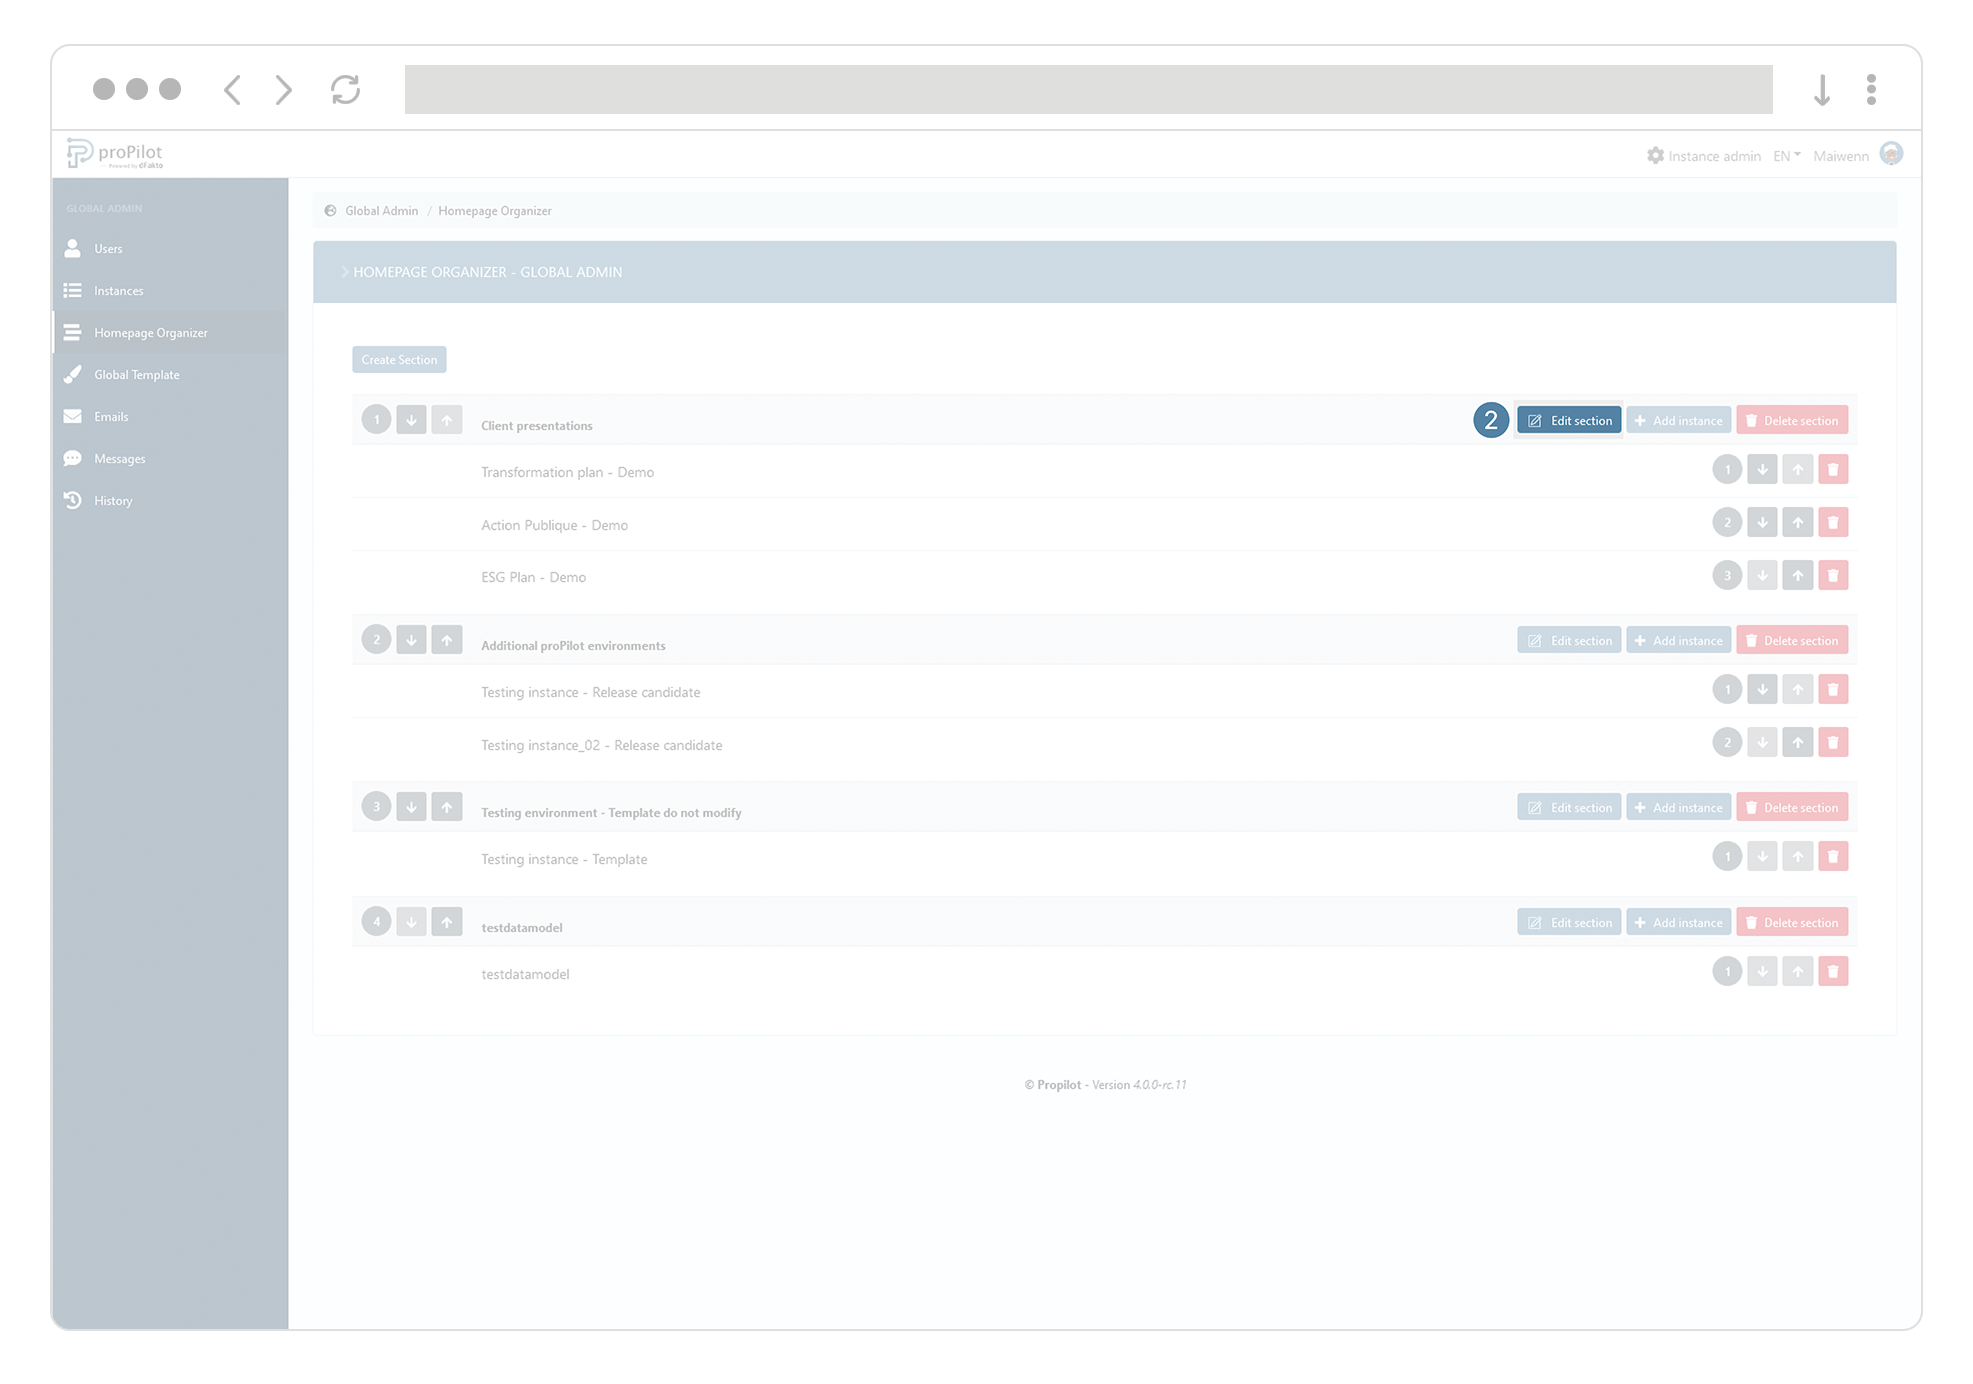
Update the name of a section
-
Open the tab “Homepage organizer” in the global admin of the tool to display the different available sections.
-
Click on the button “edit section” of the concerned section.
-
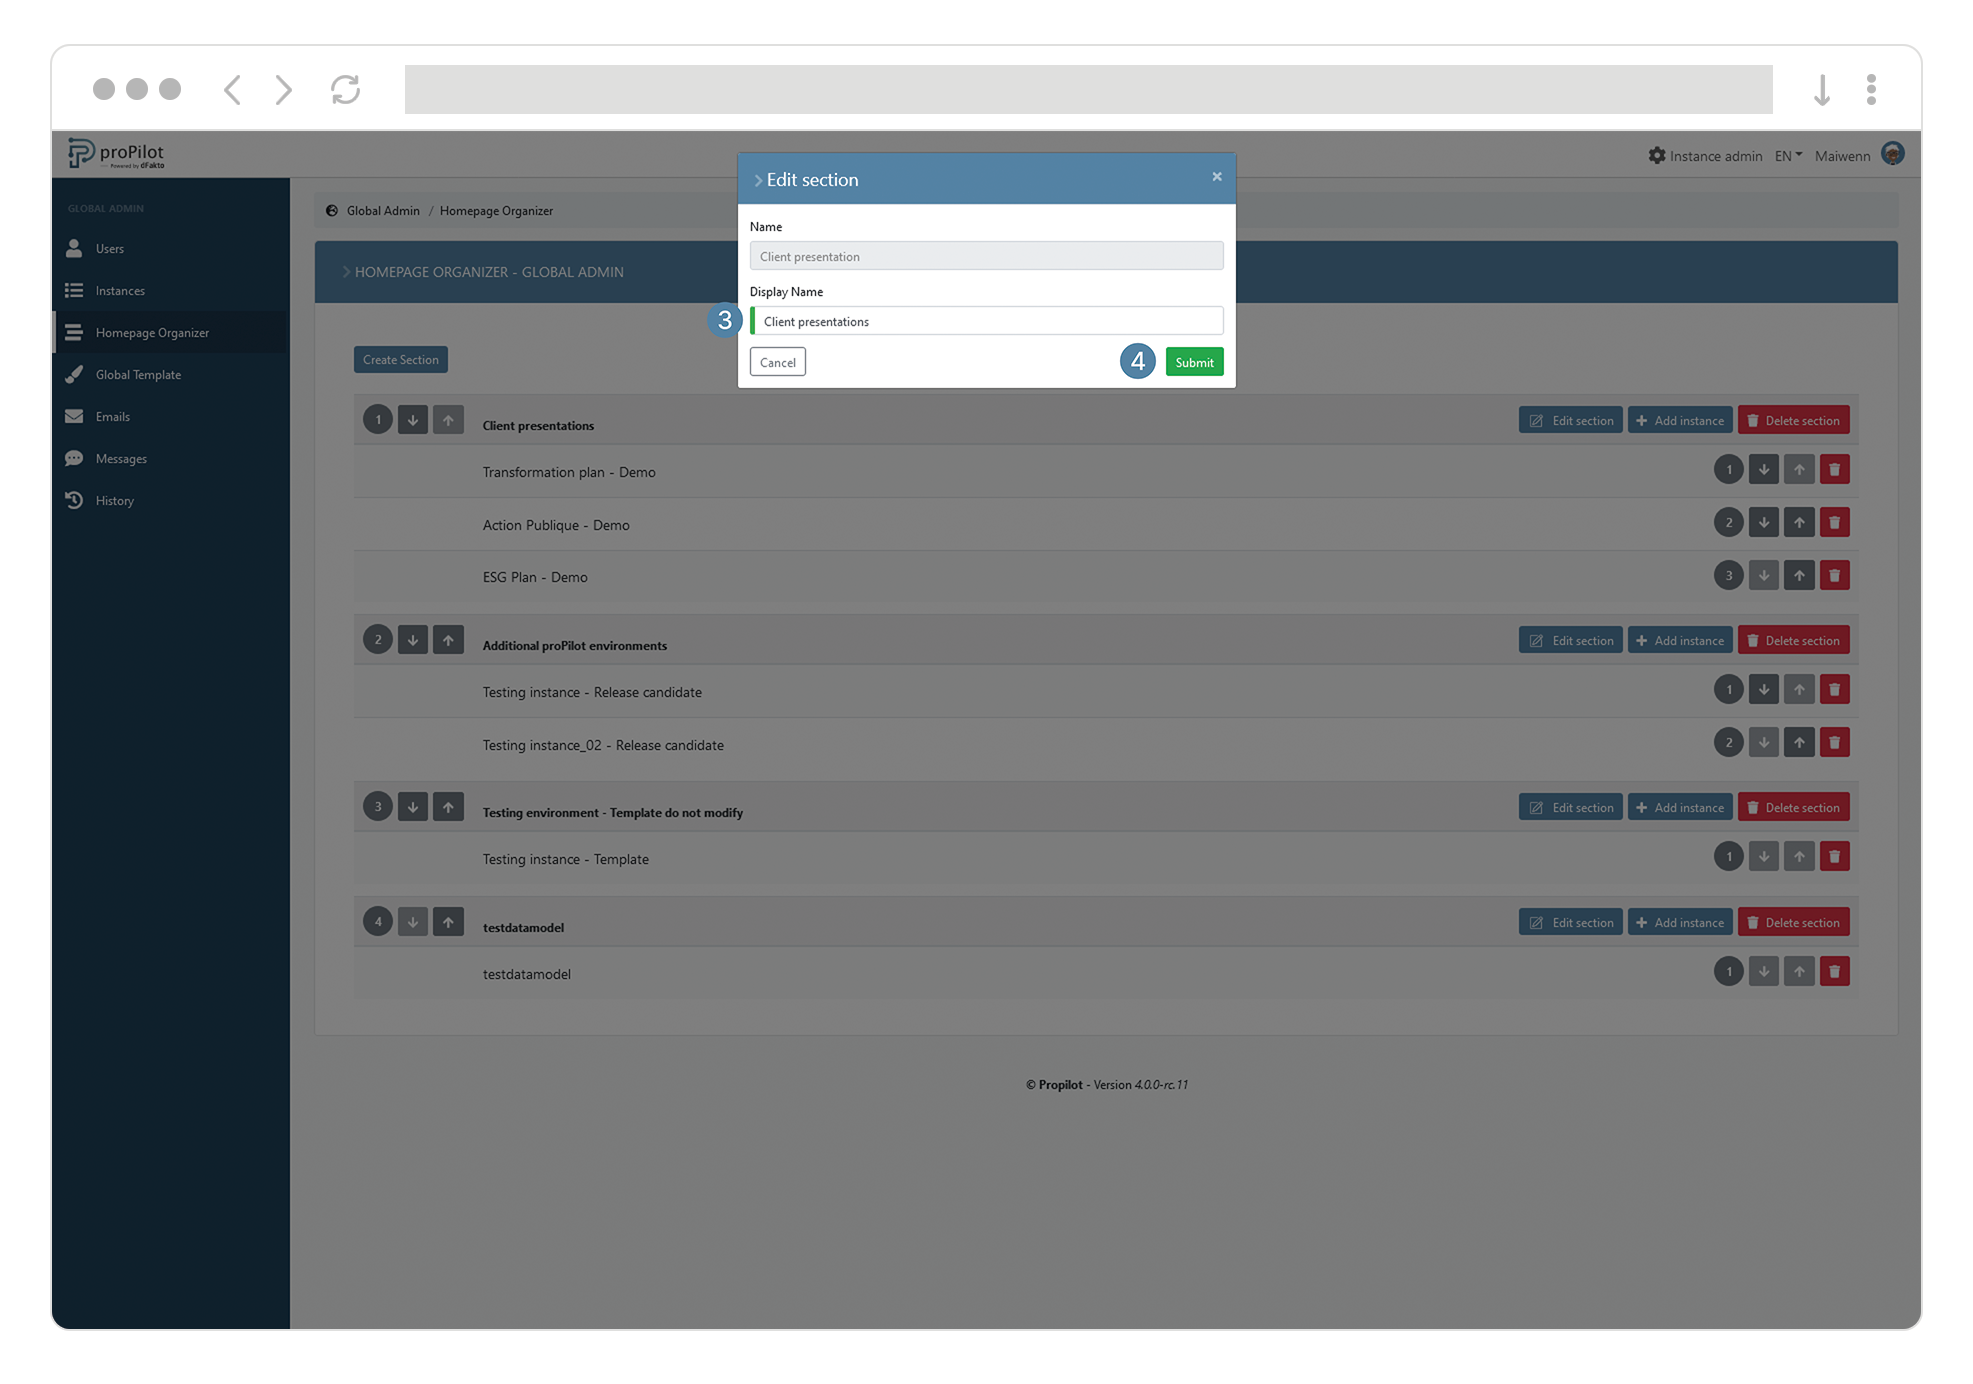
Update the “display name” field.
Kindly note that it is not possible to edit the technical name. -
Click on “submit”.
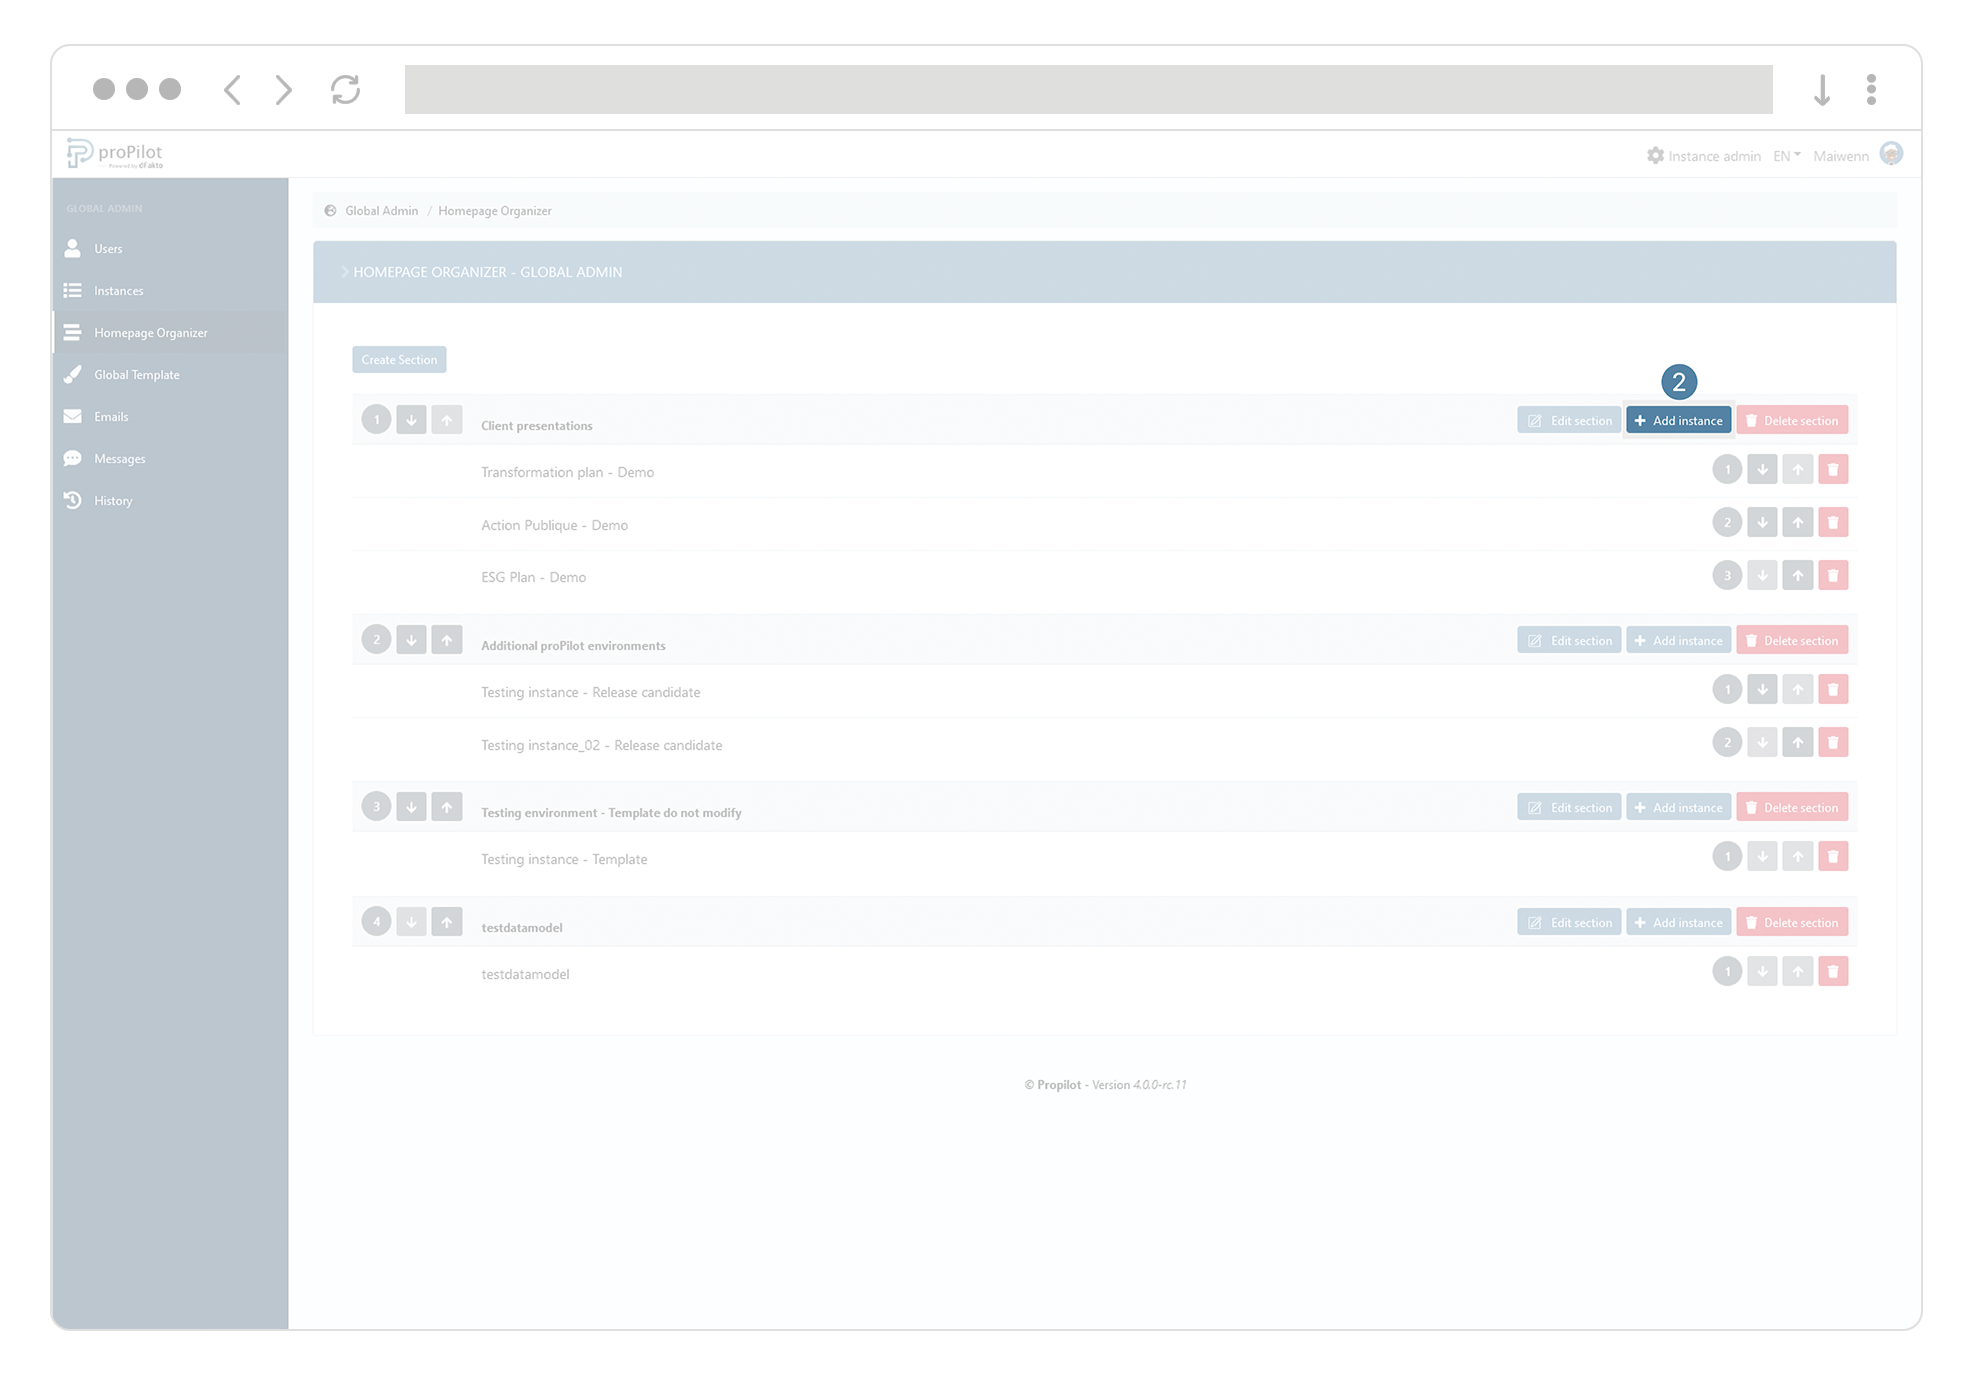
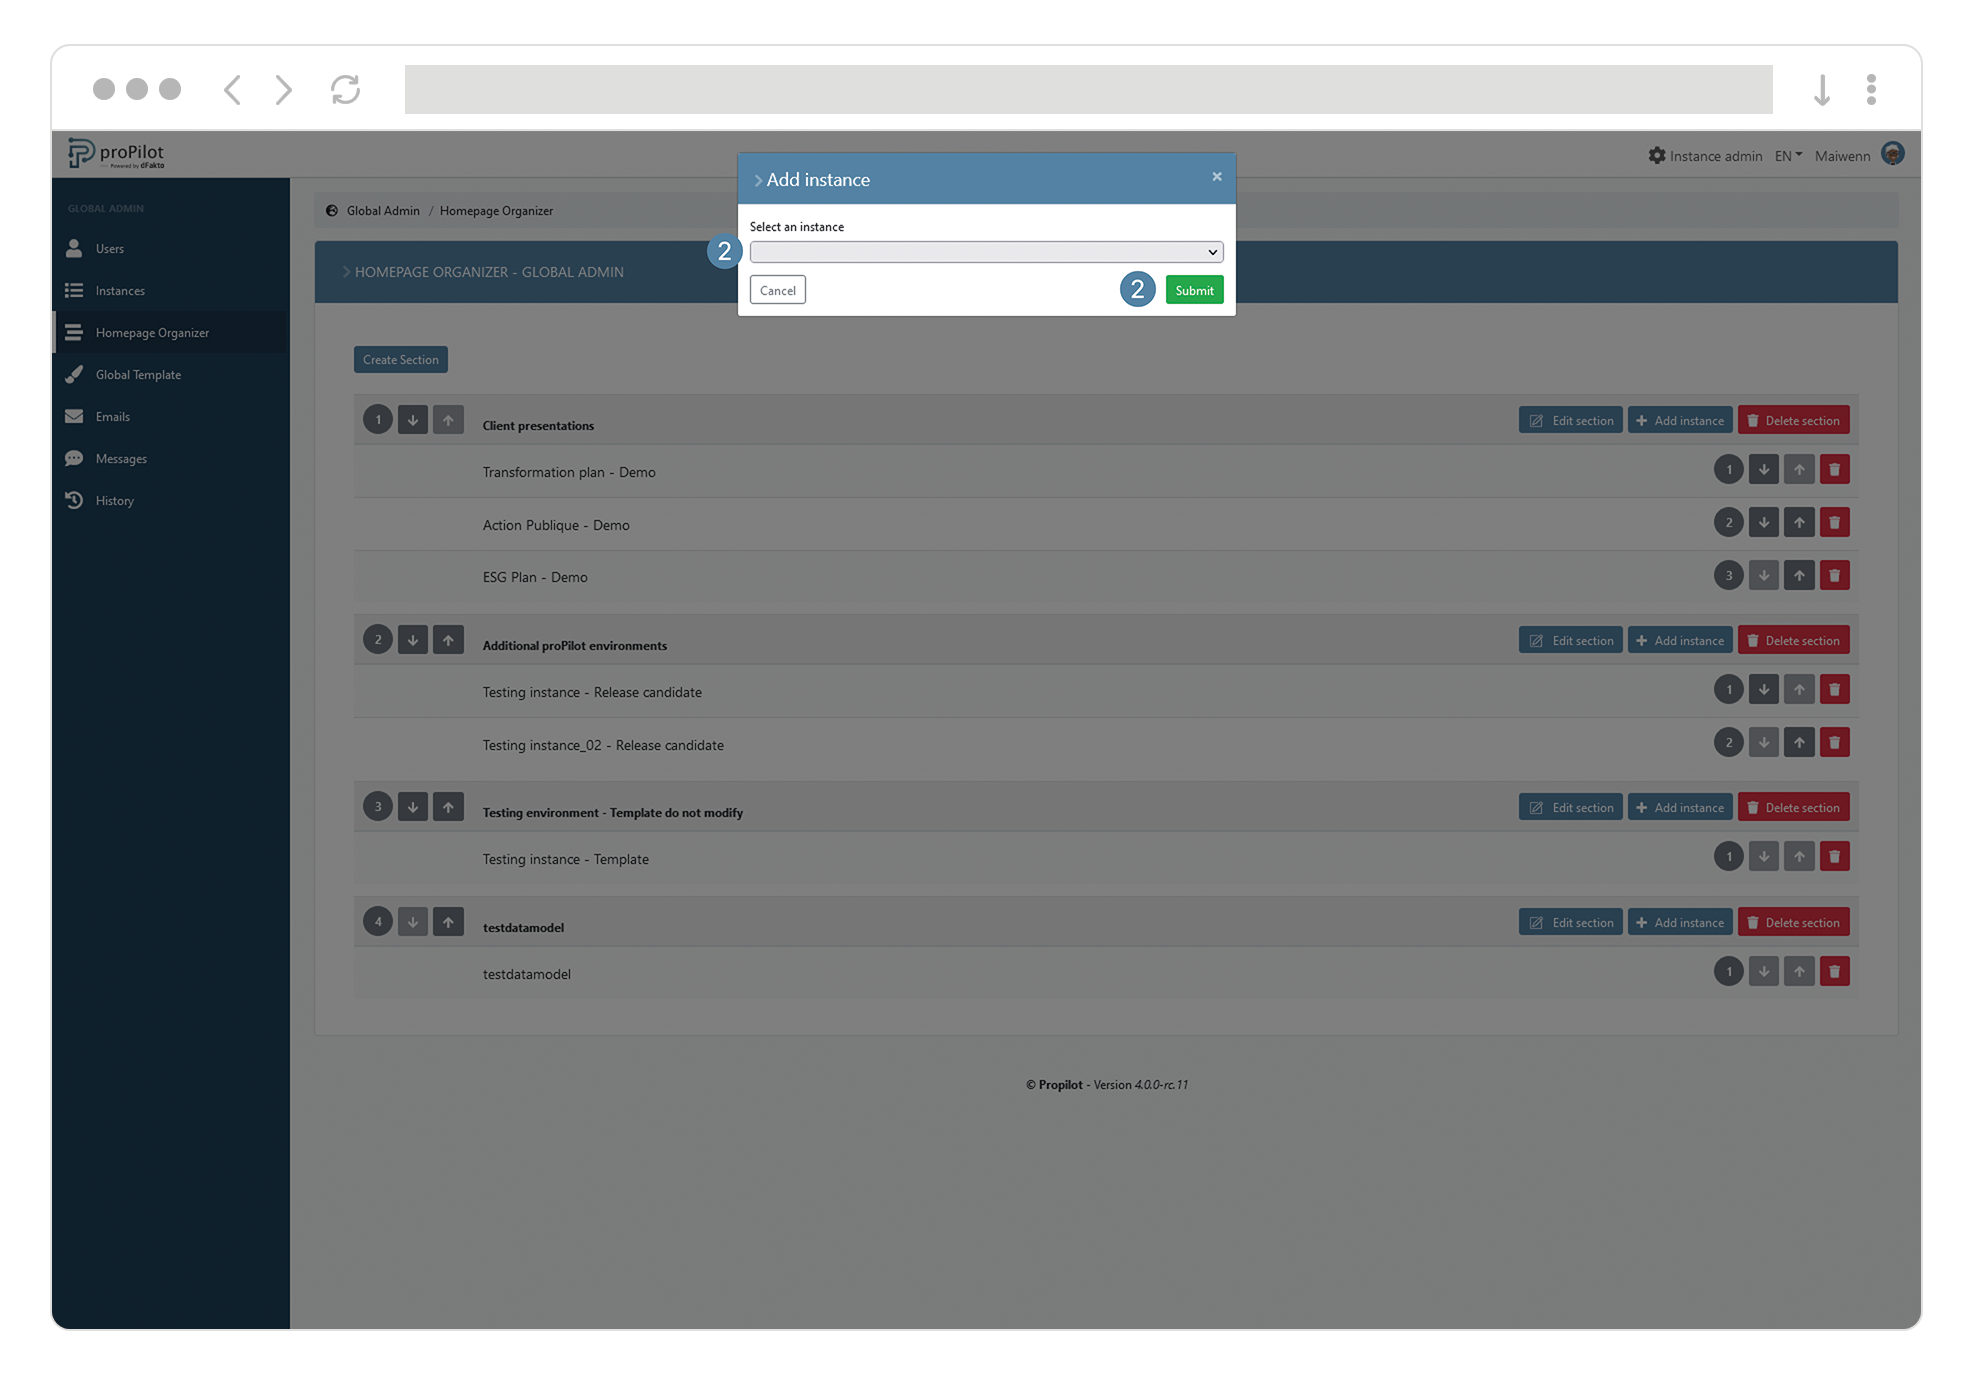
Add an instance within an existing section
-
Open the tab “Homepage organizer” in the global admin of the tool to display the different available sections.
-
Select the instance you wish to add from the dropdown list, by clicking on the “Add instance” button.
-
Click on “submit”.
Remove an instance from a section
-
Open the tab “Homepage organizer” in the global admin of the tool to display the different available sections.
-
In the concerned section, click on the button “recycle bin” of the concerned instance.
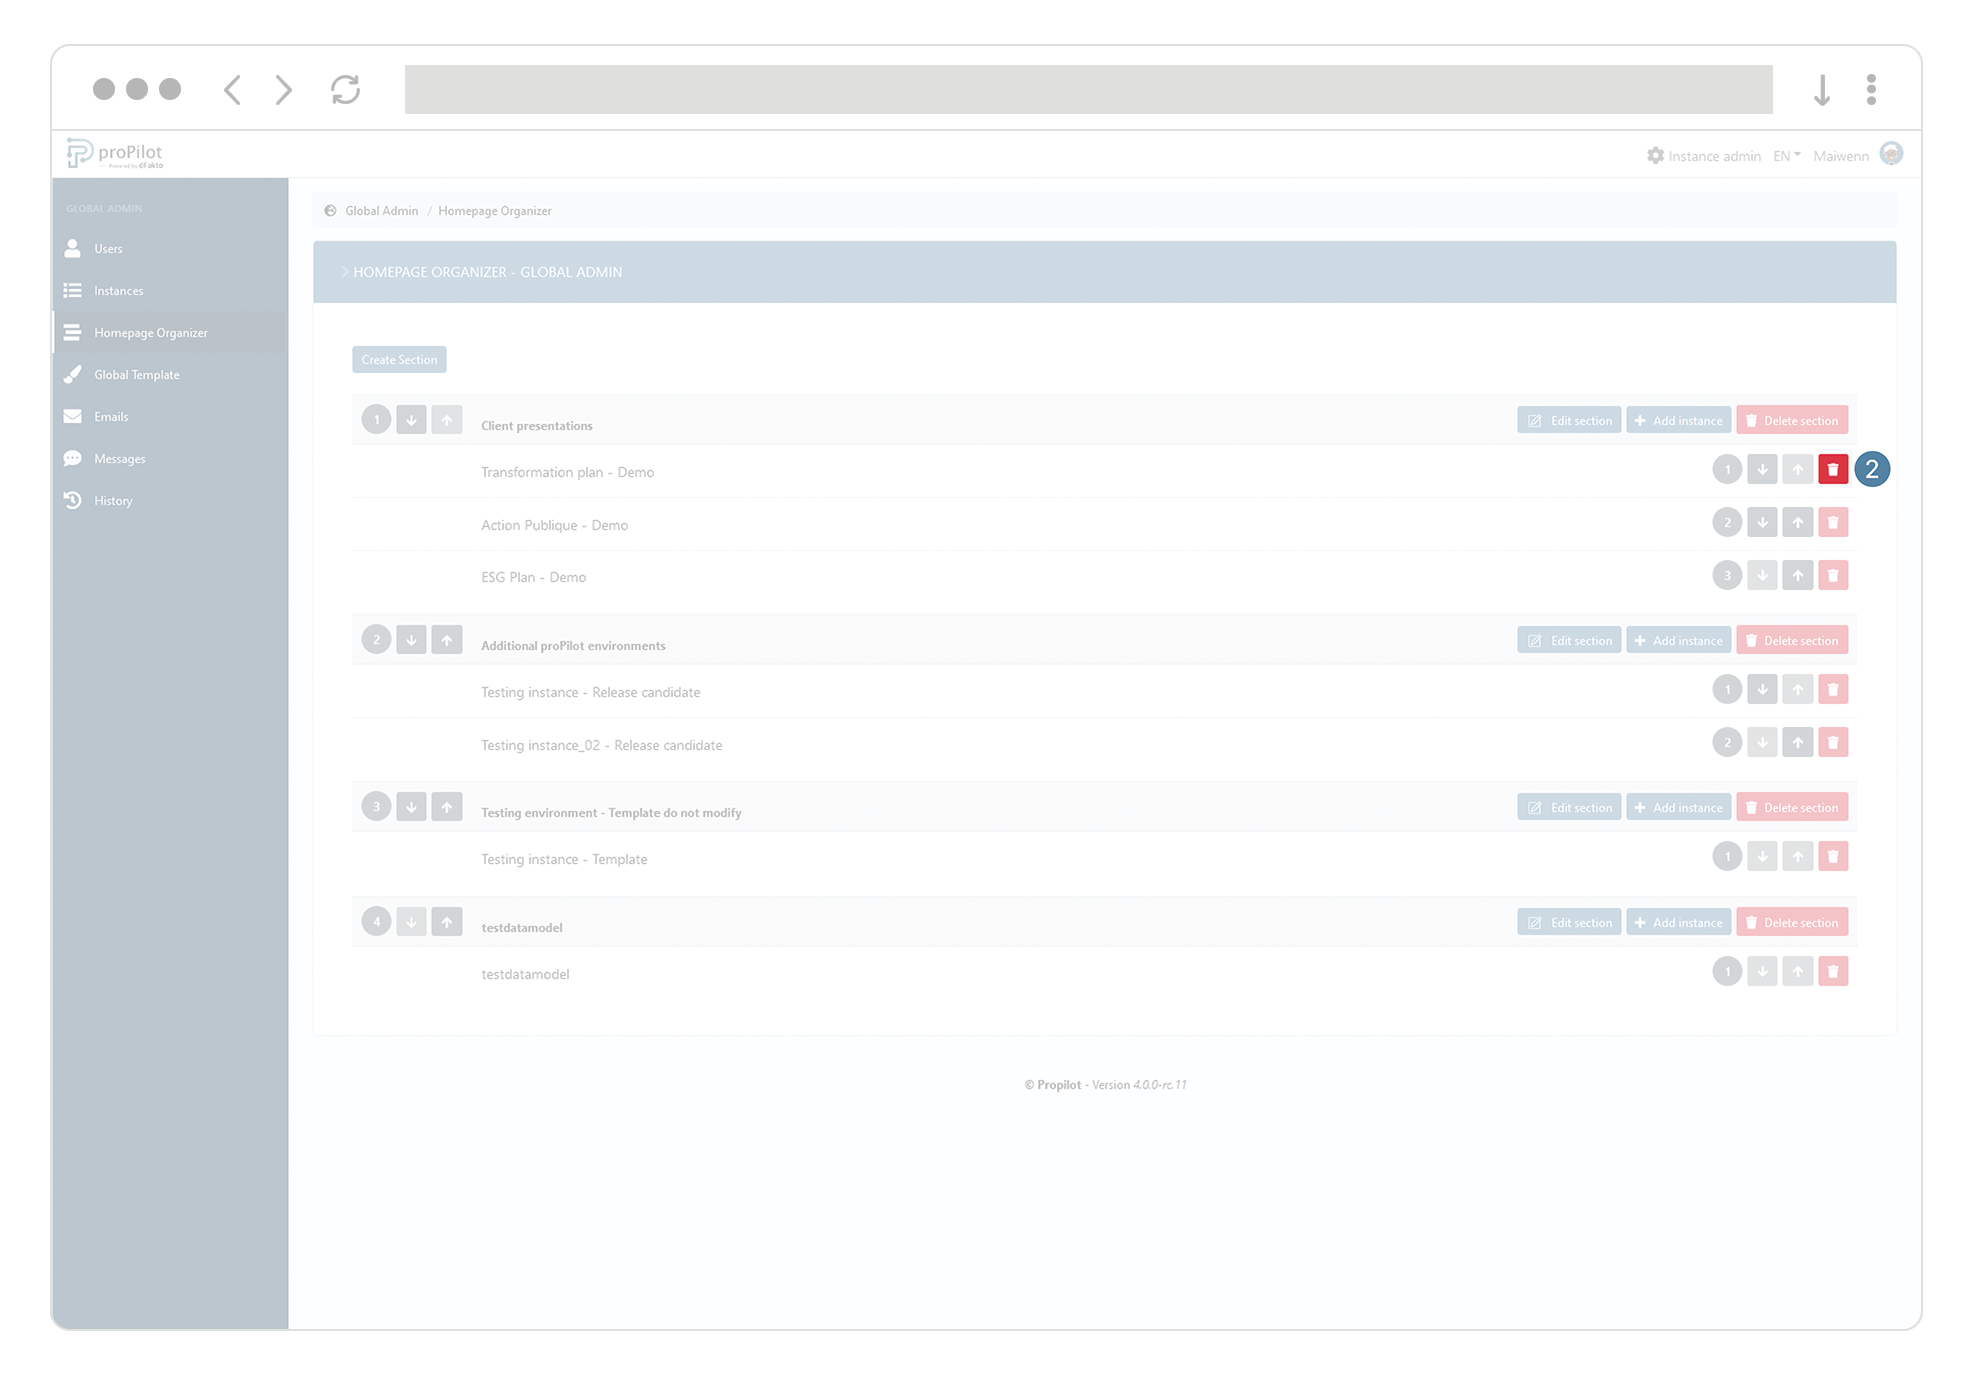
By default, workspaces which haven’t been included in a section can be found in the default section “other”.